Window tint can be installed in homes by following these quick and easy steps. We will discuss how to install window tint in your home, providing you with a detailed guide to help you achieve a successful installation.
Whether you are looking to increase privacy, reduce glare, or enhance energy efficiency, window tinting can offer numerous benefits for your living space. By following our step-by-step instructions, you can enjoy the advantages of window tint while adding a touch of style to your home.
So, let’s dive into the process of installing window tint in your home, making sure to pay attention to the details for a flawless result.
Understanding Different Types Of Window Tint
When it comes to installing window tint in your home, understanding the different types available is essential. With numerous options on the market, choosing the right window tint can enhance your home’s aesthetic appeal, improve energy efficiency, and provide privacy. In this post, we will dive deep into the world of window tint and explore its benefits, factors to consider, and popular types available for homes.
Benefits of Window Tinting
Window tinting offers a myriad of benefits for homeowners. By obstructing harmful UV rays, window tint protects your furniture, flooring, and other interior elements from fading and damage caused by sun exposure. In addition, window tinting reduces glare, making it easier to work and relax without straining your eyes. It also enhances privacy by preventing outsiders from peering into your home while still allowing natural light to brighten up the space.
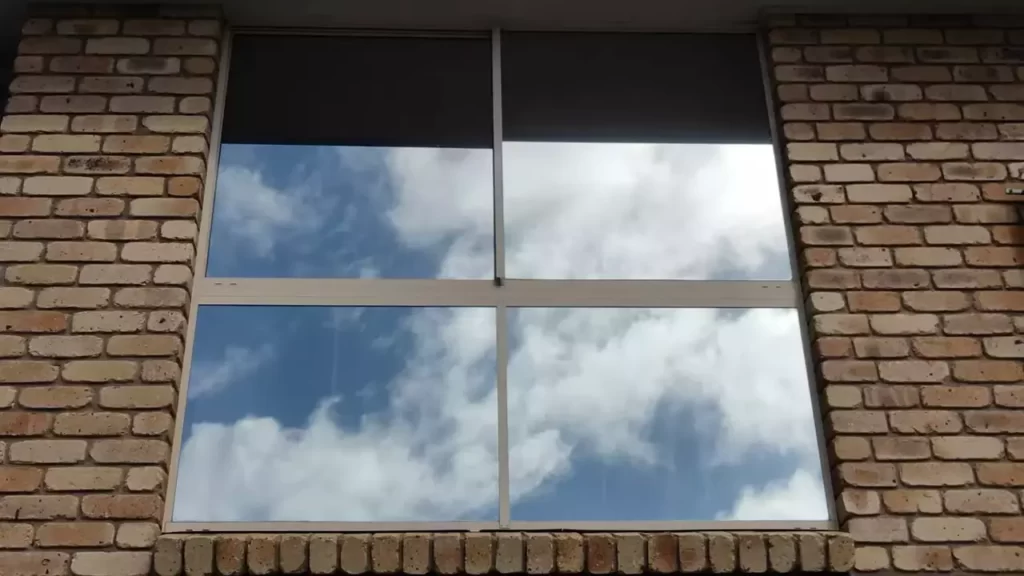
Moreover, window tinting can improve energy efficiency by blocking heat from entering your home during the summer months and retaining warmth during winter, reducing the need for excessive air conditioning or heating. By increasing energy efficiency, window tinting can also help lower your energy bills. Overall, window tinting provides a range of benefits that can make your home more comfortable, stylish, and cost-effective.
Factors to Consider Before Choosing a Window Tint
Before deciding on a window tint, there are a few factors to keep in mind. First, consider your specific needs and priorities. Are you primarily looking for privacy, UV protection, energy efficiency, or a combination of these? Understanding your goals will help you make an informed choice. Additionally, check the regulations and restrictions in your area regarding window tint darkness, and reflectivity to avoid any legal complications.
It’s also important to assess the quality and durability of the window tint, as a long-lasting product will provide better results in the long term. Finally, take into account your budget and compare prices on different types of window tint to find a cost-effective option that meets your requirements.
Popular Types of Window Tint for Homes
There is a wide range of window tint options available for homes, tailored to different purposes and preferences. Here are some popular types:
| Type of Window Tint | Features |
|---|---|
| Reflective Window Tint | Highly reflective surface that offers excellent privacy |
| Dyed Window Tint | Provides a natural and non-reflective appearance while reducing heat and UV rays |
| Metalized Window Tint | Offers superior heat and UV protection by incorporating tiny metallic particles |
| Ceramic Window Tint | Provides the highest protection against heat and UV radiation |
Each type of window tint offers its own set of advantages, so consider your specific requirements and choose the one that best suits your needs.
By understanding the different types of window tint available, the benefits it provides, and the factors to consider, you can make an informed decision when installing window tint in your home. With the right window tint, you can enjoy enhanced privacy, protection from harmful UV rays, improved energy efficiency, and a more stylish living space.
Cleaning And Prepping The Glass Surface
When it comes to installing window tint in your home, one of the most crucial steps is properly cleaning and prepping the glass surface. This ensures that the tint adheres well and provides a flawless finish. In this section, we will discuss the tools and materials you will need, as well as the step-by-step cleaning process and how to remove any existing window tint or film.
Tools and Materials Needed
Before beginning the cleaning process, gather the following tools and materials:
- Clean, lint-free cloth or microfiber towel
- Non-ammonia based glass cleaner
- Rubber squeegee
- Rubber gloves
- Plastic scraper or razor blade
- Spray bottle with soapy water (1-2 drops of dish soap in water)
Step-by-Step Cleaning Process
Now that you have your tools and materials ready, follow this step-by-step cleaning process:
- Put on the rubber gloves to protect your hands.
- Mix 1-2 drops of dish soap in water in the spray bottle to create a soapy solution.
- Spray the soapy water solution onto the glass surface.
- Gently scrub the glass with the non-ammonia based glass cleaner and the clean, lint-free cloth or microfiber towel. Make sure to remove any dirt, grime, or fingerprints.
- Rinse the glass surface thoroughly with clean water to remove all the soap residue.
- Use the rubber squeegee to remove any excess water from the glass surface.
- Dry the glass completely using a clean, lint-free cloth or microfiber towel.
Removing Existing Window Tint or Film
If your windows already have tint or film that needs to be removed, follow these steps:
- Wear rubber gloves to protect your hands.
- Use a plastic scraper or razor blade to gently lift the edge of the window tint or film.
- Once the edge is lifted, carefully peel off the tint or film from the glass surface.
- If any adhesive residue remains, spray the area with the soapy water solution and use the plastic scraper or razor blade to scrape off the residue. Be cautious not to scratch the glass.
- Repeat the cleaning process mentioned earlier to ensure the glass surface is clean and ready for the new window tint installation.
By following these steps, you will have a clean and prepped glass surface, ready for window tint installation. Now you can move on to the next step in the process, which is applying the window tint or film to enhance your home’s privacy and energy efficiency.
Gathering The Necessary Tools And Materials
Before you start the window tint installation process, it’s important to gather all the necessary tools and materials to ensure a smooth and successful project. Having everything ready ahead of time will help you save time and avoid any unnecessary delays. Here are the key tools and materials you’ll need:
Window Tinting Kit Essentials
A window tinting kit contains the fundamental items you need to apply the tint film efficiently. Include these essentials:
- Window Tint Film: This is the main component of your installation. Make sure to choose a high-quality film that provides the desired level of privacy and sunlight blockage.
- Squeegee: A squeegee helps to remove air bubbles and excess water from between the film and the window surface.
- Razor Blade: A razor blade is used to trim the excess film and create clean, straight edges.
- Lint-Free Cloth: This cloth is vital for cleaning the window surface before application to ensure proper adherence.
- Spray Bottle: Fill a spray bottle with a mixture of water and a gentle soap, which will be used to apply the film to the window.
- Heat Gun or Hairdryer: The heat gun or hairdryer helps the film conform tightly to the window surface, removing any wrinkles or creases.
- Measuring Tape: Use a measuring tape to accurately measure the dimensions of your windows before cutting the tint film.
Additional Tools That May Come in Handy
While the window tinting kit essentials are vital, some additional tools and materials may make the installation process even smoother:
- Masking Tape: Use masking tape to create guidelines and protect the window frame during the installation process.
- Spray Solution: Apart from the water and soap mixture, you may also consider purchasing a specialized spray solution designed for window tint application.
- Cutting Mat: A cutting mat provides a safe and convenient surface for trimming the tint film with a razor blade.
- Plastic Card: A plastic card can serve as an alternative to a squeegee for eliminating air bubbles and smoothing the film.
- Gloves: Wearing gloves can prevent fingerprints and smudges from appearing on the film during installation.
Choosing the Right Window Tint Film
One crucial aspect of the window tinting process is selecting the appropriate film for your specific needs. Consider the following factors when deciding:
- Privacy Requirements: Determine the level of privacy you desire, ranging from light tinting to full privacy.
- UV Protection: Look for a film with a high UV protection rating to shield your home’s interior from harmful sun rays.
- Heat Reduction: If you reside in a warm climate, choosing a film that minimizes heat will help keep your home cooler and reduce energy consumption.
- Glare Reduction: Select a film that effectively reduces glare from the sun, providing a comfortable environment for reading or working indoors.
By gathering the necessary tools and materials and choosing the right window tint film, you’re on your way towards a successful window tint installation. In the next section, we’ll guide you through the preparation steps to get your windows ready for tinting.
Step-By-Step Window Tint Installation Guide
Window tinting can not only add a touch of elegance to your home, but it can also provide privacy and protection from the sun’s harmful rays. If you’re looking to install window tint in your home, this step-by-step guide will walk you through the process, from measuring and cutting the tint film to trimming and adding those finishing touches. With a little patience and attention to detail, you can achieve professional results right at home.
Measuring and Cutting the Tint Film
The first step in installing window tint is to measure your windows and cut the tint film to the appropriate size. To do this, you’ll need a measuring tape and a utility knife or a pair of scissors. Start by measuring the height and width of your window, adding an extra inch or two to each measurement to ensure you have enough film to cover the entire glass. Once you have the measurements, mark them on the tint film using a pen or a marker and carefully cut along the lines.
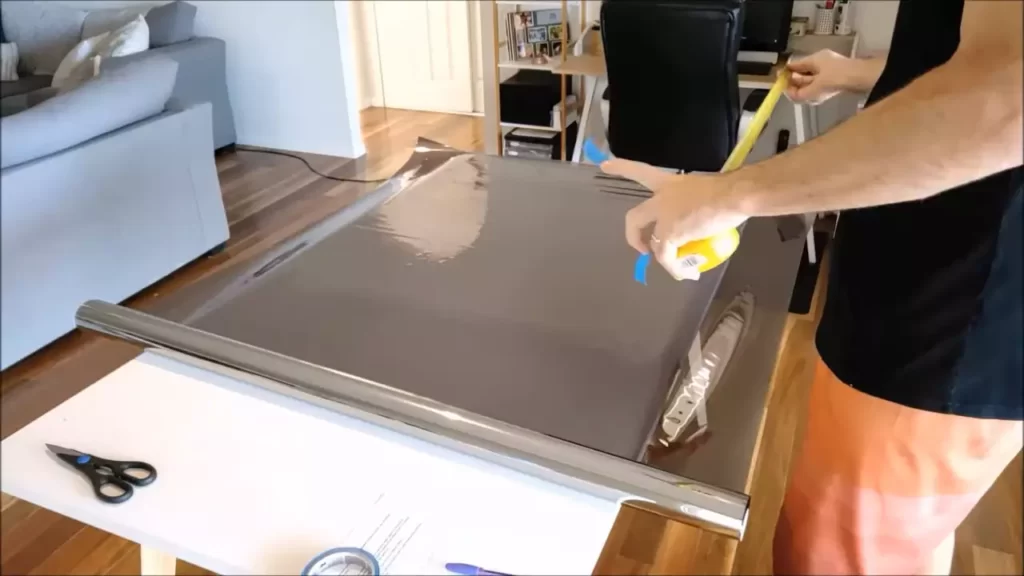
Applying a Soapy Solution to the Glass
Before applying the tint film, it’s important to create a soapy solution to help with the installation process. Fill a spray bottle with water and add a few drops of dish soap or baby shampoo. Shake the bottle gently to mix the solution. Then, spray the solution onto the glass surface of the window. This will create a slippery surface that allows you to position and adjust the tint film easily.
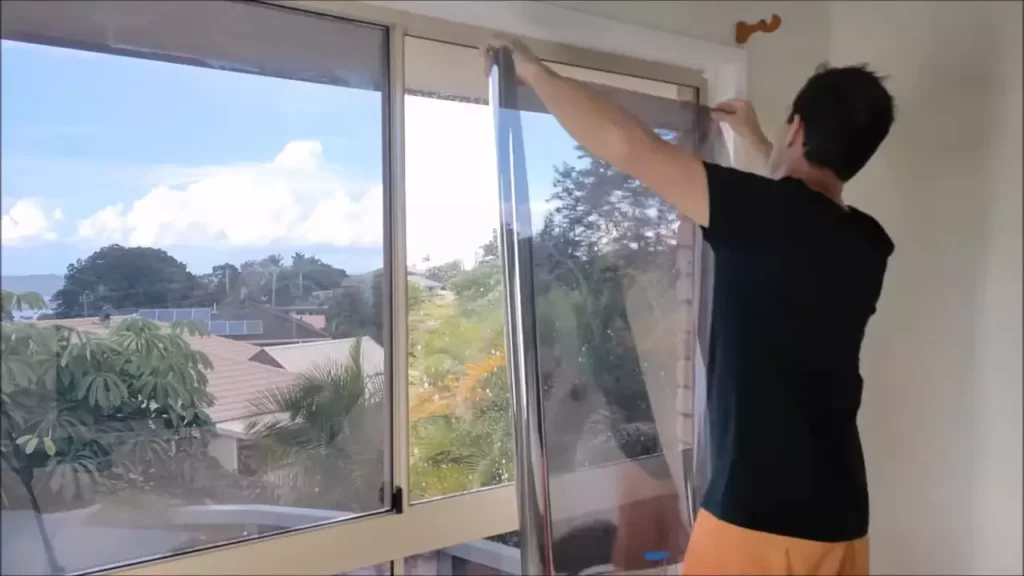
Placing and Aligning the Tint Film on the Window
Once the glass is coated with the soapy solution, carefully peel off the protective layer on the back of the tint film. Hold the film by the edges and align it with the top edge of the window. Slowly lower the film onto the glass, making sure it adheres evenly. Use your hands to smooth out any wrinkles or bubbles as you go, working from the center outward. Continue aligning and pressing the film until it covers the entire window.
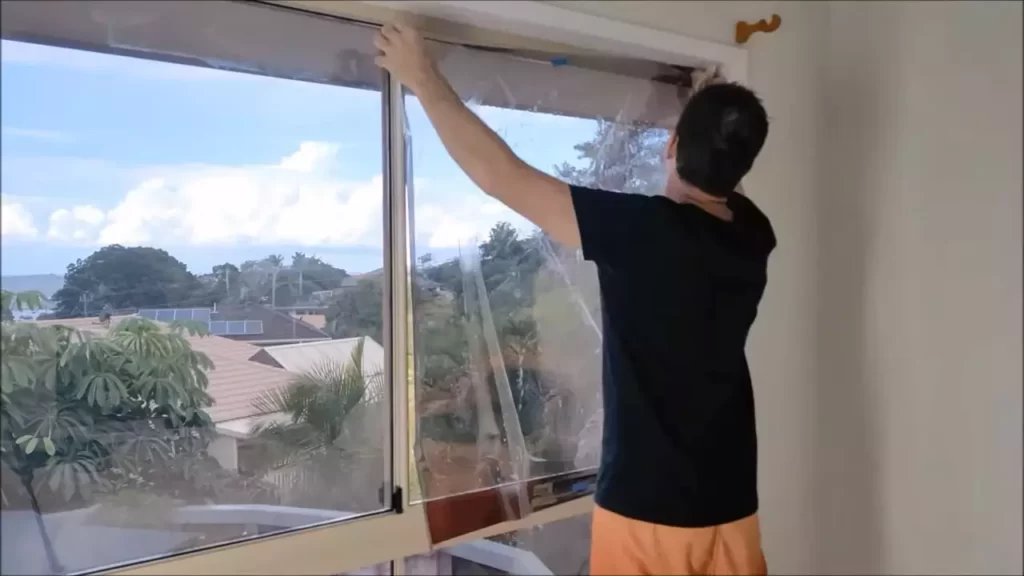
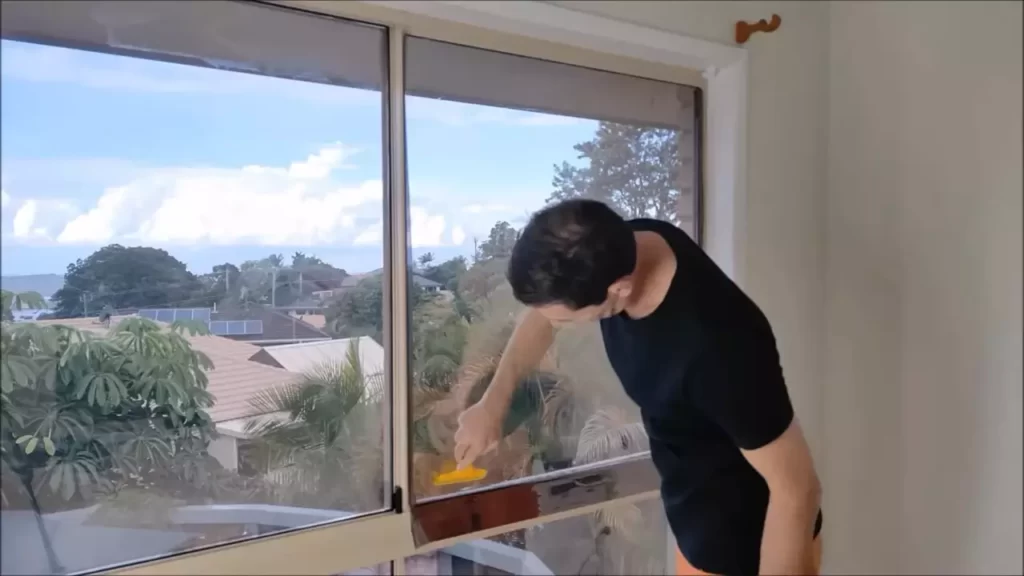
Squeegeeing Out Air Bubbles and Excess Solution
After the tint film is placed on the window, use a squeegee or a credit card wrapped with a soft cloth to push out any air bubbles and excess solution. Start from the center of the window and move towards the edges, applying firm and even pressure. Work in overlapping strokes to ensure that all the air bubbles are eliminated. This step is crucial in achieving a smooth and professional-looking tint installation.
Trimming and Finishing Touches
Once all the air bubbles are gone, take a sharp utility knife or a razor blade and carefully trim any excess tint film that extends beyond the edges of the glass. Be sure to leave a small allowance for shrinking and expansion. As a finishing touch, wipe down the window with a clean, lint-free cloth to remove any remaining solution or debris. Stand back and admire your newly installed window tint, enhancing the look and functionality of your home.
With this step-by-step guide, you can confidently install window tint in your home. Remember to take your time, follow the instructions carefully, and enjoy the benefits of enhanced privacy and sun protection.
Common Issues And How To Fix Them
Installing window tints in your home can offer numerous benefits, such as increased privacy and protection against harmful UV rays. However, like any project, it can come with its fair share of challenges. In this section, we will address some of the most common issues that may arise during the installation process and provide you with effective solutions to fix them.
Dealing with Air Bubbles and Wrinkles
Air bubbles and wrinkles are a common problem when installing window tint. These imperfections not only affect the overall appearance of your windows but can also hinder the tint’s functionality. To fix this issue, follow these steps:
- Carefully examine the surface of the tint for any air bubbles or wrinkles.
- Use a squeegee or a credit card wrapped in a soft cloth to push the bubbles towards the edges.
- Apply heat to the affected area using a heat gun or a hairdryer set to low heat. Gently stretch the tint using your fingers while applying heat to smooth out any wrinkles.
- If the problem persists, consider removing the tint and starting the installation process afresh.
Removing Adhesive Residue
After removing window tint, you may find residues of adhesive left behind on the glass. This can be frustrating, as it not only affects the appearance of your windows but also makes the surface sticky. Here’s how you can effectively remove adhesive residue:
- Apply a generous amount of adhesive remover to a clean cloth or paper towel.
- Gently rub the adhesive residue in a circular motion.
- Once the residue starts to loosen, use a plastic scraper or your fingers to scrape it off.
- Wipe the area clean with a damp cloth to remove any remaining residue or cleaner.
Ensuring Proper Adhesion and Longevity of the Tint
Proper adhesion is crucial for the longevity and effectiveness of your window tint. To ensure a successful installation, follow these tips:
- Thoroughly clean the glass surface before applying the tint. Remove any dirt, dust, or grease using a glass cleaner and a lint-free cloth.
- Apply the tint in a controlled environment with moderate temperature and low humidity. Avoid installing it on a hot sunny day or during extreme weather conditions, as it can affect adhesion.
- Use a high-quality adhesive specially designed for window tint to ensure proper bonding to the glass surface.
Addressing Future Maintenance and Care
Once you’ve successfully installed window tint, it’s important to maintain and care for it properly to prolong its lifespan. Here are some guidelines to follow:
- Avoid using abrasive cleaning tools or harsh chemicals when cleaning the tint. Instead, use a soft cloth or sponge and a mild, non-ammonia-based cleaner.
- Don’t forcefully scrub the tinted surface. Instead, gently wipe it in a back and forth motion to avoid damaging the tint.
- Regularly inspect the tint for any signs of damage, such as peeling or discoloration. Address any issues promptly to prevent further damage.
By understanding and addressing these common issues, you can ensure a successful window tint installation in your home. Remember to exercise patience and follow the recommended guidelines to achieve the best results.
Frequently Asked Questions On How To Install Window Tint In Home
Is It Easy To Tint Your Own House Windows?
Yes, tinting your own house windows can be a simple process. With the right tools and instructions, anyone can achieve professional results. However, it is important to follow proper techniques and take necessary precautions to ensure a successful outcome.
How Do You Stick Window Tint?
To stick window tint, follow these guidelines:
1. Clean the window surface thoroughly.
2. Measure and cut the tint film according to the window size.
3. Spray soapy water on the window and then peel the adhesive backing off the film.
4. Apply the film to the window, squeezing out any air bubbles.
5. Smooth out the film and let it dry.
Can You See Through Tinted House Windows At Night?
Yes, you can see through tinted house windows at night. Tinted windows allow light to enter while reducing glare and UV rays. However, the level of visibility may vary depending on the tint of darkness and the lighting conditions inside and outside the house.
How Do You Apply Window Film To Water?
Apply window film to water, clean the water surface, and remove any debris. Measure the size of the window and cut the film accordingly. Peel the backing off the film and carefully stick it onto the water, smoothing out any bubbles or wrinkles.
Conclusion
To wrap it up, installing window tint in your home can significantly enhance not only the appearance but also the energy efficiency and privacy of your space. By following the step-by-step process outlined in this guide, you can confidently take on this project yourself.
Remember to gather the necessary materials, measure accurately, clean the windows thoroughly, and apply the tint carefully for optimal results. With a little time and effort, you’ll have beautifully tinted windows that add value and comfort to your home.