To install a window AC in a grill window, you need to first measure the opening and ensure it is large enough to accommodate the unit. Then, place the AC in the window, secure it using brackets or supports, and seal any gaps with weatherstripping or foam insulation.
Choosing The Right Window AC Size
When it comes to installing a window AC in your grill window, selecting the appropriate size is crucial for effective cooling. A window AC that’s too small for the space may struggle to cool the room, while one that’s too large may waste energy and lead to inconsistent temperatures. To ensure you make the right choice, there are several factors to consider.
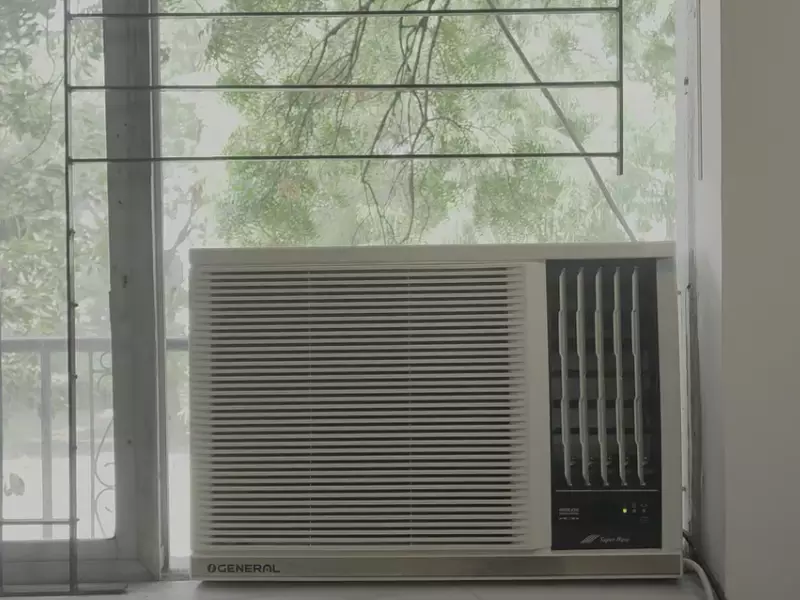
Factors to Consider When Selecting the Appropriate AC Size for Your Grill Window
Before purchasing a window AC unit for your grill window, it’s important to assess the specific needs of your space. Taking the following factors into account will help you determine the ideal size:
- Room Size: The size of the room will have a significant impact on the cooling capacity required. Larger rooms will need a higher BTU (British Thermal Units) rating to cool effectively.
- Insulation: The quality of insulation in your room also plays a role in determining the appropriate AC size. Well-insulated rooms will require less cooling power compared to poorly insulated spaces.
- Windows and Sun Exposure: Consider the number and size of windows in your room, as well as the amount of direct sunlight it receives. Windows and sun exposure can impact the cooling load, so it’s vital to account for these factors when choosing the AC size.
- Occupancy: If the room is frequently occupied by multiple people, the heat generated by their bodies will increase the cooling load. Be sure to consider the number of occupants when selecting the AC size.
- Other Heat Sources: Take into account any additional heat sources in the room, such as appliances, electronics, or lighting. These heat sources can add to the cooling load and should be considered when determining the appropriate AC size.
Measuring Your Window Space for Accurate Sizing
Once you have considered the various factors mentioned above, it’s time to measure your window space to ensure the AC unit fits correctly. Follow these steps:
- Measure the Height: Use a measuring tape to determine the height of your grill window. Measure from the top of the window frame to the bottom, noting the measurement in inches.
- Measure the Width: Next, measure the width of the grill window by using the measuring tape from one side of the window frame to the other. Again, note the measurement in inches.
- Consider Extra Space: Remember to account for any additional space required for installation, such as clearance for the AC unit and proper ventilation.
By accurately measuring your window space, you can ensure a proper fit for the window AC unit and prevent any installation issues.
Understanding BTU Requirements for Efficient Cooling
BTU, or British Thermal Units, is a measurement used to indicate the cooling power of an air conditioner. To determine the appropriate BTU rating for your grill window, consider the following:
- Room Size and Cooling Load: As mentioned earlier, the size of the room and its cooling load will influence the BTU requirements. Larger rooms and spaces with higher cooling loads will need AC units with higher BTU ratings.
- BTU Chart: Refer to a BTU chart or calculator provided by manufacturers or online resources. These tools take into account various factors, such as room size, sun exposure, insulation, and occupancy, to determine the suggested BTU rating for your specific needs.
Understanding the BTU requirements for efficient cooling will help you select a window AC unit that can effectively cool your grill window space without overworking or wasting energy.
Preparing Your Grill Window For Installation
Before installing a window air conditioner in a grill window, it’s important to properly prepare the window area to ensure a secure and efficient installation. This includes cleaning the window area, removing any obstacles or obstructions in the window frame, and checking for any repairs or adjustments needed before installation.
Cleaning the window area to ensure a secure installation
Before installing the window AC, it’s crucial to clean the window area meticulously. Dust, dirt, and debris can interfere with the seal between the unit and the window, compromising its efficiency and stability. Follow these steps to clean the window area:
- Start by removing any curtains, blinds, or other window coverings to have a clear and unobstructed view of the window frame.
- Use a vacuum cleaner or a soft brush to remove any accumulated dust and debris from the window sill and frame.
- Wipe the window frame and sill with a damp cloth to remove any remaining dirt or grime.
- Ensure that the window glass is also clean and free of any smudges or dirt.
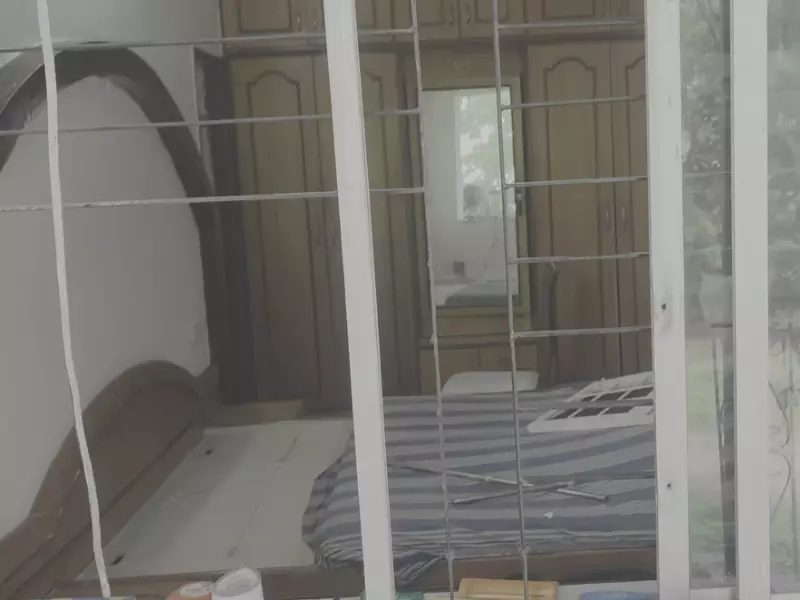
Removing any obstacles or obstructions in the window frame
Obstacles or obstructions in the window frame can hinder the proper installation and function of the window AC. Here are some steps to remove any obstacles:
- Inspect the window frame for any objects or debris that may be blocking the smooth sliding or closing of the window.
- If there are any objects obstructing the window, remove them carefully.
- Ensure that the window tracks are clear and free of any dirt or debris that could prevent smooth movement.
Checking for any repairs or adjustments needed before installation
Before installing the window air conditioner, it’s essential to check the window frame for any repairs or adjustments that may be required. This will ensure the window is in optimal condition for a secure installation. Follow these steps:
- Inspect the window frame for any signs of damage or deterioration, such as rotting wood or cracks.
- If there are any issues with the window frame, repair or replace it before proceeding with the installation.
- Ensure that the window can be securely closed and locked to provide a tight seal with the window AC.
By properly preparing your grill window for installation, you can ensure a secure and efficient setup of your window air conditioner. Cleaning the window area, removing obstacles, and checking for repairs or adjustments will contribute to a hassle-free installation process and optimize the performance of your air conditioning unit.
Installing The Window AC Unit
Gathering the Necessary Tools and Equipment for the Installation Process
Before starting the installation process, it’s essential to gather all the necessary tools and equipment to ensure a smooth and efficient installation of your window AC unit in a grill window. Having the right tools on hand will save you time and frustration during the installation. Here is a list of the tools and equipment you will need:
| Tools | Equipment |
|---|---|
| Screwdriver set | Window AC unit (correct size for your grill window) |
| Level | Brackets (if required for extra support) |
| Measuring tape | Mounting hardware |
Safety Precautions to Follow During Installation
Ensuring your safety and the safety of others is paramount when installing a window AC unit in a grill window. Follow these safety precautions to minimize any risks or accidents during the installation process:
- Turn off the power to the room where the installation will take place to prevent any electrical hazards.
- Wear safety goggles to protect your eyes from debris or dust.
- Use gloves to protect your hands from sharp edges or potential injuries.
- Have a spotter when lifting the AC unit to avoid strain or accidents.
- Read the manufacturer’s instructions carefully to understand any specific safety considerations for your particular AC unit.
Step-by-Step Instructions for Securely Installing the AC Unit in the Grill Window
Once you have gathered the necessary tools and equipment while keeping safety precautions in mind, you are ready to start installing your window AC unit. Follow these step-by-step instructions to securely install the AC unit in your grill window:
- Measure the dimensions of your grill window to ensure the AC unit will fit properly.
- Clean the grill window thoroughly to remove any dirt, dust, or debris that could affect the installation process or hinder the AC unit’s performance.
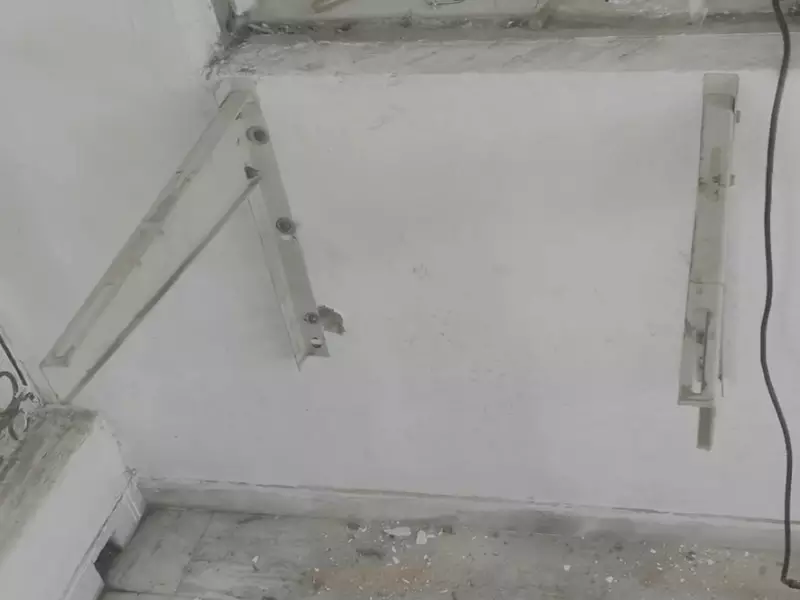
- Attach any mounting brackets to the grill window if needed, following the manufacturer’s instructions.
- Position the AC unit on the inside of the grill window, ensuring it’s centered and leveled. Use a level to ensure accurate alignment.
- Secure the AC unit to the window frame using the provided mounting hardware. Follow the manufacturer’s instructions for the specific installation process of your AC unit.
- Double-check that the AC unit is properly installed and securely fastened. Ensure there are no gaps or spaces that could allow air leakage.
- Restore the power supply to the room and test the AC unit to ensure it’s functioning correctly.
By following these steps, you can successfully install a window AC unit in a grill window, providing cool air and comfort during the hot summer months. Remember to maintain regular maintenance and cleaning of your AC unit to extend its lifespan and optimize its performance.
Sealing And Insulating The Window
When installing a window air conditioner in a grill window, it is essential to ensure proper sealing and insulation around the unit. This step is crucial for several reasons, including energy efficiency, preventing drafts, and reducing noise. In this section, we will dive into the importance of sealing and insulating the gaps around the AC unit, discuss how to choose the right materials for this task, and provide techniques and tips for effectively sealing and insulating the window area.
Importance of sealing and insulating gaps around the AC unit
Properly sealing and insulating the gaps around the window air conditioner unit offers numerous benefits. Let’s take a closer look at why this step is so crucial:
- Energy efficiency: By sealing and insulating gaps, you can prevent warm air from entering your home during the summer or escaping during the winter. This ensures that your AC unit operates efficiently, reducing energy consumption, and lowering your utility bills.
- Preventing drafts: Gaps around the AC unit can result in drafts, which can make your space uncomfortable. Sealing and insulating these gaps will help maintain a consistent indoor temperature, providing a more pleasant living environment.
- Noise reduction: An improperly sealed window unit can allow outdoor noise to penetrate your home. Sealing and insulating gaps effectively can help minimize noise, creating a quieter indoor space.
Choosing the right materials for sealing and insulating
When it comes to sealing and insulating the window, selecting the appropriate materials is essential. Here are a few options to consider:
- Weatherstripping: Weatherstripping is ideal for sealing small gaps and cracks around the AC unit. It is available in various materials such as adhesive-backed foam tape, V-strip, and door sweeps. Choose weatherstripping that is durable, weather-resistant, and easy to apply.
- Caulk: Caulk is useful for sealing larger gaps around the window frame. It comes in different types, including silicone, latex, and hybrid caulks. Make sure to select caulk suitable for both interior and exterior use, ensuring it’s paintable and able to withstand temperature fluctuations.
- Insulation foam: Insulation foam is excellent for filling gaps and holes around the AC unit. It expands to fill the voids, providing an airtight seal. Choose an insulation foam that is suitable for windows or doors and easy to apply.
Techniques and tips for effectively sealing and insulating the window area
Now that you have the right materials in hand, it’s time to seal and insulate your grill window AC unit properly. Follow these techniques and tips for effective results:
- Clean the window area thoroughly before applying any sealant or insulation. Remove any dirt, dust, or old caulking to ensure maximum adhesion.
- Measure the gaps around the AC unit accurately to determine the amount of material needed.
- Apply weatherstripping around the edges of the window frame where the AC unit will be installed. Ensure it creates a tight seal, leaving no gaps for air leakage.
- Use caulk to seal any larger gaps or cracks in the window frame. Apply a continuous bead of caulk, using a caulk gun, and smooth it with a caulk finishing tool or a wet finger.
- For gaps around the AC unit, use insulation foam. Apply it carefully, following the manufacturer’s instructions, filling the gaps completely.
- Allow the sealant and insulation to dry or cure as per the manufacturer’s instructions before activating the AC unit.
- Remember, proper sealing and insulation not only improve energy efficiency but also enhance the performance and longevity of your window air conditioner. Take the time to seal and insulate your grill window properly to enjoy a comfortable and efficient cooling experience.
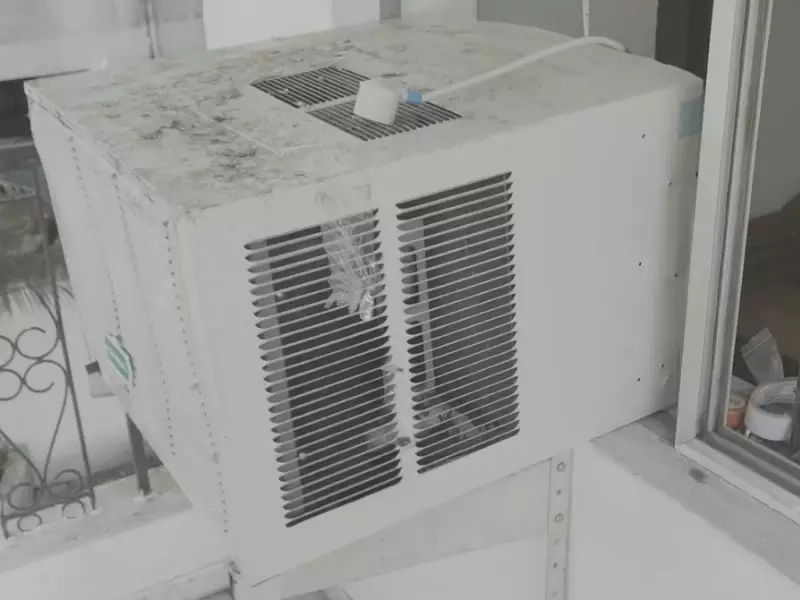
Testing And Troubleshooting
Conducting a Test Run to Ensure Proper Functioning of the AC Unit
Once you have successfully installed your window AC in a grill window, it is important to conduct a test run to ensure that the unit is functioning properly. This will help you identify any potential issues or malfunctions early on, allowing you to address them before they become major concerns.
Here are a few steps to conduct a test run:
- Power on the AC unit by plugging it into a suitable power outlet. Make sure the power supply is stable and the outlet is in good condition.
- Set the desired temperature on the AC unit and adjust the fan speed to your preference.
- Listen carefully for any unusual noises or vibrations coming from the unit. A properly functioning window AC should operate quietly and smoothly.
- Check if cool air is being emitted from the vents. Place your hand in front of the AC to feel the airflow, ensuring that it is strong and consistent.
- Observe the temperature of the room. The AC should cool down the space efficiently within a reasonable amount of time.
If you notice any issues during the test run, it is important to troubleshoot them promptly to avoid further complications.
Troubleshooting Common Installation Issues and Finding Solutions
While installing a window AC in a grill window, you may encounter some common issues. However, with a bit of troubleshooting, most of these problems can be easily resolved without the need for professional assistance. Here are a few scenarios you may come across and their possible solutions:
| Issue | Solution |
|---|---|
| The AC unit does not turn on. | Check if the power cord is properly plugged in and the outlet is receiving power. Ensure the AC unit is securely installed and the control settings are correctly adjusted. If the issue persists, consult the user manual or contact customer support. |
| Inadequate cooling or airflow. | Make sure that the filter and vents are clean and free from dust and debris. Check for any obstructions or blockages that may hinder the airflow. Adjust the temperature and fan settings as needed. If the problem continues, consider consulting a professional for further assessment. |
| Excessive noise or vibrations. | Ensure that the AC unit is securely mounted and properly balanced. Check if any loose parts or debris are causing the noise or vibrations. Tighten any loose screws or connections. If the issue persists, consult a technician for further inspection. |
Remember, troubleshooting installation issues promptly will help maintain the efficiency and longevity of your window AC unit.
Checking for Air Leaks or Other Problems After Installation
After successfully installing your window AC unit, it is essential to check for any air leaks or other problems that may affect its performance. Here are a few steps to follow:
- Inspect the areas around the installed AC unit for any visible gaps or openings. These can be potential sources of air leaks.
- Apply weatherstripping or sealant around any gaps or openings to prevent air leakage. This will help maintain the cooling efficiency of the AC unit.
- Check the window grill for any loose or damaged parts. Tighten any loose screws or replace any damaged components as necessary.
- Test the AC unit again to ensure that the air is properly directed into the room and not escaping through gaps or leaks.
By conducting these checks and addressing any issues, you can optimize the performance and energy efficiency of your window AC unit, creating a comfortable environment in your space.
Maintaining Your Window AC Unit
Proper maintenance is essential to ensure that your window AC unit operates efficiently and has a longer lifespan. By following a few simple steps, you can keep your unit running smoothly and enjoy optimal cooling all summer long.
Regular cleaning and maintenance to prolong the lifespan of the AC unit
Regular cleaning of your window AC unit is crucial to prevent the buildup of dirt, dust, and debris. Here are some steps you can take to keep your unit clean and functioning optimally:
- Before cleaning, make sure to turn off the power supply to the unit by unplugging it from the electrical outlet.
- Start by cleaning the air filters. Remove them from the unit and gently wash them with mild soap and water. Let them dry completely before reinstalling.
- Use a soft brush or vacuum cleaner attachment to remove dirt and dust from the evaporator and condenser coils. Be gentle to avoid damaging the delicate fins.
- Clean the external surfaces of the unit using a damp cloth or sponge. Avoid using harsh chemicals that may cause damage.
- Check the drainage system and ensure that the condensation drain is not clogged. If necessary, use a small brush or pipe cleaner to remove any blockages.
- Inspect the electrical components and wiring for any signs of damage or fraying. If you notice any issues, it’s best to contact a professional technician for repairs.
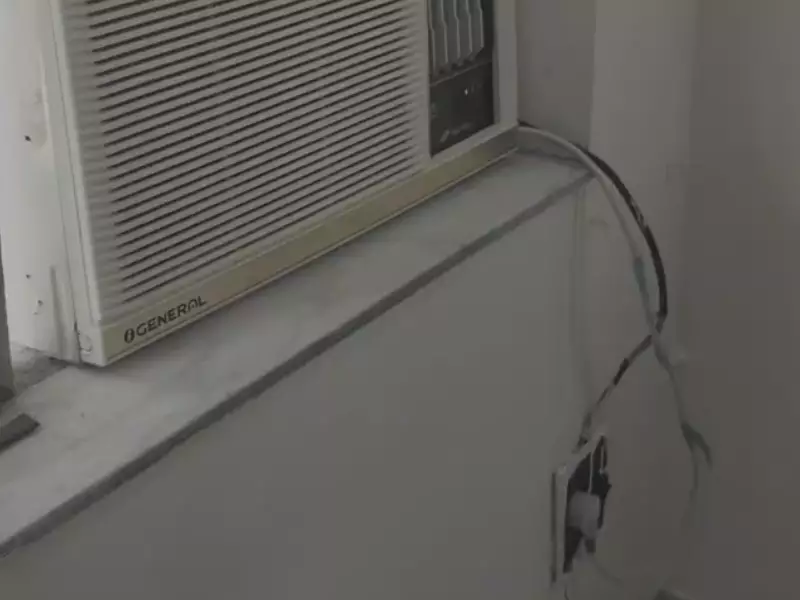
Tips for keeping the grill window area clean and free from dust and debris
The grill window area is susceptible to collecting dust and debris, which can hinder the performance of your window AC unit. Here are a few tips to keep this area clean:
- Regularly dust and vacuum the grill window area to remove any accumulated dirt or debris.
- Consider installing a mesh screen or filter over the grill window to prevent larger particles from entering.
- Trim any nearby plants or trees to minimize the amount of airborne debris that can enter through the grill window.
- Avoid placing objects or furniture near the grill window that may obstruct the airflow and hinder efficient cooling.
Scheduling professional maintenance checks for optimal performance
In addition to regular cleaning, it is recommended to schedule professional maintenance checks for your window AC unit. Professional technicians can inspect the unit more thoroughly and identify any potential issues before they develop into larger problems.
During a professional maintenance check, technicians will:
| Inspect the refrigerant levels | Ensuring that the unit has optimal refrigerant levels for efficient cooling. |
| Check the electrical connections | Verifying that all electrical connections are secure and in good condition. |
| Clean the evaporator and condenser coils | Removing any stubborn dirt or debris that cannot be cleaned during regular maintenance. |
| Inspect and lubricate the fan motor | Ensuring smooth and efficient operation of the fan motor. |
By adhering to a regular maintenance schedule and following the tips mentioned above, you can prolong the lifespan of your window AC unit and keep it running at its best throughout the hot summer months.
Safety Guidelines And Best Practices
When it comes to installing window AC in a grill window, it’s important to prioritize safety above all else. This section will outline the important safety guidelines and best practices that you should follow during the installation and operation of your window AC unit. By adhering to these precautions, considering fire safety, and implementing energy-efficient practices, you can ensure a safe and cost-effective cooling experience.
Important Safety Precautions to Follow During Installation and Operation
Before you start installing your window AC unit in a grill window, it’s essential to follow these important safety precautions:
- Read the manufacturer’s instructions thoroughly and understand them before starting the installation process.
- Ensure that the electrical outlet you’ll be using for the AC unit meets the required voltage and amperage specifications.
- To prevent electrical hazards, don’t overload the circuit by plugging multiple heavy-duty appliances into the same outlet.
- Always use a dedicated circuit breaker for the AC unit to avoid tripping the breaker or causing a power outage.
- Handle the AC unit with care to prevent any damage or injury. If it’s too heavy, ask for assistance during installation.
- Regularly inspect the power cord for any signs of damage, like frayed wires or exposed insulation. If you notice any issues, replace the cord immediately.
- Ensure proper grounding by connecting the AC unit’s grounding plug to a grounded electrical outlet.
Fire Safety Considerations When Using a Window AC Unit
Fire safety is a crucial aspect to consider when using a window AC unit. Take note of the following precautions:
- Keep flammable materials, such as curtains or furniture, at a safe distance from the AC unit to avoid the risk of fire.
- Regularly clean or replace the AC unit’s air filter to prevent dust and debris buildup, which can become a fire hazard.
- Inspect the AC unit’s wiring and electrical components for any signs of damage or overheating. If you notice any issues, consult a professional electrician to handle the repairs to prevent fire hazards.
- Consider installing a smoke alarm or fire extinguisher in the vicinity of the window AC unit for added safety.
Best Practices for Energy Efficiency and Cost Savings
To ensure energy efficiency and cost savings while using your window AC unit, make the following best practices a part of your routine:
- Set the temperature to a comfortable level, avoiding extremely low settings that may strain the unit and increase energy consumption.
- Close doors and windows in the room where the AC unit is installed to prevent cool air from escaping and warm air from entering.
- Utilize curtains or blinds to block sunlight during the hottest parts of the day, reducing the workload on the AC unit.
- Regularly clean the AC unit’s condenser coils to improve its efficiency and reduce energy consumption.
- Consider using a programmable thermostat to automatically adjust the temperature based on your schedule and save energy when you’re away from home.
- Ensure proper insulation around the AC unit to minimize air leakage and maintain optimal cooling efficiency.
By following these safety guidelines and best practices, you can confidently install and operate your window AC unit in a grill window, ensuring a safe, efficient, and cost-effective cooling experience.
Frequently Asked Questions Of How To Install Window AC in Grill Window
How Do You Secure An Air Conditioner In A Metal Window?
To secure an air conditioner in a metal window, you can use brackets or support bars specifically designed for this purpose. Ensure that the brackets or support bars are securely attached to both the air conditioner unit and the metal window frame for stability and safety.
Can You Install A Window Air Conditioner In A Sliding Window?
Yes, you can install a window air conditioner in a sliding window. It requires a specific type of window AC unit designed for sliding windows. Make sure to measure your window opening accurately and choose a compatible AC unit for a proper fit.
Follow the manufacturer’s instructions for installation.
Can You Put A Window Air Conditioner In A Vinyl Window?
Yes, you can install a window air conditioner in a vinyl window. Just make sure the window is secure and stable enough to hold the weight of the unit. Consider using a support bracket to add extra support. Follow the manufacturer’s guidelines for proper installation.
How To Install Portable AC in Crank Out Window?
To install a portable AC in a crank-out window, first, measure the window opening and ensure the AC fits properly. Next, attach the window bracket securely to the window frame. Then, place the AC unit in the bracket and extend the exhaust hose out of the window.
Finally, connect the hose to the AC unit and secure any gaps with tape or insulation.
Conclusion
Installing a window AC in a grill window can be a practical and convenient solution for keeping your home cool during hot summer days. By following the step-by-step guide provided in this blog post, you can successfully install your window AC unit without any hassle.
Remember to take the necessary precautions and seek professional help if needed. Enjoy the comfort of a cool home while saving energy and money with this DIY installation method.
