To install a tankless water heater for the shower, follow the manufacturer’s instructions. Begin by shutting off the power and water supply, then remove the old water heater.
Next, mount the new tankless heater on the wall, connecting the hot and cold water lines and the gas or electrical supply. Finally, test the heater for leaks and proper operation before using it. We will discuss the steps in detail to help you install a tankless water heater for your shower.
Whether you’re replacing an old unit or installing a new one, the process can be completed easily with the right tools and knowledge. By following these steps, you can enjoy the benefits of a tankless water heater for a more efficient and convenient shower experience.
Choosing The Right Tankless Water Heater
Factors to consider when selecting a tankless water heater
Choosing the right tankless water heater for your shower is crucial to ensure a consistent and efficient supply of hot water. With numerous options available in the market, it’s important to consider certain factors that will help you make the best decision. Here are the key factors to keep in mind when selecting a tankless water heater:
Sizing the unit based on hot water demand
Properly sizing the tankless water heater is essential to meet your hot water needs without any inconvenience. The size of the unit is determined by the gallons per minute (GPM) it can deliver. To calculate your hot water demand, consider the number of bathrooms and showers in your home, as well as the flow rate of each fixture. This information can usually be found on the product specifications or by consulting a professional plumber. By accurately sizing the unit, you can ensure an efficient and reliable supply of hot water whenever you need it.
Efficiency and Energy Consumption
When choosing a tankless water heater, it’s important to consider its energy efficiency. Look for models that are ENERGY STAR certified, as they meet strict standards for energy efficiency. Opting for a more efficient unit not only saves money on your energy bills but also reduces your impact on the environment. Additionally, pay attention to the energy factor (EF) rating, as it indicates how efficiently the heater converts fuel energy into hot water. High EF ratings are a good indicator of energy efficiency.
Type of Fuel
Tankless water heaters can run on different types of fuel, such as natural gas, propane, or electricity. The choice of fuel depends on factors like availability, cost, and environmental impact. Natural gas and propane heaters are generally more efficient and cost-effective for high-demand applications, while electric units are convenient in areas with limited fuel options.
Installation Requirements
Consider the installation requirements of the tankless water heater before making a final decision. While some units are suitable for indoor installation, others may require outdoor placement. Additionally, take into account the location of your existing plumbing and gas lines, as well as the electrical capacity available. It’s advisable to consult with a professional plumber to ensure the unit can be installed in a safe and efficient manner.
By considering these factors, you can confidently choose the right tankless water heater for your shower, ensuring a continuous supply of hot water and energy efficiency.
Pre-Installation Preparation
Before you begin the installation process, it’s crucial to properly prepare the area and gather the necessary tools and equipment. Taking the time to do this will make the installation smoother and more efficient. In this section, we’ll guide you through the steps involved in pre-installation preparation, including gathering the necessary tools and equipment, checking electrical and plumbing requirements, and preparing the installation area.
Gathering the Necessary Tools and Equipment
Having the right tools and equipment on hand is essential for a successful tankless water heater installation. Here’s a list of what you’ll need:
| Tools | Equipment |
|---|---|
|
|
Checking Electrical and Plumbing Requirements
Before proceeding with the installation, it’s vital to ensure that your electrical and plumbing systems meet the requirements for a tankless water heater. Here’s what you need to consider:
- Electrical Requirements:
- Check if the electrical panel has sufficient capacity to handle the additional load of the tankless water heater.
- Ensure that you have the appropriate electrical wiring and outlets, as per the manufacturer’s specifications.
- Consult a licensed electrician if you are unsure about the electrical requirements.
- Plumbing Requirements:
- Verify if your water supply pipes are compatible with the tankless water heater’s inlet and outlet connections.
- Make sure the water pressure is within the manufacturer’s recommended range.
- Check if your gas lines or electric circuits have the capacity to meet the heater’s demand.
- Consider installing a water softener or a water conditioner if your area has hard water, which can cause mineral buildup in the heater.
Preparing the Installation Area
Preparing the installation area ensures that you have a safe and convenient space for your tankless water heater. Here are a few steps to help you with the preparation:
- Choose a suitable location for the heater that offers easy access for maintenance and repairs.
- Ensure that the area is well-ventilated, following the manufacturer’s guidelines for clearance from walls and other objects.
- Clear any clutter, debris, or flammable materials from the installation area to minimize fire hazards.
- Consider installing a drip pan under the unit to catch any condensation or potential leaks.
- Position the heater close to the water supply and electrical source for optimal efficiency.
By gathering the necessary tools and equipment, checking electrical and plumbing requirements, and adequately preparing the installation area, you’ll be set to install your tankless water heater. Following these pre-installation steps will save you time and ensure a smooth transition to the installation process.
Installing The Water Heater
Installing a tankless water heater for your shower can greatly improve your bathing experience. Not only do these modern water heaters provide an endless supply of hot water, but they are also energy-efficient and take up less space compared to traditional tank-style heaters. In this section, we will guide you through the installation process step by step, ensuring a secure and effective setup.
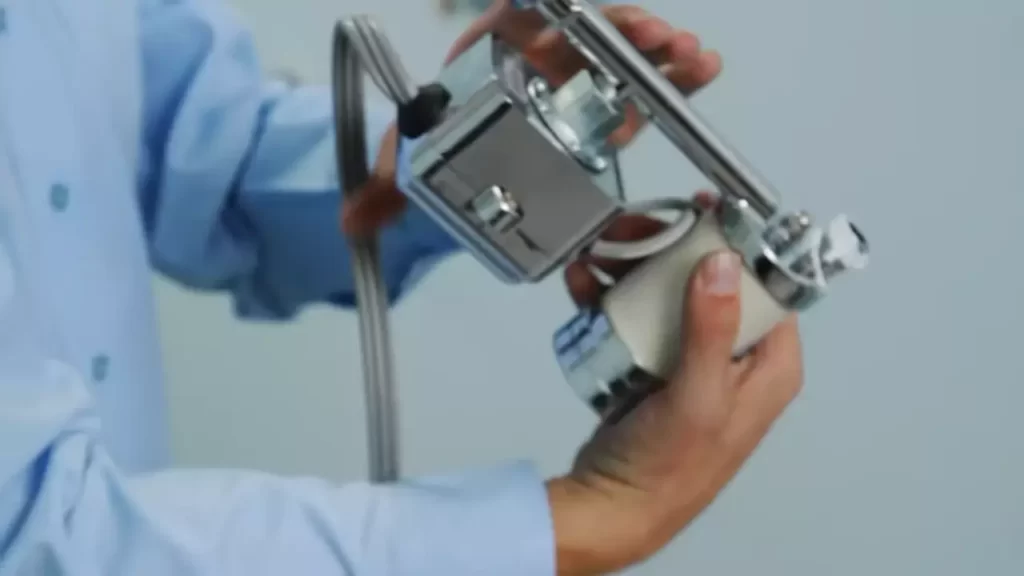
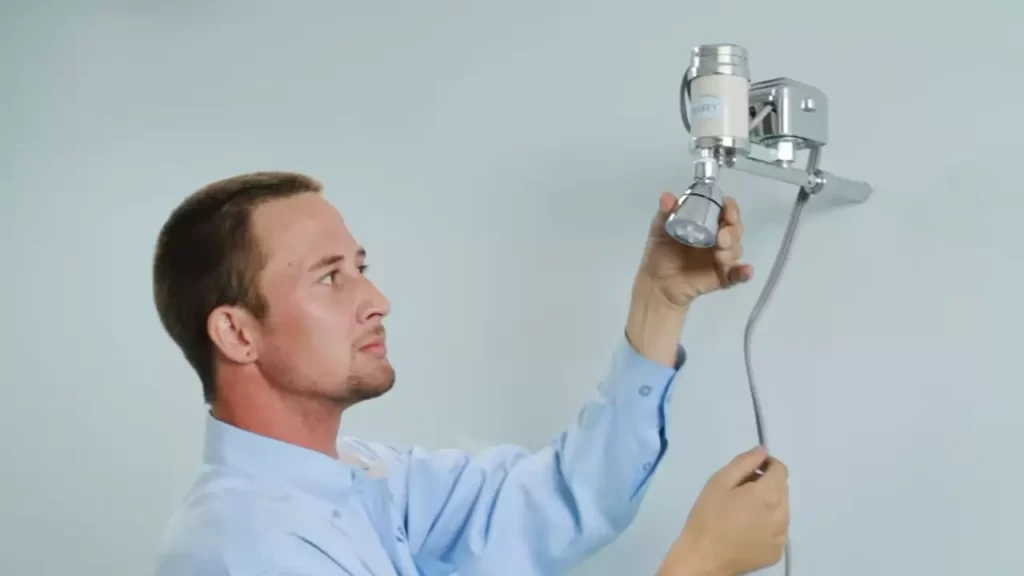
MOUNTING THE TANKLESS WATER HEATER SECURELY
Before you begin the installation, it is crucial to mount the tankless water heater securely. Make sure to follow the manufacturer’s guidelines and select a location near the bathroom. This will minimize heat loss through long pipes and ensure quick access to hot water.
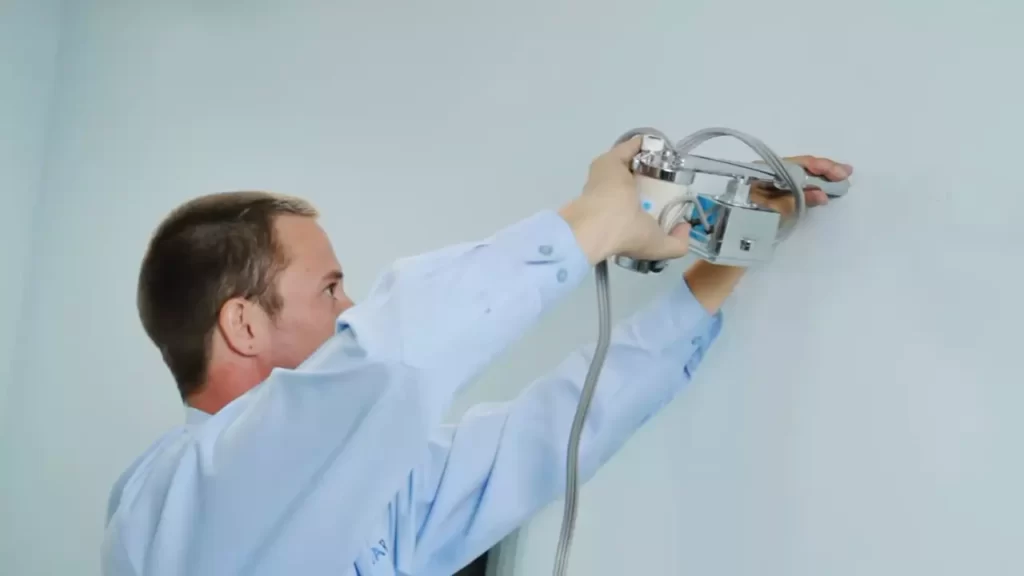
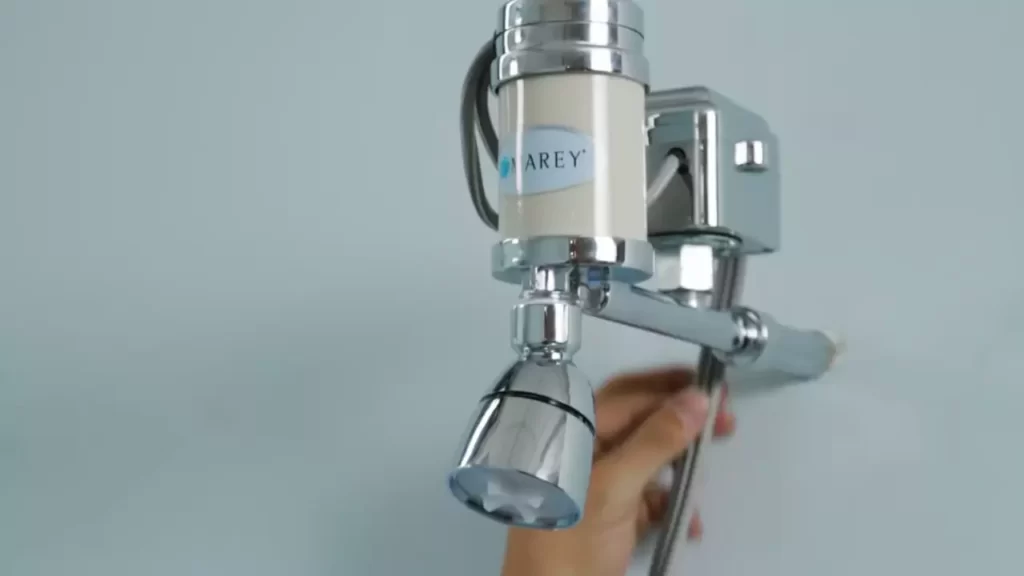
To mount the water heater, you will need to:
- Choose a sturdy wall or support structure to mount the water heater. It should be free of any flammable materials and away from areas susceptible to freezing temperatures.
- Use a level to ensure the water heater is perfectly horizontal. This will prevent any potential leaks or damage.
- Attach the mounting brackets to the wall or support structure using appropriate screws and anchors. Double-check their stability before proceeding.
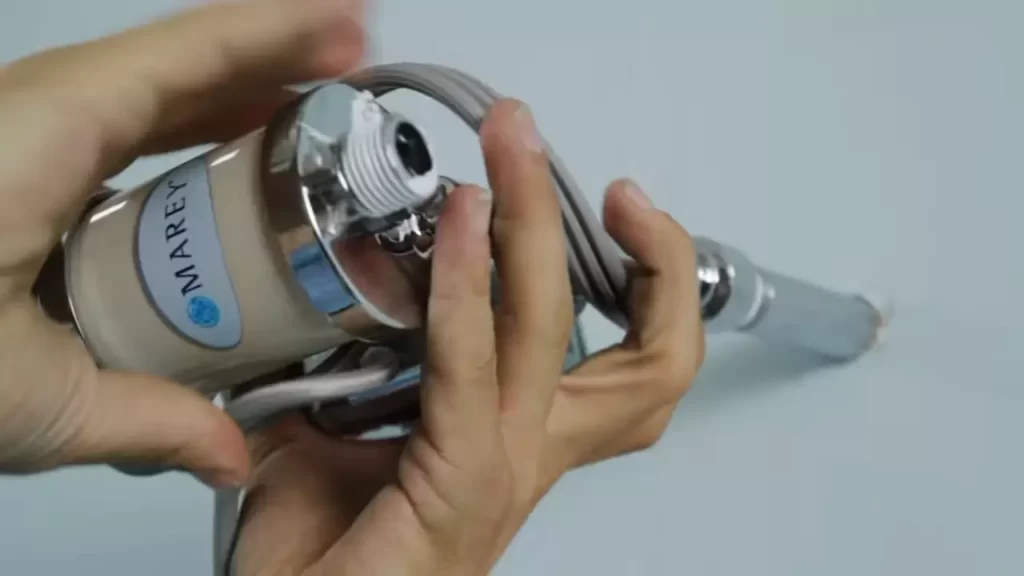
CONNECTING THE WATER SUPPLY LINES AND VALVES
Next, it’s time to connect the water supply lines and valves for your tankless water heater. Follow these steps:
- Locate the cold water supply line and shut off the main water supply.
- Install a shut-off valve on the cold water line. This valve will allow you to control the water flow to the water heater.
- Connect the cold water supply line to the cold water inlet on the water heater. Use a wrench to tighten the connections securely.
- Install a separate shut-off valve on the hot water line to control the flow of hot water from the water heater.
- Connect the hot water supply line to the hot water outlet on the water heater. Again, tighten the connections using a wrench.
INSTALLING THE PRESSURE RELIEF VALVE
The pressure relief valve is an essential safety feature for your tankless water heater. It prevents excessively high water pressure, which can damage the unit or cause leaks. Here’s how to install it:
- Locate the pressure relief valve port on the water heater.
- Wrap the threads of the valve with Teflon tape to create a tight seal.
- Screw the pressure relief valve into the designated port on the water heater.
- Tighten it with a wrench, ensuring a secure fit without over-tightening.
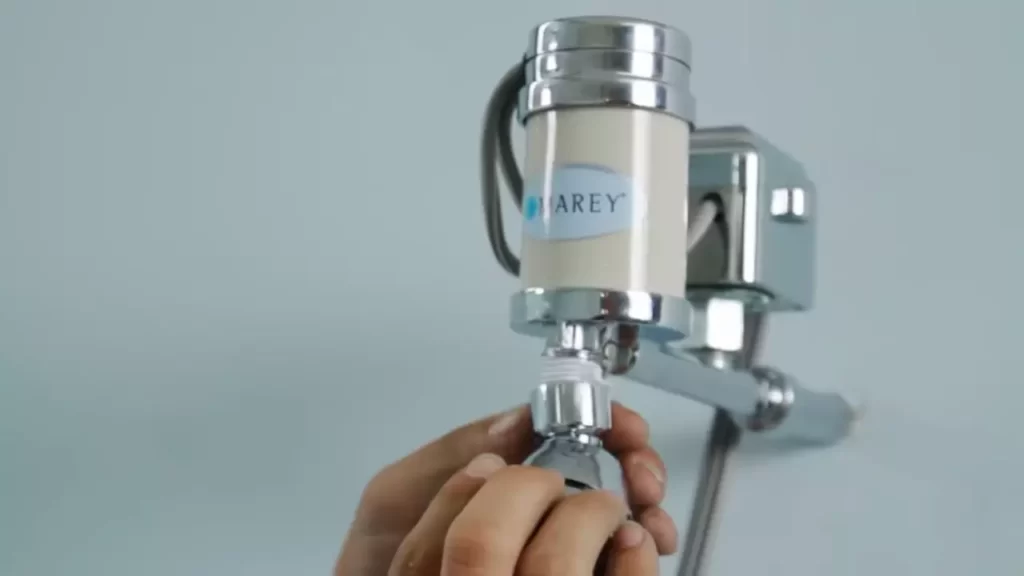
CONNECTING THE HOT WATER OUTLET
Now that the water supply lines and valves are in place, it’s time to connect the hot water outlet. Follow these steps:
- Locate the hot water outlet on the water heater.
- Connect the appropriate plumbing fittings to the outlet. Ensure a tight and secure connection to avoid leaks.
- Route the hot water outlet pipe towards your shower or your home’s existing plumbing system.
- Secure the joints using pipe clamps or other suitable fasteners.
Following these steps carefully will ensure a successful installation of your tankless water heater for the shower. Remember to consult the manufacturer’s instructions and seek professional assistance if needed. With your new tankless water heater installed, get ready to enjoy endless hot showers at your convenience!
Venting The Water Heater
Understanding the Importance of Proper Ventilation
Proper ventilation is a crucial aspect when it comes to installing a tankless water heater for your shower. Without adequate ventilation, the heater may not work as efficiently as it should, and there could be potential safety hazards. Ventilation allows for the release of combustion gases, such as carbon monoxide, and ensures the heater operates at its optimal performance. In this section, we will explore the steps required to vent your tankless water heater effectively.
Determining the Venting Requirements for Your Specific Model
Before starting the installation process, you need to understand the venting requirements specific to your tankless water heater model. Consult the manufacturer’s manual or guidelines to determine the venting system that best suits your unit. Different models may have different venting options, such as direct venting or power venting, which are designed to accommodate specific installation scenarios. By familiarizing yourself with the venting requirements, you can ensure the proper functioning and maximum efficiency of your tankless water heater.
Installing the Vent Pipes and Ensuring Air Flow
Once you have determined the venting system suitable for your tankless water heater, it’s time to install the vent pipes. To ensure proper air flow and prevent any potential issues, follow these steps:
- Locate an appropriate exterior wall where the vent pipes can be installed without obstruction.
- Measure and mark the location where the vent pipes will penetrate the wall.
- Drill a hole through the marked area using a suitable drill bit, depending on the size of the vent pipe.
- Securely attach the vent pipe to the heater using appropriate fittings, ensuring a tight seal.
- Route the vent pipe through the drilled hole in the wall, making sure it is sloped slightly downward to allow condensation to drain properly.
- If necessary, use additional fittings and pipes to extend the vent system to the desired termination point.
- Ensure that the vent pipes are securely attached throughout the entire length, using clamps or brackets as needed.
- Inspect the vent pipes for any potential leaks or gaps, and seal them with high-temperature silicone or metal tape if necessary.
- Lastly, test the air flow by running the water heater and carefully examining the venting system for any signs of backdraft or blockage.
By following these steps and adhering to the manufacturer’s guidelines, you can ensure that your tankless water heater is properly vented, enhancing its efficiency and safety. Remember, a well-ventilated water heater not only provides hot water for your shower but also contributes to the overall functionality and longevity of the unit.
Electrical Connections
When it comes to installing a tankless water heater for your shower, understanding the electrical connections is crucial. It’s important to review the electrical requirements and voltage, hire a licensed electrician if necessary, and install the appropriate electrical components. This section will guide you through each step, ensuring a safe and efficient installation process.
Reviewing the Electrical Requirements and Voltage
Before beginning the installation process, it is essential to review the electrical requirements and voltage of your tankless water heater. Each model has specific requirements that must be met for proper functioning and safety. Failure to adhere to these requirements could result in electrical hazards or damage to the unit.
Take a moment to carefully read the manufacturer’s instructions and product specifications. Look for information regarding the required voltage, amperage, and circuit breaker size. This information will help you determine if your current electrical setup meets the necessary criteria or if modifications are required.
Hiring a Licensed Electrician if Necessary
If you are uncertain about the electrical requirements or lack the necessary expertise, it is highly recommended to hire a licensed electrician. A professional electrician will ensure that the installation complies with all local codes and safety standards.
Electricians have the knowledge and experience to handle electrical connections safely and efficiently. They will be able to determine if any additional electrical work, such as upgrading the circuit panel or wiring, is necessary. Hiring a licensed electrician will provide peace of mind and reduce the risk of electrical issues in the future.
Installing the Appropriate Electrical Components
Once you have reviewed the electrical requirements and voltage and, if needed, hired a licensed electrician, it’s time to install the appropriate electrical components. These components may include:
- An electrical disconnect switch for easy power shutdown during maintenance or emergencies.
- A dedicated electrical circuit to ensure the tankless water heater has its own power supply.
- GFCI (Ground Fault Circuit Interrupter) protection for enhanced safety against electrical shocks.
- Proper wiring and conduit to protect the electrical connections from damage.
When installing the electrical components, follow the manufacturer’s instructions and local electrical codes. If you are unsure about any aspect of the installation, consult with a licensed electrician. Safety should always be the top priority when dealing with electrical connections.
By reviewing the electrical requirements and voltage, hiring a licensed electrician if necessary, and installing the appropriate electrical components, you can ensure a successful and safe installation of your tankless water heater. Taking these steps will not only provide you with an efficient hot water solution for your shower but also give you peace of mind knowing that the electrical connections are properly handled.
Testing And Safety Checks
Flushing the system to remove any debris or air
Once you have successfully installed your tankless water heater for the shower, it is crucial to perform a thorough flush of the system. Flushing helps remove any debris or air that may have accumulated during the installation process and ensures the smooth and efficient functioning of your water heater. To flush the system, follow these steps:
- Turn off the power supply to the water heater.
- Locate the purge valves on your water heater. These valves are typically labeled and can be found on the hot and cold water lines.
- With a bucket placed beneath the valves to catch any water, slowly open the purge valves.
- Allow the water to flow out of the valves for a few minutes. This will help remove any debris or trapped air.
- Close the purge valves once the water runs clear and free of any contaminants.
Flushing the system ensures that your tankless water heater operates efficiently and provides clean and clear water for your showering needs.
Checking for leaks and ensuring proper water flow
After performing the system flush, the next step is to check for leaks and ensure proper water flow. This is an essential safety measure to prevent any potential water damage or malfunctions. Pay close attention to the following areas:
- Inspect all connections, including the inlet and outlet pipes, for signs of leakage.
- Use a towel or tissue paper to wipe along the connections and joints to detect any moisture.
- If you notice any leaks, tighten the connections using a wrench or seek professional assistance if necessary.
- Verify that the water flow rate is consistent and unobstructed. Ensure that all valves, faucets, and showerheads are fully open and providing an adequate supply of water.
- Monitor the water temperature during the flow test to detect any fluctuations or irregularities.
By checking for leaks and ensuring proper water flow, you can avoid potential hazards and ensure the safe and reliable operation of your tankless water heater.
Testing the temperature and adjusting as needed
Once you have confirmed that there are no leaks and the water flow is optimal, the final step is to test the temperature of the water and make adjustments if necessary. Follow these steps to test and adjust the temperature:
- Turn on the hot water faucet and allow the water to run for a few minutes to reach a stable temperature.
- Fill a cup or container with the hot water and use a thermometer to measure the temperature.
- Compare the measured temperature with the desired temperature you prefer for your shower.
- If the temperature is too hot or too cold, locate the temperature control panel on your water heater.
- Make the necessary adjustments according to the manufacturer’s instructions to achieve the desired temperature.
Testing and adjusting the temperature ensures that your tankless water heater provides the perfect showering experience with a consistent and comfortable water temperature.
Maintenance And Troubleshooting
Proper maintenance and timely troubleshooting are key to ensuring your tankless water heater for shower functions efficiently and has a longer lifespan. By following a few regular maintenance tasks and knowing how to troubleshoot common issues, you can save money on repairs and enjoy uninterrupted hot showers. Let’s dive into the details.
Regular maintenance tasks to prolong the lifespan of the water heater
Performing regular maintenance tasks on your tankless water heater is crucial for its longevity. Here are some important tasks you should consider:
- Flush the system: Sediment can build up inside the unit over time, affecting its performance. To prevent this, it’s recommended to flush the system annually. Follow the manufacturer’s instructions to safely drain and flush the tankless water heater.
- Check the water filter: Tankless water heaters usually have a filter that prevents debris from entering the unit. Check the filter regularly and clean or replace it as needed. This ensures a smooth flow of water and prevents clogging.
- Inspect the pressure relief valve: The pressure relief valve is a safety feature that releases excess pressure. Inspect it periodically to ensure it’s functioning correctly. If it’s damaged or not functioning, contact a professional to replace it.
- Monitor the venting system: The venting system removes exhaust gases from the water heater. Check for any obstructions or damages regularly. Blocked vents can cause performance issues or safety hazards.
Troubleshooting common issues and solutions
Even with regular maintenance, certain issues may still arise with your tankless water heater. Here are some common problems you may encounter and their solutions:
- No hot water: If you experience a lack of hot water, check if the heater is receiving power and if the gas supply is turned on. Additionally, inspect the water filter for any clogs. If these steps don’t solve the issue, it’s best to contact a professional plumber to diagnose and fix the problem.
- Fluctuating water temperature: Fluctuations in water temperature could indicate a problem with the flow sensor, heating elements, or other internal components. Check for any error codes displayed on the unit and refer to the manufacturer’s manual for troubleshooting steps. If you’re unsure or unable to resolve the issue, consult a professional technician.
- Strange noises: Unusual noises, such as rattling or hissing, could be a sign of mineral or sediment buildup. Flushing the system may help alleviate this problem. If the noises persist, contacting a plumber is advisable to avoid further damage.
Seeking professional help when necessary
Although regular maintenance and troubleshooting can resolve many issues with tankless water heaters, certain problems may require professional assistance. If you’re unsure about any aspect of maintenance or troubleshooting, it’s best to contact a licensed plumber or technician who specializes in tankless water heaters. They have the skills, knowledge, and tools to diagnose and repair any complex issues, ensuring your water heater functions optimally.
Remember, taking care of your tankless water heater through regular maintenance and quick troubleshooting can significantly extend its lifespan and provide you with reliable hot water for years to come.
Frequently Asked Questions On How To Install Tankless Water Heater For Shower
Can You Use A Tankless Water Heater For Just The Shower?
Yes, you can use a tankless water heater for just the shower. It provides hot water on demand, ensuring a continuous supply for your shower needs.
How Big Of A Tankless Water Heater Do I Need To Run A Shower?
A tankless water heater typically needs a capacity of at least 2-3 gallons per minute (GPM) to run a shower. The exact size of the heater will depend on the desired shower flow rate and the inlet water temperature. It’s best to consult a professional to determine the right size for your needs.
Can I Install A Tankless Water Heater By Myself?
Yes, you can install a tankless water heater by yourself. However, it is important to have basic plumbing knowledge and skills. Make sure to follow the manufacturer’s instructions carefully and adhere to local building codes. If you are uncertain or uncomfortable, it’s best to hire a professional.
How Many Showers Can A Tankless Water Heater Run?
A tankless water heater can typically run multiple showers at a time, depending on the unit’s flow rate and temperature rise capability. It’s best to consult the manufacturer’s specifications to determine the specific number of showers your tankless water heater can handle simultaneously.
Conclusion
Installing a tankless water heater for your shower can greatly enhance your bathing experience. With its compact size and energy-efficient technology, it’s a wise investment for your home. By following the step-by-step installation guide provided in this blog post, you can easily complete the process.
So, say goodbye to limited hot water supply and enjoy endless hot showers. Start your shower upgrade today!