To install stair treads, measure and cut them to fit the stairs, and secure them in place using adhesive, nails, or screws. Stair treads add safety and aesthetic appeal to your stairs, providing traction and protecting the underlying surface.
By following these steps, you can easily install new stair treads and enhance the look and functionality of your staircase.
Choosing The Right Stair Treads
When it comes to installing stair treads, choosing the right ones is crucial for both safety and aesthetics. Stair treads not only provide traction and prevent slipping but also add a touch of style to your staircase. In this section, we will guide you through the process of choosing the perfect stair treads for your home.
Consider the material and style of stair treads
The material and style of your stair treads play a significant role in determining their durability and appearance. Here are a few essential factors to consider:
- Material: Stair treads are available in various materials, including wood, carpet, vinyl, and rubber. Each material has its own unique benefits. For a classic and timeless look, hardwood treads are an excellent choice. Carpeted treads offer warmth and comfort, while vinyl and rubber treads are durable and easy to clean.
- Style: The style of your stair treads should complement the overall theme and design of your home. If you have a modern home, sleek and minimalist treads in neutral colors can create a cohesive look. For a more traditional or rustic ambiance, consider treads with intricate patterns or natural finishes.

Measure and determine the quantity needed
Accurate measurements are essential to ensure you purchase the correct number of stair treads. Follow these steps to measure your stairs:
- Step 1: Measure the width of each stair riser from one side to the other. Make sure to measure the top and bottom of the staircase as well, as they may have different dimensions.
- Step 2: Measure the depth of each stair tread from the back to the front edge. Again, measure both ends of each tread to account for any variations.
- Step 3: Multiply the width and depth measurements to calculate the square footage of each stair tread. Add up the square footage of all the treads to determine the total quantity needed.
Look for non-slip options for safety
Safety should always be a top priority when selecting stair treads. Look for options that offer a good grip and prevent slipping, especially if you have children, elderly individuals, or pets in your home. Non-slip treads with textured surfaces or built-in adhesive backing are ideal for ensuring a secure footing on your stairs.
By considering the material and style, measuring accurately, and prioritizing safety, you can choose the right stair treads that enhance the beauty of your staircase and provide a safe and comfortable environment for you and your family.
Preparing For Installation
Before you start installing your stair treads, it’s important to properly prepare the area. This ensures a smooth and successful installation process. In this section, we will walk you through the necessary steps to prepare for the installation of your new stair treads.
Gather the necessary tools and materials
Before you begin the installation process, it’s essential to have all the tools and materials you’ll need on hand. By gathering everything beforehand, you can avoid unnecessary delays during the installation. Here’s a list of the basic tools and materials you’ll need:
| Tools | Materials |
|---|---|
| Measuring tape | Stair treads |
| Pry bar | Construction adhesive |
| Hammer | Finishing nails |
| Saw or circular saw | Wood putty |
| Paintbrush | Sandpaper |

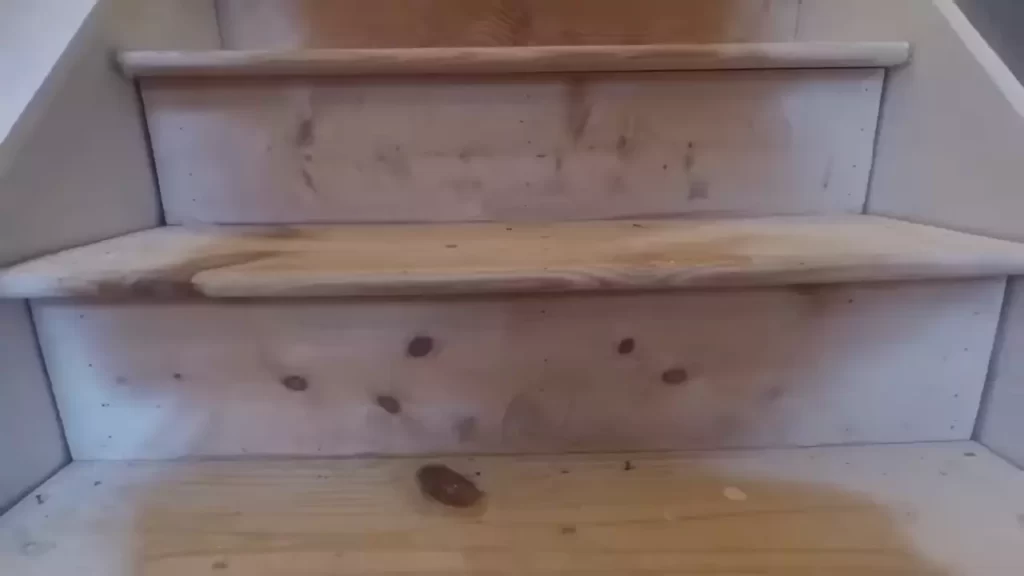
Remove any existing carpet or old treads
To ensure a clean installation, it’s necessary to remove any existing carpet or old treads from your stairs. Use a pry bar and hammer to carefully remove the old material. Be cautious while removing the old treads to avoid damaging the underlying structure. Once the carpet or old treads are removed, ensure that the stairs are free of any debris or adhesive residues.
Ensure the surface is clean and smooth
Before installing your new stair treads, it’s crucial to ensure that the surface of the stairs is clean and smooth. Any imperfections or debris can affect the adhesion of the treads and compromise their longevity. Use sandpaper to smooth any rough spots or imperfections on the surface. Additionally, make sure the stairs are free of dust or dirt by thoroughly cleaning them with a damp cloth.
By gathering the necessary tools and materials, removing old carpet or treads, and ensuring a clean and smooth surface, you are now ready to move on to the next step of installing your new stair treads. In our next section, we will guide you through the step-by-step process of installing the treads securely.
Installing The Stair Treads
Installing stair treads is an important step in ensuring the safety and aesthetics of your staircase. By properly installing the treads, you can prevent slips and falls while enhancing the overall look of your stairs. In this guide, we will walk you through the necessary steps to install stair treads effectively.
Start from the bottom of the stairs and work your way up
When it comes to installing stair treads, it is crucial to start from the bottom of the stairs and work your way up. This ensures a seamless installation process and avoids any potential issues with alignment or leveling. Begin by measuring the length and width of each individual stair tread, taking into account any architectural irregularities.
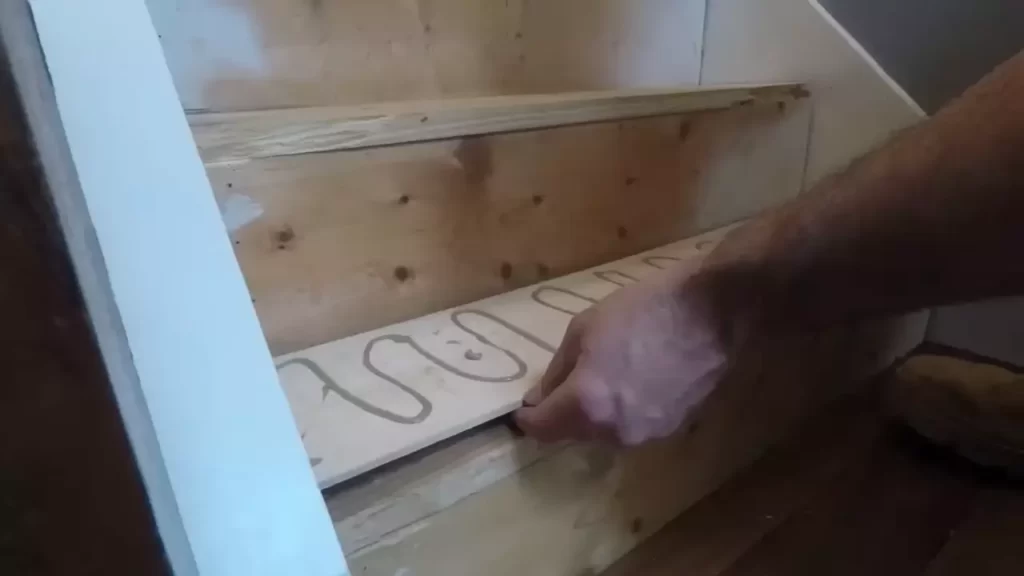
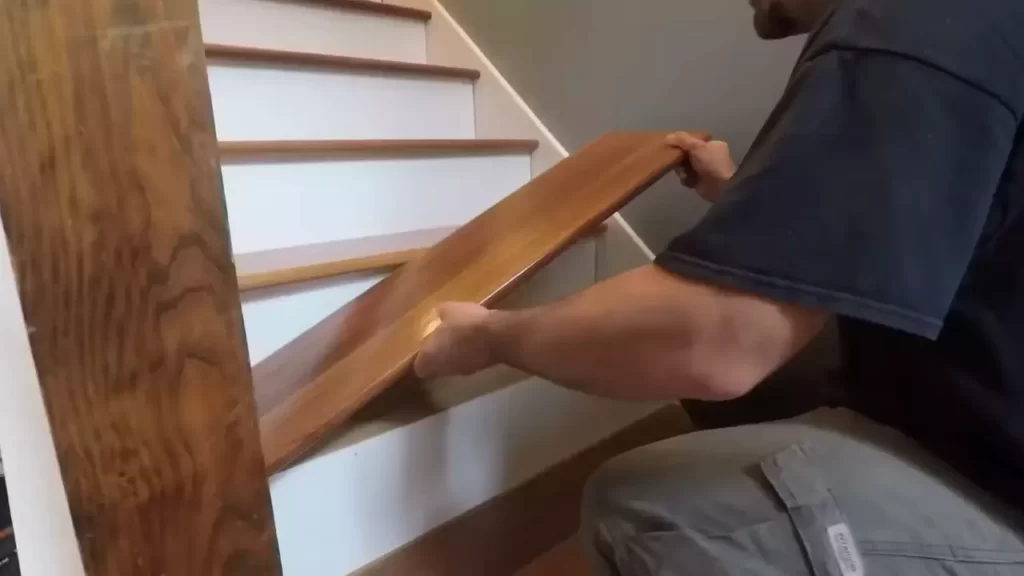
Next, prepare the first stair tread by cleaning the surface and removing any dust or debris. Apply a thin layer of adhesive along the back of the tread or use screws for a more secure installation. Position the tread at the bottom of the staircase, aligning it properly with the edge of the step. Press it firmly in place, ensuring a snug fit.
Continue following the same process for the remaining stairs, one tread at a time. Measure, clean, apply adhesive or screws, and align each tread before moving on to the next one. Take your time to ensure that each tread is securely attached to the step.
Attach the treads securely using adhesive or screws
To ensure the longevity and stability of your stair treads, it is important to attach them securely. You have the option to use adhesive or screws, depending on your preference and the material of your treads.
| Adhesive | Screws |
|---|---|
| 1. Choose a high-quality adhesive specifically designed for stair treads. | 1. Select screws that are appropriate for the material of your treads. |
| 2. Apply the adhesive evenly on the back of the tread, ensuring full coverage. | 2. Use a drill or screwdriver to attach the screws through the tread into the step. |
| 3. Press the tread firmly onto the step, making sure it adheres evenly. | 3. Tighten the screws securely, but be careful not to overtighten and damage the tread or step. |

Make sure the treads are level and aligned properly
Proper alignment and leveling of the stair treads are crucial for both safety and aesthetics. Take the necessary steps to ensure that each tread is aligned accurately and level with the edge of the step.
- Use a spirit level to check the levelness of each tread. Adjust as necessary.
- Verify that each tread is aligned properly with the edge of the step, creating an even appearance.
- Make any necessary adjustments before attaching the tread permanently.
By following these steps, you can ensure a successful installation of your stair treads. Take your time, measure accurately, and pay attention to detail for a sturdy and visually appealing result.
Finishing Touches
Fill any gaps or imperfections with wood filler
Before moving on to the final steps of installing your stair treads, it’s important to make sure they are free from any gaps or imperfections. Over time, stair treads can develop small cracks or gaps due to wear and tear. To address this, use a suitable wood filler to fill in any gaps and ensure a smooth and seamless finish.
To fill gaps or imperfections, follow these steps:
- Clean the treads thoroughly, removing any dust or debris that may interfere with the filler.
- Apply the wood filler generously to the gaps or imperfections, using a putty knife or a similar tool.
- Smooth out the filler using the putty knife, ensuring it is level with the rest of the tread surface.
- Allow the filler to dry completely, following the manufacturer’s instructions.
- Sand the dried filler gently to achieve a seamless and flush finish with the rest of the tread.
Sand the treads for a smooth finish
Once the wood filler has dried and any excess has been sanded down, it’s time to prepare the treads for their final finish. Sanding the treads will not only ensure a smooth surface but also help in removing any rough edges or inconsistencies.
Follow these steps to sand the treads:
- Start by using coarse-grit sandpaper to remove any prominent imperfections or roughness.
- Gradually move to finer-grit sandpaper, working your way towards a smoother finish.
- Make sure to sand the entire surface of each tread, paying extra attention to the edges and corners.
- After sanding, wipe away any dust or residue using a clean, damp cloth.
Apply a finish or stain to protect the treads
Now that the treads are smooth and gap-free, it’s time to apply a protective finish or stain. This will not only enhance the appearance of the treads but also provide them with durability and longevity.
Here’s how you can apply a finish or stain to the treads:
- Choose a suitable finish or stain according to your preference and the type of wood used for the treads.
- Apply the finish or stain using a brush or applicator, following the manufacturer’s instructions for the specific product.
- Make sure to cover the entire surface of each tread evenly, working with the grain of the wood.
- Allow the finish or stain to dry completely before using the stairs.
By following these steps, you can ensure that your stair treads not only look beautiful but also withstand the test of time. Taking care of the finishing touches is crucial in achieving a professional and polished result.

Maintaining The Stair Treads
Proper maintenance of your stair treads is essential to ensure their longevity and safety. Regular cleaning, inspection for damage or wear, and the addition of non-slip features are all crucial steps to keep your stairs in top condition. Let’s delve into each of these aspects in detail:
Regularly clean the treads to remove dirt and dust
To maintain the appearance and functionality of your stair treads, regular cleaning is essential. Dirt, dust, and debris can accumulate on the treads, making them slippery and posing a safety risk. Therefore, it’s important to clean them on a regular basis:
- Use a broom or vacuum cleaner with a brush attachment to remove loose dirt and dust.
- Wipe down the treads with a damp cloth or mop to get rid of any stubborn stains or grime.
- For more thorough cleaning, consider using a mild detergent solution, ensuring to follow the instructions provided by the manufacturer.
- Dry the treads completely to prevent any water damage or mold growth.
Inspect for any damage or wear and make repairs as needed
Regular inspections of your stair treads are crucial to identify any signs of damage or wear. By addressing these issues promptly, you can prevent further deterioration and ensure the safety of everyone using the stairs. Here’s what you need to keep in mind during inspections:
- Check for loose or squeaky treads and tighten any loose screws or nails.
- Look for any cracks, chips, or splinters in the treads and repair them with appropriate wood filler or adhesive.
- If you notice any significant damage that cannot be easily repaired, it may be necessary to replace the affected tread altogether.
Consider adding additional non-slip features for added safety
While proper cleaning and maintenance go a long way in ensuring the safety of your stair treads, you can further enhance it by adding non-slip features. These additions can provide extra grip and reduce the risk of slips and falls. Here are some options to consider:
- Apply adhesive non-slip tape or strips to the treads’ surface, especially in areas prone to moisture or high foot traffic.
- Consider installing non-slip stair tread covers made of rubber or other slip-resistant materials.
- For outdoor staircases, installing a textured grit surface or anti-slip paint can improve traction even in wet conditions.
By adhering to these preventive maintenance practices, you can ensure that your stair treads remain not only visually appealing but also safe for everyone in your home. Remember to clean them regularly, inspect for damage, and consider adding non-slip features for added peace of mind.
Frequently Asked Questions Of How To Install Stair Treads
What Is The Best Way To Attach Stair Treads?
To attach stair treads, use screws or nails to secure them firmly to the underlying stair structure. Ensure the treads are aligned properly before attaching, and consider using construction adhesive for added stability. Always follow manufacturer guidelines and local building codes for the best results.
Do You Nail Or Glue Stair Treads?
Stair treads are typically nailed in place rather than glued. Nailing provides a secure and long-lasting installation. It’s important to use the right size nails and space them evenly for optimal support and stability.
Which Goes First Treads Or Risers?
Treads go first, followed by risers.
What Is The Gap Between Stair Treads And Risers?
The gap between stair treads and risers is typically around 1/4 to 1/2 inch. This small space allows for proper airflow and helps prevent moisture buildup, which can lead to mold or rot. It also improves safety by reducing the risk of catching your foot on the edge of the tread.
Conclusion
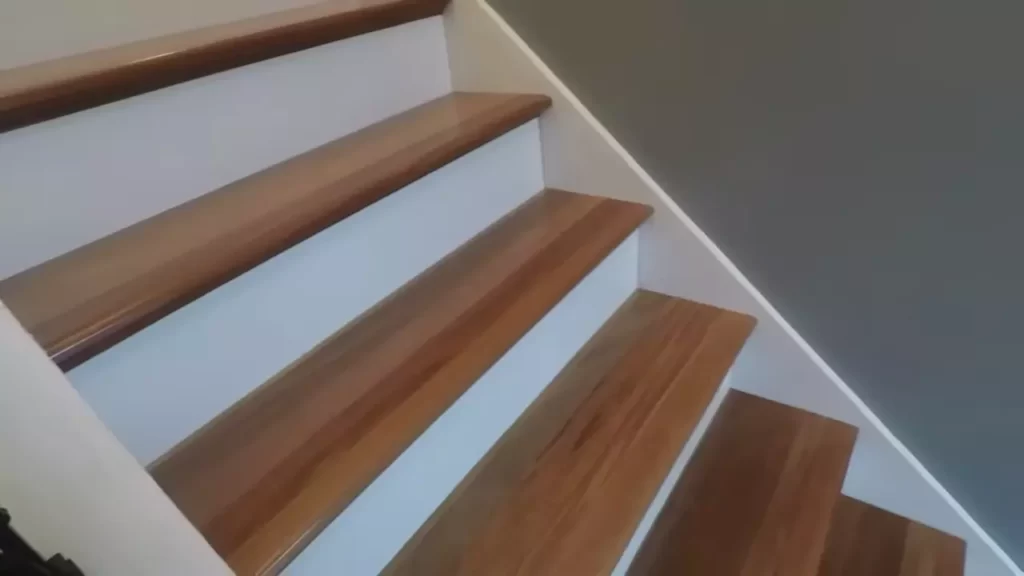
Installing stair treads can be a simple and rewarding DIY project. By following these step-by-step instructions, you can transform your staircase and enhance the safety and beauty of your home. Remember to measure accurately, prepare the stairs properly, and secure the treads securely.
With a little time and effort, you can achieve professional-looking results and enjoy a stylish, functional staircase for years to come. Happy renovating!
