To install stair tread, measure the width and depth of each step, then secure the tread to the step with construction adhesive and nails or screws. Installing stair tread is a straightforward process that requires measuring, securing, and ensuring a proper fit for each step.
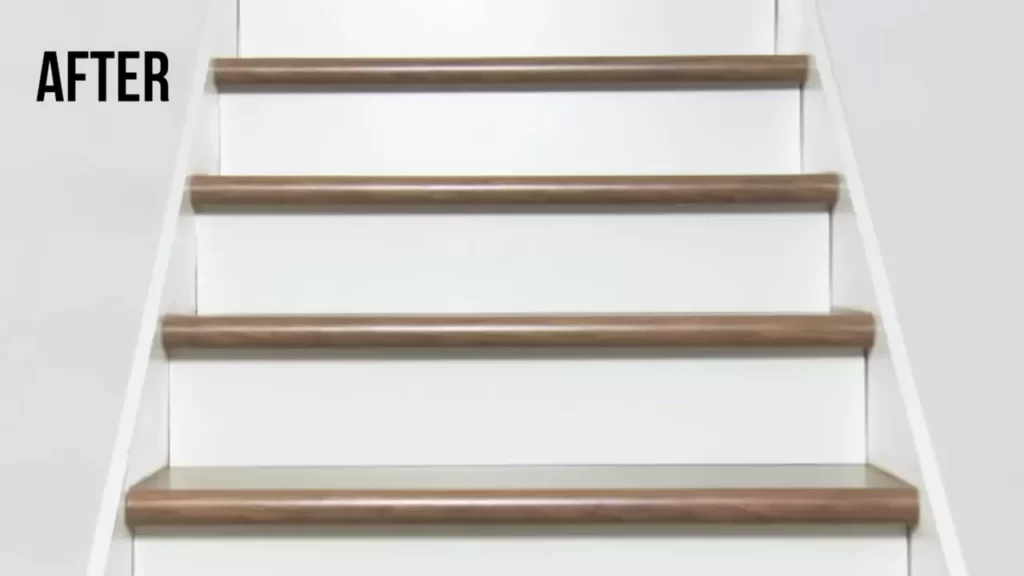
By following the steps outlined below, you can easily install stair tread and enhance the safety and aesthetics of your staircase. Start by measuring the width and depth of each step, then cut the tread to size. Next, apply construction adhesive to the step and press the tread firmly in place.
Finally, secure the tread further with nails or screws.
Choosing The Right Materials For Stair Tread Installation
When it comes to installing new stair treads, one of the most important decisions you’ll need to make is choosing the right materials. The material you choose can greatly impact the appearance, comfort, and durability of your stairs. In this section, we’ll explore the factors to consider when selecting stair treads, the different materials available, and the pros and cons of each material.
Factors to Consider When Selecting Stair Treads
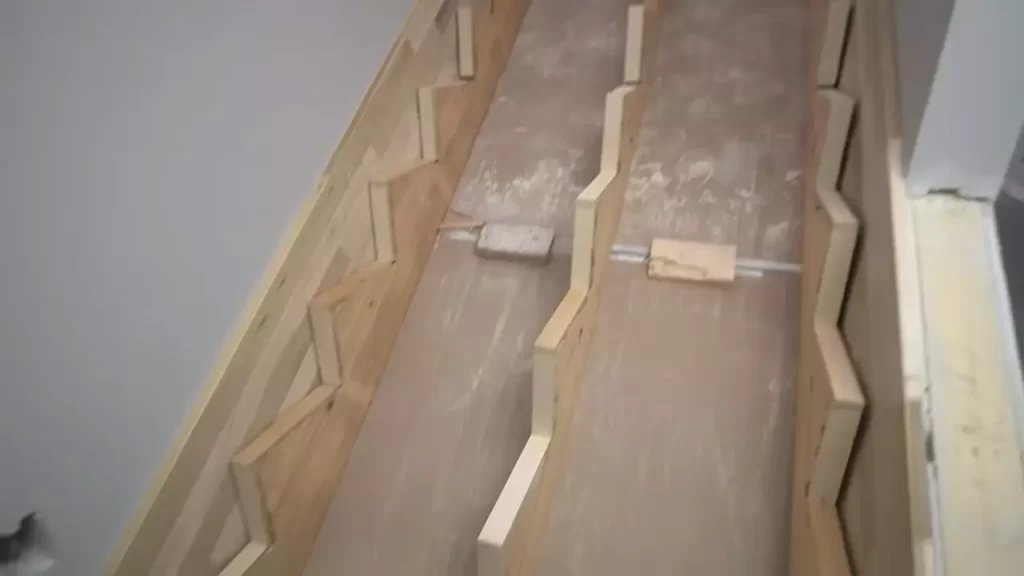
Before diving into the various materials available for stair treads, it’s crucial to understand the factors that should guide your decision. By considering these factors, you’ll be able to make an informed choice that suits your personal preferences and needs.
Here are the key factors to consider when selecting stair treads:
- Budget: Determine your budget to narrow down your options and focus on materials that fall within your price range. Remember that some materials may require additional maintenance or replacement over time, so factor in long-term costs as well.
- Style: Consider the aesthetic of your home and the overall look you want to achieve. Whether you prefer a traditional, contemporary, or rustic style, there are materials that can perfectly complement your vision.
- Durability: Evaluate the durability of the materials to ensure your stair treads will withstand daily use, especially in high-traffic areas. If you have pets or young children, you may want to prioritize scratch and stain resistance.
- Maintenance: Think about the amount of maintenance you’re willing to commit to. Some materials require regular cleaning and sealing, while others are more low-maintenance.
- Safety: Prioritize safety by considering slip resistance. Look for materials that offer a textured surface or specific finishes to prevent accidents and provide a secure foothold.
Different Materials Available for Stair Treads
Now that we’ve covered the factors to consider, let’s explore the different materials available for stair treads. From timeless hardwood to durable carpeting, there are various options to suit every preference and budget.
Here are some popular materials for stair treads:
| Material | Description |
|---|---|
| Hardwood | Hardwood treads offer a classic and elegant look. They are available in a wide range of wood species, stains, and finishes, allowing you to customize the appearance to match your home’s décor. |
| Laminate | Laminate treads provide a cost-effective alternative to hardwood. They mimic the look of real wood but are more resistant to scratches and stains, making them a great option for busy households. |
| Carpet | Carpeted treads offer comfort and warmth underfoot. They come in various colors, patterns, and textures, allowing you to personalize your stairs while providing a soft surface that reduces noise. |
| Natural Stone | Natural stone treads, such as granite or marble, add a luxurious touch to your staircase. They are incredibly durable and offer a unique, natural beauty that can elevate the overall aesthetic of your home. |
Pros and Cons of Each Material
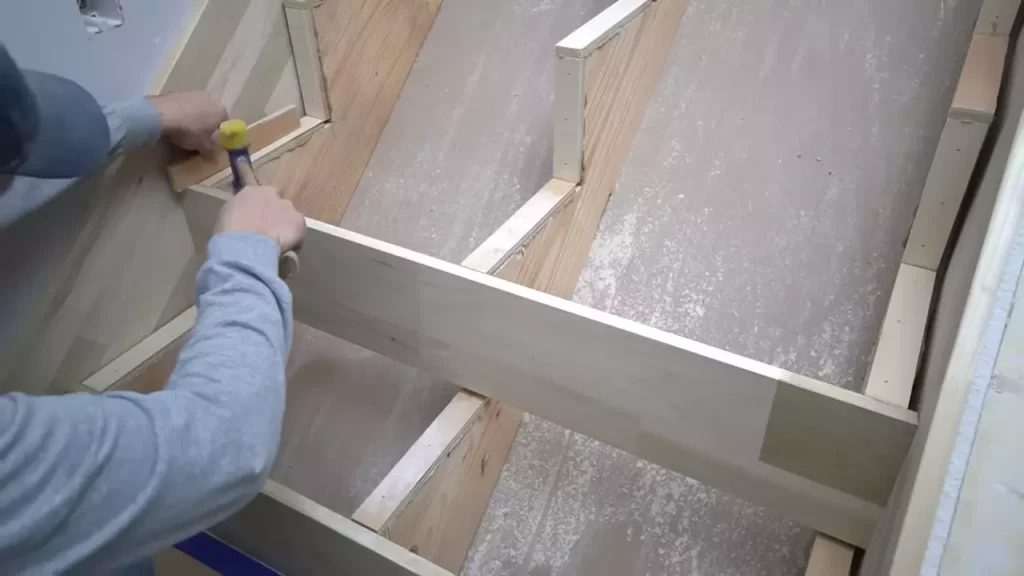
Now, let’s dive into the pros and cons of each material to help you make an educated decision:
- Hardwood: Pros – timeless and elegant, customizable appearance, highly durable. Cons – higher cost, requires maintenance.
- Laminate: Pros – cost-effective, scratch and stain-resistant, easy to clean. Cons – less authentic look compared to real wood.
- Carpet: Pros – soft and comfortable, reduces noise, offers various design options. Cons – can be more challenging to clean, may wear out more quickly in high-traffic areas.
- Natural Stone: Pros – luxurious and unique, extremely durable, adds value to your home. Cons – higher cost, can be slippery if not properly treated.
By understanding the factors to consider and the pros and cons of each material, you’ll be well-equipped to choose the right stair treads for your home. Remember to prioritize your budget, style, durability, maintenance, and safety to ensure a result that meets your expectations and enhances the beauty and functionality of your staircase.
Preparing The Stairs For Tread Installation
Before installing stair treads, it is essential to properly prepare the stairs to ensure a smooth and secure installation. This involves accurately measuring the stairs, removing any old carpet or existing treads, and repairing any damaged or uneven surfaces. By following these steps, you can create a stable foundation for your new stair treads, enhancing the overall safety and aesthetics of your staircase.
Measuring the stairs accurately
To begin the installation process, it is crucial to measure the stairs accurately. This will help you determine the number of treads needed and ensure a proper fit. To measure the stairs, follow these steps:
- Start by measuring the width of the stair tread. Measure from the inside edge of the stringer on one side to the inside edge on the other side. Make sure to measure at the deepest part of the tread for accuracy.
- Next, measure the depth of the tread. Measure from the inside edge of the stringer to the nose of the tread. This measurement should be taken at the center of the tread.
- Repeat these steps for each individual stair, as dimensions may vary slightly.
By measuring the stairs accurately, you can ensure that the treads will fit properly and provide a secure footing for those using the staircase.
Removing old carpet or existing tread
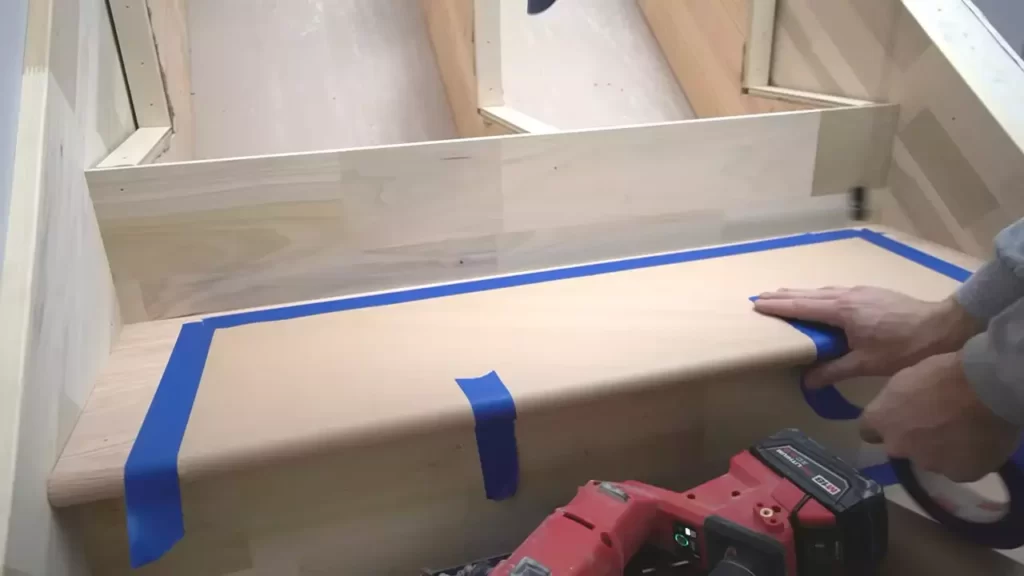
If your stairs have old carpet or existing treads, it is essential to remove them before installing the new treads. This will help create a clean and level surface for the installation.
To remove old carpet or existing treads, follow these steps:
- Start by using a utility knife to cut the carpet or tread into manageable sections. Carefully lift each section and remove any staples or nails.
- Use pliers or a pry bar to remove any remaining staples or nails from the stair surface.
- Once all the old carpet or treads are removed, thoroughly clean the stairs to remove any adhesive residue or debris.
Removing old carpet or existing treads will provide a clean and level surface for the new treads, ensuring a secure and stable installation.
Repairing any damaged or uneven surfaces
Before installing new treads, it is crucial to repair any damaged or uneven surfaces on the stairs. This will help create a smooth and stable foundation for your new treads, preventing any future issues or hazards.
To repair damaged or uneven surfaces, follow these steps:
- If there are any cracks or holes in the stairs, use an appropriate filler or patching compound to fill and level them. Follow the manufacturer’s instructions for the specific product you are using.
- If there are any loose or squeaky stairs, reinforce them by applying construction adhesive or adding additional screws or nails.
- Once the repairs are complete, allow sufficient time for the filler or adhesive to dry and cure before proceeding with the installation.
By repairing any damaged or uneven surfaces, you can ensure a stable and secure foundation for your new stair treads, enhancing both their longevity and safety.
Installing The Stair Treads
When it comes to installing stair treads, there are a few important steps to follow to ensure a secure and properly aligned installation. In this section, we will cover each step in detail, from placing the first tread to securing it to the stairs and ensuring proper alignment and levelness. Let’s get started!
Placing the First Tread
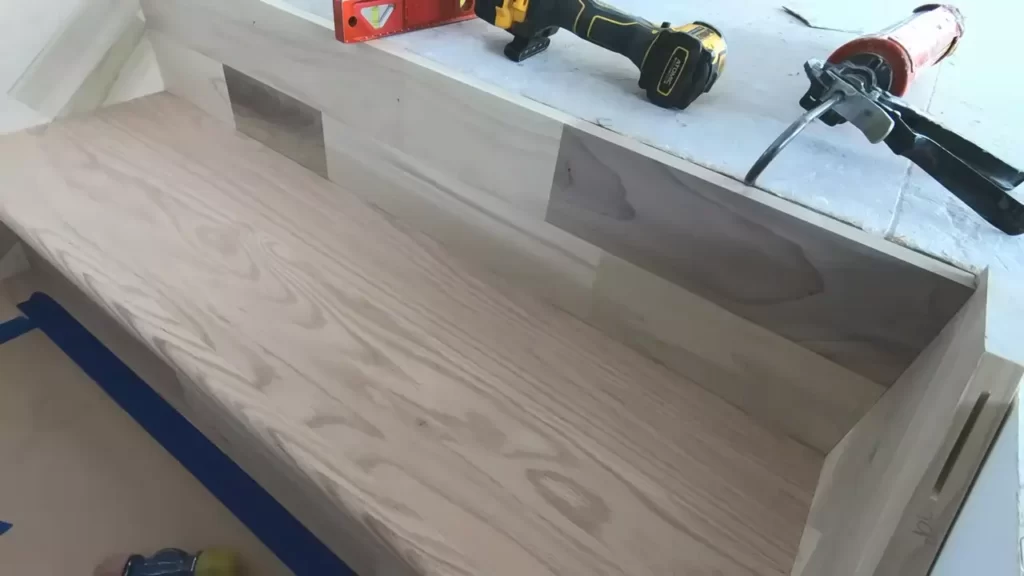
The first step in installing stair treads is to place the first tread in the desired position. This will serve as the starting point for the rest of the treads. To do this, follow these steps:
- Clean the stair surface: Before placing the first tread, make sure the stair surface is clean and free from any dust or debris. This will provide a smooth and even surface for the tread to adhere to.
- Measure and mark: Using a measuring tape, measure the width and depth of the stair and mark the exact position where the first tread will be placed. Take into account the nosing overhang if applicable.
- Apply adhesive: Apply a high-quality construction adhesive on the backside of the tread. Make sure to spread the adhesive evenly, covering the entire surface that will come in contact with the stairs.
- Position the tread: Carefully place the tread on the marked position and press it firmly against the stair. Make sure the tread is aligned with the edges of the stairs and the nosing overhang is even on both sides.
Securing the Tread to the Stairs
Once the first tread is in position, the next step is to secure it to the stairs. This will ensure that the tread stays in place for years to come. Follow these steps to securely fasten the tread:
- Pre-drill holes: Using a drill with a suitable bit size, pre-drill holes through the tread and into the stair. This will prevent the wood from splitting and make it easier to insert the screws.
- Insert screws: Place screws into the pre-drilled holes and tighten them using a screwdriver or drill. Make sure the screws are long enough to penetrate both the tread and the stair, providing a strong connection.
- Repeat the process: Continue placing treads and securing them with screws, following the same steps as mentioned above. Make sure each tread is aligned properly and evenly spaced.
Ensuring Proper Alignment and Levelness
Proper alignment and levelness of the stair treads are crucial for both safety and aesthetic reasons. Here are some tips to ensure your treads are aligned and level:
- Use a level: Place a level on top of each tread to ensure it is level and not tilted. Adjust the position of the tread if necessary until it is perfectly level.
- Check for gaps: Once the treads are installed, check for any gaps between the treads and the stairs. Fill any gaps with wood filler to create a seamless and secure installation.
- Double-check alignment: Stand back and visually inspect the stair treads from different angles to ensure they are aligned properly. Make any adjustments as needed to create a visually pleasing and balanced staircase.
By following these steps, you can successfully install stair treads that are secure, aligned, and level. Now that you know how to install the treads, you can enjoy the enhanced safety and beauty of your staircase. Happy installation!
Finishing Touches And Maintenance
After successfully installing your stair treads, it’s time to focus on the finishing touches and maintenance to ensure their longevity and appearance. By adding these final touches and following proper maintenance techniques, you can keep your stair treads looking pristine for years to come.
Adding finishing touches to the stair treads
No stair tread installation is complete without considering the aesthetic aspects. Adding finishing touches can enhance the overall look of your stairs and complement the style of your home. Here are a few ideas to add those final flourishes:
- Consider applying decorative trim or moulding along the edges of the stair treads. This can add a touch of elegance and provide a seamless transition between the tread and the surrounding structure.
- Paint or stain the stair treads to match your interior design scheme. Opt for high-quality paints or stains that are specifically formulated for use on stair treads to ensure durability and long-lasting color.
- Install carpet runners or stair tread covers for added comfort and to prevent slipping. Choose materials that are not only aesthetically pleasing but also sturdy and resilient.
Applying protective coatings or finishes
To protect your newly installed stair treads from daily wear and tear, it is essential to apply protective coatings or finishes. These coatings act as a shield, preventing scratches, moisture damage, and fading. Here are a few options to consider:
| Coating Type | Benefits |
|---|---|
| Polyurethane | Provides a strong, durable finish that resists scratches and stains. It also enhances the natural beauty of the wood. |
| Epoxy | Creates a tough, waterproof, and chemical-resistant surface. Ideal for high-traffic areas and industrial-style stair treads. |
| Oil-based Finish | Offers a warm, rich tone and penetrates deep into the wood fibers to provide protection against moisture and everyday wear. |
Before applying any coating or finish, make sure to properly clean and prepare the stair treads by sanding them lightly and removing any dust or debris. Follow the manufacturer’s instructions for application and drying times.
Proper maintenance to prolong the life of the stair treads
Maintaining your stair treads regularly will help extend their lifespan and keep them in optimal condition. Here are some maintenance tips to consider:
- Regularly sweep or vacuum the stair treads to remove dirt, debris, and dust that can cause scratches or discoloration.
- Wipe up any spills or stains immediately to prevent permanent damage.
- Avoid using harsh or abrasive cleaners that can strip away protective coatings. Instead, opt for mild soap and water solution for cleaning.
- Place mats or rugs at the bottom and top of the stairs to minimize dirt and moisture transmission onto the treads.
- Periodically inspect the stair treads for any signs of damage, such as cracks or loose edges. Promptly repair or replace any damaged treads to prevent accidents.
By following these tips, you can ensure that your stair treads remain beautiful and functional for years to come, providing a safe and visually appealing pathway in your home.
Additional Tips And Considerations
When it comes to installing stair treads, there are a few additional tips and considerations that can greatly enhance the process. By taking safety precautions, avoiding common mistakes, and considering the cost factors, you can ensure a successful installation that not only adds beauty to your staircase but also provides a safe and functional walking surface.
Safety Precautions During Installation
Ensuring safety should always be the top priority when installing stair treads. By following these safety precautions, you can minimize the risk of accidents and injuries:
- Wear appropriate safety gear, such as gloves and safety glasses, to protect yourself from any potential hazards.
- Securely fasten the treads to the stairs to prevent them from shifting or coming loose.
- Use proper tools and equipment for the installation to avoid any mishaps or accidents.
- Keep the work area clear of any clutter or debris that could cause tripping hazards.
- If using adhesives, make sure to follow the manufacturer’s instructions and apply them in a well-ventilated area.
Common Mistakes to Avoid
Installing stair treads can be a complex process, and there are some common mistakes that many homeowners make. By avoiding these mistakes, you can save time, money, and effort:
- Rushing the installation without proper preparation can lead to inaccuracies and inconsistencies in the finished product. Take your time to measure and plan the installation carefully.
- Ignoring the condition of the existing stairs can result in a poor installation. Make sure the underlying stairs are structurally sound and free from any damage or rot.
- Using the wrong type of adhesive or fasteners for your specific treads can lead to instability and a shorter lifespan. Always follow the manufacturer’s recommendations and consult a professional if needed.
- Failing to properly maintain and care for the stair treads after installation can cause premature wear and tear. Regular cleaning and inspection can help prolong their lifespan.
Cost Considerations for Stair Tread Installation
Before embarking on a stair tread installation project, it’s essential to consider the associated costs. Some factors to keep in mind include:
| Factors | Considerations |
|---|---|
| Material | The type of material you choose for your stair treads can greatly impact the overall cost. Options range from more affordable materials like carpet and laminate to higher-end choices such as hardwood or natural stone. |
| Size and Shape | The size and shape of your staircase will influence the number of treads needed and the complexity of the installation process. Larger or curved staircases may require more treads and result in higher costs. |
| Installation Method | The chosen installation method, whether it’s adhesive, nails, or screws, can affect the overall cost. Additionally, if you opt for professional installation, labor charges will need to be considered. |
| Additional Accessories | Depending on your desired aesthetics and functionality, you may also need to budget for additional accessories such as stair nosing, risers, or trim. |
By keeping these cost considerations in mind, you can plan your stair tread installation project more effectively and avoid any unexpected financial surprises.
Frequently Asked Questions Of How To Install Stair Tread
What Is The Best Way To Attach Stair Treads?
The best way to attach stair treads is by using screws or nails. Pre-drilling holes can prevent splitting, and securing them near the edges and center will ensure stability. Make sure to choose appropriate length screws/nails and tighten them securely, providing a safe and durable attachment.
Do You Nail Or Glue Stair Treads?
Stair treads are typically glued rather than nailed. Gluing provides a stronger bond and ensures stability.
Do You Install Treads Or Risers First?
Install treads before risers for stair installation. Treads offer a surface to step on, while risers connect the treads vertically. This process ensures stability and proper placement.
How Do You Install Treads And Risers?
To install treads and risers, start by measuring and cutting the treads and risers to fit your stairs. Use construction adhesive to secure the treads to the stair stringers, starting from the bottom of the stairs and working your way up.
Install the risers by attaching them to the back of the treads. Finally, secure the treads and risers with screws or nails for added stability.
Conclusion
Installing stair treads doesn’t have to be a daunting task. By following these simple steps and keeping safety in mind, you can transform your staircase into a beautiful and functional feature of your home. Remember to measure accurately, choose the right materials, and use proper tools.
From preparing the area to securing the treads, this guide has provided you with the necessary information to successfully install stair treads. So go ahead and give your staircase a fresh new look!
