To install square balusters, start by measuring their length and spacing them evenly. Then, drill pilot holes into the handrail and bottom rail, insert the balusters, and secure them with screws.
Be sure to check local building codes and regulations before beginning the installation process.
Preparing The Staircase
Before installing square balusters on your staircase, it is important to properly prepare the staircase itself. This involves measuring and marking the placement of the balusters, preparing the edges of the staircase, and sanding and cleaning the surfaces. By following these steps, you’ll ensure a smooth and successful installation process.
Measuring and Marking the Placement of Balusters
The first step in preparing the staircase is to measure and mark the placement of the balusters. This will ensure that the balusters are evenly and securely spaced throughout the staircase.
To do this, begin by measuring the total length of the staircase railing. Divide this length by the desired spacing between each baluster to determine the number of balusters needed. Mark these measurement intervals along the railing, starting from the top and working your way down.
Once the intervals are marked, use a square or level to draw vertical lines across the railing at each interval. These lines will serve as a guide for the placement of the balusters.
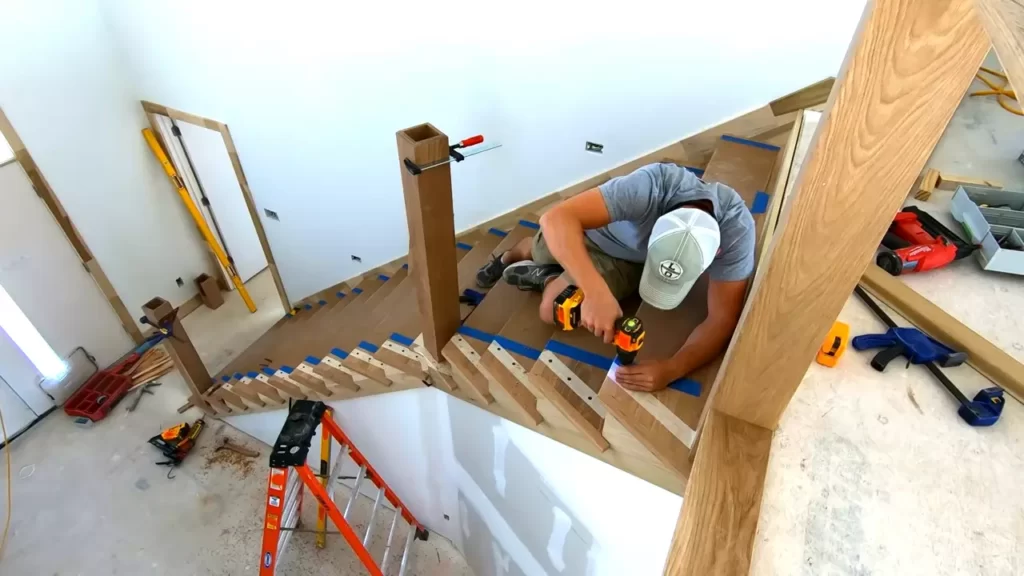
Preparing the Edges of the Staircase
Next, you’ll want to prepare the edges of the staircase to ensure a secure fit for the balusters. This involves removing any existing protrusions or obstructions that may interfere with the installation.
Start by thoroughly inspecting the edges of the staircase railing and steps. Look for any nails, screws, or other hardware that need to be removed. Use a pry bar or screwdriver to carefully extract these items.
Once the hardware is removed, check for any rough or uneven areas along the edges. Use sandpaper to smooth these surfaces, ensuring a clean and flush fit for the balusters.
Sanding and Cleaning the Surfaces
Before installing the square balusters, it is important to sand and clean the surfaces of the staircase railing and steps. This will remove any dirt, debris, or rough spots that could affect the installation and the overall appearance of the balusters.
Start by using sandpaper or a sanding block to gently sand the surfaces of the railing and steps. This will smooth out any rough edges or imperfections and provide a clean surface for the balusters to adhere to.
Once the sanding is complete, use a damp cloth or sponge to thoroughly clean the surfaces. This will remove any dust or debris left from the sanding process, ensuring a clean and secure bond between the balusters and the staircase.
By properly preparing the staircase before installing square balusters, you’ll ensure a sturdy and visually appealing railing. Remember to measure and mark the baluster placement, prepare the edges of the staircase, and sand and clean the surfaces for optimal results.
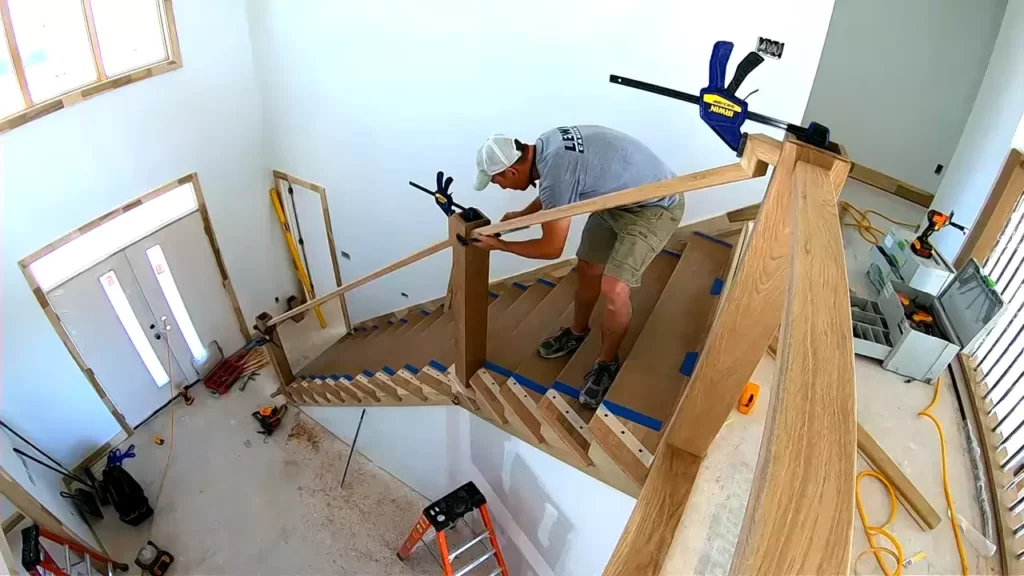
Installing The Bottom Rail
Installing the bottom rail is an important step in the process of installing square balusters. The bottom rail provides stability and support to the balusters, ensuring a safe and sturdy railing system. In this section, we will guide you through the process of measuring and cutting the bottom rail, as well as securing it to the staircase.
Measuring and Cutting the Bottom Rail
Before you start cutting the bottom rail, it is essential to take accurate measurements. Measure the distance between the newel posts or the existing top rail, depending on your specific railing system. This measurement will help you determine the length of the bottom rail.
Once you have the correct measurement, use a miter saw or a circular saw with a fine-toothed blade to cut the bottom rail to size. Ensure that the cut is clean and straight to achieve a professional-looking finish.
Securing the Bottom Rail to the Staircase
When securing the bottom rail to the staircase, there are different methods you can choose from, depending on the railing system and the type of staircase you have. Here are a few common methods:
- Drill and Screw Method: Start by pre-drilling holes into the bottom rail at regular intervals. Then, align the rail with the baluster holes on the newel posts or the existing top rail. Secure the bottom rail to the staircase using screws.
- Bracket Method: Attach brackets to the bottom rail, ensuring they are evenly spaced. Position the bottom rail in place, aligning the brackets with the baluster holes. Secure the brackets to the staircase using screws or nails.
- Adhesive Method: Apply a strong adhesive to the bottom rail, then press it firmly against the staircase. This method is suitable for certain railing systems that do not require screws or brackets.
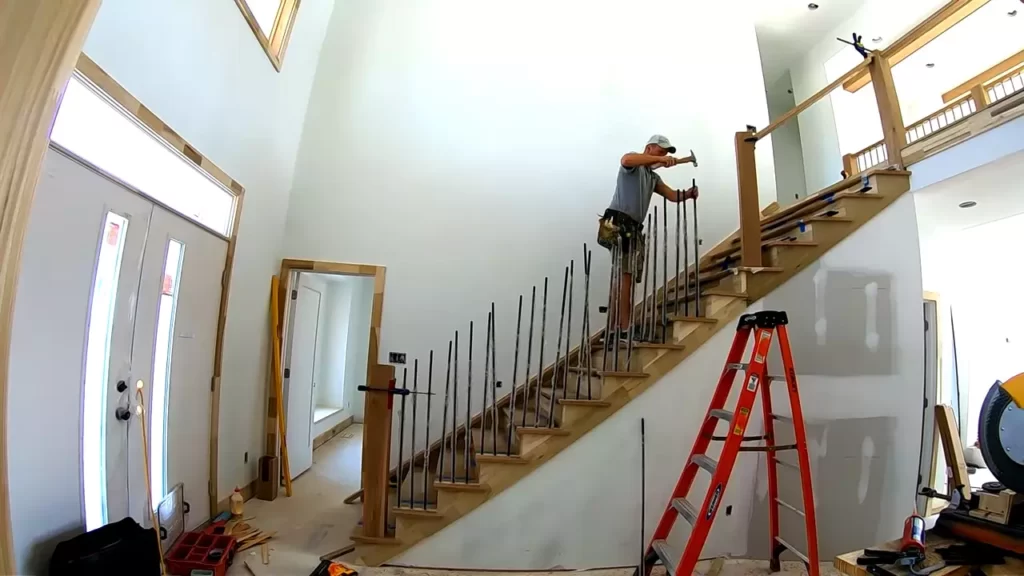
Regardless of the method you choose, make sure the bottom rail is securely attached to the staircase, providing a solid foundation for the balusters.
Now that you have learned how to measure and cut the bottom rail, as well as secure it to the staircase, you are one step closer to completing your square baluster installation. In the next section, we will explore the process of installing the square balusters themselves.
Attaching The Balusters
Attaching the balusters is an important step in installing square balusters for your deck railing. This step ensures proper spacing and stability, giving your railing a clean and finished look. In this section, we will cover how to measure the spacing between balusters, cut the balusters to the correct length, and secure them to the bottom rail.
Measuring the Spacing between Balusters
Before you attach the balusters, it is crucial to measure the spacing between them. This step ensures that your balusters are spaced evenly and meet the required building code standards. To measure the spacing:
- Start by determining the desired spacing between balusters. This can depend on local building codes or personal preference.
- Measure the distance between the center of one baluster to the center of the next. Use a tape measure to get an accurate measurement.
- Repeat the measurement for all balusters, ensuring consistent spacing throughout the railing.
Cutting the Balusters to the Correct Length
Once you have measured the spacing, it’s time to cut the balusters to the correct length. To do this:
- Measure the distance from the bottom rail to the top rail.
- Subtract the desired spacing measurement from the total height.
- Divide the remaining height by the number of balusters.
- Mark the measurements on each baluster, ensuring they are all cut to the same length.
- Use a saw to cut the balusters to the marked length, making clean and precise cuts.
Securing the Balusters to the Bottom Rail
With the balusters measured and cut, it’s time to secure them to the bottom rail. Here’s how:
- Apply a strong adhesive or wood glue to the bottom of each baluster.
- Position the baluster at the designated spacing on the bottom rail.
- Use a nail gun or screws to attach the baluster securely to the rail, ensuring it is straight and level.
- Repeat this process for all balusters, ensuring consistent spacing and secure attachment.
By following these steps, you can successfully attach the square balusters to the bottom rail of your deck railing. The finished result will be a sturdy and visually appealing railing that enhances the safety and aesthetics of your outdoor space.
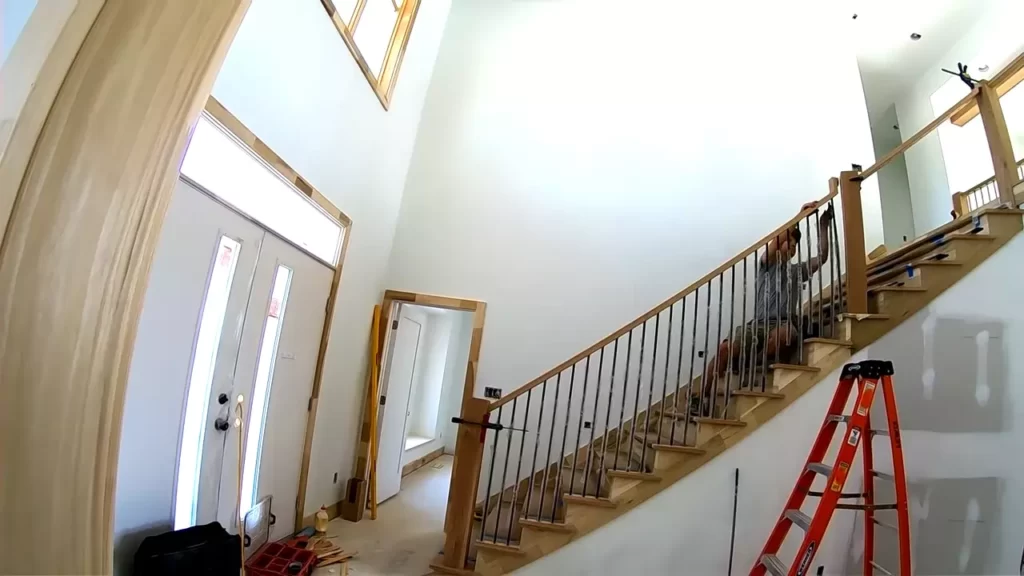
Installing The Top Rail
Installing the top rail is an essential step in completing your square baluster installation. This part of the process involves measuring and cutting the top rail to fit your specific space and attaching it securely to the balusters. Here’s a guide on how to tackle these important tasks:
Measuring and Cutting the Top Rail
Before you begin measuring and cutting the top rail, ensure that you have all the necessary tools such as a measuring tape, pencil, and a saw. Follow the steps below to get accurate measurements:
- Start by measuring the distance between the newel posts or posts that the balusters will attach to. This measurement will determine the length of your top rail.
- Using a pencil, mark the measurement on the top rail, making sure to add an extra inch on each end for fitting purposes.
- Next, use a saw to cut the top rail according to the markings you made. Take your time and ensure that the cuts are straight and precise.
Once you have cut the top rail to the correct length, you are ready to move on to the next step.
Attaching the Top Rail to the Balusters
Now that you have the correctly measured and cut top rail, it’s time to attach it to the balusters. Follow these steps to ensure a secure and lasting installation:
- Place the top rail on top of the installed balusters, making sure that it aligns perfectly and rests securely.
- Once the top rail is in the desired position, use screws or nails to fasten it to each baluster. Make sure to use the appropriate size and type of fasteners for maximum stability.
- To further enhance the structural integrity, you can also use construction adhesive along the bottom side of the top rail, ensuring strong adhesion between the rail and balusters.
- Double-check that each screw or nail is securely tightened, and that the top rail is level and aligned with the newel posts or supporting posts.
By following these steps, you will successfully install the top rail and complete the square baluster installation. Take your time, work carefully, and remember that safety should always be prioritized when using tools. Enjoy the satisfying feeling of a beautifully finished balustrade!
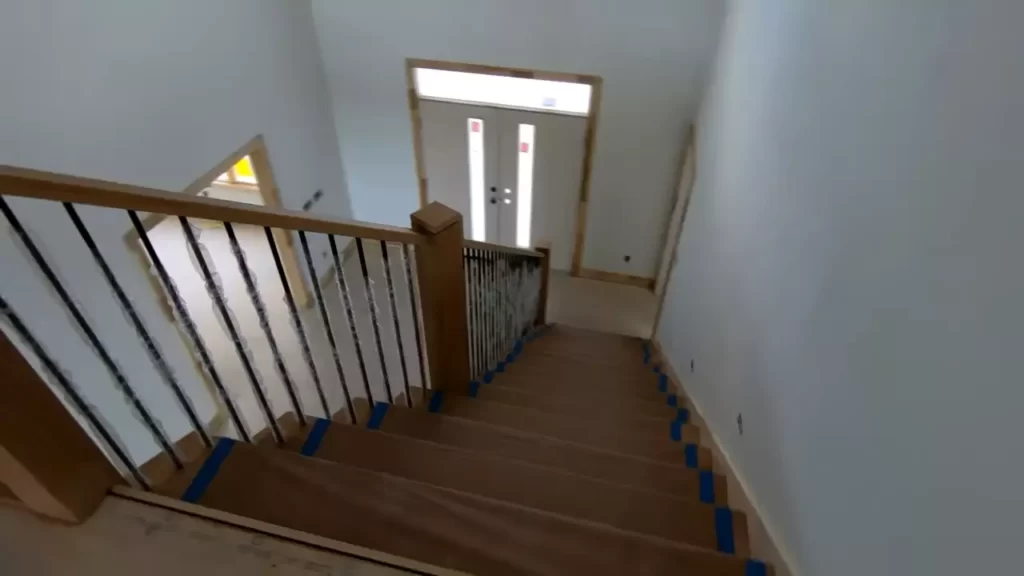
Securing The Balusters And Rails
One of the most crucial steps in installing square balusters is ensuring that they are securely fastened to the railing and the top rail is secured properly. This will not only enhance the overall stability of the balustrade but also ensure the safety of those using the stairs or deck.
Ensuring the Balusters are Secure
To start, make sure that each baluster is aligned and properly positioned before securing them. Use a level to ensure they are perfectly vertical, creating a straight and visually appealing balustrade.
Here is a step-by-step guide to securing the balusters:
- Carefully measure the distance between the bottom rail and the top rail. This will help you determine the spacing between the balusters.
- Mark the desired placement of each baluster on both the top and bottom rails.
- Drill pilot holes into the marked areas on the rails to prevent wood splitting when you insert the screws.
- Apply a suitable adhesive into each pilot hole to strengthen the attachment of the baluster.
- Insert the square baluster into the pilot hole, ensuring it fits securely.
- Use a drill or screwdriver to fasten each baluster to the rails using screws. Make sure the screws are long enough to penetrate the baluster and the rail.
- Repeat the process for each baluster until they are all securely attached to the rails.
Securing the Top Rail to the Balusters
Once all the balusters are securely fastened, the next step is to secure the top rail. This will provide additional stability to the balustrade and create a strong railing system.
Follow these steps to secure the top rail:
- Place the top rail on the balusters, aligning it with the pre-marked spots.
- Drill pilot holes into the top rail where it meets each baluster.
- Apply adhesive to each pilot hole to further strengthen the bond between the rail and the balusters.
- Use screws to secure the top rail to the balusters. Ensure the screws penetrate both the rail and the baluster for a secure attachment.
- Double-check that the balusters and the top rail are aligned and leveled.
By following these steps, you can ensure that the square balusters and the top rail are securely fastened, providing a durable and visually appealing balustrade that will withstand the test of time.
Frequently Asked Questions Of How To Install Square Balusters
How Do You Install Square Balusters On Stairs?
To install square balusters on stairs, follow these steps:
1. Measure and cut the balusters to the desired height.
2. Mark and drill pilot holes in the stair treads and handrail.
3. Apply adhesive to the baluster top and bottom ends, then insert them into the holes.
4. Secure the balusters with screws or brackets.
5. Repeat the process for each baluster to complete the installation.
How Do You Install Square Wood Balusters Without Shoes?
To install square wood balusters without shoes, follow these steps:
1. Measure and mark the desired height for each baluster.
2. Use a drill to create pilot holes in the handrail and base.
3. Apply adhesive to the holes and insert the balusters.
4. Secure them in place with screws.
5. Lastly, sand and finish the balusters for a polished look.
How Do You Attach Square Metal Balusters To Handrail?
To attach square metal balusters to a handrail, follow these steps:
1. Measure and mark the desired spacing for the balusters.
2. Drill pilot holes in the handrail to match the size of the screws.
3. Apply a strong adhesive to the bottom of each baluster and insert it into the pilot hole.
4. Secure each baluster in place by tightening the screws through the handrail and into the baluster.
5. Repeat this process for each baluster until they are all attached securely.
How Do You Cut Square Baluster Holes?
To cut square baluster holes, follow these steps precisely:
1. Mark the center of the hole on the baluster.
2. Use a drill to create pilot holes at the corners of the square.
3. Use a jigsaw or chisel to cut between the pilot holes.
4. Smooth the edges with sandpaper.
5. Test-fit the baluster and make adjustments if necessary.
Conclusion
Installing square balusters can enhance the beauty and safety of your staircase or deck. By following the step-by-step guide provided in this blog post, you can confidently complete the installation process. Remember to measure accurately, secure the balusters firmly, and apply a protective finish for long-lasting results.
With a little patience and attention to detail, you can transform your space into a stunning showcase of craftsmanship. Happy baluster installation!
