To install a return air duct in a wall, measure and mark the desired location, cut an opening in the wall, attach the duct to the wall studs, and seal it with foil tape. Introducing a return air duct in a wall can improve the ventilation system of your home or office.
By allowing air to circulate efficiently, you can maintain a comfortable indoor environment and reduce energy consumption. In this guide, we will provide you with step-by-step instructions on how to install a return air duct in a wall. By following these simple steps, you can ensure proper installation and maximize the benefits of a well-designed ventilation system.
So, let’s get started and create a more comfortable and energy-efficient space.
Understanding The Importance Of A Return Air Duct
A return air duct plays a vital role in maintaining a healthy and efficient HVAC (Heating, Ventilation, and Air Conditioning) system. It allows for the circulation of air back to the unit, ensuring proper airflow and balanced temperatures throughout the building. In this section, we will delve into the key reasons why a properly installed return air duct is crucial for HVAC systems, how it helps improve indoor air quality, and its role in maintaining temperature balance.
Why a properly installed return air duct is crucial for HVAC systems
A properly installed return air duct is crucial for HVAC systems due to several reasons. Firstly, it facilitates the efficient operation of the system by allowing the return of air to the unit. This circulation ensures that the HVAC system is not overworked, leading to increased energy consumption and potential damage to the equipment. In addition, a well-installed return air duct helps prevent the system from short-cycling, which can result in inconsistent temperatures and decreased comfort.
How a return air duct helps improve indoor air quality
The indoor air quality is a significant factor in maintaining a healthy and comfortable living or working environment. A return air duct plays a vital role in improving indoor air quality by removing stale air, odors, and pollutants from the space. By pulling the air from various rooms and filtering it, the return air duct effectively removes allergens, dust, and other harmful particles. This leads to cleaner and fresher air circulating through the HVAC system, promoting better health and well-being for the occupants.
The role of return air ducts in maintaining temperature balance
Proper temperature balance is essential for comfort and energy efficiency. Return air ducts play a crucial role in maintaining temperature balance by evenly distributing air throughout the building. When the air is returned to the HVAC system through these ducts, it allows for proper mixing and conditioning before being sent back out into the rooms. This ensures that each room receives an adequate supply of conditioned air, eliminating hot or cold spots and preventing energy wastage.
Assessing The Wall For Installation
Before installing a return air duct in the wall, it is crucial to assess the wall properly to ensure a smooth and successful installation. This involves identifying the optimal location for the duct, considering any potential obstacles or obstructions, and ensuring proper measurements and clearances.
Identifying the Optimal Location for the Return Air Duct in the Wall
When identifying the optimal location for the return air duct in the wall, there are a few factors to consider. Firstly, it is important to choose a location that allows for efficient air circulation throughout the room. This means selecting a spot where the air can easily flow back to the HVAC system without any hindrance.
Another crucial consideration is the placement of furniture or other objects in the room. It is best to avoid positioning the return air duct behind large pieces of furniture or appliances as they can restrict the airflow and reduce the effectiveness of the system. Therefore, it is advisable to choose a location that is free from any potential blockages.
Additionally, it is essential to consider the aesthetic aspect. While functionality is key, it’s also important to choose a location that is visually pleasing and blends well with the overall design of the room. This will help maintain the harmony and appeal of the space.
Considerations for Avoiding Obstacles and Obstructions
When installing a return air duct, it is crucial to carefully consider any potential obstacles or obstructions that might impede the airflow. This includes electrical wiring, plumbing pipes, structural supports, or any other hidden elements within the wall.
Prior to installation, it is recommended to conduct a thorough inspection of the wall to locate any potential obstacles. This can be done by using a stud finder or consulting with a professional if necessary. By identifying obstacles beforehand, it is possible to plan the duct installation process accordingly and avoid any unnecessary complications.
If obstacles cannot be avoided, it may be necessary to reroute or reconfigure the duct path. This might involve making adjustments to the wall structure or employing creative solutions to ensure proper airflow. Seeking professional assistance in such situations can be beneficial to ensure a safe and efficient installation.
Ensuring Proper Measurements and Clearances for the Duct Installation
Proper measurements and clearances are essential for a successful return air duct installation in the wall. Before starting the installation process, it is crucial to measure the dimensions of the wall accurately.
This includes measuring the height, width, and depth of the wall cavity where the duct will be placed. It is recommended to follow industry standards and regulations to ensure the duct is adequately sized for the room and HVAC system.
Furthermore, clearances play a vital role in ensuring the duct’s effectiveness. It is crucial to maintain proper clearance around the duct, allowing for sufficient airflow and avoiding any potential blockages. The specific clearances required may vary depending on the local building codes and the type of duct being installed.
To ensure proper measurements and clearances, it is advisable to consult with professionals or refer to reputable resources. This will help ensure compliance with regulations and optimize the performance of the return air duct system.
Steps To Install A Return Air Duct In The Wall
If you’re looking to improve the efficiency of your HVAC system and ensure adequate air circulation in your home, installing a return air duct in the wall is a great solution. This allows the air to flow freely between rooms and back to the HVAC system, keeping your home comfortable and reducing energy consumption. In this guide, we will walk you through the step-by-step process of installing a return air duct in the wall.
Gathering the necessary tools and materials
Before you start the installation process, it’s important to gather all the necessary tools and materials. Having everything at hand will save you time and ensure a smooth installation. Here’s a list of what you’ll need:
| Tools | Materials |
|
|
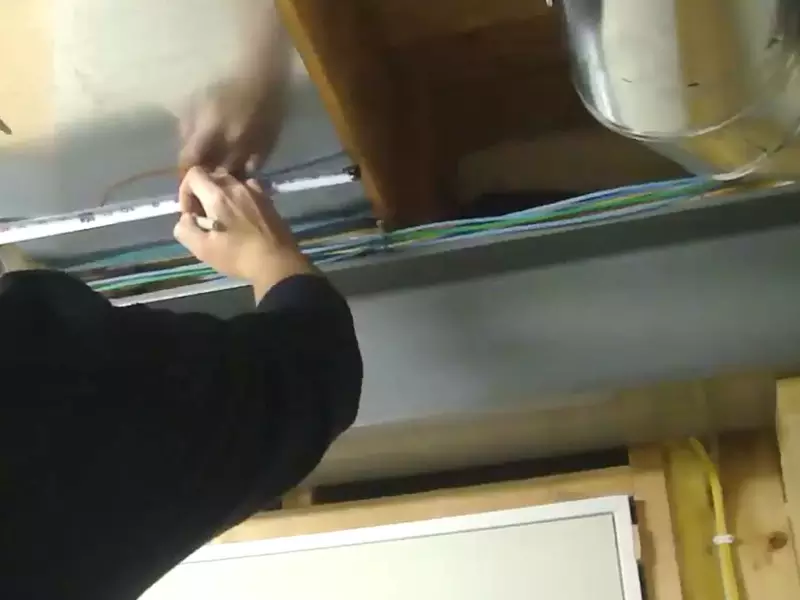
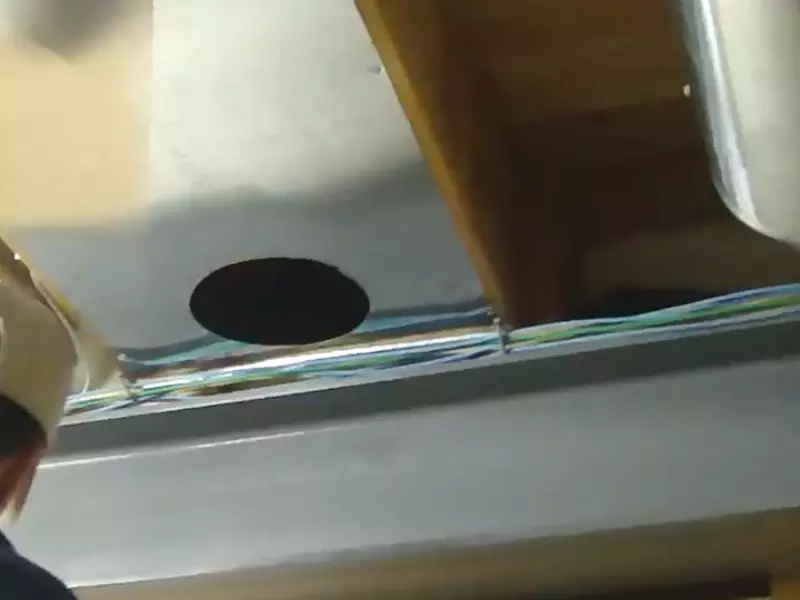
Cutting a hole in the wall for the duct opening
Once you have gathered all the necessary tools and materials, it’s time to cut a hole in the wall for the duct opening. Here are the steps you need to follow:
- Locate a suitable area on the wall for the return air duct. Ensure it’s away from any electrical wires or plumbing pipes.
- Using a tape measure and pencil, mark the dimensions of the duct opening on the wall.
- With a drywall saw, carefully cut along the marked lines to create the hole for the duct opening.
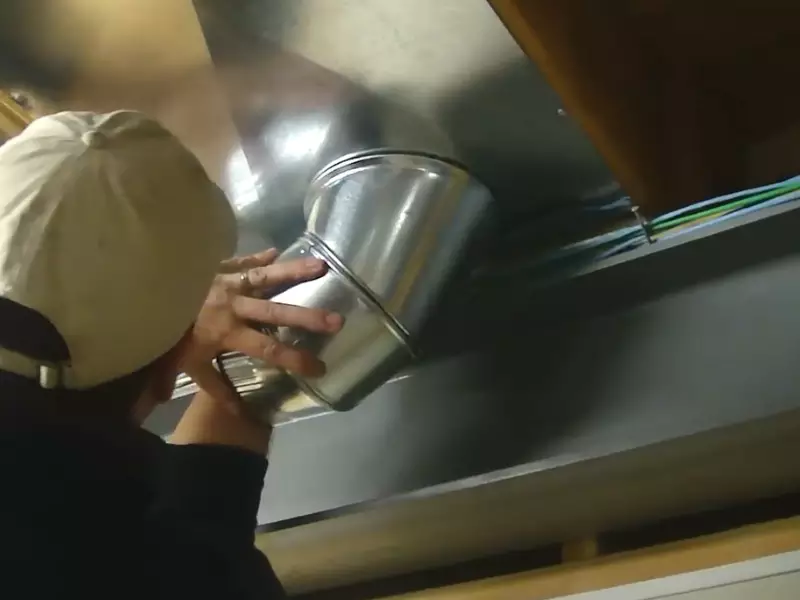
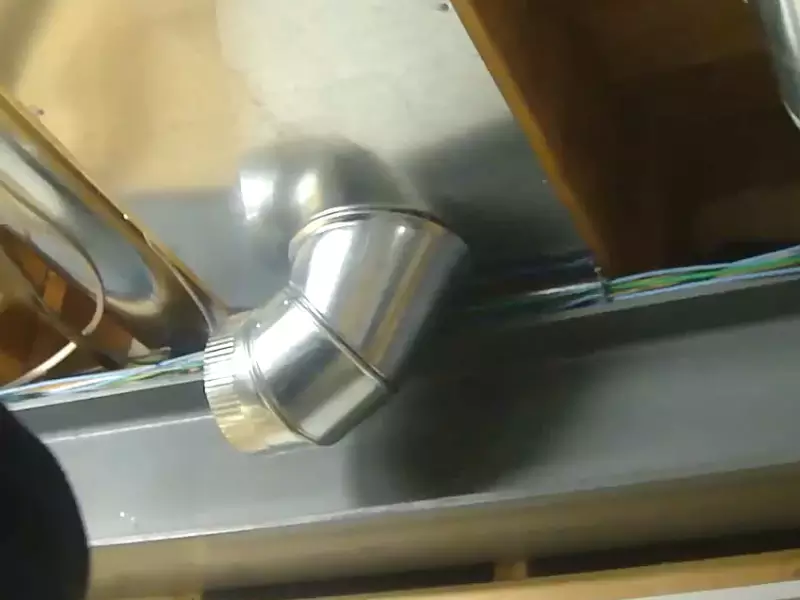
Connecting the return air duct to the HVAC system
Now that you have the hole for the duct opening, it’s time to connect the return air duct to the HVAC system. Follow these steps:
- Attach a flexible duct connector to the HVAC system using screws or a drill.
- Connect one end of the return air duct to the connector and secure it using duct tape.
- Extend the duct through the wall opening and cut it to the appropriate length using tin snips.
- Secure the other end of the duct to the connector using duct tape.
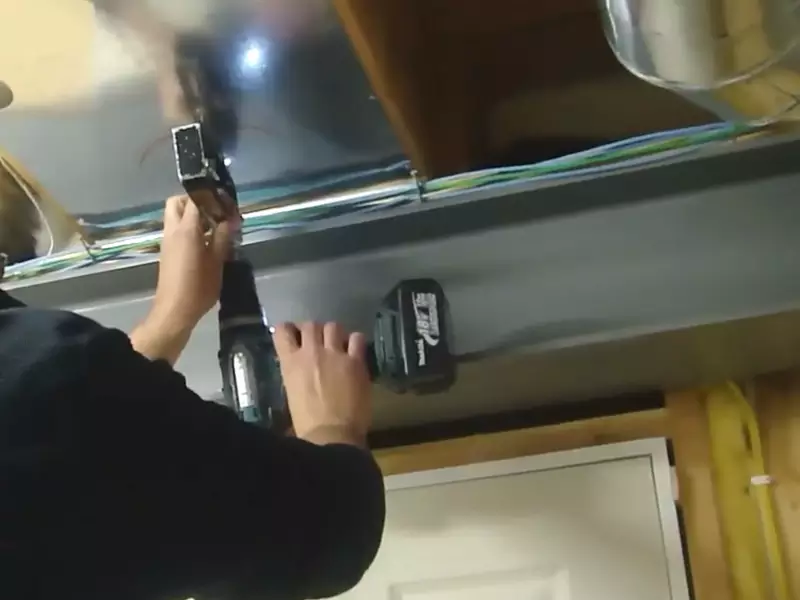
Securing the duct in place using appropriate supports
To ensure the return air duct stays in place and doesn’t sag over time, it’s important to secure it using appropriate supports. Here’s what you should do:
- Install metal or plastic straps at regular intervals along the length of the duct.
- Using screws or nails, secure the straps to the wall or ceiling.
- Make sure the supports are tight enough to prevent any movement or sagging of the duct.
Sealing the duct connections and insulating if necessary
To avoid any air leaks and improve the efficiency of your return air duct, it’s essential to seal the connections and insulate the duct if necessary. Follow these steps:
- Apply duct mastic or foil tape to seal all the connections between the duct sections.
- If the duct is located in an unconditioned space, such as an attic or basement, consider insulating it with duct insulation to prevent heat loss or gain.
Installing a return air grille or vent cover
Finally, complete the installation process by installing a return air grille or vent cover. Here’s what you need to do:
- Select a suitable grille or vent cover that matches the aesthetic of your home.
- Position the grille or vent cover over the duct opening and secure it using screws or the provided fasteners.
- Ensure that the grille or vent cover is properly aligned and securely in place.
By following these steps, you can successfully install a return air duct in the wall and improve the performance of your HVAC system. Remember to consult a professional if you encounter any difficulties or if you’re not confident in completing the installation yourself.
Tips For A Successful Installation
Following Safety Precautions during the Installation Process
Before you begin installing a return air duct in your wall, it is crucial to prioritize safety. By taking the necessary precautions, you can minimize any potential risks and ensure a successful installation.
In order to maintain a safe environment, consider the following:
- Wear appropriate safety gear, such as gloves and safety goggles, to protect yourself from any sharp objects or dust particles.
- Turn off the power supply to your HVAC system to avoid any electrical accidents during the installation process.
- Make sure to follow local building codes and regulations to ensure compliance and safety.
By adhering to these safety measures, you can proceed with confidence knowing that you have taken the necessary precautions for a successful installation.
Checking for Air Leaks and Addressing Them for Optimal Efficiency
After the return air duct is installed, it is crucial to check for any potential air leaks. Addressing these leaks promptly will optimize the efficiency of your HVAC system and prevent unnecessary energy loss.
Here are some steps to identify and address air leaks:
- Inspect the entire return air duct system, paying close attention to joints, connections, and seams.
- Use a smoke pencil or some soapy water to detect any air leaks. If you notice air bubbles or smoke being drawn into the duct, it indicates a leak.
- Seal any identified leaks using high-quality duct tape or mastic sealant. Ensure that all gaps are adequately closed to prevent air leakage.
By proactively addressing air leaks, you can maintain optimal airflow within your HVAC system and maximize its efficiency, ultimately saving energy and reducing utility costs.
Conducting Regular Maintenance and Cleaning of the Return Air Duct
Maintaining cleanliness and performing regular maintenance on your return air duct is crucial for its longevity and efficient functioning. Over time, dust, debris, and other contaminants can accumulate in the duct, obstructing airflow and diminishing the quality of indoor air.
To ensure proper maintenance and cleaning:
- Regularly inspect the return air duct for excessive dust or debris accumulation.
- Use a vacuum cleaner or a damp cloth to clean the exterior surfaces of the duct.
- Consider professional duct cleaning services periodically to thoroughly remove any built-up contaminants.
Regular maintenance and cleaning of the return air duct will not only improve the indoor air quality but also prevent any potential damage caused by clogged or obstructed ducts.
Consulting with Professionals for Complex Installations or Modifications
While installing a return air duct in a wall can be a straightforward task, some installations or modifications may require professional expertise. Consulting with professionals in such scenarios ensures that the installation is carried out accurately and efficiently.
Here are some instances when seeking professional assistance is advisable:
- If you are unsure about the structural integrity of the wall or the ability to accommodate a return air duct.
- For complex installations that involve multiple bends, intersections, or connections.
- When modifying an existing return air duct system to accommodate changes in your HVAC setup.
By consulting with professionals, you can ensure that the installation or modification of the return air duct aligns with industry standards and guarantees optimal performance of your HVAC system.
Troubleshooting Common Issues
When installing a return air duct in the wall, it is important to ensure that it functions properly to maintain good airflow, reduce noise, and promote optimal air quality and temperature control. However, like any other HVAC system component, return air ducts can experience issues that need troubleshooting. In this section, we will address common issues that may arise during the installation or operation of a return air duct and provide practical solutions to resolve them. Let’s dive in!
Addressing airflow restrictions or blockages
One of the most common issues with return air ducts is airflow restrictions or blockages. These can occur due to various factors such as improper installation, debris accumulation, or undersized ducts. Restricted airflow can result in reduced system efficiency and comfort issues in your space. To resolve this, follow these steps:
- Check for any visible blockages or obstructions in the duct. Clear away any debris, dust, or foreign objects that may be causing the restriction.
- Inspect the ductwork for any loose connections or bends that may impede airflow. Ensure that all joints are properly sealed with duct tape or mastic to prevent air leakage.
- If the duct size is too small for the desired airflow, consider replacing it with a larger diameter duct. Consult an HVAC professional to determine the appropriate duct size for your system.
Dealing with excessive noise from the return air duct
Noise from the return air duct can be disruptive and annoying, particularly if it is located close to living areas or bedrooms. Excessive noise can be caused by loose components, vibrations, or insufficient insulation. Here’s how to tackle this issue:
- Inspect the duct connections and ensure that all joints are properly secured. Loose connections can cause vibrations and generate noise. Tighten any loose screws or fasteners using a screwdriver or wrench.
- Consider using acoustic insulation material around the duct to absorb noise. Wrap the duct with soundproofing materials such as foam or acoustic duct wrap to minimize noise transmission.
- If the noise persists, it may be a sign of an underlying issue with the HVAC system. In this case, it is best to consult an HVAC technician to diagnose and resolve the problem.
Resolving poor air quality or inadequate temperature control
If you are experiencing poor air quality or inadequate temperature control despite a properly installed return air duct, there could be underlying issues affecting system performance. Consider the following troubleshooting steps:
- Check the air filter in your HVAC system. A clogged or dirty filter can restrict airflow and lead to poor air quality. Replace the filter regularly according to the manufacturer’s recommendations.
- Inspect the ductwork for leaks or gaps that may result in air loss. Seal any noticeable leaks with duct tape or mastic. Consider hiring a professional to perform a ductwork inspection and sealing for more extensive issues.
- If the problem persists, it could be a sign of a malfunctioning HVAC system. Contact a licensed HVAC technician to diagnose and repair any issues with your system.
Troubleshooting issues with the return air grille or vent cover
The return air grille or vent cover is an essential component of the return air duct system. If you encounter any issues with it, such as improper fit or blockages, here’s how you can troubleshoot:
- Ensure that the grille or vent cover is properly installed and securely fastened to the wall. Loose grilles can restrict airflow and cause noise issues. Tighten any loose screws or clips to secure the grille in place.
- Inspect the grille or vent cover for dust, dirt, or debris. Clean the grille regularly with a vacuum or damp cloth to remove any obstructions that may hinder airflow.
- If the grille is damaged or the vent cover is missing, consider replacing them with compatible replacements. Consult the manufacturer’s guidelines for installation instructions.
By following these troubleshooting steps, you can address common issues that may arise during the installation or operation of a return air duct. Remember, if you encounter complex or persistent problems, it is always best to consult a professional HVAC technician to ensure the optimal performance of your system.
Frequently Asked Questions For How To Install Return Air Duct In Wall
Where Is The Best Place To Put Return Air Ducts?
The best place to put return air ducts is in centrally located areas, such as the hallway or common areas, to ensure proper air circulation throughout the entire home. This helps to maintain balanced air pressure and temperature throughout the house, enhancing the efficiency of the HVAC system.
How Do You Install An Air Vent In The Wall?
To install an air vent in the wall, first, choose a suitable location. Next, mark the area and cut a hole in the wall. Insert the vent into the hole and secure it with screws. Lastly, connect the vent to the ductwork using appropriate fittings.
How Much Does It Cost To Add A Return Air Duct?
The cost of adding a return air duct can vary depending on factors such as the size of the duct, the complexity of the installation, and the region you are in. Generally, the cost can range from $300 to $800.
It is best to consult with a professional HVAC contractor for an accurate estimate.
Can You Use Wall Cavity For Return Air?
No, it is not recommended to use the wall cavity for return air. It can lead to poor air circulation and may cause damage to the structure. It is best to use dedicated return air ducts for efficient and safe air movement.
Conclusion
Installing a return air duct in the wall is an essential step in ensuring proper ventilation and air circulation in your home. By following the steps outlined in this blog post, you can confidently tackle this project on your own.
Remember to measure carefully, use the right tools, and seal all connections properly to prevent air leakage. With a little patience and attention to detail, you can improve the air quality in your home while optimizing your HVAC system’s efficiency.
Start your installation today and enjoy the benefits of a well-ventilated space!