To install retrofit stair treads, measure the width of your stairs and cut each tread accordingly before attaching them securely with screws. Retrofit stair treads can transform the appearance of your stairs and make them safer with added traction and durability.
By following the steps outlined below, you can easily install retrofit stair treads and enhance the aesthetic appeal and safety of your staircase. Whether you are a DIY enthusiast or a professional contractor, this guide will provide you with the necessary information to successfully complete the installation process.
With a few basic tools and materials, you can have a beautiful and functional set of stairs in no time. So, let’s get started!
Factors To Consider When Selecting Retrofit Stair Treads
When it comes to improving the look and functionality of your stairs, retrofit stair treads can make a huge difference. Retrofit stair treads are designed to be installed over existing stairs, providing a fresh and updated appearance. However, selecting the right retrofit stair treads requires careful consideration of various factors. In this article, we will explore the key factors to consider when selecting retrofit stair treads.
Material options
The material you choose for your retrofit stair treads can greatly impact both the look and durability of your stairs. Different materials offer different benefits, so it’s important to choose one that suits your needs.
Here are some popular material options for retrofit stair treads:
- Wood: Wood retrofit stair treads are timeless and versatile. They are available in various finishes, including natural wood, stained, or painted, allowing you to match your existing decor. Wood treads also offer excellent grip and can be easily refinished if needed.
- Laminate: Laminate retrofit stair treads are a cost-effective option that mimics the look of wood. They are durable and resistant to scratches, making them ideal for high-traffic areas. Laminate treads are available in a wide range of colors and patterns, giving you more design flexibility.
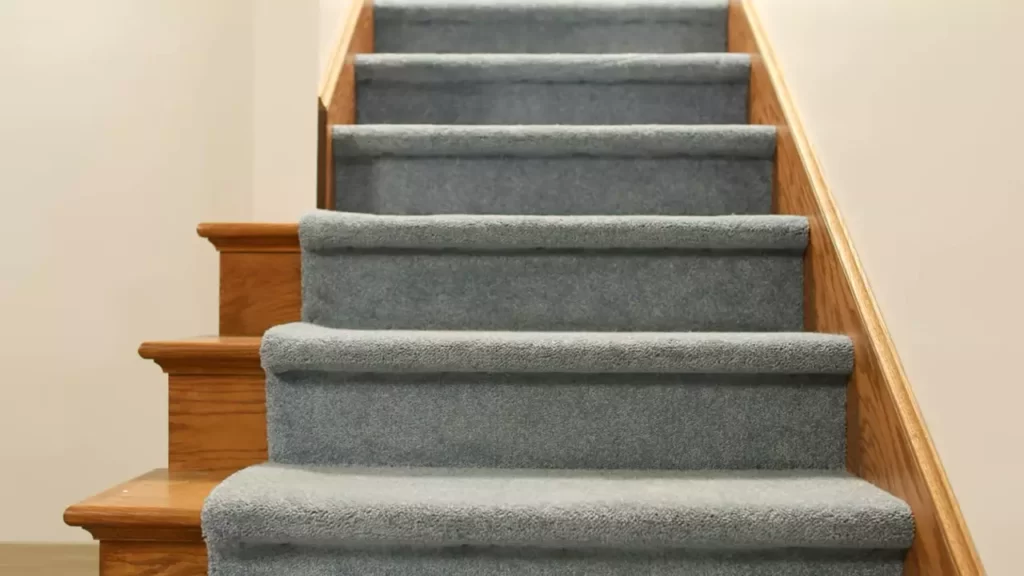
- Carpet: Carpet retrofit stair treads provide a soft and comfortable surface to walk on. They also help reduce noise and provide insulation. Carpet treads are available in a variety of colors and textures, allowing you to create a cozy and inviting look for your stairs.
Design options
The design of your retrofit stair treads can transform the look of your entire staircase. From classic to modern, there are endless design options to choose from.
Consider the following design options when selecting your retrofit stair treads:
- Patterned: Patterned retrofit stair treads can add visual interest and create a focal point on your stairs. They are available in a wide range of designs, from geometric to floral patterns.
- Solid color: Solid color retrofit stair treads provide a clean and elegant look. They are versatile and can easily complement any existing decor.
- Textured: Textured retrofit stair treads offer enhanced slip resistance and can add depth and character to your stairs. They are available in various textured finishes, such as ribbed or embossed.
Dimensions and measurements
Ensuring the dimensions and measurements of your retrofit stair treads match your existing stairs is crucial for a seamless installation. Taking accurate measurements will help you select the right size and prevent any gaps or overhangs.
Here are the key dimensions and measurements to consider:
| Measurement | Description |
|---|---|
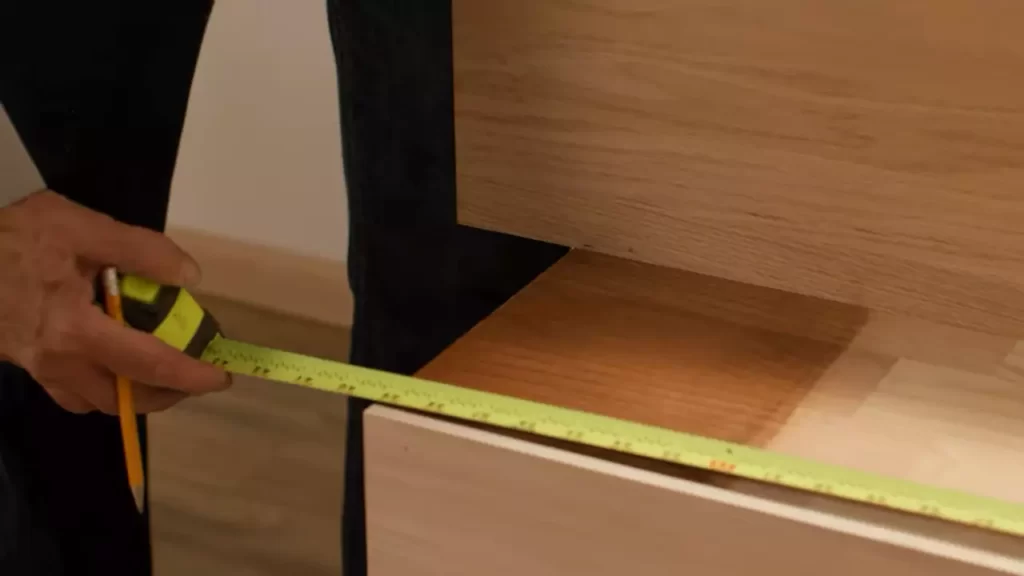
| Tread width | Measure the horizontal width of your existing stairs. This will determine the width of your retrofit stair treads. |
| Tread depth | Measure the depth of your existing stairs from the back of the tread to the front nosing. This will determine the depth of your retrofit stair treads. |
| Riser height | Measure the vertical height between each step. This will determine the height of your retrofit stair treads. |
By carefully considering these factors, you can select the perfect retrofit stair treads that not only enhance the look of your stairs but also provide long-lasting durability and safety.
Removing The Existing Stair Treads
When it’s time to give your stairs a fresh, updated look, installing retrofit stair treads is a great option. But before you can install the new treads, you’ll need to remove the existing ones. This step-by-step guide will walk you through the process of safely and efficiently removing the old stair treads, so you can get started on your staircase makeover!
Tools required
Before you begin, make sure you have the following tools at hand:
| Tools | Quantity |
|---|---|
| Hammer | 1 |
| Pry bar | 1 |
| Utility knife | 1 |
| Gloves | 1 pair |
| Safety glasses | 1 pair |
Having these tools ready will ensure that you can complete the removal process effectively and without any hiccups.
Step-by-step removal process
- Prepare the workspace: Before you dive into removing the stair treads, it’s important to create a safe and organized workspace. Clear any obstacles and cover the surrounding area with a drop cloth to protect it from damage.
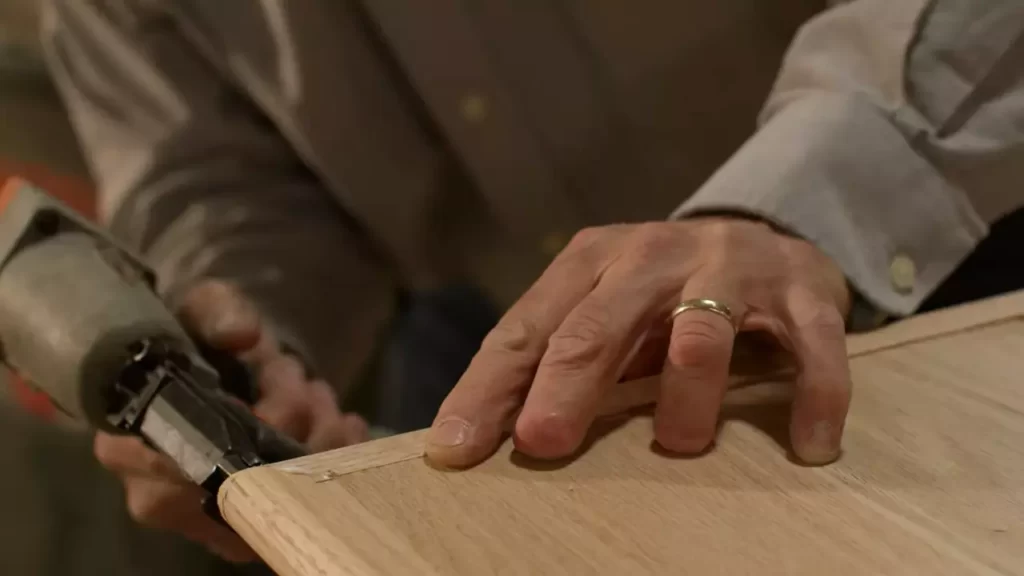
- Remove the nosing: Using a utility knife, carefully cut away the nosing of the tread. Make sure to wear gloves and safety glasses for protection. This will expose the underlying structure of the tread.
- Detach the riser: Next, use a pry bar to gently detach the riser from the tread. Start at one end and work your way across, applying even pressure to avoid causing any damage. If the riser is nailed in place, you may need to use a hammer to carefully tap the pry bar for additional leverage.
- Detach the tread: Once the riser is detached, it’s time to remove the tread itself. Starting at one end, carefully insert your pry bar underneath the tread and apply upward pressure to loosen it from the supports. Again, use a hammer if needed to assist in loosening any stubborn sections.
- Repeat for all treads: Follow the same process for each individual tread, working your way up or down the staircase until all existing treads have been removed. Take your time to ensure each one is safely detached without causing any damage to the underlying structure.
With the old stair treads successfully removed, you’re now ready to move on to the next step in the process – installing the retrofit stair treads. Stay tuned for our upcoming blog post on that topic!
Cleaning And Prepping The Staircase
Before installing retrofit stair treads, it is important to properly clean and prep the staircase to ensure a smooth and secure installation. This process involves removing dust and debris, evaluating the condition of the stairs, and repairing any damages.
Removing dust and debris
The first step in preparing your staircase for retrofit stair tread installation is to remove any dust and debris. This can be easily accomplished by using a broom or vacuum cleaner to sweep away loose particles. Additionally, you can use a damp cloth or mop to wipe down the stairs and remove any stubborn dirt or stains.
Evaluating the condition of the stairs
With the staircase clean, it’s important to evaluate the condition of the stairs. Look for any signs of wear and tear such as cracks, splintering, or loose boards. Inspect the edges of each step to ensure they are even and free from any damage that could affect the installation and stability of the retrofit stair treads. Make a note of any areas that require repair.
Repairing any damages
Once you have identified areas that need repair, it is crucial to address them before installing the retrofit stair treads. Repairing any damages will not only ensure a stable and secure installation but also extend the lifespan of your staircase. Depending on the severity of the damage, you may need to use wood filler to fill in cracks or replace entire steps if necessary. It’s essential to follow proper repair techniques and allow sufficient time for any repairs to fully dry before proceeding to the installation process.
By thoroughly cleaning and prepping your staircase, you are laying the foundation for a successful retrofit stair tread installation. Taking the time to remove dust and debris, evaluate the condition of the stairs, and address any damages will result in a sturdy and aesthetically pleasing staircase that enhances the overall appeal of your home.
Measuring And Cutting Retrofit Stair Treads
Installing retrofit stair treads can give your staircase a fresh, updated look. However, to ensure a perfect fit and a professional finish, accurate measurement and proper cutting techniques are essential. In this section, we will discuss some accurate measurement techniques and proper cutting methods for installing retrofit stair treads.
Accurate Measurement Techniques
Accurate measurements are crucial when it comes to retrofit stair tread installation. Here are some techniques to ensure you get accurate measurements:
- Start by measuring the width of the stair tread. Use a tape measure to measure from one side of the stair tread to the other. Make sure to measure at different points along the width to account for any variations.
- Next, measure the depth of the stair tread. This measurement should be taken from the back of the tread to the front edge. Again, measure at multiple points to account for any variations.
- Once you have the width and depth measurements, double-check your measurements before proceeding to the cutting stage. It’s always better to be safe than sorry!
Proper Cutting Methods
Cutting the retrofit stair treads to the correct size is crucial for a seamless installation. Follow these proper cutting methods:
- Use a straight-edge ruler or a square to ensure your cut lines are straight and accurate.
- For cutting, it’s best to use a circular saw or a miter saw with a fine-tooth blade specifically designed for cutting hardwood. This will help you achieve clean and precise cuts.
- Before making any cuts, make sure to double-check your measurements and mark the correct cutting lines on the stair tread.
- Remember to wear safety goggles and gloves while cutting the stair treads to protect yourself from any potential injuries.
Now that you have accurate measurements and are aware of proper cutting methods, you are ready to install the retrofit stair treads. Follow these measurement and cutting techniques to ensure a professional finish and a perfect fit for your staircase.
Applying Adhesive Or Fasteners
When it comes to installing retrofit stair treads, one important step is applying adhesive or fasteners to ensure a secure and stable attachment. This step plays a crucial role in the overall success and durability of your stair tread installation. In this section, we will discuss choosing the right adhesive or fasteners and how to apply them properly.
Choosing the Right Adhesive or Fasteners
Before diving into the installation process, it’s essential to select the right adhesive or fasteners for your retrofit stair treads. Making the correct choice will help guarantee a long-lasting and sturdy installation. Here are a few options to consider:
- Construction Adhesive: Construction adhesive is a popular choice for attaching retrofit stair treads. Look for an adhesive specifically designed for wood-to-wood bonding. This type of adhesive offers a strong and secure grip.
- Adhesive Tape: Adhesive tapes designed for stair tread installation provide a convenient and mess-free alternative to traditional adhesives. They offer reliable adhesion and are easy to apply.
- Screws: Opting for screws is another viable option. These fasteners ensure a reliable connection between the stair tread and the underlying surface. Make sure to choose corrosion-resistant screws, especially if installed outdoors.
Consider the specific requirements of your project and consult with professionals if needed, to make an informed decision regarding the adhesive or fasteners.
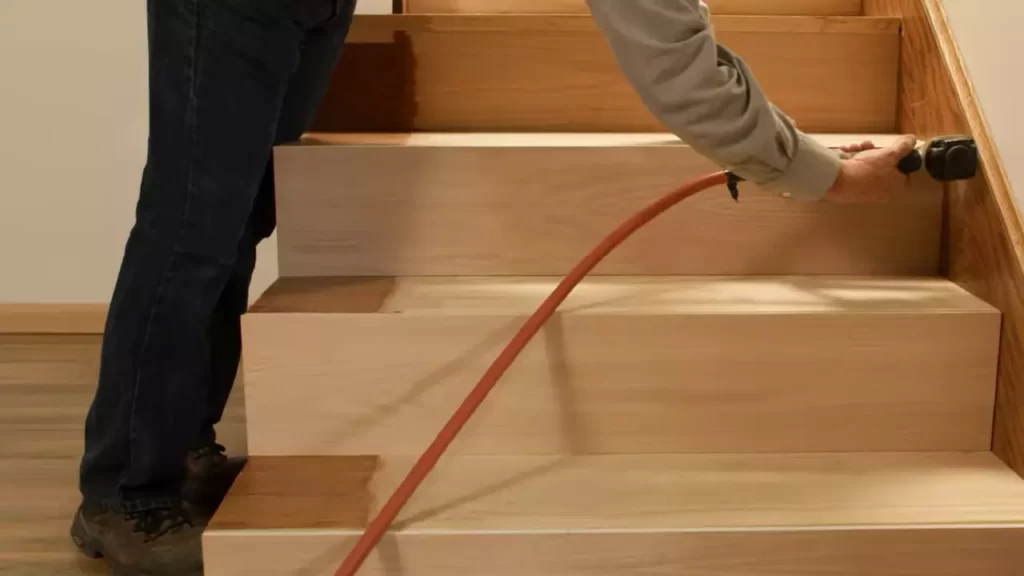
Applying Adhesive or Fasteners Properly
Now that you’ve chosen the right adhesive or fasteners, it’s time to apply them correctly to achieve a secure and long-lasting installation. Follow these steps:
- Clean and Prepare the Surface: Before applying any adhesive or fasteners, ensure that the surface is clean and free from dust, debris, and any old adhesive remnants. A clean surface allows for better adhesion and results in a more reliable installation.
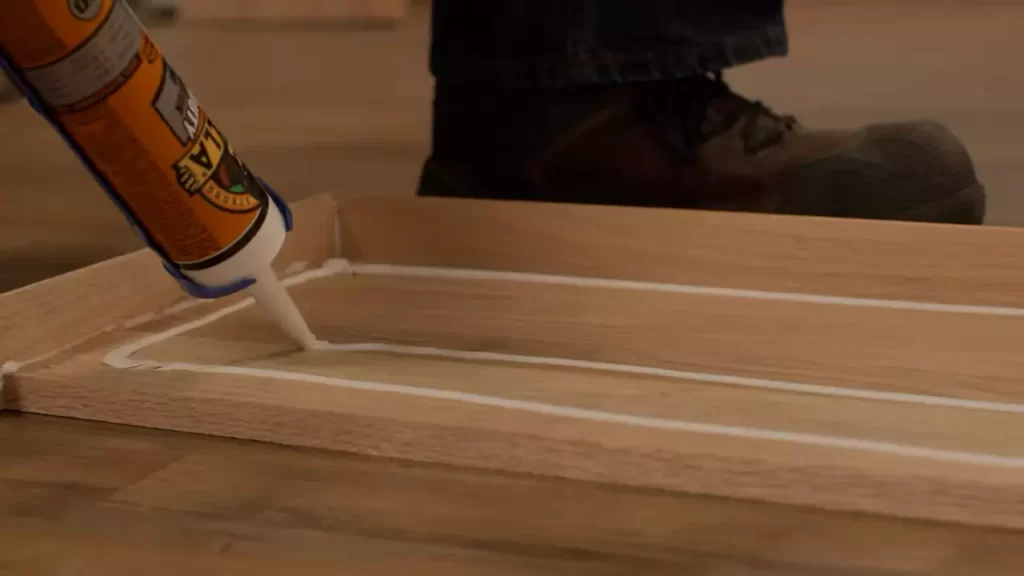
- Apply the Adhesive: If you’ve chosen construction adhesive, apply it following the manufacturer’s instructions. Typically, you’ll need to apply a bead of adhesive along the entire length of the stair tread, avoiding the edges.
- Attach the Stair Tread: Once the adhesive is applied, carefully position the stair tread over the underlying surface, aligning it properly. Apply even pressure across the entire tread to ensure secure adhesion.
- Secure with Fasteners: If using screws, pre-drill pilot holes in the stair tread and into the substrate. Then, insert the screws and tighten them until they are firmly in place without over-tightening, which could damage the wood.
Remember to refer to the manufacturer’s instructions or consult with professionals if you encounter any difficulties during the installation process. By choosing the right adhesive or fasteners and applying them properly, you can enjoy a safe and reliable retrofit stair tread installation that will last for years to come.
Installing Retrofit Stair Treads
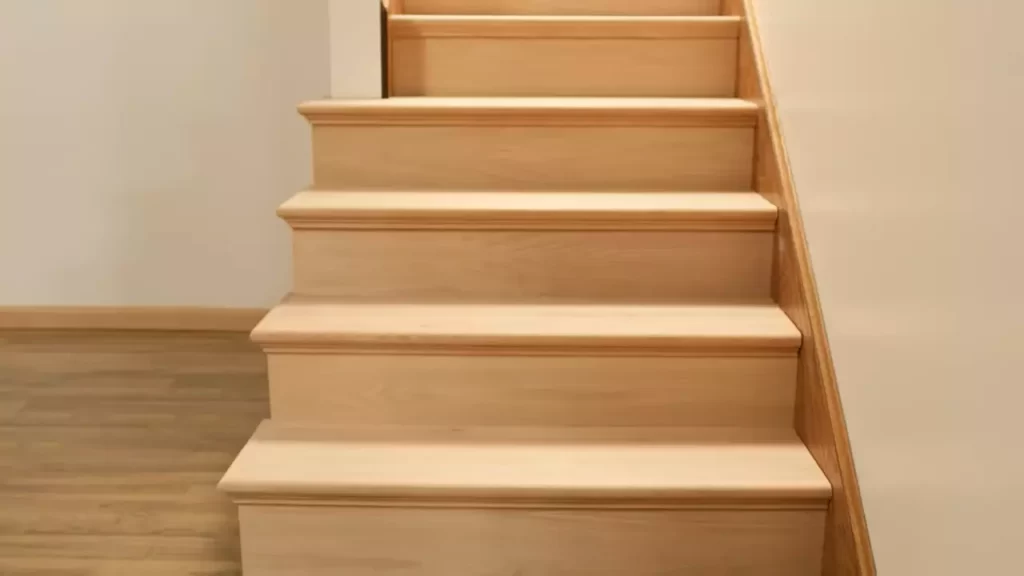
Installing retrofit stair treads is a great way to update the look of your stairs while also improving their safety and durability. Retrofit stair treads are designed to be installed over your existing stairs, providing a fresh and stylish appearance without the need for a full staircase remodel. In this article, we will discuss the proper alignment techniques and how to securely attach the treads, ensuring a successful installation.
Proper Alignment Techniques
Proper alignment is crucial for a seamless and professional-looking retrofit stair tread installation. Follow these steps to ensure accurate alignment:
- Begin by measuring the width of each existing step to determine the appropriate size for your retrofit stair treads.
- Use a chalk line or a laser level to create a straight line across the front edge of each step. This will serve as a guide for aligning the treads.
- Place the first retrofit stair tread at the bottom of the staircase, aligning it with the chalk line or laser level. Make sure it is centered and level.
- Continue installing the remaining treads, using the same alignment technique and checking for levelness as you go along.
Attaching the Treads Securely
Ensuring that the retrofit stair treads are securely attached is essential for both safety and longevity. Follow these steps to securely attach the treads:
- Apply a high-quality construction adhesive to the back of each tread, following the manufacturer’s instructions.
- Press the tread firmly against the existing step, ensuring proper alignment with the front edge and sides.
- Use a rubber mallet to gently tap the tread into place, ensuring a strong bond with the step.
- Secure the tread further by using screws or finishing nails, if desired. Be sure to countersink the screws or nails to prevent tripping hazards.
By following these proper alignment techniques and securely attaching the retrofit stair treads, you can achieve a professional and durable installation. Remember to take your time and measure accurately for a seamless finish. Enjoy your new stairs!
Safety Measures And Maintenance
Retrofit stair treads not only enhance the aesthetic appeal of your staircase but also provide additional safety measures for those using them. To ensure the longevity and functionality of these treads, it is vital to follow proper safety measures and perform regular cleaning and maintenance. In this section, we will explore two key aspects: Ensuring slip resistance and Regular cleaning and maintenance.
Ensuring Slip Resistance
Slips and falls can lead to serious injuries. Ensuring slip resistance on your retrofit stair treads is of utmost importance to keep everyone using the staircase safe. Here are some tips to achieve slip resistance:
- Install stair treads that come with slip-resistant surface materials, such as rubber or non-skid adhesive backings. This provides an extra layer of grip and stability.
- Regularly check the condition of your retrofit stair treads. Look out for any signs of wear and tear, such as worn-out edges or unreliable traction. Replace them immediately if needed.
- Maintain proper lighting on the stairs. A well-lit staircase allows users to clearly see the edges and surfaces, minimizing the risk of slips.
- Consider adding handrails to provide additional support when navigating the stairs.
Regular Cleaning and Maintenance
To ensure the longevity and appearance of your retrofit stair treads, regular cleaning and maintenance are essential. Here are some important practices to adhere to:
- Start by removing any loose debris or dirt using a stiff brush or vacuum cleaner. This will prevent the accumulation of dirt, which could affect the slip resistance of the tread.
- Use a mild detergent mixed with warm water to gently clean the surface of the treads. Avoid using abrasive cleaners or scrub brushes that may damage the materials.
- Dry the treads thoroughly to prevent the growth of mold or mildew. Moisture can weaken the adhesive or affect the overall durability of the treads.
- Inspect the treads for any signs of damage or loose parts periodically. Address any issues immediately to maintain safety and functionality.
By following these safety measures and maintaining your retrofit stair treads properly, you can ensure the safety of those using the stairs while preserving the aesthetic appeal of your staircase.
Frequently Asked Questions For How To Install Retrofit Stair Treads
How Do You Install Stair Treads Over Existing Stairs?
To install stair treads over existing stairs, follow these steps:
1. Clean and prepare the stairs by removing any debris or old material.
2. Measure the length and width of each stair tread and cut the new treads accordingly.
3. Apply adhesive to the back of each tread and press it firmly onto the existing stairs.
4. Allow the adhesive to dry completely before using the stairs.
5. Enjoy your new, updated staircase!
Can I Put Stair Treads Over Existing ones?
Yes, you can put stair treads over existing stairs. It’s a simple and cost-effective way to improve the appearance and safety of your stairs. However, make sure the existing stairs are structurally sound and in good condition before installing the new treads to ensure durability and stability.
What Is The Difference Between Standard And Retrofit Stair Tread?
Standard stair treads are designed for new construction, while RetroFit treads are used to cover existing stairs. Standard treads require installation on a complete staircase, while RetroFit treads can be applied directly to the existing steps. RetroFit treads are a popular option for staircase remodeling projects.
How Do You Install Retrofit Riser?
To install a RetroFit riser, follow these steps:
1. Turn off power and water supply to the toilet.
2. Remove the toilet tank and bowl.
3. Place the riser on the existing flange.
4. Secure it with screws.
5. Reinstall the toilet components.
Conclusion
Installing retrofit stair treads can be a straightforward and cost-effective way to upgrade your staircase. By following the step-by-step process outlined in this blog post, you can transform your stairs into a beautiful and safe feature of your home. Whether you are a seasoned DIY enthusiast or a beginner, this guide provides the necessary information to tackle this project with confidence.
Don’t hesitate to add style and functionality to your stairs today!
