To install outdoor stair railing, measure and mark the position of the railing, drill holes for the brackets, attach the brackets to the railing, and secure the railing to the stairs using screws or bolts. Outdoor stair railing is an essential safety feature that provides support and stability when navigating stairs.
Whether you are adding a new railing or replacing an existing one, proper installation is crucial to ensure its effectiveness and durability. We will guide you through the steps of installing outdoor stair railing, from measuring and marking the position to securely attaching the railing to the stairs.
By following these steps, you can enhance the safety and aesthetics of your outdoor stairs. So, let’s get started!
Factors To Consider When Selecting Outdoor Stair Railings
When installing outdoor stair railings, there are several important factors to consider. The right choice of materials, style, and design, as well as durability and maintenance, can make all the difference in creating a safe and visually appealing railing for your outdoor stairs. In this section, we will explore these factors in more detail, helping you make informed decisions on selecting the perfect outdoor stair railings for your home.
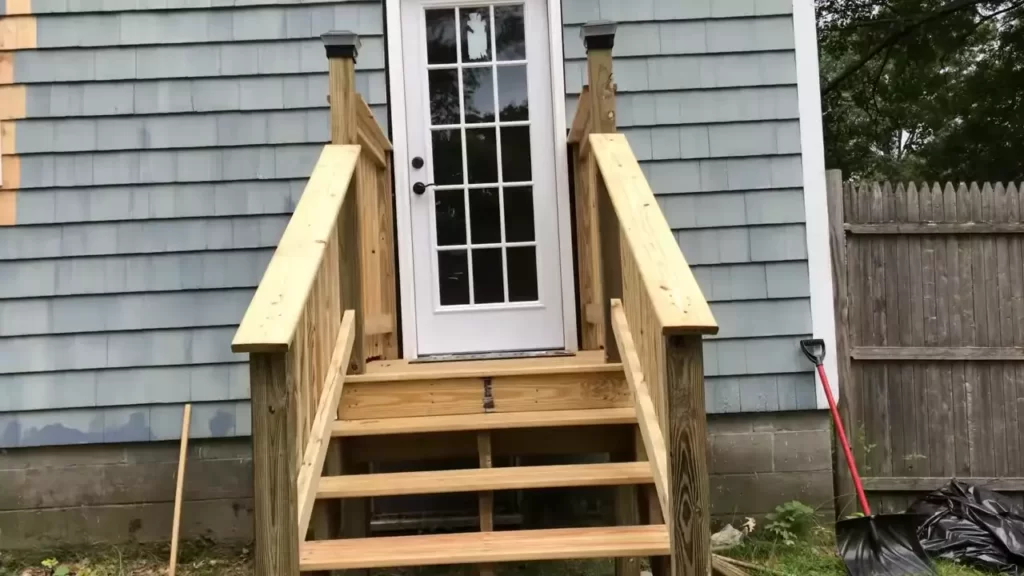
Material: Exploring the Different Options
One of the first things to consider when selecting outdoor stair railings is the material. Various options are available, each with its own advantages and disadvantages. Here are the most common materials used for outdoor stair railings:
| Material | Advantages | Disadvantages |
|---|---|---|
| Wood | Classic and natural look Can be painted or stained Relatively inexpensive | Requires regular maintenance Can be susceptible to rot and decay Not as durable as other materials |
| Metal | Strong and durable Low maintenance Wide range of styles and finishes | Higher cost compared to other materials May rust or corrode over time |
| Composite | Resistant to rot, decay, and insects Low maintenance Available in various colors and finishes | Higher cost compared to wood Can fade or discolor over time |
Style and Design: Finding the Perfect Match for Your Home
Once you have determined the material for your outdoor stair railings, it’s essential to consider the style and design that will complement your home’s architecture and personal taste. Here are a few key points to keep in mind:
- Match the railing style to your home’s overall aesthetics. Choose between modern, traditional, rustic, or any other style that aligns with your preferences.
- Consider the visual appeal and how it will blend with the existing exterior elements, such as the house color, landscape, and other outdoor structures.
- Pay attention to the railing’s shape and form. Curved or straight railings can dramatically affect the overall look and feel of your outdoor stairs.
Durability and Maintenance: Ensuring Longevity
Lastly, durability and maintenance play a vital role in selecting outdoor stair railings. In order to ensure longevity and reduce the need for frequent repairs or replacements, consider the following:
- Choose a material that can withstand outdoor elements, such as extreme weather conditions and UV exposure.
- Opt for a railing that requires minimal maintenance. This could include materials that are resistant to rot, decay, insects, or fading.
- Consider the long-term costs of maintenance and repairs when comparing different railing options.
By taking into account these factors, you can make an informed decision when selecting outdoor stair railings that not only enhance the safety and functionality of your stairs but also add visual appeal to your outdoor space.
Measuring And Inspecting The Staircase
Assessing the Staircase Structure
Before installing outdoor stair railing, it is crucial to assess the structure of your staircase to ensure a secure and accurate installation. By inspecting the staircase, you can identify any potential issues or areas that may require additional supports or modifications.
Measuring the Length and Height of Stairs
Accurate measurements are essential when it comes to installing outdoor stair railing. To ensure a proper fit, you will need to measure the length and height of your stairs. Here’s how you can do it:
- Start by measuring the length of the stairs. Use a measuring tape to determine the distance from the top step to the bottom step. Make sure to measure the entire length, including any landings or platforms.
- Next, measure the height of the stairs. Place the measuring tape at the base of the bottom step and measure up to the top step. This will give you the vertical height of the stairs.
By accurately measuring the length and height of your stairs, you can ensure that your outdoor stair railing will fit perfectly and provide the necessary safety and support.
Gathering The Necessary Tools And Materials
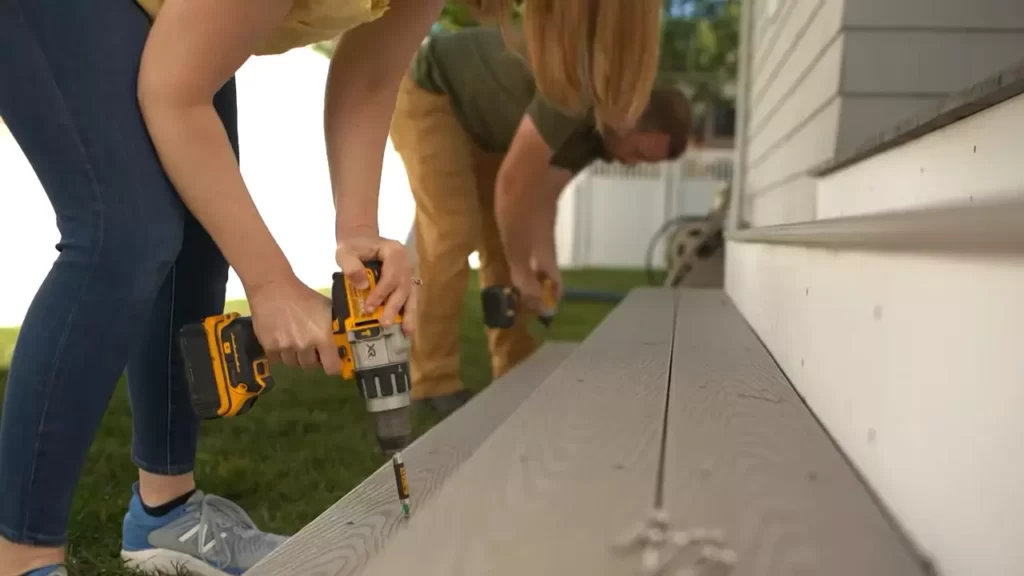
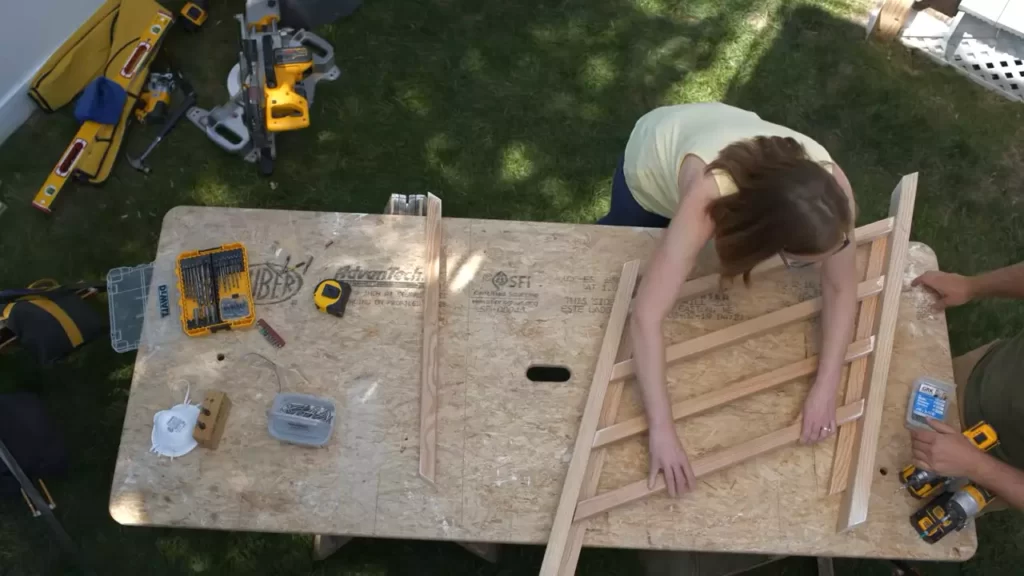
Before you begin installing your outdoor stair railing, it is essential to gather all the necessary tools and materials to ensure a smooth and successful installation process. Having everything you need on hand will save you time and effort, allowing you to focus on the task at hand. In this section, we will cover the essential tools and required materials for a secure installation.
Essential Tools for the Installation Process
Equipping yourself with the right tools will make the installation process much easier and more efficient. Before starting, make sure you have the following tools:
- A measuring tape: A reliable measuring tape will help you accurately measure the length and height required for your outdoor stair railing.
- A level: Ensuring that your railing is perfectly level is crucial for both safety and aesthetic purposes. A good quality level will help you achieve a straight and even installation.
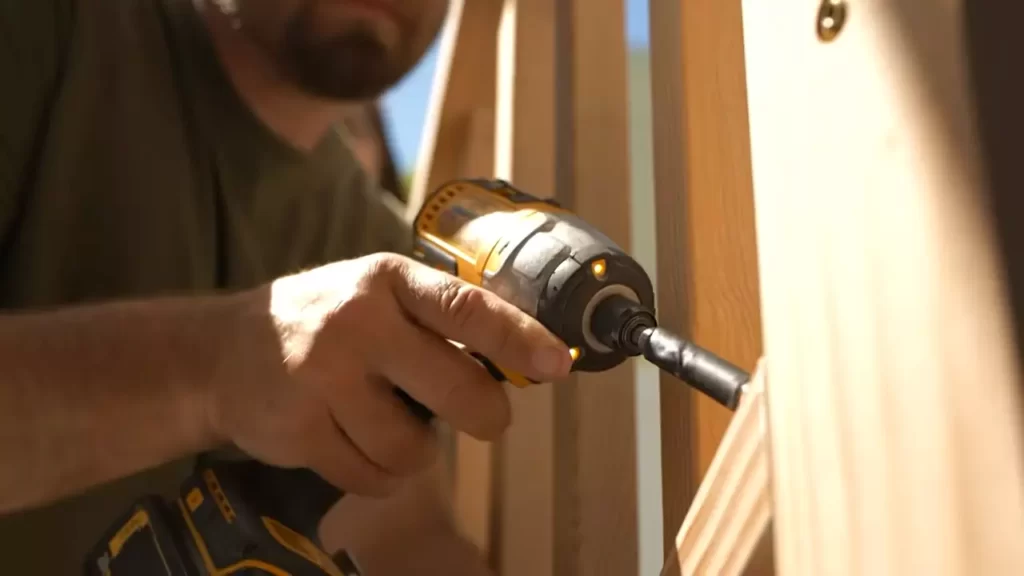
- A drill: The drill will be needed to create holes for the railing brackets and screws. Make sure you have the appropriate drill bits for your specific material.
- A screwdriver: Depending on the type of fasteners you are using, you will need either a Phillips or a flathead screwdriver.
- A wrench: If your railing system requires nuts and bolts for assembly, having a wrench will be necessary to tighten them securely.
- A saw: You may need to cut the railing material to the desired length, so having a saw suitable for the material you are working with is essential.
- Safety equipment: Always prioritize safety when working with tools. Wear protective gear such as gloves, safety goggles, and a helmet if necessary.
Required Materials for a Secure Installation
Now that you have the tools ready, it’s time to gather the necessary materials for a secure installation of your outdoor stair railing. The materials you will need may vary depending on the specific design and requirements of your railing system. However, here are some common materials that are typically needed:
| Materials | Description |
|---|---|
| Railing kit | A pre-assembled or customizable railing kit that includes the necessary components like posts, balusters, and brackets. |
| Fasteners | Screws, anchors, or bolts that are appropriate for outdoor installations and compatible with your chosen railing kit. |
| Railing material | Choose a durable and weather-resistant material such as aluminum, stainless steel, or vinyl for your outdoor stair railing. |
| Concrete mix | If you are installing the railing into concrete steps, you may need concrete mix to secure the posts and ensure stability. |
| Post caps | Post caps not only add a decorative touch to your railing but also protect the exposed ends of the posts from moisture and damage. |
Remember, it is crucial to choose quality materials that are designed to withstand outdoor elements and ensure the safety and longevity of your outdoor stair railing. By gathering the necessary tools and materials in advance, you will be well-prepared to tackle the installation process and create a secure and aesthetically pleasing railing for your outdoor space.
Marking And Drilling Pilot Holes
One crucial step in installing outdoor stair railing is marking and drilling pilot holes. This ensures that the railing is securely attached to the stairs and provides maximum safety for everyone using the stairs. In this section, we will discuss two key aspects of this process: determining the correct placement and height of the railing, and safely drilling pilot holes in the staircase.
Determining the Correct Placement and Height
Before you begin marking and drilling pilot holes, it’s essential to determine the correct placement and height of the outdoor stair railing. This will ensure that the railing meets local building codes and provides proper support for those using the stairs. Here’s a step-by-step guide to help you:
- Start by measuring the total length of the stairway where the railing will be installed. This will help you determine the amount of railing material you’ll need.
- Next, check your local building codes to find out the required height for the railing. Typically, it should be between 34 to 38 inches high. Mark the desired height on each post or wall where the railing will be attached.
- Once you have determined the height, mark the correct placement of the railing. Typically, the railing should be installed at least 1 to 4 inches away from the edge of the stairs, ensuring a safe and comfortable grip for users.
- Using a tape measure and level, mark the placement of each railing bracket or post along the stairway. Ensure that the marks are even and aligned to create a visually appealing and symmetrical look.
Safely Drilling Pilot Holes in the Staircase
Now that you have determined the correct placement and height of the outdoor stair railing, it’s time to safely drill pilot holes in the staircase. Follow these steps to ensure a secure installation:
- Using a pencil, mark the exact spots on the staircase where the pilot holes will be drilled. These marks should correspond to the locations of the railing brackets or posts.
- Choose a drill bit that matches the size of the screws or bolts you’ll be using to attach the railing. Generally, 1/4 to 3/8-inch drill bits are suitable for most outdoor stair railing installations.
- Attach the drill bit to your power drill and put on safety goggles to protect your eyes from any flying debris.
- Slowly and carefully drill pilot holes at each marked spot on the staircase. Make sure to drill straight and avoid applying excessive force, as it may damage the stairs or cause the drill bit to break.
- After drilling the pilot holes, use a vacuum or a brush to remove any wood shavings or debris from the holes. This will ensure a clean and smooth surface for attaching the railing brackets or posts.
By following these steps, you will successfully mark and drill pilot holes for your outdoor stair railing. This will create a strong and secure installation, providing safety and peace of mind for everyone using the stairs.
Attaching The Posts To The Staircase
Once you have measured and marked the positions for your outdoor stair railing, it’s time to attach the posts to the staircase. This step is crucial as it will secure the railing and ensure its stability. In this section, we will discuss two methods for attaching the posts: securing them with brackets or flanges and ensuring stability through reinforcement methods.
Securing the Posts with Brackets or Flanges
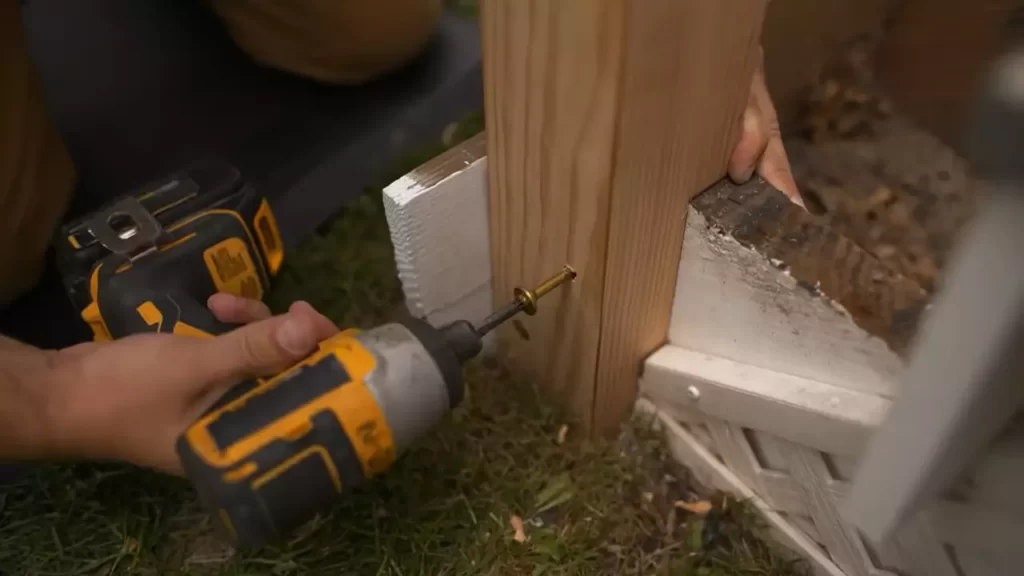
One popular method for attaching the posts is by using brackets or flanges. These attachments are designed to provide a strong connection between the post and the staircase without compromising stability. The following steps outline how to secure the posts using brackets or flanges:
- Start by aligning the bracket or flange with the bottom of the post and marking the holes for the screws.
- Drill pilot holes in the marked positions to prevent the wood from splitting when you screw in the bracket or flange.
- Attach the bracket or flange to the post using screws, ensuring it is firmly secured.
- Place the post in the desired position on the staircase and mark the holes for attaching the bracket or flange to the staircase.
- Drill pilot holes in the marked positions on the staircase.
- Secure the bracket or flange to the staircase using screws, making sure it is tightly fastened.
- Repeat the above steps for each post, ensuring they are evenly spaced along the staircase.
Ensuring Stability through Reinforcement Methods
While brackets or flanges provide a secure attachment, it is also essential to reinforce the railing posts to enhance stability. The following reinforcement methods can help ensure your outdoor stair railing remains sturdy:
- Use anchor bolts to secure the posts to the concrete or wood surface of the staircase. This method involves drilling holes and inserting the anchor bolts, which offer additional support and durability.
- Add a concrete footing under each post for increased stability. Dig a hole beneath each post, pour concrete into the hole, and place a metal post anchor or rebar into the wet concrete. Allow the concrete to cure before attaching the post.
- Connect adjacent posts with a strong handrail and baluster system. This helps distribute the weight evenly and prevents any wobbling or shifting of the railing.
- Consider using post anchors or braces for additional reinforcement. These metal components can be attached to the posts and secured to the staircase, providing extra stability.
By following these steps and reinforcing your outdoor stair railing, you can ensure a safe and durable installation. Take the time to secure the posts properly and implement reinforcement methods for added stability, allowing you to enjoy your outdoor space with confidence.
Installing The Handrail And Balusters
Attaching the Handrail to the Posts
Once you have securely installed the posts for your outdoor stair railing, the next step is to attach the handrail. The handrail provides stability and support while climbing up and down the stairs, making it an essential component of your railing system. Following are the steps to attach the handrail to the posts:
- Start by measuring the length of the handrail that you will need. This can be done by measuring the distance between the outer edges of the two posts.
- Using a saw, cut the handrail to the measured length. Make sure the ends are cut at a 45-degree angle to create a clean and professional-looking finish.
- Position the handrail on top of the posts. Ensure that it is centered and aligns properly with the edge of the stairs.
- Secure the handrail to the posts using appropriate screws or brackets. Make sure to choose fasteners that are suited for outdoor use to prevent rust or corrosion. It is advisable to use at least two screws or brackets per post to ensure a sturdy connection.
- Check the stability of the handrail by applying pressure and making sure it does not wobble or move. If any adjustments are needed, carefully make them until the handrail is securely fixed to the posts.
Installing and Spacing the Balusters Properly
Balusters are the vertical spindles or bars that are placed between the handrail and the stair treads. They play an important role in providing safety and preventing accidents by preventing people from falling through the gaps. Here are the steps to install and space the balusters properly:
- Begin by determining the spacing between each baluster. This can be done by dividing the distance between the posts by the desired number of balusters, keeping in mind any local building codes or regulations that specify maximum spacing requirements.
- Mark the position for each baluster on the handrail and the stair treads. Ensure that the markings are evenly spaced and aligned properly.
- Drill pilot holes at each marked position on the handrail and stair treads. These holes will prevent the wood from splitting when you attach the balusters.
- Take each baluster and insert it into the pilot holes on the handrail and stair treads. Make sure they are positioned vertically and aligned with the marks.
- Secure the balusters in place by using screws or nails. Again, make sure to use fasteners suitable for outdoor use to prevent rust and corrosion.
- Check the stability of the balusters by applying pressure and ensuring they are firmly attached. Make any necessary adjustments to achieve a secure and even installation.
By following these steps and paying attention to detail, you can easily install the handrail and balusters for your outdoor stair railing. Not only will this enhance the safety of your stairs, but it will also add a polished and finished look to your outdoor space. Take the time to ensure everything is properly aligned and securely fastened, and you’ll enjoy the benefits of a sturdy and attractive railing for years to come.
Finishing Touches And Safety Measures
When it comes to installing outdoor stair railing, paying attention to the finishing touches and safety measures is crucial. These final steps not only enhance the aesthetics of your railing but also ensure the safety of those using the stairs. In this section, we’ll discuss two important aspects: sanding and painting the railings, and adding anti-slip measures for improved safety.
Sanding and Painting the Railings
Once you have installed the outdoor stair railing, it’s time to give it a professional and polished look through sanding and painting. This step not only adds a touch of elegance to your railing but also protects it from the harsh outdoor elements, extending its lifespan.
To start, you’ll need a few essential tools and materials:
- Sandpaper (medium to fine grit)
- Paintbrushes or foam rollers
- Primer and outdoor paint
- Drop cloths or plastic sheets
- Painter’s tape
Here’s a step-by-step guide to sanding and painting your outdoor stair railing:
- Clean the railing thoroughly to remove dirt, dust, and any existing paint or finish.
- Start sanding the railing using medium-grit sandpaper to smooth out any rough surfaces or imperfections. Make sure to sand both the top and bottom rails as well as the balusters or pickets.
- Once you’ve achieved a smooth surface, switch to a fine-grit sandpaper to create a perfect finish.
- Remove any sanding residue using a clean, damp cloth.
- Apply a coat of primer to the entire railing, ensuring even coverage.
- Allow the primer to dry completely according to the manufacturer’s instructions.
- Now, apply the outdoor paint in your desired color. Use long, smooth strokes to avoid streaks or drips.
- Allow the paint to dry according to the manufacturer’s instructions.
- If necessary, apply a second coat of paint for a more vibrant and durable finish.
- Once the paint is fully dry, remove any painter’s tape, clean up the area, and admire your beautifully finished outdoor stair railing.
Adding Anti-Slip Measures for Improved Safety
Safety should always be a top priority when it comes to outdoor stairs. To prevent slips and falls, especially during wet or icy conditions, it’s important to add anti-slip measures to your railing. Here are some effective options:
- Non-Slip Treads: Install non-slip treads on each step, providing a textured surface that enhances traction.
- Grip-Tape: Apply grip-tape strips to the leading edge of each step for added grip and traction.
- Non-Skid Coatings: Consider applying a non-skid coating to the surface of the steps and the railing for maximum safety.
- Outdoor Stair Mats: Place outdoor stair mats on each step to provide additional grip and protection against slips.
By incorporating these anti-slip measures into your outdoor stair railing, you can minimize the risk of accidents and ensure the safety of everyone using the stairs.
Cleaning And Inspecting The Railings
When it comes to outdoor stair railings, regular cleaning and inspection are vital to ensure their longevity and safety. Over time, railings can accumulate dirt, grime, and even mold, making them not only unsightly but also potentially hazardous. Additionally, exposure to the elements can lead to wear and tear, further compromising the stability and effectiveness of the railings. In this section, we will discuss the recommended cleaning methods and the importance of regular inspection for damage or wear.
Recommended Cleaning Methods
In order to keep your outdoor stair railings looking their best and free from any potential hazards, it is important to follow the right cleaning methods. Below are the recommended steps to effectively clean your railings:
- Start by removing any loose debris, such as leaves or twigs, from the railings. You can simply use a brush or a broom for this step.
- Next, prepare a cleaning solution by mixing warm water with a mild detergent or soap. Avoid using harsh chemicals, as they can damage the railing material.
- Dip a soft sponge or cloth into the cleaning solution and gently scrub the railings, paying attention to any areas where dirt or stains are more noticeable.
- Rinse the railings thoroughly with clean water to remove any remaining soap residue.
- For stubborn stains or mold, you may need to use a specialized cleaner or a mixture of vinegar and water. Apply the cleaner directly to the affected area and let it sit for a few minutes before scrubbing and rinsing.
By following these simple cleaning steps regularly, you can maintain the appearance and integrity of your outdoor stair railings.
Regular Inspection for Damage or Wear
In addition to cleaning, regular inspection is crucial to identify any signs of damage or wear and address them promptly. Inspect the railings at least once every few months and pay close attention to the following:
- Check for loose or wobbly components, such as screws or brackets, and tighten them if necessary.
- Examine the railings for any cracks, splits, or rust. These can weaken the structure and compromise safety.
- Inspect the railing’s connections to the stairs or posts to ensure they are secure and stable.
- Ensure that the railing height and spacing between the balusters or pickets meet the local building codes to prevent any potential safety hazards.
If you notice any issues during the inspection, it is important to address them promptly. Repair or replace any damaged components and consult a professional if needed. By staying proactive with regular inspections, you can maintain the structural integrity of your outdoor stair railing and keep it safe for use.
Repairing And Replacing Outdoor Stair Railings
Outdoor stair railings are an essential safety feature for any outdoor staircase, providing stability and support when navigating steep steps. Over time, these railings may become damaged due to various factors such as weather conditions, wear and tear, or even accidents. It is crucial to recognize and address these issues promptly to ensure the continued safety and functionality of your outdoor stairs. In this section, we will explore the common issues that may arise with outdoor stair railings and provide step-by-step instructions on how to properly remove and replace damaged components.
Identifying Common Issues and Solutions
Knowing how to identify and troubleshoot common issues with outdoor stair railings is the first step in maintaining their integrity. Here are some commonly encountered problems and their corresponding solutions:
Loose or Wobbly Railings
One of the most common issues you may encounter is loose or wobbly railings. This can be caused by loose connections or deteriorated fasteners. To remedy this problem, follow these steps:
- Use a wrench or screwdriver to tighten any loose connections between the railing and the supporting posts or brackets.
- Replace any worn-out or damaged fasteners with new ones.
- Inspect the railing for any signs of rot or decay. If necessary, repair or replace the affected sections.
Rusted or Corroded Components
Outdoor stair railings are exposed to the elements, making them susceptible to rust and corrosion. Here’s how you can address this issue:
- Remove the affected components using a screwdriver or wrench.
- Sand any rusted areas to remove the corrosion and smooth the surface.
- Apply a rust-inhibiting primer and let it dry according to the manufacturer’s instructions.
- Paint the components with a rust-resistant paint to provide extra protection against future rusting.
- Reinstall the components securely.
Steps to Properly Remove and Replace Damaged Components
If the railing has sustained significant damage or requires a complete replacement, follow these steps to effectively remove and replace the damaged components:
- Start by removing any fasteners or screws securing the damaged components to the stairs or supporting posts. Take note of their placement and use appropriate care to prevent any injuries.
- Carefully detach the damaged railing from the posts and set it aside.
- Clean and inspect the supporting posts, brackets, and other hardware for any signs of damage or wear. Replace these components as necessary.
- Measure and cut the new railing to fit the length of the stairs, ensuring proper alignment and clearance.
- Attach the new railing to the supporting posts and brackets using the appropriate fasteners. Ensure a secure and stable connection.
- Double-check the alignment and stability of the newly installed railing to guarantee its effectiveness and safety.
By following these steps and addressing any issues promptly, you can ensure that your outdoor stair railings remain sturdy and reliable for years to come. Remember to prioritize safety and take the necessary precautions when performing any repairs or replacements.
Frequently Asked Questions For How To Install Outdoor Stair Railing
How Do You Install Hand Rail On Outdoor Steps?
To install a handrail on outdoor steps, follow these steps:
1. Measure the length of the steps and buy a handrail that fits.
2. Mark the position of the handrail brackets on the steps.
3. Pre-drill holes for the brackets and attach them to the steps.
4. Slide the handrail onto the brackets and secure it with screws.
5. Test the stability of the handrail before use.
How Do You Attach A Railing To Concrete?
To attach a railing to concrete, follow these steps:
1. Mark the desired position on the concrete.
2. Use a drill with a masonry bit to create holes in the concrete.
3. Insert anchor sleeves or concrete screws into the holes.
4. Place the railing over the sleeves or screw heads.
5. Secure the railing in place using nuts, bolts, or screws.
How Do You Install Outdoor Wooden Stair Railings?
To install outdoor wooden stair railings, follow these steps:
1. Measure and mark the desired height and position of the railings.
2. Attach the brackets to the posts using screws.
3. Secure the posts to the deck or stairs using screws or bolts.
4. Slide the railing sections into the brackets and secure them with screws.
5. Check for stability and make any necessary adjustments.
How Do You Install Wood Railing On Concrete Steps?
To install wood railing on concrete steps, follow these steps:
1. Mark the position of the railing on the steps and drill holes using a masonry bit.
2. Insert metal anchors into the holes and secure them with epoxy.
3. Attach the base plates of the railing to the anchors using screws or bolts.
4. Install the wooden railing onto the base plates and secure it with screws.
5. Finally, test the railing for stability and make any necessary adjustments.
Conclusion
Installing outdoor stair railing is a necessary safety measure that can enhance your home’s curb appeal. By following the steps outlined in this blog post, you can successfully install a sturdy and durable railing that will provide support and peace of mind for years to come.
From choosing the right materials to properly securing the railing, this guide has provided you with the knowledge and confidence to tackle this project. Don’t wait any longer – get started on installing your outdoor stair railing today!
