To install lattice under stairs, measure the space, cut the lattice panels to size, attach the panels securely to the stairs using screws or nails, and paint or stain the lattice if desired. Installing lattice under stairs is a straightforward process that can enhance the appearance of your home.
Lattice panels provide an attractive way to hide the unsightly space beneath the stairs while allowing for proper ventilation. In this guide, we will walk you through the steps to install lattice under stairs. By following these simple instructions, you can add a touch of elegance to your staircase and create a neat and tidy look.
So, let’s get started with the installation process and transform the space beneath your stairs.
Choosing The Right Materials For The Project
When it comes to installing lattice under stairs, choosing the right materials is crucial for a successful and long-lasting project. The lattice material you select will not only impact the aesthetics of your stairs, but also determine its durability, maintenance requirements, and overall functionality. Let’s explore the different types of lattice materials available and the factors to consider when selecting the perfect lattice for your stairs.
Types of lattice materials available
There are several types of lattice materials to choose from, each with its own unique characteristics. Here are some of the most popular options:
1. Wood: Wood lattice panels add a rustic charm to any staircase. They are versatile, easy to work with, and can be custom painted or stained to match your desired aesthetic. However, wood lattice may require regular maintenance such as sealing or painting to protect it from moisture and pests.
2. Vinyl: Vinyl lattice is a popular choice for its low maintenance requirements and durability. It is resistant to rot, warping, and cracking, making it ideal for outdoor installations. Vinyl lattice also comes in various colors and designs, providing a wide range of customization options.
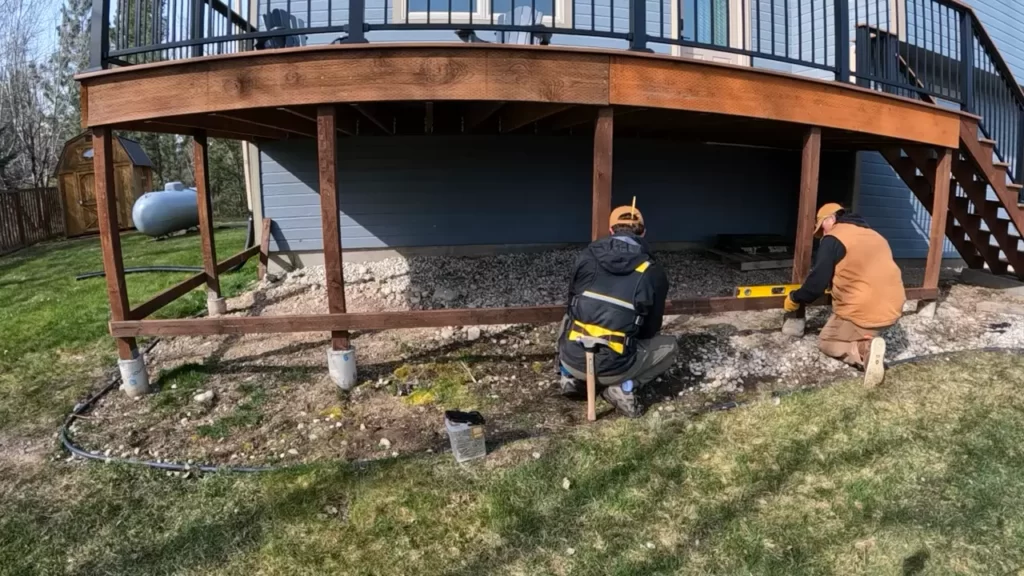
3. PVC: PVC lattice is similar to vinyl lattice in terms of durability and low maintenance. However, it offers even greater resistance to moisture, making it a suitable choice for areas with high humidity or frequent exposure to water. PVC lattice is available in various styles and colors, allowing you to create a visually appealing staircase.
4. Metal: Metal lattice panels can add a modern and sophisticated touch to your staircase. They are incredibly durable and require minimal maintenance. Metal lattice panels are available in different finishes, such as powder-coated steel or aluminum, giving you plenty of options to suit your style preferences.
Factors to consider when selecting lattice for stairs
Choosing the right lattice material for your stairs involves considering several important factors:
- Climate: Consider the climate conditions in your area. If you live in a region with high humidity or extreme temperature fluctuations, selecting a lattice material that is resistant to moisture and temperature changes, such as PVC or metal, would be a wise choice.
- Maintenance: Determine how much time and effort you are willing to spend on maintaining your lattice. Wood lattice panels may require regular maintenance, such as sealing or painting, to protect them from moisture and pests, while vinyl, PVC, and metal lattice require minimal upkeep.
- Aesthetics: Think about the overall look and feel you want to achieve. Wood lattice offers a natural, rustic appeal, while vinyl, PVC, and metal lattice can provide a more modern or refined aesthetic. Consider the color, design, and texture that best complements your staircase and home’s style.
- Budget: Set a budget for your project and consider the cost of each lattice material. Wood lattice panels tend to be more affordable, while vinyl and metal lattice may be slightly more expensive.
- Installation: Lastly, think about the installation process. Consider the complexity of installing each lattice material and if you have the necessary tools and skills. Some lattice materials may require more expertise or professional assistance for proper installation.
By considering these factors and selecting the appropriate lattice material, you can ensure a visually appealing, durable, and low-maintenance addition to your staircase.
Measuring And Preparing The Area
Before you start installing lattice under your stairs, it’s important to properly measure and prepare the area for a seamless and professional finish. This ensures that the lattice panels fit accurately and enhances the overall aesthetic appeal of your staircase. In this section, we will guide you through the process step by step.
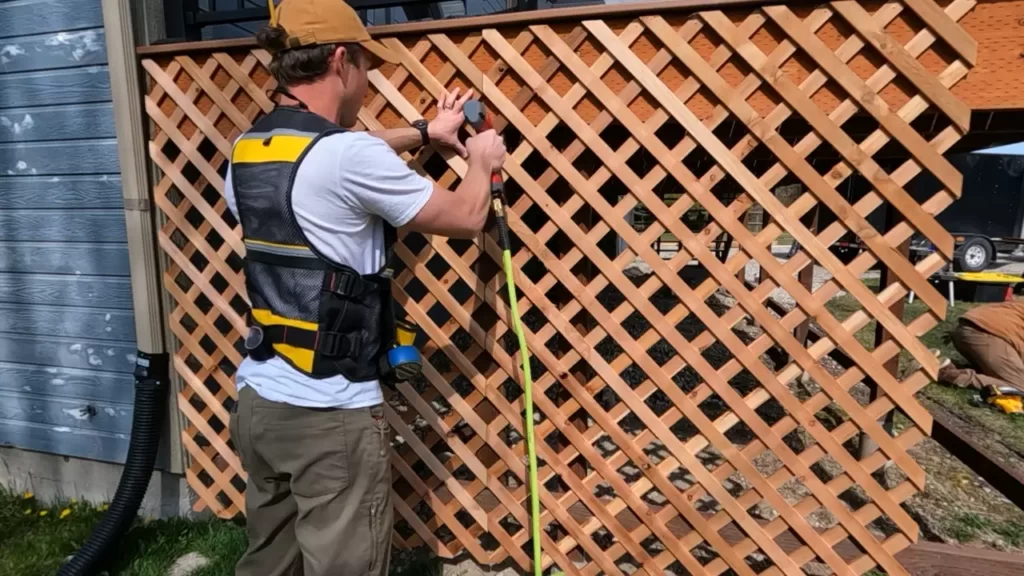
Measuring the dimensions of the space under the stairs
First things first, you need to measure the dimensions of the space under your stairs. This will help you determine the size and number of lattice panels required for the installation. To accurately measure the area:
- Start by measuring the width of the space, taking measurements at the top, middle, and bottom. This will account for any irregularities or variations in dimensions.
- Next, measure the height from the ground to the bottom of the stairs, ensuring you include any slope in your measurements.
- Finally, measure the distance between the posts or walls that will support the lattice panels. Take measurements at the top, middle, and bottom to account for any variations in width.
Once you have these measurements, add a few extra inches to each dimension to accommodate for any trim or framing. This will ensure a snug fit and allow for adjustments during the installation process.
Clearing out any obstacles or debris
Before installing lattice under your stairs, it’s essential to ensure the area is clear of any obstacles or debris that may hinder the installation process. Take the following steps to prepare the area:
- Start by removing any furniture, objects, or clutter that may be in the way. This will give you a clear and unobstructed space to work with.
- Check for any loose or protruding nails, screws, or splinters that could pose a hazard. Carefully remove or fix them to create a safe environment for installation.
- Sweep or vacuum the area to remove dust, dirt, or debris. This will ensure a clean and smooth surface for attaching the lattice panels.
Preparing the surface for installation
Now that the area is clear and ready for installation, it’s time to prepare the surface. Follow these steps to ensure a sturdy and durable attachment:
- Inspect the stairs and surrounding walls for any signs of damage, such as cracks or rot. Address these issues before proceeding with the installation.
- If the surface is painted, consider sanding it lightly to create a rough texture. This will help the lattice adhesive or fasteners grip better for a secure attachment.
- Apply a primer or sealant to the surface to enhance adhesion and protect against moisture or water damage. Allow it to dry completely before proceeding.
By measuring the dimensions accurately, clearing out obstacles, and preparing the surface beforehand, you’re setting yourself up for a successful lattice installation under your stairs. The next step will be attaching the lattice panels, so stay tuned for our upcoming blog post on that topic!
Installing The Lattice Panels
Installing lattice under stairs not only enhances the appearance of your outdoor space but also provides a functional way to enclose the area. In this section, we will guide you through the process of installing lattice panels under the stairs. By following these step-by-step instructions, you’ll be able to achieve a professional and polished look.
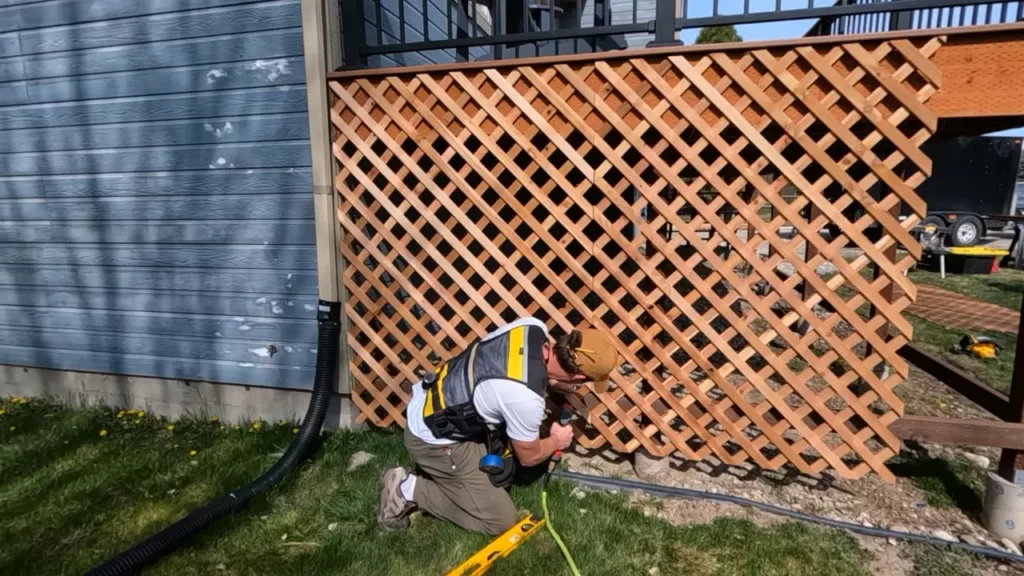
Marking the desired height and width for the lattice panels
The first step in installing lattice panels is to mark the desired height and width for the panels. Using a measuring tape, measure the distance between the bottom of the stairs and the ground to determine the height of the lattice panels. Mark this measurement on the stairs.
Next, measure the width of the space where the panels will be installed. It is important to ensure that the lattice panels fit snugly within this space. Once you have determined the width, mark it on the stairs as well.
Cutting the lattice panels to the appropriate size
After marking the desired height and width, it’s time to cut the lattice panels to the appropriate size. Use a saw or a lattice cutter to trim the panels according to your measurements. It is crucial to make precise cuts to achieve a clean and professional finish.
Ensure that each panel is cut to the correct size, taking into consideration any angles or curves present in the stair structure. Take your time and double-check your measurements before making any cuts to avoid any mistakes.
Attaching the panels securely to the stairs
Once you have cut the lattice panels to the appropriate size, it’s time to attach them securely to the stairs. Using a drill and screws, fasten the panels to the stair structure. Be sure to space the screws evenly along the edges and through the lattice openings to ensure a secure and stable attachment.
Consider using stainless steel screws or rust-resistant hardware to minimize the risk of corrosion and extend the lifespan of your lattice installation. Make sure to tighten the screws firmly but not excessively, as overtightening can cause damage to the lattice panels.
Ensuring proper alignment and symmetry
Finally, once the lattice panels have been attached, it is important to ensure proper alignment and symmetry. Step back and visually inspect the installation, making adjustments as needed to achieve a balanced and aesthetically pleasing look.
Check that the lattice panels are aligned with the edges of the stairs and are straight both vertically and horizontally. Taking the time to ensure proper alignment and symmetry will contribute to a professional and visually pleasing outcome.
Installing lattice panels under stairs is a relatively simple and rewarding DIY project. By following these instructions and paying attention to detail, you can create an attractive and functional addition to your outdoor living space.
Adding Finishing Touches
Once you have installed lattice under your stairs, it’s time to add the finishing touches that will take your project to the next level. These final details will not only enhance the overall appearance of the staircase but also provide a polished finish that will make your installation look professional and well-designed.
In this section, we will discuss three important aspects of adding finishing touches to lattice under stairs: concealing the edges of the lattice panels, painting or staining the lattice to match the existing staircase, and adding decorative elements or trims for a polished look.
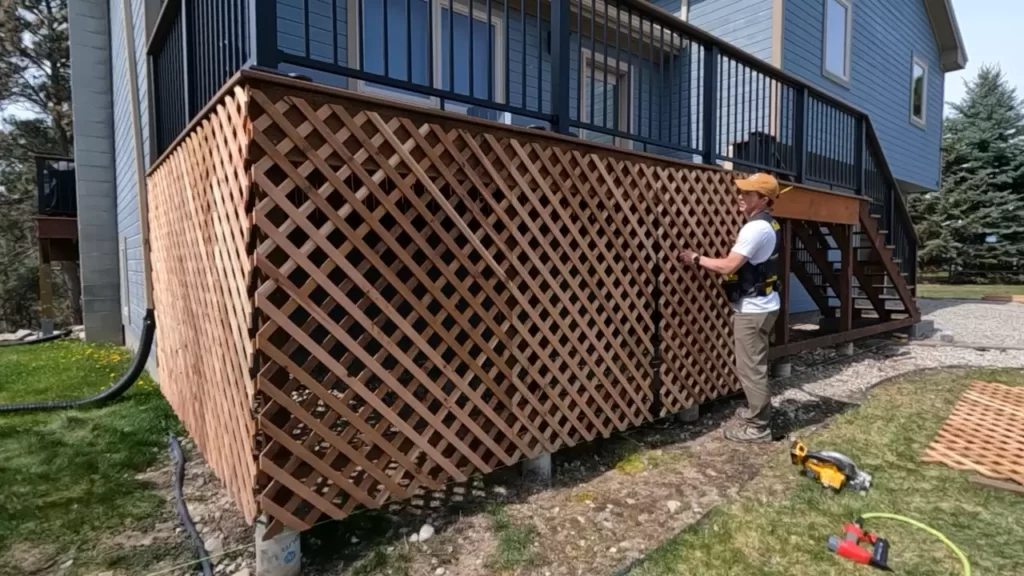
Concealing the edges of the lattice panels
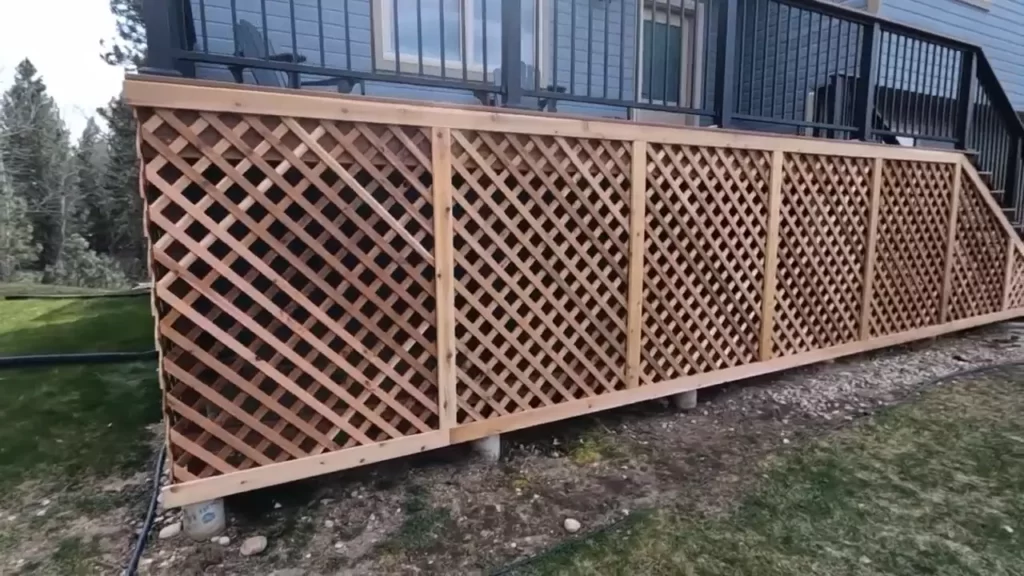
Concealing the edges of the lattice panels is an essential step to achieve a clean and seamless look for your staircase. There are a few ways to do this, depending on the materials you have chosen for the lattice and the overall design aesthetic you are going for. Below are three common methods:
- Trimming: One way to conceal the edges of the lattice panels is by adding trim boards or molding. Measure the length and height of each panel and cut the trim boards accordingly. Use a nail gun or adhesive to attach the trim boards along the edges of the lattice, creating a neat and finished look. Be sure to sand and paint or stain the trim boards to match the existing color scheme of your staircase.
- Painting: Another option to conceal the edges of the lattice panels is by painting them. Use a small brush and high-quality paint in a color that matches your staircase. Apply the paint evenly along the edges of the lattice, making sure to cover any visible gaps or rough edges. This method works well if you have chosen a lattice material that can be painted.
- Covering with tape: If you prefer a simpler and temporary solution, you can use adhesive tape to cover the edges of the lattice panels. Measure and cut the tape to fit along the edges, making sure it adheres securely. This method works well if you want to experiment with different colors or patterns without committing to a permanent solution.
Painting or staining the lattice to match the existing staircase
Painting or staining the lattice to match the existing staircase is an important step to create a cohesive and harmonious look. Before you begin, make sure to clean the lattice panels thoroughly and let them dry completely. Here’s a step-by-step guide to painting or staining the lattice:
- Prepare the surface: Sand the lattice panels lightly to remove any roughness or imperfections. This will create a smooth surface for the paint or stain to adhere to.
- Choose the right paint or stain: Select a paint or stain that is suitable for the type of lattice material you have. Consult with a paint specialist or refer to the manufacturer’s instructions for guidance on the best product to use.
- Apply the paint or stain: Use a paintbrush or a paint sprayer to apply an even coat of paint or stain to the lattice panels. Apply multiple thin coats if necessary, allowing each coat to dry completely before applying the next. This will ensure a smooth and long-lasting finish.
- Seal the paint or stain: Once the paint or stain has dried completely, consider applying a protective sealant to enhance the durability and longevity of the finish. This step is particularly important if the lattice will be exposed to moisture or heavy traffic.
Adding decorative elements or trims for a polished look
To add a touch of elegance and sophistication to your lattice under stairs installation, consider incorporating decorative elements or trims. These extra details can elevate the overall design and make your staircase a focal point in your space. Here are a few ideas:
- Scrollwork: Add scrollwork or filigree designs to the edges of the lattice panels. This intricate detail will give your staircase a timeless and ornate look.
- Faux wrought iron: Attach faux wrought iron pieces to the lattice panels to mimic the look of traditional ironwork. This can be a cost-effective and lightweight alternative to real wrought iron.
- Embellishments: Consider adding decorative embellishments such as rosettes, corbels, or appliques to the lattice panels. These small details can make a big impact and add a touch of elegance.
- Trim molds: Use trim molds or decorative trims along the edges of the lattice panels to create a more finished and polished appearance. These trims can be painted or stained to match the existing color scheme.
By following these steps and adding the appropriate finishing touches, you can transform your lattice under stairs installation into a beautiful and cohesive design element in your home. Take your time with each step and pay attention to the smallest details to achieve a professional and polished result. With the right techniques and materials, your lattice under stairs will not only provide privacy and ventilation but also enhance the overall aesthetic appeal of your staircase.
Maintenance And Care Tips
Regular Cleaning and Maintenance of the Lattice Panels
Maintaining the lattice panels installed under your stairs is crucial to ensure their longevity and to keep them looking their best. Regular cleaning helps to prevent the buildup of dirt, grime, and mildew, which can ultimately damage the lattice material over time. Here are some steps you can follow for regular cleaning:
- Start by removing any loose debris such as leaves, twigs, or dirt that may have settled on top of the lattice panels.
- Using a mild detergent or a mixture of water and vinegar, gently wipe down the lattice panels with a soft cloth or sponge. Avoid using harsh chemicals or abrasive cleaners as they can cause damage to the material.
- Rinse the lattice panels thoroughly with clean water to remove any remaining cleaning solution.
- Allow the lattice panels to air dry completely before reattaching them to the stairs.
Inspecting for Any Signs of Damage or Wear
Regularly inspecting the lattice panels for any signs of damage or wear is essential to address any issues before they worsen. Here’s what you should look out for:
- Check for any cracks, splits, or holes in the lattice panels. These can weaken the structure and make it more susceptible to further damage.
- Look for signs of rot or decay, especially if the lattice panels are made of wood. If you notice any soft spots or discoloration, it may be a sign of moisture damage or insect infestation.
- Inspect the fasteners and attachment points of the lattice panels to ensure they are secure and not coming loose.
Repairing or Replacing Damaged Lattice as Needed
If you notice any damage or wear during the inspection, it’s important to address it promptly to prevent further deterioration. Here are the steps to repair or replace damaged lattice:
- For minor cracks or splits, you can use a waterproof adhesive or wood filler to fill in the damaged areas. Once the adhesive or filler dries, sand it down to achieve a smooth surface.
- If the lattice panels are severely damaged or beyond repair, it may be necessary to replace them entirely. Measure the dimensions of the damaged panels and purchase new ones that match the size and style of the existing lattice. Remove the damaged panels and install the new ones, following the manufacturer’s instructions.
- Ensure that the lattice panels are securely attached to the stairs, using appropriate fasteners or brackets, to prevent any future damage or detachment.
By regularly cleaning, inspecting, and maintaining the lattice panels under your stairs, you can enjoy their beauty and functionality for years to come. Taking care of your lattice not only enhances the aesthetics of your outdoor space but also ensures the safety and durability of the entire structure.
Frequently Asked Questions On How To Install Lattice Under Stairs
Do You Screw Or Nail Lattice?
Screwing is best for lattice installation. Nailing may split or damage the material.
What Do You Use To Attach Lattice?
To attach lattice, you can use screws, nails, or bolts.
How Do You Hold Lattice In Place?
To hold lattice in place, you can use a few methods. One option is to attach it to a framework with staples or nails. Another option is to use screws or zip ties to secure it to a structure. Additionally, you can use lattice trim or molding to secure it along the edges.
Does Lattice Need A Frame?
Yes, lattice usually needs a frame for support and stability.
Conclusion
To sum up, installing lattice under stairs is a simple and effective way to enhance the aesthetic appeal and functionality of your home. By following the step-by-step guide outlined in this blog post, you can easily transform your staircase into an attractive and functional space.
Whether you’re looking to add privacy, improve the overall appearance, or create a storage area, installing lattice under stairs is a great solution. So, don’t wait any longer—get started on your lattice installation project today and enjoy the benefits it brings to your home.
