To install hog panels, first, measure and mark the desired fence line. Then, set the panel posts in the ground at equal distances, ensuring they are secure.
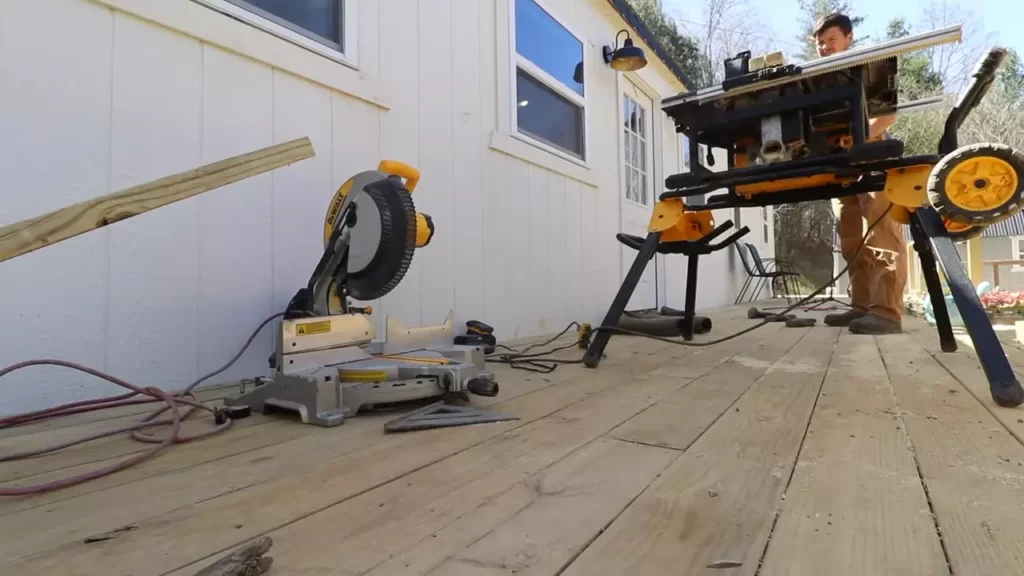
Tools You Will Need
List of tools required for the installation process
When it comes to installing hog panels, having the right tools on hand is essential. These tools not only make the installation process smoother but also ensure the panels are properly secured. So, before you embark on this project, make sure you have the following tools:
- Wire cutters: These are used to cut the hog panels to the desired size and shape.
- Fence stretcher: A fence stretcher helps tighten the hog panels, ensuring they are securely fastened in place.
- Hammer and nails: You’ll need these to attach the hog panels to the fence posts or other supporting structures.
- Post hole digger: If you are installing the hog panels with posts, a post hole digger will be necessary to dig the holes for the posts.
- Tape measure: To ensure accurate measurements for cutting the hog panels and positioning the posts.
- Level: A level helps ensure that the panels are installed horizontally and not slanted.
- Gloves and safety glasses: Safety precautions are important, and wearing gloves and safety glasses will protect you from any injuries during the installation process.
Importance of having the right tools for the job
Having the right tools for installing hog panels is crucial for several reasons. Firstly, using the correct tools ensures that the panels are installed correctly and securely, minimizing the risk of accidents or damage. Properly installed hog panels are more durable and resistant to wear and tear, giving you peace of mind in the long run.
Secondly, using the appropriate tools speeds up the installation process. Cutting wire, attaching panels, and stretching fences become much easier when you have the right tools at your disposal. This means you can complete the installation in less time, allowing you to enjoy the benefits of your hog panels sooner.
Lastly, having the proper tools helps you achieve a professional-looking result. Crooked or loosely fitted panels can be an eyesore and compromise the effectiveness of your fence. By using the right tools, you can ensure that the panels are installed evenly, level, and tight, resulting in a neat and visually appealing fence.
Safety precautions to consider while using the tools
While working with tools for installing hog panels, it is important to prioritize safety. Here are some safety precautions to consider:
- Wear gloves and safety glasses: Protect your hands and eyes from any potential injuries by wearing gloves and safety glasses throughout the installation process.
- Use the tools as intended: Follow the manufacturer’s instructions and only use the tools for their intended purposes. Misusing tools can lead to accidents or damage to the panels.
- Handle sharp tools with care: Wire cutters and other sharp tools can cause injuries if mishandled. Always exercise caution and keep them out of reach of children.
- Work in a well-ventilated area: If you are working with tools that produce fumes or dust, make sure to work in a well-ventilated area to avoid any health hazards.
- Store tools properly: After completing the installation, store your tools in a safe place to prevent accidents and ensure their longevity.
By adhering to these safety precautions, you can minimize the risk of accidents and ensure a safe installation process.
Preparing The Installation Area
Before you begin the installation of hog panels for your project, it is essential to prepare the installation area properly. This step is crucial to ensure a successful and efficient installation process. In this section, we will guide you through the necessary steps to assess the area, clear any obstacles or debris, and measure and mark the spacing for the panels.
Assessing the area for the hog panel installation
The first step in preparing the installation area is to assess it carefully. Take the time to walk around the area and evaluate its suitability for hog panels. Look out for any uneven ground, obstacles, or other potential challenges that may affect the installation process. Identifying these issues beforehand will help you plan accordingly and make necessary adjustments.
Clearing any obstacles or debris from the area
After assessing the area, it’s time to clear away any obstacles or debris that might hinder the installation of hog panels. Remove rocks, branches, or any other objects that could cause problems during the installation process. Ensure that the area is clean and free from any potential hazards that could affect the stability and longevity of the panels.
Measuring and marking the necessary spacing for the panels
Once the area is clear and ready, it’s important to measure and mark the necessary spacing for the panels. This step ensures that the installation is done with precision and accuracy. Using a measuring tape, determine the appropriate distance between each hog panel. Measure and mark the locations where the panels will be placed, ensuring uniform spacing throughout the installation area. This will help maintain the structural integrity of the panels and provide a cohesive aesthetic appeal to your project.
By following these steps and properly preparing the installation area, you can ensure a smooth and successful hog panel installation process. Taking the time to assess the area, clear any obstacles, and measure and mark the necessary spacing will contribute to the durability and overall effectiveness of your hog panel installation project.
Installing The Posts
When it comes to installing hog panels, you need to ensure that the posts are properly installed to provide adequate support and stability. In this section, we will discuss the necessary steps to dig the post holes at the appropriate intervals, set the posts securely in the ground, and ensure that they are level and properly aligned.
Digging the post holes at the appropriate intervals
The first step in installing hog panels is to dig the post holes at the appropriate intervals. The spacing between the posts is crucial for the overall strength and stability of the structure. To determine the correct interval, measure the length of the hog panels and add a few extra inches on each end for flexibility and ease of installation.
Using a post hole digger or a shovel, dig holes at each interval, ensuring that they are deep enough to accommodate one-third of the height of the posts. This will provide a solid foundation and prevent the posts from shifting or leaning over time. It is important to dig the holes evenly and at a consistent depth to ensure uniformity and prevent any issues during the installation process.
Setting the posts securely in the ground
Once the post holes have been dug, the next step is to set the posts securely in the ground. Start by placing one post in each hole, making sure they are centered and upright. Use a level to check for vertical alignment and adjust as needed. To secure the posts, fill the holes with concrete, ensuring that it completely surrounds the base of each post. This will provide added stability and prevent any movement or shifting over time.
Allow the concrete to dry and cure according to the manufacturer’s instructions before proceeding with the installation of the hog panels. This will ensure that the posts are firmly set and ready to support the weight and pressure exerted by the panels.
Ensuring the posts are level and properly aligned
To ensure a professional and aesthetically pleasing installation, it is crucial to ensure that the posts are level and properly aligned. This can be achieved by using a level to check the horizontal alignment of each post. Adjust the position of the posts as necessary to ensure they are straight and parallel to each other.
In addition, make sure that the height of the posts is consistent throughout the installation. This can be achieved by cutting the tops of the posts to an equal height or by adjusting the depth of the holes during the initial digging process.
By taking the time to level and align the posts properly, you can ensure that the hog panels will be installed securely and provide an even and appealing appearance.
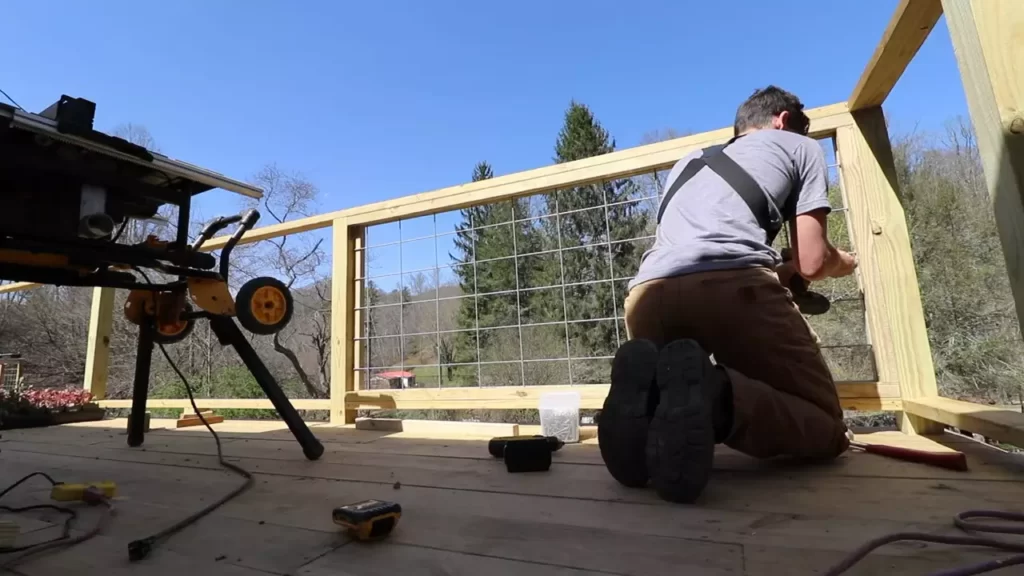
Attaching The Hog Panels
Once you have your hog panels and your posts securely in place, it’s time to attach the panels to the posts. This step is crucial to ensure the stability and longevity of your fence. In this section, we will explain the different methods for attaching hog panels to posts, demonstrate the correct technique for a strong and secure attachment, and discuss the use of hog rings or wire to secure the panels.
Explaining the different methods for attaching hog panels to posts
When it comes to attaching hog panels to posts, there are several methods you can choose from. The most common methods include:
- Using screws or nails: This method involves using screws or nails to attach the hog panels to the posts. It is a straightforward and reliable method that provides a secure attachment. However, it may require additional tools and can be time-consuming.
- Using brackets: Brackets are metal components that can be attached to the posts, providing a convenient way to fasten the hog panels. They are durable and offer a clean and professional look. Additionally, they allow for easy removal and reinstallation of the panels if needed.
- Using hog rings or wire: Hog rings or wire can be used to wrap around the panels and secure them to the posts. This method provides a strong attachment and is relatively easy to install. It is commonly used in livestock fencing and ensures that the panels remain sturdy and in place.
Using hog rings or wire to secure the panels
If you choose to use hog rings or wire to attach the hog panels to the posts, there are a few key steps to follow:
- Start by placing the hog panel against the posts, positioning it at the desired height and angle.
- Using wire cutters, cut a piece of wire that is long enough to wrap around the panel and the post securely.
- Wrap the wire around the panel, ensuring it goes through the square openings and around the post. Make sure the wire is tightly secured to prevent any movement or sagging.
- Use pliers to twist the wire tightly, creating a strong and secure attachment. Repeat this process for each intersection between the hog panel and the post.
Demonstrating the correct technique for a strong and secure attachment
The key to achieving a strong and secure attachment is to ensure that each point where the hog panel meets the post is properly secured. To demonstrate the correct technique, follow these steps:
- Start by positioning the hog panel against the post, ensuring it is aligned correctly.
- Using screws, brackets, hog rings, or wire, attach the panel to the post at multiple points. This will help distribute the load evenly and prevent any weak spots along the fence.
- Check the panel for any signs of movement or instability. If necessary, reinforce the attachment points or add additional fasteners to ensure a strong and secure fence.
By following these guidelines, you can ensure that your hog panels are securely attached to the posts, providing a sturdy and durable fence that will withstand the test of time.
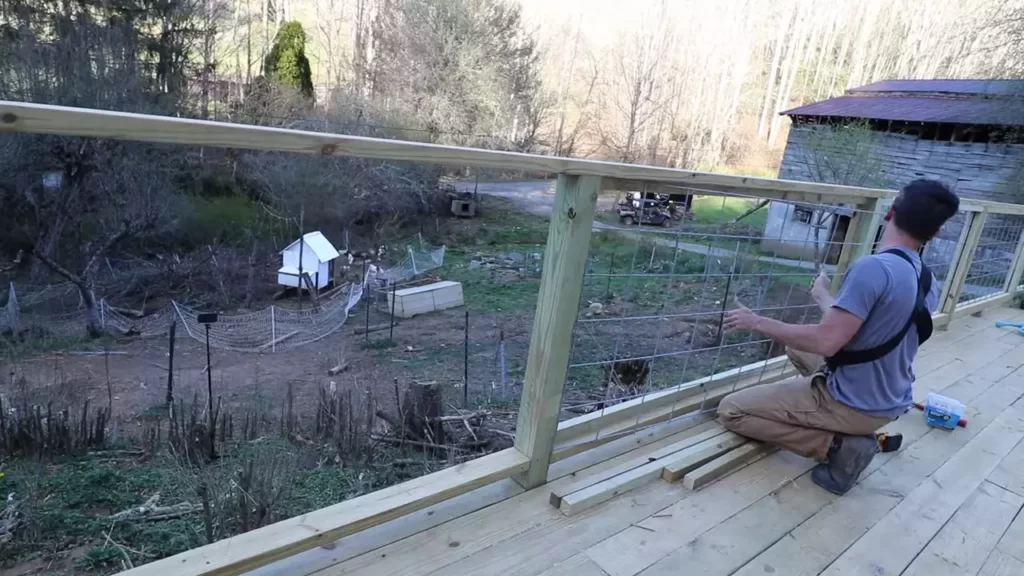
Securing The Panels
Once you have your hog panels set up in place, it’s essential to make sure they are securely fastened to prevent any potential sagging over time. This not only helps maintain the structural integrity of the panels but also ensures the safety of your livestock and the longevity of your fence. In this section, we will explore different options for adding additional support to the hog panels, such as T-posts or wooden rails, and highlight the importance of properly securing the panels.
Adding additional support for stability
To enhance the stability and durability of your hog panels, adding extra support is a wise decision. One option is to use T-posts, which are sturdy metal posts that can be driven into the ground at regular intervals. These posts provide excellent stability and help keep the panels upright, minimizing the risk of sagging. You can attach the hog panels to the T-posts using hog rings or sturdy zip ties, ensuring a secure and reliable connection.
Another alternative for additional support is using wooden rails. These are horizontal beams that run along the top and bottom of the hog panels, strengthening the fence and preventing any potential swaying. To attach the wooden rails, you can use fence clips or brackets, ensuring they are securely fastened to the panel frame. This method of support provides a traditional and aesthetically pleasing look to your hog panels while ensuring their stability.
Ensuring that the panels are securely fastened and won’t sag over time
No matter which additional support method you choose, it’s crucial to ensure that the hog panels are securely fastened. This is vital in preventing any sagging over time, which could compromise the effectiveness of the fence. To achieve a durable and long-lasting connection, consider the following tips:
- Use hog rings or zip ties that are made of strong and weather-resistant material. These fasteners should be tight enough to hold the panels firmly in place but allow a slight degree of flexibility.
- Inspect the connections regularly to identify any loose or damaged fasteners that need to be replaced. This proactive approach will help you maintain the integrity of the fence and address any potential issues promptly.
- Consider using fence tensioners or come-alongs to tighten the hog panels and ensure they are evenly stretched across the entire fence line. This step can significantly reduce the chances of sagging and keep your fence in optimal condition.
- For added security, reinforce the corners of the fence with sturdy corner braces. These braces provide extra support and minimize the risk of sagging at high-stress points.
By following these guidelines and making sure the hog panels are securely fastened, you can have peace of mind knowing that your fence will stay strong and effective for years to come. Remember, the key to a reliable hog panel installation lies in proper support and well-maintained connections.
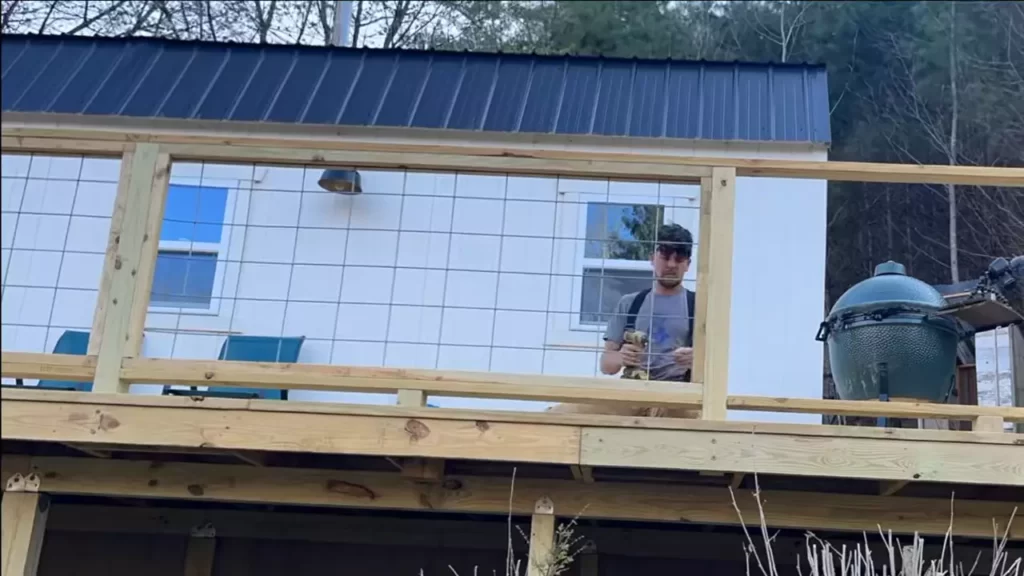
Finishing Touches
Trimming any excess panel length
One important step in installing hog panels is to trim any excess panel length. This ensures a clean and polished look for your fence. To trim the panels, you will need a pair of wire cutters or tin snips. Simply measure the desired length of the panel using a tape measure and cut off any excess using the wire cutters or tin snips. Remember to wear gloves and eye protection when working with sharp tools.
Adding a top rail or cover for additional security
To enhance the security of your hog panel fence, consider adding a top rail or cover. This additional feature not only provides extra stability but also prevents animals from climbing over the fence. You can choose from various materials such as wood or metal for the top rail or cover. Attach it securely to the hog panels using screws or nails. This simple addition will provide you with peace of mind and ensure the longevity of your fence.
Painting or treating the panels for longevity
Painting or treating the hog panels is another crucial step in ensuring their longevity. This not only adds an attractive finish to your fence but also protects the panels from the elements. Before painting, make sure to clean the panels thoroughly to remove any dirt or debris. Apply a primer to enhance adhesion and then paint the panels with a high-quality exterior paint. Alternatively, you can also use a wood stain or preservative to protect the panels. Regular maintenance such as repainting or reapplying treatment will help extend the lifespan of your hog panels.
Maintenance And Care
Once you have successfully installed hog panels on your property, it’s essential to know how to properly maintain and care for them. Regular maintenance ensures the longevity and effectiveness of the panels, keeping your property secure and safe.
Tips for maintaining hog panels
- Regular inspections and repairs: Conduct routine inspections of your hog panels to identify any damages or weak spots. Look for loose wires, bent sections, or any signs of wear and tear. Promptly repair or replace any damaged parts to avoid further deterioration.
- Protecting the panels from rust and deterioration: Hog panels are usually made of galvanized steel, which provides some resistance to rust. However, exposure to harsh weather conditions or constant contact with moisture can still lead to rust and deterioration. To protect the panels, consider applying a rust-resistant coating or paint. This additional layer acts as a barrier against moisture and prolongs the life of the panels.
- Regular cleaning: Over time, debris and dirt can accumulate on the hog panels, potentially causing damage or hindering their functionality. Regularly clean the panels using water and a mild detergent. Rinse thoroughly and allow them to dry completely before reinstallation. Remember to avoid using abrasive cleaners or tools that could scratch the galvanized surface.
- Trim vegetation growth: Keep the area around the hog panels clear of vegetation, especially thorny plants or vines that could potentially damage the panels or make them less effective. Trim any overgrown branches or vegetation regularly to maintain the integrity and visibility of the fence.
- Ensure proper installation: Proper installation is vital for the long-term maintenance of hog panels. Ensure that the panels are securely attached to sturdy fence posts or structures. Double-check the alignment and tightness of the panels to prevent sagging or shifting over time.
Regular inspections and repairs
Regular visual inspections are crucial for identifying any issues with your hog panels. Check for loose wires, damaged sections, or areas where the panels may have shifted or come loose. Address any problems immediately to prevent further damage and maintain the strength and security of the fence.
Protecting the panels from rust and deterioration
Hog panels are susceptible to rust and deterioration, particularly in high-moisture or coastal areas. Taking preventive measures can significantly extend their lifespan. Consider applying a rust-resistant coating or paint to protect the panels from moisture and other corrosive elements. Regular cleaning and promptly addressing any signs of rust can also help prevent further deterioration and maintain the aesthetic appeal of the fence.
Frequently Asked Questions On How To Install Hog Panels
How Do You Attach Hog Panels To T Posts?
To attach hog panels to T-posts, first, position the panel next to the post. Then, use wire clips or hog rings to secure the panel to the post. Place the clips or rings around the panel and the post, and tighten them using pliers.
Repeat this process at regular intervals to ensure a strong and stable attachment.
How Do You Install Wild Hog Panels?
To install wild hog panels, you’ll need to follow these steps:
1. Begin by measuring the area where you want to install the panels.
2. Prep the posts for installation and ensure they’re securely anchored.
3. Attach the panels to the posts using screws or other appropriate fasteners.
4. Double-check that each panel is level and securely attached.
5. Finish by adding any additional trim or accessories as desired.
How Far Apart Should Hog Wire Fence Posts Be?
Hog wire fence posts should be spaced approximately 8 to 10 feet apart to provide stability and support for the fence.
How Do You Install A Hog Wire Fence?
To install a hog wire fence, follow these steps:
1. Begin by measuring and marking out your fence line.
2. Dig holes for the fence posts at regular intervals along the line.
3. Set the posts in the holes and secure them with concrete.
4. Attach the hog wire panels to the posts using fencing staples or zip ties.
5. Finally, reinforce the fence with additional support posts if needed.
Conclusion
Installing hog panels can be an effective way to enhance your property’s security and keep livestock contained. By following the step-by-step instructions in this blog post and having the necessary tools on hand, you can successfully complete the installation process.
Don’t forget to prioritize safety and double-check your work to ensure a sturdy and durable fence. With hog panels in place, you can rest easy knowing that your property is adequately protected.