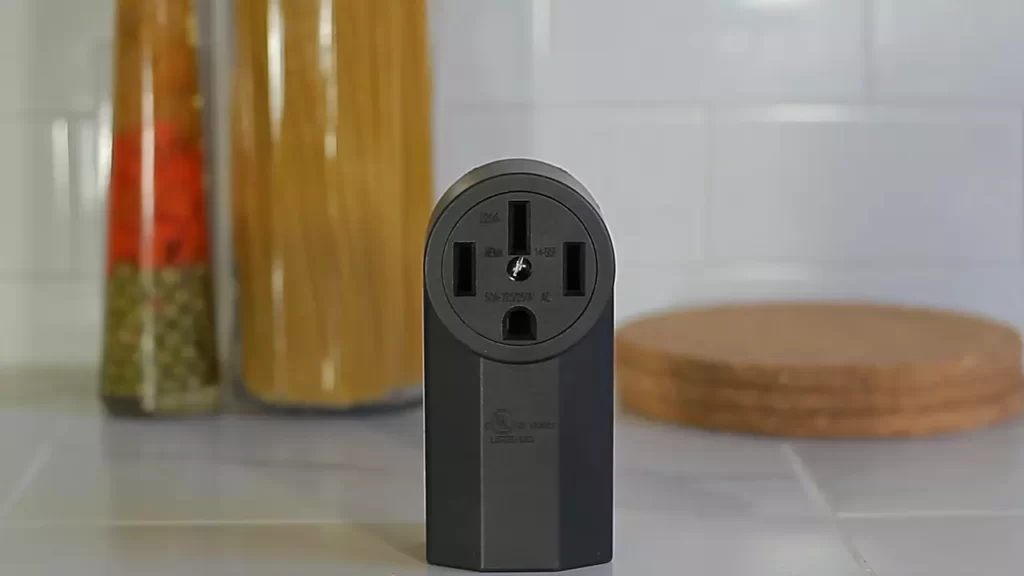
To install a stove outlet, turn off the power, install a new circuit breaker, run a cable from the electrical panel to the outlet location, connect the wires, and mount the outlet on the wall. Installing a stove outlet requires careful steps to ensure safety and functionality.
It is essential to start by turning off the power to avoid electrical shock. Then, a new circuit breaker needs to be installed to provide the necessary voltage. Next, run a cable from the electrical panel to the desired location for the outlet.
Connect the wires following proper color coding and secure them tightly. Finally, mount the outlet on the wall, ensuring it is positioned correctly for easy access. By following these steps, you can successfully install a stove outlet for your kitchen appliance.
Assessing The Electrical Requirements
Before you start installing a stove outlet, it’s crucial to assess the electrical requirements to ensure a safe and efficient installation. This involves determining the electrical load and selecting the right circuit breaker for your stove. By following these steps, you’ll be on your way to a successful stove outlet installation.
Determining the Electrical Load
In order to determine the electrical load that your stove outlet will need to handle, you should first consult the manufacturer’s specifications for your stove. These specifications will outline the power requirements, typically given in watts or amps. The electrical load is essentially the amount of power drawn by the stove while in use.
Once you have this information, you can calculate the electrical load by adding up the wattage of each individual element on your stove. For example, if your stove has four burners that each consumes 1500 watts and an oven that consumes 3000 watts, your total electrical load would be 9000 watts.
Besides the stove’s power requirements, it’s also essential to consider any other appliances or electrical devices that may be running on the same circuit. Overloading a circuit can lead to tripped breakers or even electrical fires, so it’s important to ensure that the circuit can handle the combined load.

Choosing the Right Circuit Breaker
Next, you’ll need to select the appropriate circuit breaker for your stove outlet. The circuit breaker serves as a safety device that will trip and interrupt the flow of electricity in the event of an electrical overload or short circuit. Choosing the right one is crucial to protect your home and appliances from potential damage.
The size of the circuit breaker you’ll need will depend on the electrical load you calculated earlier. In general, it’s recommended to have a circuit breaker with a capacity of at least 125% of the calculated load. For instance, if your total electrical load is 9000 watts, you should choose a circuit breaker rated for at least 11,250 watts (9000 watts multiplied by 1.25).
Keep in mind that circuit breakers come in different sizes, so you’ll need a breaker specifically designed for the voltage and wattage requirements of your stove. If you’re unsure about which breaker to choose, consult with a qualified electrician to ensure you make the right selection.
By assessing the electrical requirements, determining the electrical load, and choosing the right circuit breaker, you’ll be well-prepared to install a stove outlet that meets the necessary safety and electrical standards.
Gathering The Necessary Tools And Materials
Before you embark on installing a stove outlet, it’s important to gather all the essential tools and materials to ensure a smooth and efficient process. By having everything readily available, you can avoid delays and frustrations along the way. In this section, we will go over the essential tools you will need as well as the required materials for the installation.
Essential Tools for the Project
Having the right tools can make a world of difference in the success of your stove outlet installation. Here are the essential tools you will need:
- Wire cutter and stripper: This tool will allow you to cut and strip the electrical wires accurately.
- Screwdriver set: Make sure to have a variety of screwdrivers on hand to handle different types of screws you may encounter during the installation.
- Electrical tape: This tape is crucial for insulating and securing the electrical connections.
- Voltage tester: With a voltage tester, you can ensure that the power is turned off before you begin working on the outlet.
- Drill and bits: If you need to make holes in the walls or floor for the wiring, a drill with the appropriate bits is essential.
- Wire connectors: These connectors are necessary for joining and securing electrical wires together.
- Wire nuts: A reliable way to connect and protect wires, wire nuts are indispensable in any electrical project.

Required Materials for the Installation
In addition to the tools, you will need specific materials to properly install a stove outlet. Here is a list of the required materials:
| Materials | Quantity |
|---|---|
| Stove outlet box | 1 |
| Electrical wires | 1 roll (length depending on the outlet location) |
| Electrical cable connectors | 2 |
| Outlet cover plate | 1 |
| Mounting screws | As needed |
| Electrical tape | As needed |
Make sure you have all the necessary tools and materials ready before you start the installation process. This will save you time and allow you to focus on the task at hand. With everything in place, you’ll be well-equipped to successfully install your stove outlet.
Installing The Stove Outlet
Installing a stove outlet requires attention to detail and adherence to safety guidelines. Whether you’re replacing an old outlet or installing a new one, following the proper steps is crucial to ensure a successful installation. In this post, we will walk you through the process of installing a stove outlet, from turning off the power to testing the outlet.
Turning off the Power
Before starting any electrical work, turn off the power to the area where you will be installing the stove outlet. This can usually be done by flipping the corresponding breaker in your electrical panel. It’s important to always double-check that the power is off using a voltage tester before proceeding.
Mounting the Outlet Box
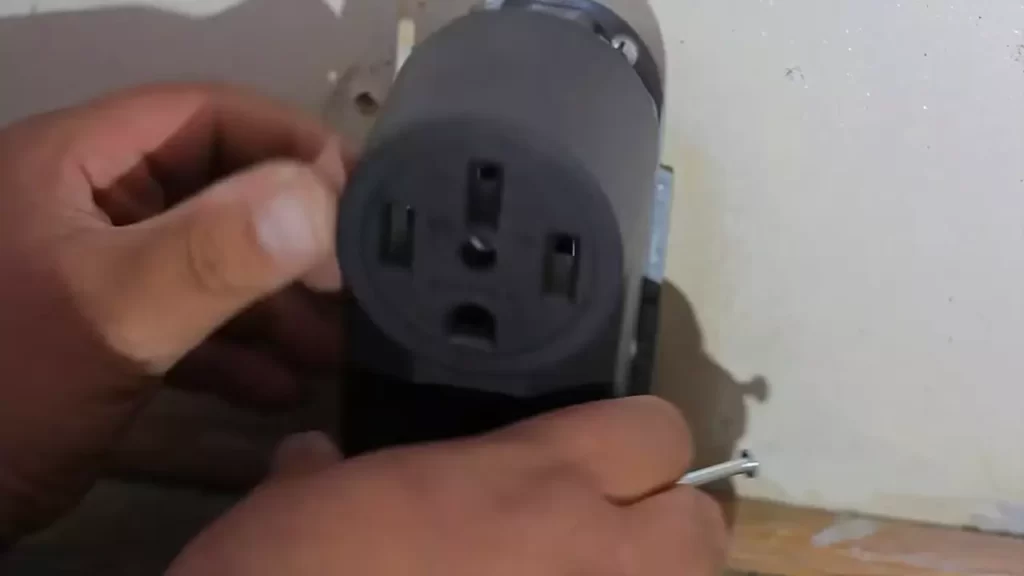
Once the power is turned off, you can move on to mounting the outlet box. Choose a location that is accessible and within the required distance from the stove. Mark the outline of the box on the wall and use a keyhole saw to cut out the opening. Secure the box to the wall using screws, making sure it is level and flush.
Wiring the Outlet
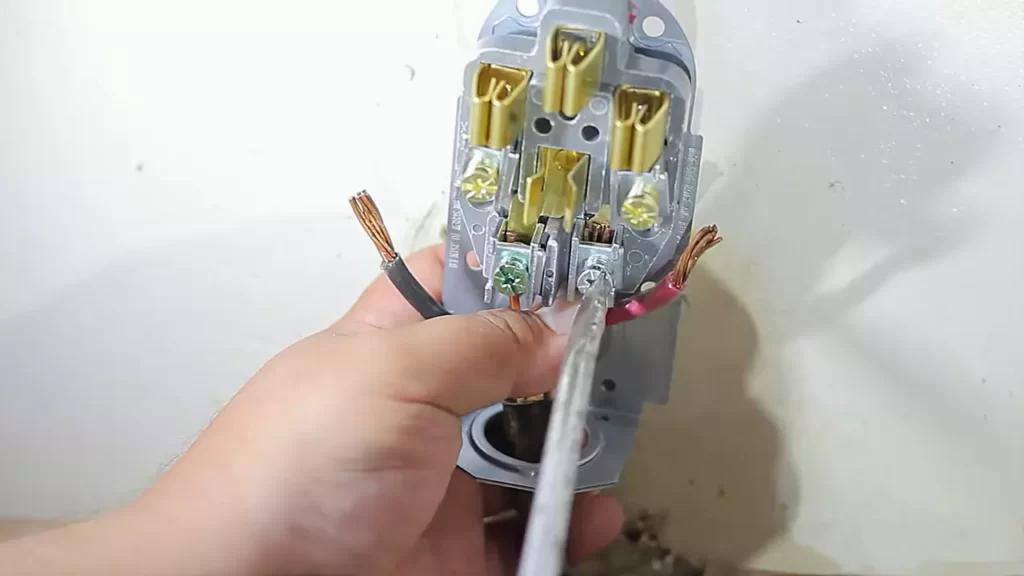
Next, it’s time to wire the outlet. Start by removing the knockout tab from the bottom of the outlet box. This will create an opening for the cable to enter. Strip the insulation off the wires and push them through the knockout hole. Connect the wires to the terminals on the outlet, following the manufacturer’s instructions. It’s essential to make sure the connections are secure to avoid any potential electrical hazards.
Connecting the Outlet to the Electrical System
With the wiring complete, you can now connect the outlet to the electrical system. Run a cable from the outlet box to the electrical panel, ensuring it is the correct size and type for the job. Remove the knockout from the panel and feed the cable through it. Strip the insulation off the cable wires and attach them to the appropriate breaker in the electrical panel. Tighten the screws to secure the connections.
Testing the Outlet
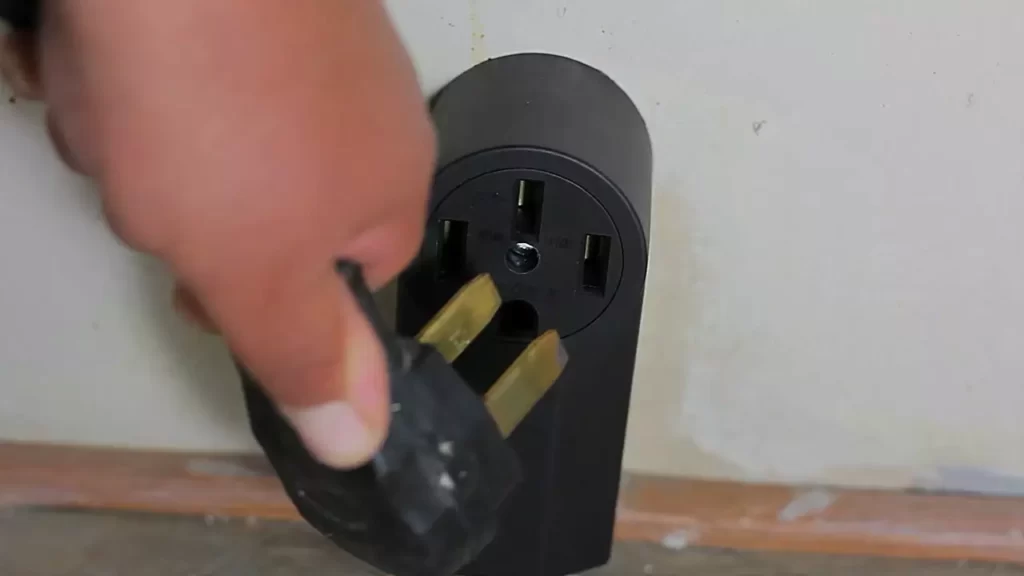
Once all the connections are made, it’s time to test the outlet. Turn the power back on at the electrical panel and use a voltage tester to ensure the outlet is receiving electricity. Plug in a device to test if it is working correctly. If there are any issues, double-check the wiring and connections and consult a professional if needed.
By following these steps, you can confidently install a stove outlet in your home. Remember to prioritize safety and refer to the manufacturer’s instructions throughout the process. If you have any doubts or concerns, it’s always best to consult a licensed electrician for assistance.

Troubleshooting Common Issues
Identifying Wiring Problems
One of the most common issues when installing a stove outlet is running into wiring problems. It’s important to identify these problems early on to ensure a safe and efficient installation process. Here are some common wiring issues to look out for:
- Incorrect wiring connections: Make sure that the wires are properly connected to the outlet. A loose or incorrect connection can lead to electrical issues or even a fire hazard. Double-check that the wires are securely fastened to their respective terminal screws.
- Worn or damaged wires: Inspect the wiring for any signs of wear or damage. Over time, wires can become frayed or cracked, which can compromise the electrical integrity of the outlet. If you notice any damage, it’s essential to replace the affected wires promptly.
- Inadequate wire gauge: The gauge or thickness of the wires used should be suitable for the stove’s power requirements. Using wires with a lower gauge than necessary can result in overheating and potentially cause a tripped circuit breaker. Refer to the stove’s user manual or consult a professional electrician to determine the appropriate wire gauge.
- Missing or faulty ground connection: The ground wire is a crucial safety feature that provides an alternate path for electrical current in case of a fault. Ensure that the outlet has a properly connected ground wire. If the outlet lacks a ground connection, it might be necessary to upgrade the wiring system.
Fixing Outlet Installation Errors
When it comes to stove outlet installation, mistakes can happen. However, addressing these errors promptly can save you from potential hazards in the future. Here are some common outlet installation errors and how to fix them:
- Improper outlet positioning: Make sure that the outlet is placed at the correct height and distance from the stove. It should be easily accessible but not too close to the heat source. Re-position the outlet if necessary to ensure convenience and safety.
- Loose outlet connections: Check that the outlet is securely fastened to the electrical box. If it wiggles or feels loose, tighten the screws holding it in place. A loose outlet can cause power interruptions or even damage the outlet itself.
- Insufficient grounding: Double-check that the outlet has a proper ground connection. If the ground wire is missing or not connected correctly, consult an electrician to install a new outlet or repair the existing one.
- Overloaded circuit: If the circuit frequently trips when using the stove, it might be due to an overloaded circuit. Determine if the stove’s power requirements exceed the capacity of the circuit. In such cases, consult an electrician to install a dedicated circuit for the stove.
By identifying and troubleshooting these common issues, you can ensure a safe and efficient installation of your stove outlet. Remember, it’s always best to consult a professional electrician if you’re unsure or uncomfortable with any aspect of the installation process. Your safety and the integrity of your electrical system should always be a top priority.

Safety Precautions
Using Personal Protective Equipment (PPE)
When it comes to installing a stove outlet, safety should be your top priority. It is crucial to protect yourself from potential hazards that can arise during the installation process. One of the key safety precautions is to use Personal Protective Equipment (PPE). PPE includes safety goggles, gloves, and a dust mask.
Safety goggles shield your eyes from debris or any chemicals that may be involved in the installation. Gloves not only protect your hands from any sharp edges but also provide insulation against electrical shocks. A dust mask prevents inhalation of harmful particles that may be released during the installation.
Avoiding Common Hazards during the Installation Process
During the installation process, it is important to be aware of and avoid common hazards to ensure a safe environment. Here are some precautionary measures:
- Before starting the installation, ensure that the power supply is turned off and the circuit breaker or fuse is properly disconnected. This step eliminates the risk of electric shock.
- Use appropriate tools for the installation. Make sure the tools are in good condition and suitable for the task at hand. This minimizes the risk of accidents or injuries caused by malfunctioning tools.
- Be cautious of flammable materials and keep them away from the installation area. This includes keeping flammable liquids, such as cleaning agents or fuel, at a safe distance.
- Ensure proper ventilation in the area where the installation is taking place. Adequate ventilation helps prevent the accumulation of hazardous gases and reduces the risk of fire or asphyxiation.
By adhering to these safety precautions, you can significantly reduce the chances of any mishaps during the installation process. Remember, safety should always be the primary concern when working with any electrical equipment. Take the necessary precautions and consult a professional if you are unsure about any aspect of the installation.
Frequently Asked Questions Of How To Install A Stove Outlet
How Much Does It Cost To Install A 240V Outlet For A Stove?
The cost to install a 240v outlet for a stove varies depending on location and complexity. On average, it can range between $200 and $500, including materials and labor. It is recommended to get a quote from a licensed electrician for an accurate estimate.
Do Electric Stoves Need A Special Outlet?
No, electric stoves do not require a special outlet. They can be plugged into a standard electrical outlet found in most homes.
Can You Turn A Regular Outlet Into A Stove Outlet?
No, you cannot turn a regular outlet into a stove outlet. Stove outlets require higher voltage and ampacity than regular outlets. It is best to hire a professional electrician to install the proper wiring and outlet for your stove.
Why Do Stoves No Longer Have Outlets?
Stoves no longer have outlets because they have been redesigned to be more convenient and safe. They now use direct electrical connections or portable fuel sources like gas or propane tanks. This eliminates the need for plugs and outlets, making stoves more efficient and reducing the risk of accidents.
Conclusion
Installing a stove outlet might seem like a daunting task, but with the right knowledge and tools, it can be a straightforward process. By following the steps outlined in this blog post, you can safely and successfully install a stove outlet in your home.
Remember to always prioritize safety and consult a professional if needed. Now you’re ready to enjoy the convenience and functionality of your new stove outlet.
