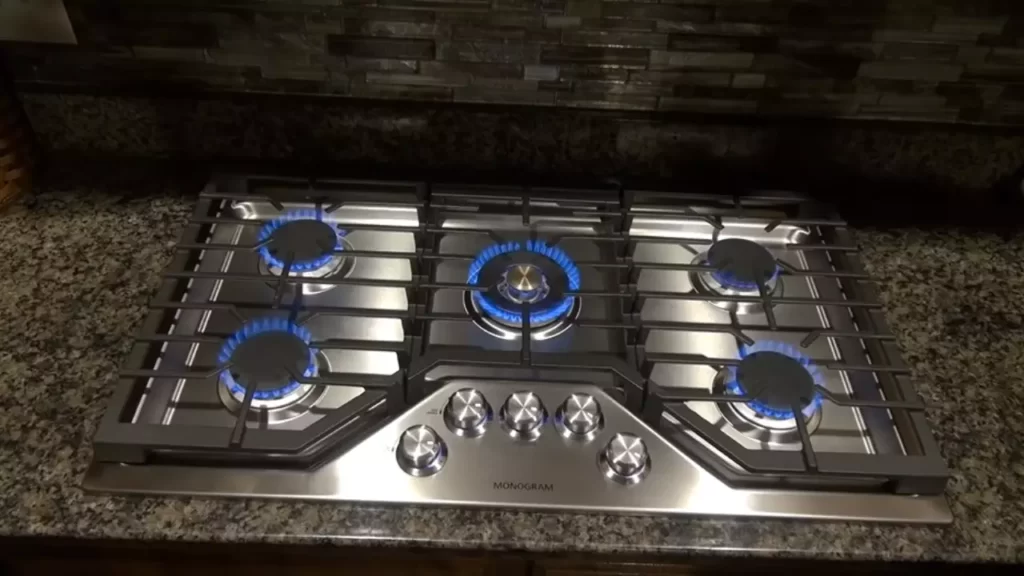
To install a gas cooktop, follow these steps: shut off the gas supply, disconnect the old cooktop, place the new cooktop in the opening, connect the gas line, secure the cooktop with brackets, and test for leaks. Properly installing a gas cooktop is crucial for safe and efficient cooking in your kitchen.
By following a few simple steps, you can have your new gas cooktop up and running in no time. We will provide you with a concise guide on how to install a gas cooktop, ensuring your cooking experience is not only enjoyable but also safe.
Whether you are replacing an old cooktop or installing a brand-new one, these step-by-step instructions will help you get the job done effectively. So, let’s get started.
Important Considerations Before Installation
Installing a gas cooktop requires careful planning and consideration. Before you dive into the installation process, it’s crucial to take note of a few important factors to ensure a smooth and successful setup. In this section, we’ll discuss the key considerations that you need to keep in mind before installing your gas cooktop.
From choosing the right location to checking gas line compatibility and ensuring proper ventilation and clearances, these factors play a significant role in the overall functionality and safety of your appliance.
Choosing the Right Location for Your Gas Cooktop
The first step in installing a gas cooktop is determining the optimal location for it. While it may be tempting to place it wherever it fits, there are a few factors worth considering. Firstly, you need to ensure that the cooktop is positioned in a convenient area, preferably near a countertop or kitchen island. This helps to create an efficient workspace and makes it easier to access your cooking utensils and ingredients.
Secondly, take into account the proximity to an existing gas line. Installing your cooktop near a gas line can save you extra installation costs and ensures an easier and quicker setup. Additionally, make sure that the location provides ample clearance and avoids any flammable materials to minimize the risk of accidents.
Checking for Gas Line Compatibility
Before proceeding with the installation, it’s important to check if your gas line is compatible with your new cooktop. Gas cooktops typically require a dedicated gas line or a connection to your existing gas supply. If you are uncertain about the compatibility or installation requirements, it is highly recommended to consult a professional gas fitter or plumber to ensure safety and code compliance.
Consulting an expert helps prevent any potential leaks or malfunctions and ensures that the gas flow is regulated properly. They can also assess the capacity of your gas line to determine if any upgrades are necessary to accommodate your new cooktop. Remember, safety should always be a top priority when dealing with gas appliances.
Ensuring Proper Ventilation and Clearances
Proper ventilation and clearance are essential considerations for installing a gas cooktop. Gas cooktops produce heat and combustion byproducts during operation, so it’s important to provide adequate ventilation to remove any potentially harmful gases or fumes.
Check the manufacturer’s guidelines and local building codes to determine the proper ventilation requirements for your specific cooktop model. These guidelines typically recommend the use of ventilation hoods or range hoods that exhaust air outdoors. Ensure that the ventilation system is properly maintained, as a malfunctioning fan can compromise the air quality in your kitchen.
In addition to ventilation, maintain proper clearances around your cooktop, as specified by the manufacturer. This includes clearances between the cooktop and adjacent cabinets or walls. These clearances are designed to prevent heat buildup, reduce the risk of fire, and ensure safe operation.
Gathering The Necessary Tools And Materials
Before you embark on installing a gas cooktop in your kitchen, it’s essential to gather all the necessary tools and materials. Having everything ready will make the installation process smoother and more efficient. In this section, we’ll discuss the essential tools, required materials, and safety equipment required for setting up your gas cooktop.
Essential tools for installation
When it comes to installing a gas cooktop, having the right tools is crucial. Here are the essential tools you’ll need:
- Adjustable wrench
- Tubing cutter
- Thread seal tape
- Flathead screwdriver
- Level
- Drill
- Drill bits
- Socket wrench
- Pliers
- Tape measure
These tools will help you ensure a proper and secure installation, allowing you to enjoy your gas cooktop without any hassle.
Required materials for gas cooktop setup
In addition to the tools, you’ll also need specific materials to complete the gas cooktop setup. Here’s a list of the required materials:
- Gas pipe or tubing
- Gas shut-off valve
- Flex hose
- Connector fittings
- Gas leak detection solution
- Mounting brackets or screws
These materials are vital for ensuring a safe and reliable gas cooktop setup. Make sure to have them on hand before you begin the installation process.
Safety equipment for working with gas
Working with gas requires special precautions to safeguard yourself and your home. To ensure your safety, it’s important to have the following safety equipment:
- Safety goggles
- Gloves
- Fire extinguisher
- Carbon monoxide detector
These safety measures are crucial for protecting yourself, your loved ones, and your property from any potential gas-related hazards. Be sure to have them readily available during the installation process.
Step-By-Step Gas Cooktop Installation Process
Shutting off the gas supply and disconnecting old cooktop
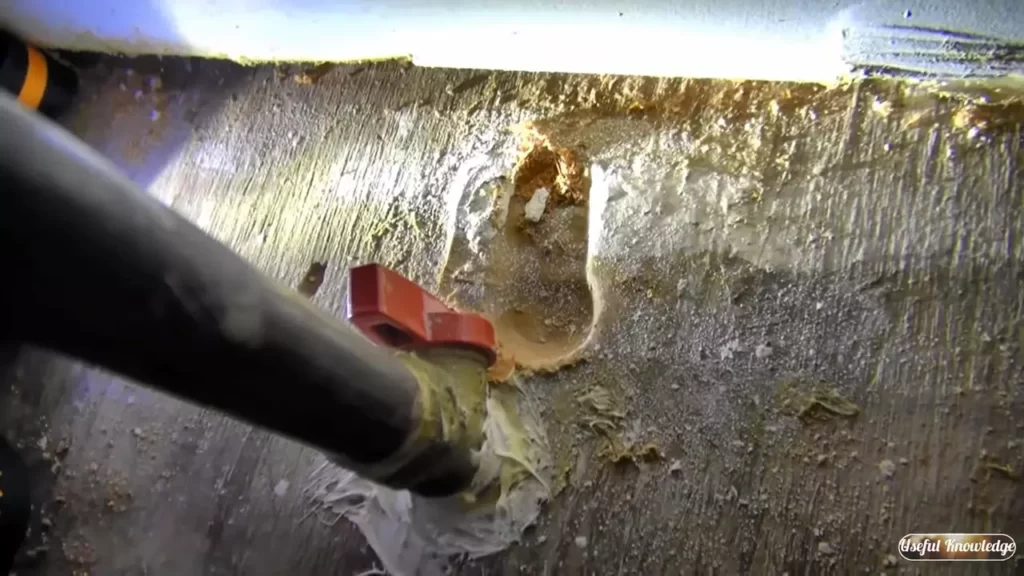
To begin the gas cooktop installation process, it is crucial to shut off the gas supply. This can be done at the main shut-off valve, typically located near the gas meter.
Once the gas supply is turned off, you can proceed to disconnect the old cooktop. Start by locating the gas shut-off valve behind the old cooktop and turning it off. This valve is usually located between the wall and the cooktop. Next, carefully disconnect the flexible gas line from the cooktop.
Preparing the countertop and creating an opening
With the old cooktop safely disconnected, it’s time to prepare the countertop for the new installation. Remove any objects or debris from the workspace and ensure the area is clean.
Measure the dimensions of your new gas cooktop and mark the appropriate space on the countertop. Use a jigsaw or a reciprocating saw to carefully create an opening for the cooktop. Make sure to follow the manufacturer’s instructions regarding the size and shape of the opening.
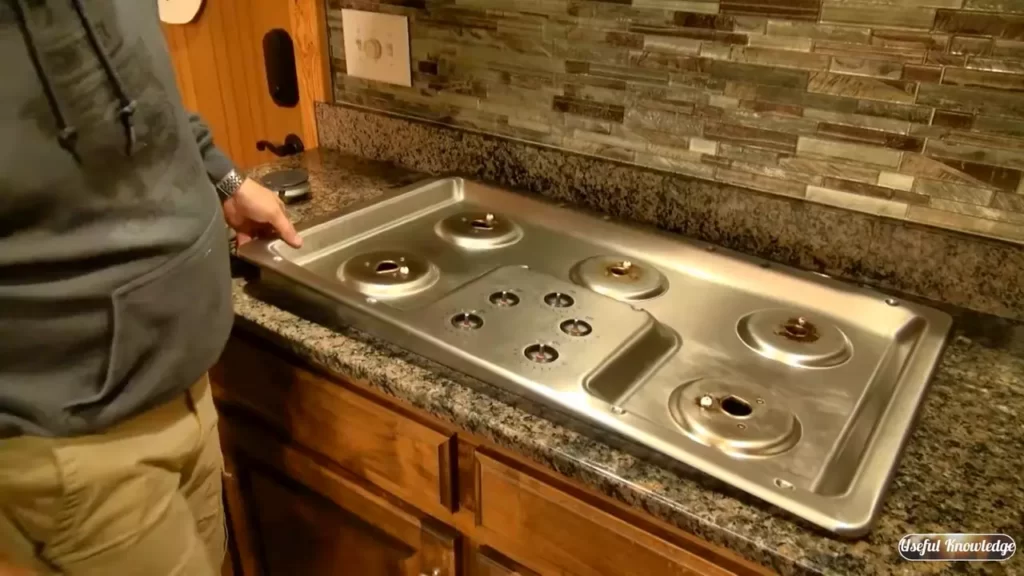
Installing the new gas cooktop securely
With the opening in place, it’s time to install the new gas cooktop. Start by placing the cooktop into the opening and ensuring it fits securely. Make any necessary adjustments to ensure a snug fit.
Refer to the manufacturer’s instructions to determine if any additional brackets or screws are required for installation. Use a screwdriver or drill to secure the cooktop to the underside of the countertop. Take care not to overtighten the screws, as this can damage the cooktop or countertop.
Attaching the mounting brackets
In some cases, the new gas cooktop may require mounting brackets. These brackets are typically included with the cooktop and are used to provide additional support and stability.
Install the mounting brackets according to the manufacturer’s instructions. Use a screwdriver or drill to securely attach the brackets to the underside of the countertop. Make sure the brackets are aligned properly and evenly spaced to ensure a stable installation.
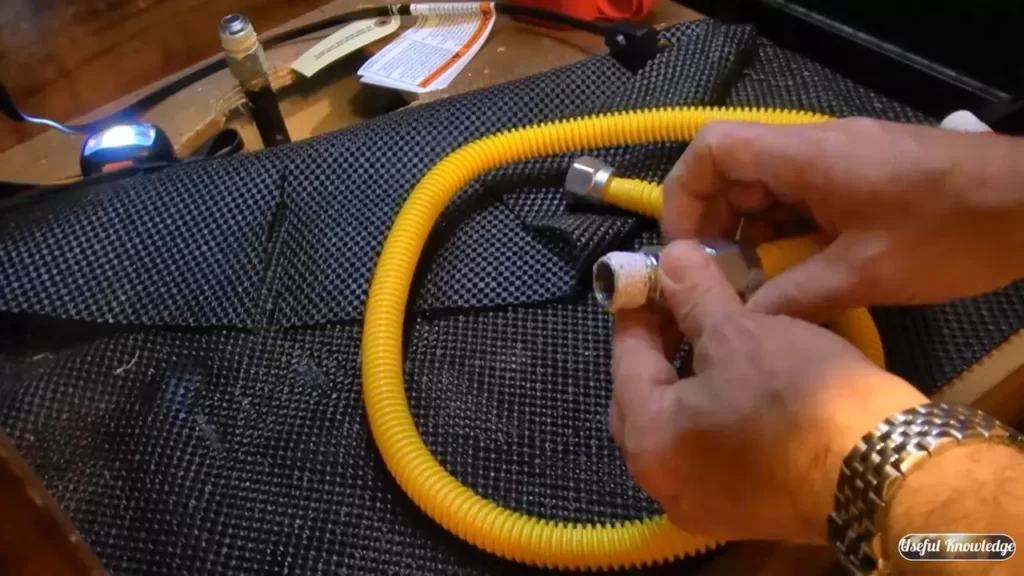
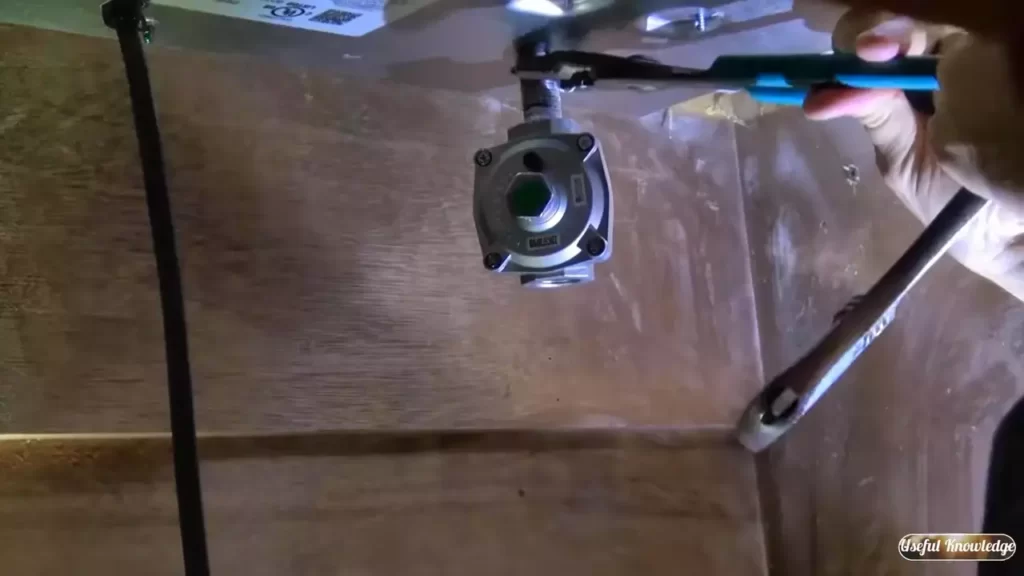
Connecting the gas line
Before connecting the gas line, ensure that it is clean and free from any debris. Carefully attach the flexible gas line to the gas inlet on the cooktop. Use an adjustable wrench to tighten the connection securely, but avoid overtightening to prevent damage.
Once the gas line is connected, apply a small amount of soapy water to the connection. Check for any bubbles, as this indicates a gas leak. If a leak is detected, immediately shut off the gas supply and consult a professional.
Securing the cooktop to the countertop
To ensure stability and prevent movement, it is important to secure the gas cooktop to the countertop. Check the manufacturer’s instructions for any additional securing measures, such as using adhesive strips or brackets.
Follow the provided instructions to attach the cooktop securely to the countertop. This will help prevent any accidental shifting or instability during use, ensuring a safe cooking environment.
Testing for gas leaks and ensuring proper ignition
After installing the gas cooktop, it is essential to test for gas leaks and ensure proper ignition before using it. Turn on the gas supply and use a gas leak detector or a mixture of soapy water to check for any leaks.
Apply the gas leak detector or soapy water to the connections and joints. Look for any bubbles forming, as this indicates the presence of a gas leak. If bubbles are detected, immediately shut off the gas supply and seek professional assistance.
Additionally, test the ignition system of the cooktop to ensure it sparks and lights up correctly. Follow the manufacturer’s instructions to properly ignite the cooktop burners. If any issues or abnormalities are found, consult the manufacturer or a professional technician for assistance.
Adjustments And Fine-Tuning
When it comes to installing a gas cooktop, the adjustments and fine-tuning stage is crucial for achieving optimal performance. This step involves checking flame appearance and adjusting the burner air shutter, calibrating burner flames, and verifying the proper operation of cooktop components. By perfecting these adjustments, you can ensure that your gas cooktop operates efficiently and safely.
Checking Flame Appearance and Adjusting Burner Air Shutter
One of the first steps in adjusting your gas cooktop is to check the flame appearance and adjust the burner air shutter accordingly. To do this, follow these simple steps:
- Turn on each burner of your cooktop and observe the flame.
- Make note of any irregularities such as excessive yellow flames or flickering.
- Locate the air shutter adjustment screw, usually placed near the base of each burner.
- Using a screwdriver, adjust the air shutter to regulate the air-to-gas ratio.
- Continue this process for each burner until the flame appears blue and stable.
By ensuring the correct air-to-gas ratio, you allow for efficient combustion and reduce the risk of carbon monoxide emissions.
Calibrating Burner Flames for Optimal Performance
Calibrating the burner flames is essential for achieving optimal performance from your gas cooktop. Follow these steps to calibrate the flames:
- Turn each burner to the highest setting and allow them to run for a few minutes to stabilize.
- Observe the flame height and adjust the control knob if necessary.
- Measure the flame height by using a ruler or a designated flame height gauge.
- Adjust the flame height according to the manufacturer’s recommendations.
- Repeat this process for each burner, ensuring consistent and proper flame height.
By calibrating the burner flames, you can optimize heat distribution and prevent uneven cooking results.
Verifying Proper Operation of Cooktop Components
Lastly, it is important to verify the proper operation of cooktop components to ensure everything functions as intended. Here are some key components to check:
- Ignition system: Test the ignition system by turning the control knobs to ignite the burners. Ensure all burners ignite promptly and without any delay.
- Gas flow: Confirm that the gas flow to each burner is consistent and there are no leaks. Check all connections for the presence of any gas odor.
- Control knobs: Ensure that the control knobs turn smoothly and that they accurately regulate the burner flames when adjusted.
- Flame sensors: Check the flame sensors, if applicable, to ensure they are clean and free of debris, allowing for proper flame detection.
- Other features: Test any additional features or functionalities of your gas cooktop, such as the griddle or simmer burner, to ensure they operate as intended.
By verifying the proper operation of these cooktop components, you can have confidence in the reliable performance of your gas cooktop.
Maintenance Tips And Safety Precautions
Proper maintenance and safety precautions are crucial when it comes to enjoying the benefits of a gas cooktop. Not only will regular cleaning and maintenance keep your cooktop in top shape, but adhering to safety protocols will also ensure the well-being of yourself and your loved ones. In this section, we will explore essential maintenance tips and safety precautions that every gas cooktop owner should follow.
Cleaning and maintaining the gas cooktop
Regular cleaning of your gas cooktop is the key to its longevity and optimal performance. Here are some tips to clean and maintain your gas cooktop efficiently:
- Remove the grates and burner caps: Start by removing the grates and burner caps from the cooktop. Clean them with warm soapy water and a gentle brush to remove any debris or stains. Rinse thoroughly and let them dry before reassembling.
- Wipe the surface: Use a damp cloth or sponge to wipe down the cooktop’s surface. For stubborn stains, use a mild cleaning solution formulated for gas cooktops. Avoid using abrasive cleaners or scouring pads, as they can scratch the surface.
- Clean the burners: Clean the burners by removing any food residue or grease buildup. You can use a toothbrush or a soft brush to clean the burner ports. Be gentle to avoid damaging the burners.
- Check the igniter: Inspect the igniter for any obstructions or debris. Gently clean it with a soft brush or a cotton swab if necessary.
By following these cleaning and maintenance tips regularly, you can keep your gas cooktop looking and functioning like new for years to come.
Identifying and addressing common issues
Even with regular maintenance, gas cooktops may occasionally encounter common issues. Being able to identify and address these problems ensures a hassle-free cooking experience. Here are some common gas cooktop issues and how to address them:
| Common Issue | Possible Solution |
|---|---|
| Weak or uneven flame | Check for clogged burner ports and clean them. Ensure proper alignment of the burner caps. |
| Igniter not working | Inspect the igniter for any signs of damage or wear. Replace the igniter if necessary. |
| Gas odor | If you smell gas, turn off the cooktop immediately. Open windows to ventilate the area and contact a professional gas technician to address the issue. |
Remember, if you encounter any issues that you are unsure how to handle, it’s always best to consult a professional technician for assistance.
Ensuring safety protocols for gas appliances
When it comes to gas appliances, safety should be a top priority. Here are some safety precautions to follow when using and maintaining your gas cooktop:
- Regularly inspect the gas lines: Keep an eye on the gas lines connecting to your cooktop. Look for any signs of wear or damage. If you notice any issues, contact a professional to address them.
- Keep flammable materials away: Always ensure there are no flammable materials, such as paper towels or curtains, near your cooktop. This helps reduce the risk of accidental fires.
- Use proper cookware: Choose cookware with flat and even bottoms to ensure efficient heat distribution and avoid uneven cooking. Always use cookware that fits the burner size to prevent flare-ups.
- Never leave the cooktop unattended: Always supervise your cooktop while it is in use. Never leave it unattended, especially when there are children or pets around.
- Have a fire extinguisher nearby: It’s always a good idea to have a fire extinguisher readily available in case of emergencies. Ensure you know how to properly use it.
By following these safety protocols, you can enjoy the convenience and efficiency of your gas cooktop while ensuring the well-being of everyone in your household.
Frequently Asked Questions On How To Install A Gas Cooktop
Can I Install Gas Cooktop Myself?
No, it is not recommended to install a gas cooktop yourself. Professional installation is necessary for safety reasons.
Can Anyone Install A Gas Cooktop?
Yes, anyone can install a gas cooktop. However, it is important to follow safety guidelines and have a professional check the installation for gas leaks and proper connections. Ensure you have the necessary tools and knowledge or hire a licensed professional for a secure installation.
What Is The Average Cost To Install A Gas Cooktop?
The average cost to install a gas cooktop ranges from about $500 to $1,500, depending on factors like the brand, size, and installation requirements.
How Far Should A Gas Stove Be From The Cabinet?
A gas stove should be at least 30 inches away from a cabinet to ensure safety and prevent heat damage.
Conclusion
Installing a gas cooktop is not as daunting as it may seem. With the step-by-step guide provided in this blog post, you can easily tackle this DIY project. Remember to prepare the necessary tools and materials, turn off the gas supply, and carefully follow the manufacturer’s instructions.
By following these tips, you’ll have a functional and stylish gas cooktop that will elevate your culinary adventures in no time. Happy cooking!