To install a floating mantel, you need to locate the studs in your wall and use a level to mark the desired height. Then, attach the mounting bracket to the wall and slide the mantel onto it, making sure it is secure.
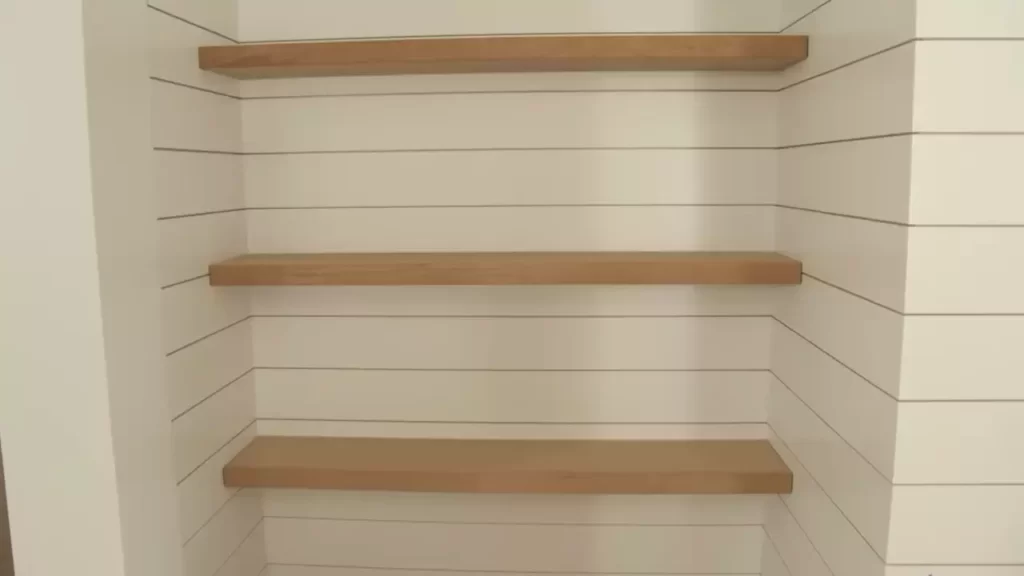
A floating mantel can add a touch of elegance and functionality to any living space. Whether you want to display decorative items or create a focal point in the room, a floating mantel can be a stylish choice. However, installing a floating mantel requires some knowledge and skill.
So, we will guide you through the process of installing a floating mantel, step by step. By the end of this article, you will have all the information you need to successfully install a floating mantel in your home. So let’s get started!
Choosing The Right Floating Mantel For Your Space
Installing a floating mantel is a fantastic way to add style, character, and functionality to your fireplace. But with so many options available, how do you choose the right one for your space? In this section, we’ll explore the factors to consider when selecting a floating mantel, the different styles and materials available, and the sizing options for different fireplace types.
Factors to Consider When Selecting a Floating Mantel
- Design Aesthetics: The first factor to consider is the overall design aesthetics of your space. Do you prefer a rustic, contemporary, or traditional look? Think about how the floating mantel will complement your existing decor and style preferences.
- Fireplace Size: Measuring the dimensions of your fireplace is crucial when choosing a floating mantel. Ensure that the width and depth of the mantel fit proportionally with your fireplace to create a balanced and visually appealing look.
- Weight Capacity: Floating mantels come in various weight capacities. Consider the weight of the items you plan to display on the mantel, such as artwork, picture frames, or decorative items. It’s important to choose a mantel that can support the weight without sagging or compromising stability.
- Installation: Some floating mantels require a bit of DIY knowledge and tools for installation, while others offer easy and straightforward installation processes. Decide whether you want to tackle the installation yourself or hire a professional to ensure a seamless and secure attachment to your wall.
Different Styles and Materials Available
When it comes to styles and materials, floating mantels offer a wide range of options to suit any taste or decor scheme. Here are a few popular choices:
| Style | Materials |
|---|---|
| Rustic | Reclaimed wood, distressed finishes |
| Contemporary | Sleek metal, glass, polished wood |
| Traditional | Stained wood, intricate carvings |
These are just a few examples, and there are countless other styles and materials available to match your unique preferences.
Sizing Options for Different Fireplace Types
Fireplaces come in various shapes and sizes, and it’s important to select a floating mantel that fits your specific fireplace type. Here are a few sizing options to consider:
- Standard Size: Suitable for average-sized fireplaces with standard width and depth measurements.
- Oversized: Ideal for larger fireplaces or those looking to make a bold statement.
- Customizable: Some manufacturers offer customizable floating mantels, allowing you to tailor the dimensions to fit your fireplace perfectly.
By choosing the right size, you ensure that the mantel doesn’t overpower or underwhelm your fireplace, creating a harmonious and visually appealing focal point in your space.
Now that you have a better understanding of the factors to consider when selecting a floating mantel, the different styles and materials available, and the sizing options for different fireplace types, you’re ready to find the perfect mantel to enhance your fireplace and elevate the overall ambiance of your home.
Measuring And Preparation
Before you begin installing a floating mantel, it is crucial to take accurate measurements and properly prepare the fireplace wall. This step is essential for ensuring a secure and visually appealing installation. In this section, we will cover the following aspects of measuring and preparation:
Determining the correct size for your floating mantel
The first step in installing a floating mantel is determining the correct size that will fit perfectly above your fireplace. To measure the length of the mantel, start by measuring the width of your fireplace opening.
Next, decide on the amount of overhang you desire on each side. This will depend on personal preference and the overall aesthetics you are aiming for. Once you have decided on the overhang, add it to the width of the fireplace opening to calculate the total length of the mantel.
When it comes to the depth, consider the size and weight of the objects you plan to display on the mantel. Make sure the depth is sufficient to accommodate these items while still maintaining a balanced look.
Remember, it is better to have the mantel slightly larger rather than too small. A larger mantel can always be trimmed down to fit, but a small mantel will not provide the desired visual impact.
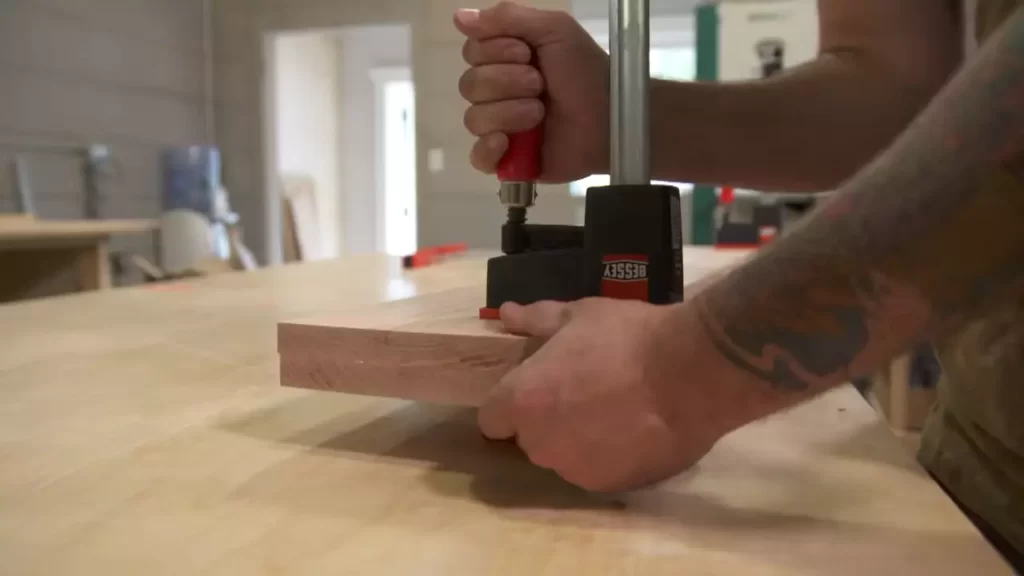
Gathering the necessary tools and materials
Before you start installing the floating mantel, gather all the necessary tools and materials. Having everything ready will ensure a smooth and efficient installation process. Here’s a list of the tools and materials you will need:
- Measuring tape
- Pencil
- Level
- Stud finder
- Screwdriver
- Drill
- Wall anchors (if needed)
- Mantel bracket or mounting system
- Wood screws
- Wood glue
- Sandpaper
- Paint or stain (optional)
Preparing the fireplace wall for installation
Now that you have all the necessary tools and materials, it’s time to prepare the fireplace wall for the installation of the floating mantel. First, ensure that the wall is clean and free of any dust, debris, or loose paint. A smooth and clean surface will provide better adhesion for the mantel bracket or mounting system.
Using a stud finder, locate the studs in the wall. The studs will be the most secure points to anchor the mantel bracket. Mark their positions with a pencil for reference.
If there are no studs in the desired location for the mantel, you will need to use wall anchors to provide additional support. Make sure to select anchors that are suitable for your wall type and weight requirements. Follow the manufacturer’s instructions to install the wall anchors securely.
Before drilling any holes, double-check the measurements and markings to ensure accuracy. Using a level, verify that the marks are straight and aligned properly. This will prevent any uneven installation of the mantel.
When the wall is prepared and the measurements are confirmed, you are ready to move on to the next step: installing the floating mantel!
Installing The Floating Mantel
Installing a floating mantel can add a touch of elegance and sophistication to any room. Not only does it provide a stylish focal point, but it also offers functional space for displaying decor items or creating a cozy ambiance. When it comes to installing the floating mantel, there are a few key steps to ensure a secure and visually appealing result. In this article, we will guide you through the process of marking the placement for the mantel, anchoring the mounting brackets to the wall, and attaching the mantel to the mounting brackets securely.
Marking the placement for the mantel
Before starting the installation process, it’s crucial to first mark the placement for the mantel on the wall. Begin by determining the desired height and width of the mantel, taking into consideration the dimensions of the room and any surrounding furniture or fixtures. Once you have decided on the placement, use a measuring tape to mark the appropriate positions on the wall. It’s recommended to use a pencil for marking, as it can easily be erased or painted over if necessary.
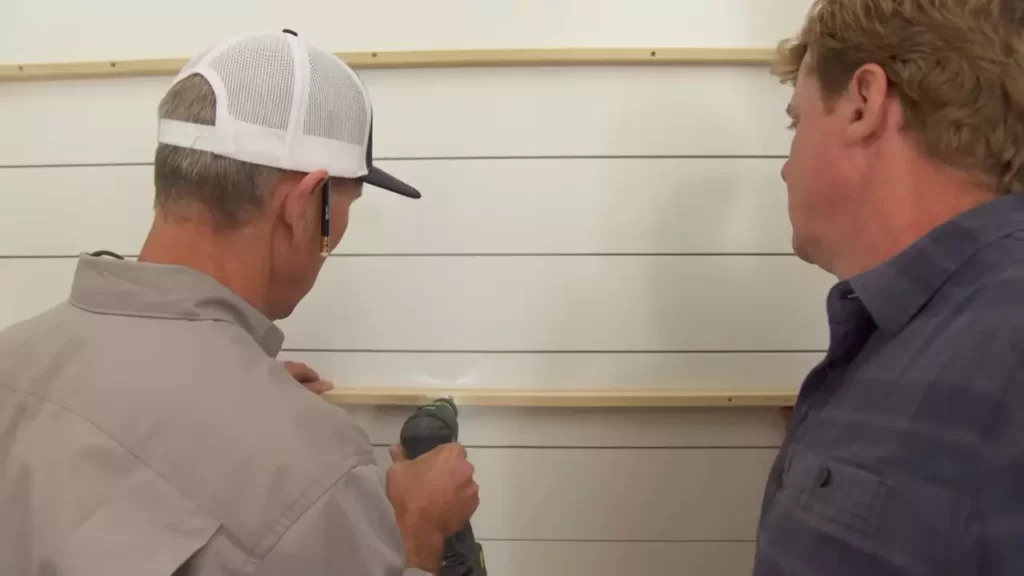
Anchoring the mounting brackets to the wall
Once the placement has been marked, it’s time to anchor the mounting brackets to the wall. Start by positioning the brackets at the marked locations, ensuring they are level and aligned. Depending on the weight and size of the mantel, it’s important to use appropriate wall anchors or studs to ensure a secure attachment. Drill pilot holes into the wall at the marked positions, then insert the wall anchors or screws and tighten them using a suitable tool. Make sure the brackets are firmly attached and able to support the weight of the mantel.
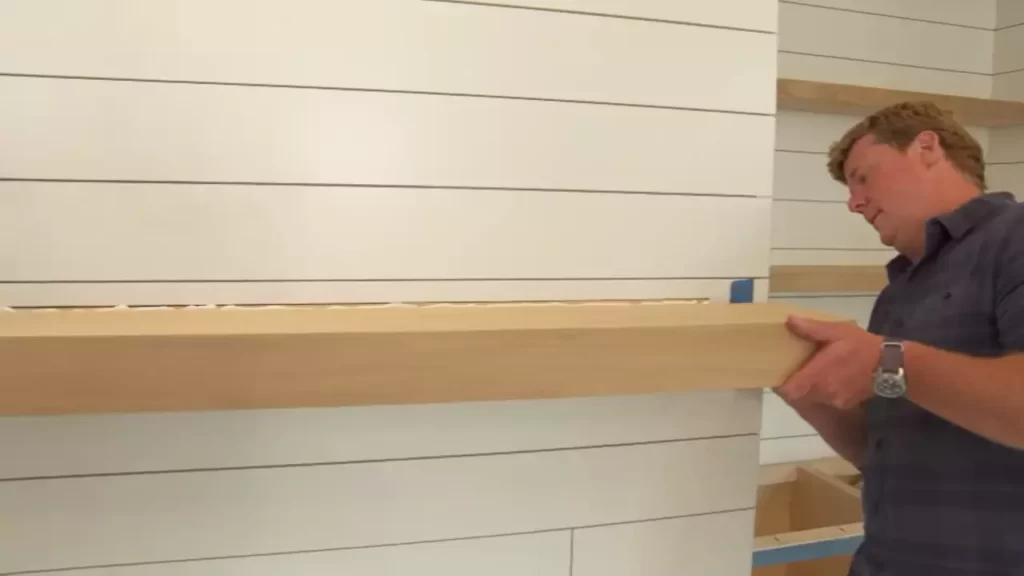
Attaching the mantel to the mounting brackets securely
Now that the mounting brackets are securely anchored to the wall, it’s time to attach the mantel. Carefully place the mantel onto the brackets, ensuring a snug fit. It’s advised to have an assistant support the mantel during this step, especially if it is heavy. Using a screwdriver or drill, secure the mantel to the brackets by inserting screws through the pre-drilled holes on the underside of the mantel. Make sure to tighten the screws securely, but be cautious not to over tighten and damage the wood or wall.
Finally, step back and admire your newly installed floating mantel. Ensure that it is level and visually pleasing, making any necessary adjustments before completing the installation process. Remember, following these steps will not only provide a secure attachment but also create an eye-catching focal point in your space.
Finishing Touches And Safety Measures
Once you have successfully installed your floating mantel, it’s time to focus on the finishing touches and ensuring that it is safe for use. This final step is crucial to achieve a polished look and make sure that your mantel is secure. In this section, we will guide you through sanding and painting the mantel, decorating it with accessories, and ensuring that it is properly secured for your peace of mind.
Sanding and Painting the Mantel
Before you can start adding color and personality to your floating mantel, it is essential to sand and prepare the surface for painting. This step will ensure that the paint adheres properly and gives your mantel a smooth and professional finish.
- Begin by sanding the entire mantel using a fine-grit sandpaper.
- Pay extra attention to any rough patches or imperfections, smoothing them out as you go.
- Once you have sanded the surface, wipe off any dust with a clean cloth or a tack cloth.
- Next, apply a primer coat to help the paint adhere better to the wood.
- Wait for the primer to dry completely before painting the mantel with your desired color.
- Apply two to three coats of paint, allowing each coat to dry before applying the next one.
- Finally, give your mantel a smooth and polished look by lightly sanding the painted surface with a fine-grit sandpaper, followed by wiping off any dust.
Decorating the Mantel with Accessories
Now that you have a beautifully painted floating mantel, it’s time to add personality and style by decorating it with accessories. This is where you can showcase your creativity and make the mantel truly reflect your unique taste and style.
- Start by selecting a focal point or centerpiece for your mantel, such as a framed artwork, a mirror, or a decorative object.
- Arrange the centerpiece slightly off-center to create visual interest.
- Balance the overall look by adding smaller accessories on each side, such as candles, vases, or small plants.
- Consider the height and proportions of your accessories, creating varying levels to create depth and dimension.
- Be mindful of symmetry and balance, but also feel free to embrace an eclectic and asymmetrical arrangement if that suits your style better.
- Step back and assess the overall look, making any adjustments as needed to achieve a cohesive and visually appealing display.
Ensuring the Mantel is Properly Secured and Safe for Use
Safety should always be a top priority when installing a floating mantel. Ensuring that it is properly secured will give you peace of mind and prevent any accidents or mishaps. Here are some safety measures to consider:
- Double-check that the mantel is securely fastened to the wall studs with the appropriate screws or brackets.
- Ensure that the weight of any accessories or decor items you add is well within the weight capacity of the mantel.
- If you have young children or pets in your home, consider adding safety locks or measures to prevent them from climbing or pulling on the mantel.
- Regularly inspect the mantel and its attachments to ensure that everything remains secure over time.
- Follow the manufacturer’s guidelines and recommendations for maintaining and cleaning your floating mantel.
By following these finishing touches and safety measures, your floating mantel will not only look stunning but also provide you with a stylish and secure focal point in your space. Take the time to complete these final steps, and you’ll be able to enjoy your mantel for years to come.
Frequently Asked Questions On How To Install A Floating Mantel
How Do You Mount A Heavy Floating Mantel?
To mount a heavy floating mantel, follow these steps:
- Choose a sturdy support system like metal brackets or corbels.
- Identify the wall studs using a stud finder.
- Securely attach the brackets to the studs using screws.
- Place the mantel onto the brackets, ensuring it’s level.
- Secure the mantel to the brackets using screws or other recommended hardware.
How Do You Anchor A Fireplace Mantel?
To anchor a fireplace mantel, follow these steps:
- Determine the location and desired height of the mantel.
- Locate and mark the wall studs for support.
- Use a level to ensure the mantel is positioned straight.
- Pre-drill holes into the mantel and attach it to the wall studs using screws or brackets.
- Double-check for stability and make any necessary adjustments.
How High Should A Floating Mantel Be?
The height of a floating mantel should be determined by several factors including the overall design of the space, the size of the fireplace, and the desired functionality. However, a general guideline is to install the mantel so that it is roughly 4-6 feet from the floor and about 12-18 inches above the fireplace opening.
How Do You Attach A Beam Mantel To The Wall?
To attach a beam mantel to the wall, follow these steps:
- Select a suitable location on the wall.
- Measure and mark the desired height for the mantel.
- Use a stud finder to locate wall studs.
- Drill pilot holes into the studs at the marked height.
- Securely attach the beam mantel to the wall using screws or brackets.
Conclusion
Installing a floating mantel is a simple and stylish way to add a touch of elegance to your living space. With the right tools and a step-by-step approach, you can achieve a professional-looking installation in no time. Remember to measure accurately, choose the right materials, and follow safety precautions throughout the process.
By following these guidelines, you’ll have a beautiful floating mantel that will enhance your home for years to come.