To install a built-in oven, first, ensure the power source is turned off and the circuit breaker is switched off. Next, remove the existing oven, taking care to disconnect any wires or gas connections.
Then, fit the new oven into the cabinet opening, aligning it properly. Secure the oven into place using mounting screws or brackets, and reconnect the wiring or gas connections. Finally, turn the power back on and test the oven to ensure it is working properly.
Installing a built-in oven requires following these steps carefully for a successful installation.
Gathering The Necessary Tools And Materials
Before you start installing a built-in oven in your kitchen, it’s important to gather all the necessary tools and materials. This will ensure a smooth and efficient installation process, saving you time and frustration. In this section, we will provide you with a checklist of tools needed for the installation as well as a list of required materials.
Checklist of Tools Needed for the Installation
To install a built-in oven, you will need the following tools:
- Screwdriver set
- Adjustable wrench
- Tape measure
- Level
- Drill
- Pliers
- Wire stripper
- Electrical tester
Having these tools handy will make the installation process easier and more efficient. Make sure they are in good working condition before you start.
List of Required Materials for the Installation
When installing a built-in oven, you will also need the following materials:
- Built-in oven unit
- Oven cabinet
- Mounting brackets
- Screws
- Electrical wire
- Cable connector
- Electrical tape
- Wire nuts
Ensure that you have all these materials ready before you begin the installation. You may need additional materials depending on the specific requirements of your kitchen.
Now that you have gathered all the necessary tools and materials, you are ready to move on to the next steps of installing your built-in oven. In the next section, we will guide you through the process of preparing the installation space in your kitchen.
Preparing The Installation Area
Before installing a built-in oven, it is essential to properly prepare the installation area. This ensures a smooth and efficient installation process and helps to avoid any future problems. In this section, we will discuss three key steps to prepare the installation area: measuring the space for the oven, ensuring proper ventilation, and cleaning and preparing the area for installation. Let’s dive in!
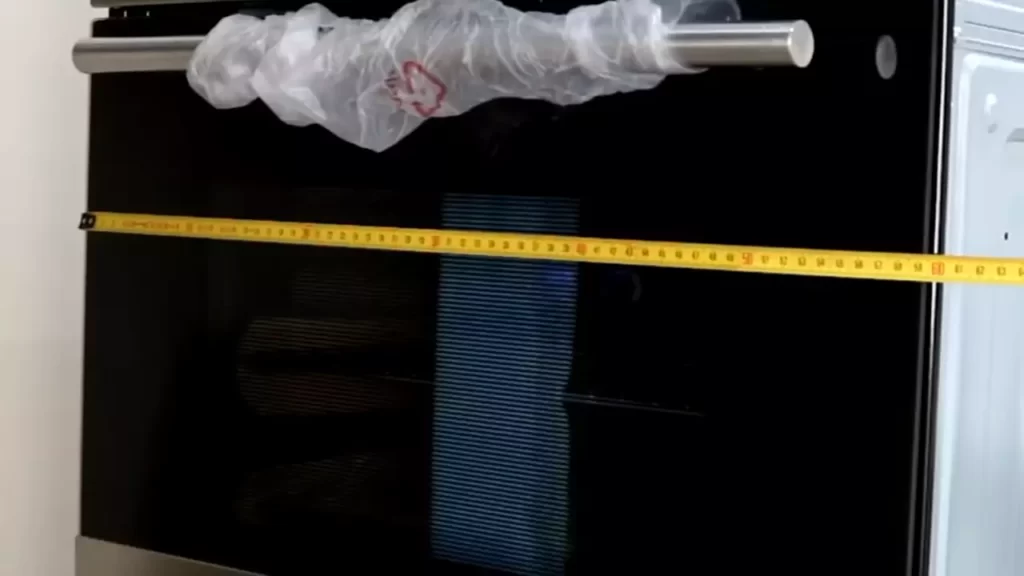
Measuring the space for the oven
Measuring the space for your oven is the first step in preparing the installation area. It is crucial to have accurate measurements to ensure that your new oven fits perfectly into the designated space.
Here’s a simple guide to help you measure the space:
- Clear the area surrounding the designated space for the oven, removing any obstacles such as cabinets or appliances that may interfere with the measurements.
- Using a tape measure, measure the height, width, and depth of the space. Make sure to measure the narrowest points to ensure a proper fit.
- Take note of the measurements and keep them handy for reference when purchasing the oven.
Ensuring proper ventilation for the oven
Proper ventilation is crucial for the optimal performance and safety of your built-in oven. Improper ventilation can lead to overheating and potential damage to the oven or surrounding cabinets. Here’s how you can ensure proper ventilation:
- Check the manufacturer’s guidelines or user manual for specific ventilation requirements for your oven model.
- Ensure that there is enough space around the oven for proper airflow. There should be at least a few inches of clearance on all sides, particularly at the back of the oven.
- Consider installing a ventilation system, such as an exhaust fan or range hood, to remove any excess heat and odors produced during cooking.
Cleaning and preparing the area for installation
Before installing your new oven, it’s essential to clean and prepare the area to ensure a smooth and secure installation. Here are the steps you should follow:
- Remove any existing appliances or cabinets from the installation area to create a clear workspace.
- Thoroughly clean the area, ensuring there are no dust, debris, or grease accumulation.
- Check the electrical and gas connections in the installation area to ensure they meet the requirements for your oven. Make any necessary adjustments or upgrades.
- Inspect the floor and walls around the installation area for any signs of damage or instability. Repair or reinforce as needed to provide a sturdy foundation for the oven.
By following these steps to prepare the installation area, you are setting the stage for a successful installation of your built-in oven. The measurements, proper ventilation, and a clean work area will help ensure the longevity and efficient operation of your new appliance. Next, let’s move on to the actual installation process. Stay tuned!
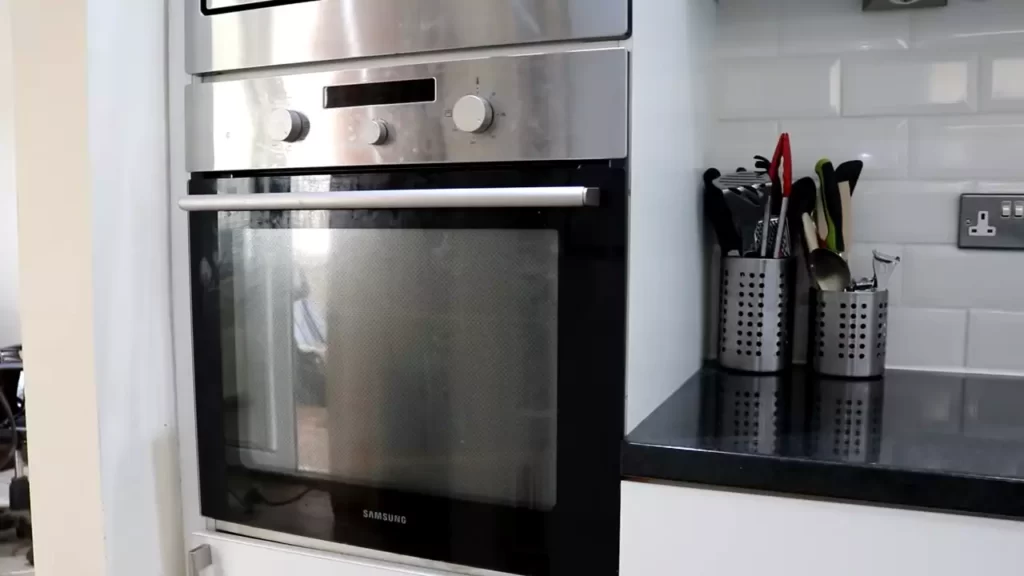
Installing The Built-In Oven
When it comes to enhancing your kitchen space, installing a built-in oven can be a game-changer. Not only does it provide a seamless and stylish appearance, but it also frees up your countertop space. If you’re ready to embark on this DIY project, here’s a step-by-step guide to help you install a built-in oven.
Overview of the installation process
The installation process involves three main steps: mounting the oven into the cabinet, connecting the electrical wiring, and attaching the oven door and racks. Each step is crucial to ensure the oven is properly installed and functional. Let’s delve into the details of each step.
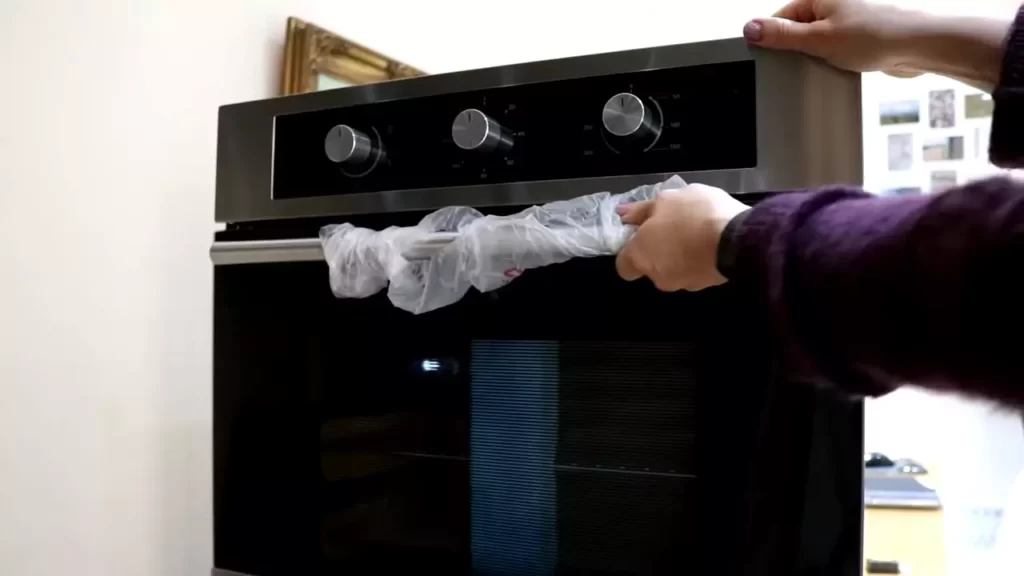
Mounting the oven into the cabinet
The first step is to prepare the cabinet for the oven installation. Ensure that the cabinet meets the manufacturer’s specifications in terms of dimensions and weight capacity. Once the cabinet is ready, follow these steps:
- Remove any shelves or drawers that may obstruct the oven’s installation.
- Position the oven in the cabinet, ensuring it is level and centered. Use a level tool to accurately align the oven.
- Secure the oven into the cabinet by using the provided screws or brackets. Make sure the oven is stable and does not wobble.
Note: Some ovens may require additional installation steps or specific brackets. Refer to the manufacturer’s instructions for detailed guidance.
Connecting the electrical wiring
Before proceeding with electrical connections, make sure the power supply to the oven is turned off. Follow these steps to connect the electrical wiring:
- Identify the specific power requirements for your built-in oven. It is essential to match the oven’s power needs with the electrical circuit in your kitchen.
- Remove the electrical cover plate on the oven and locate the wiring terminal box.
- Connect the wiring from your electrical circuit to the corresponding terminals in the oven. Use appropriate wire connectors and ensure tight connections.
- Replace the electrical cover plate and secure it in place.
Note: If you are unsure about electrical connections, it is recommended to seek the assistance of a licensed electrician.
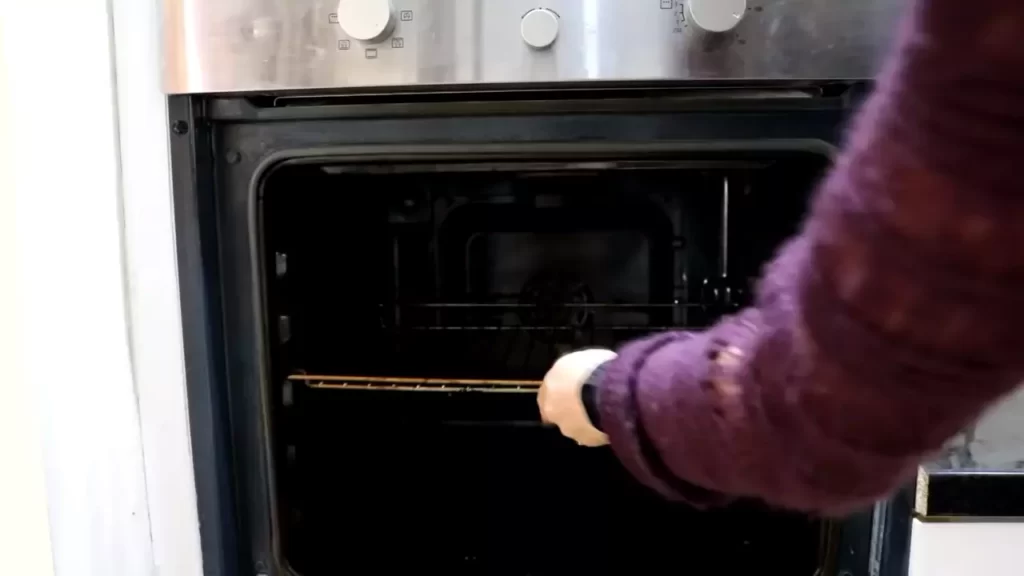
Attaching the oven door and racks
The final step is to attach the oven door and racks to complete the installation process. Here’s what you need to do:
- Insert the oven racks according to the manufacturer’s instructions. They should fit securely in place.
- Align the oven door hinges with the designated slots on the oven.
- Slowly lower the oven door into position and make sure it is properly aligned.
- If required, tighten the screws or fasteners to secure the oven door in place.
With the oven door and racks properly attached, your built-in oven installation is complete. Remember to double-check all connections and ensure the oven is functioning correctly before use.
Testing And Troubleshooting
Checking the oven’s functionality
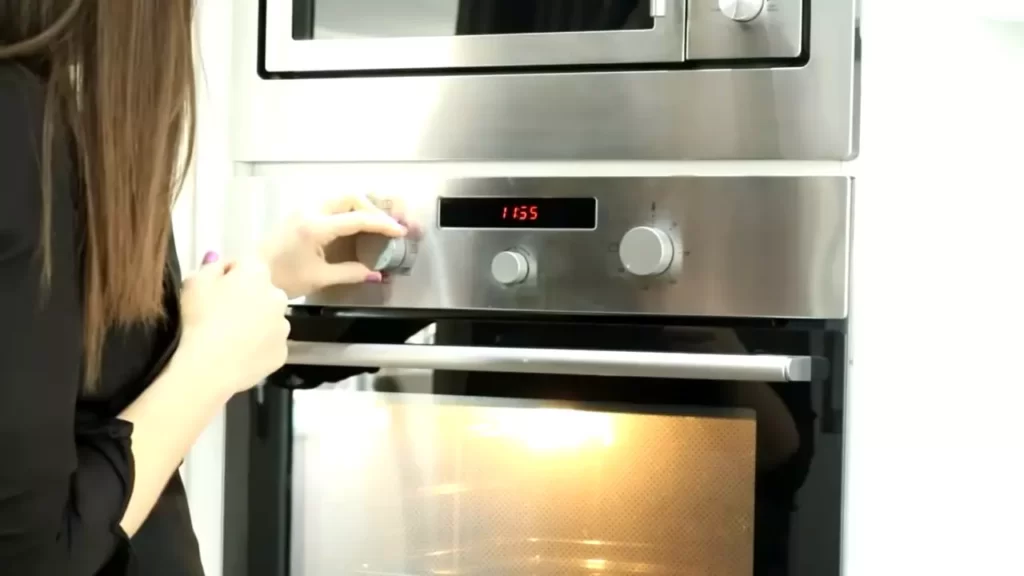
Before finalizing the installation process, it is crucial to test the built-in oven’s functionality to ensure it is in proper working condition. This step will help you identify any issues early on and avoid potential problems down the line. Follow these steps to check the oven’s functionality:
- Make sure the oven is connected to a power source and properly installed within the cabinetry.
- Turn on the power and check for any error codes or warning lights on the oven’s control panel.
- Set the oven to preheat and verify that the temperature rises accordingly. Use an oven thermometer to confirm the accuracy.
- Test each cooking mode, such as bake, broil, and convection, to ensure they are functioning correctly.
- Verify that the oven’s timer, clock, and other additional features are working as intended.
By performing these checks, you can ensure that your new built-in oven is in excellent working condition and ready to be used for all your culinary endeavors.
Troubleshooting common issues during installation
Although installing a built-in oven typically goes smoothly, it is essential to be prepared for any potential issues that may arise. Be aware of the following common problems during installation:
- Power supply issues: If the oven isn’t powering on, double-check the power supply connection and ensure it is securely connected to a functioning electrical outlet.
- Uneven heating: If you notice uneven heat distribution or hot spots within the oven, adjust the oven racks and consult the user manual for guidance on proper rack placement for even cooking.
- Door alignment: If the oven door doesn’t close or seal properly, verify that the door hinges are correctly installed and adjusted. Adjust the door if necessary, following the manufacturer’s instructions.
- Error codes or malfunction: If you encounter error codes or malfunctions, refer to the oven’s user manual for troubleshooting steps. In some cases, contacting the manufacturer’s customer support may be necessary.
By being aware of these common issues and their troubleshooting steps, you can address any problems that arise during the installation process more efficiently, saving both time and effort.
Tips for maintaining the oven after installation
After successfully installing your built-in oven, it is essential to maintain it properly to ensure its longevity and optimal performance. Here are some tips:
- Regular cleaning: Clean the oven regularly, following the manufacturer’s instructions. Remove any spills or food particles to prevent them from burning and potentially damaging the oven’s interior or affecting its performance.
- Utilize self-cleaning function: If your oven has a self-cleaning function, make use of it regularly to remove built-up grease and grime. Follow the manufacturer’s guidelines to ensure safe and effective operation.
- Avoid abrasive cleaners: When cleaning the oven, avoid using harsh or abrasive cleaners, as they can damage the oven’s surface. Opt for mild, non-abrasive cleaners specifically designed for ovens.
- Inspect gaskets and seals: Periodically check the oven’s door gaskets and seals for any signs of wear or damage. Replace them if necessary to maintain proper heat retention.
- Monitor cooking times and temperatures: Keep an eye on cooking times and temperatures to avoid potential issues and ensure the oven is functioning correctly. Calibrate the oven if needed, following the manufacturer’s instructions.
By following these maintenance tips, you can prolong the life of your built-in oven and enjoy optimal cooking performance for years to come.
Finalizing The Installation
Once you have successfully positioned your built-in oven and ensured it is properly aligned, it’s time to finalize the installation. This crucial step will secure the oven in place, provide a professional-looking finish, and clean up the installation area. By following these simple steps, you can ensure that your built-in oven is not only installed correctly but also looks great in your kitchen.
Securing the oven in place
Before securing the oven in place, double-check that the power supply is turned off to avoid any electrical accidents. Use a level to ensure the oven is perfectly horizontal and adjust the leveling legs if needed. Once satisfied with the oven’s position, secure it to the cabinet using the provided screws. Refer to the oven’s manual or installation guide to locate the specific screw holes.
Important: Ensure that the screws are tightened securely to prevent any movement or wobbling of the oven. This will not only ensure the oven’s stability but also preserve its performance and longevity.
Additional tips for a professional-looking installation
Once the oven is securely in place, it’s time to pay attention to the details that will give your installation a polished and professional finish. Here are some additional tips to consider:
- Seal the gaps: Use a silicone sealant to seal any gaps between the oven and the cabinet. This not only enhances the aesthetics of the installation but also prevents any heat or steam from escaping into the surrounding area.
- Hide the wires: Neatly organize and conceal the wires behind the oven using cable clips or ties. This will create a clean and tidy look, free from any clutter.
- Touch-up the cabinet: If your cabinet or surrounding area has any scratches or dents, consider touch-ups using matching paint or wood filler. This will ensure a seamless integration of the oven into your kitchen.
- Protect the floor: Place a protective mat or sheet underneath the oven to safeguard the floor from any potential damage during the installation process.
Cleaning up the installation area
Now that the oven is securely installed and the finishing touches are complete, it’s time to clean up the installation area. Use a damp cloth or mild cleaning solution to wipe down the oven’s exterior, removing any fingerprints, smudges, or dirt that may have accumulated during the installation.
Important: Avoid using abrasive cleaners or tools that may damage the oven’s surface.
Take a moment to clean the surrounding area as well, ensuring a spotless finish. Remove any debris, dust, or packaging materials that were generated during the installation process. This will not only improve the overall appearance but also create a safe and clean environment in your kitchen.
Frequently Asked Questions On How To Install A Built In Oven
Can I Install My Own Built In Oven?
Yes, you can install your own built-in oven. Just make sure to follow the manufacturer’s instructions and safety guidelines carefully. If you’re unsure, it’s recommended to hire a professional for proper installation to avoid any potential hazards.
Do You Need An Electrician To Install A Built In Oven?
Yes, it is necessary to hire an electrician for the installation of a built-in oven. An electrician has the expertise and knowledge to safely and properly connect the oven to the electrical supply, ensuring it functions correctly and meets all safety requirements.
Is It Difficult To Install A Wall Oven?
Installing a wall oven can be challenging, but with proper tools and guidance, it is achievable for most individuals. Following the manufacturer’s instructions and ensuring accurate measurements are key. Seek professional help if needed to ensure a safe and proper installation.
How Much Does It Cost To Install A Built In Oven?
The cost of installing a built-in oven varies depending on factors like product type and additional services required. On average, professional installation costs around $100 to $200. It’s recommended to consult with an expert or contractor to get a specific quote for your requirements.
Conclusion
Installing a built-in oven may seem like a daunting task, but with the right approach, it can be a smooth and hassle-free process. By following the step-by-step instructions outlined in this blog post, you can confidently take on the task and have your oven up and running in no time.
Remember to read the manufacturer’s instructions carefully, gather the necessary tools, and take the necessary safety precautions. With patience and attention to detail, you’ll have a perfectly installed built-in oven that will enhance your cooking experience for years to come.