Installing central air conditioning yourself requires careful planning, professional guidance, and sufficient knowledge of electrical and HVAC systems. However, with the right tools and skills, you can successfully install a central air conditioning system in your home.
We will provide clear instructions and tips on how to install central air conditioning yourself, ensuring a comfortable and cool indoor environment all year round. Whether you’re looking to save money on professional installation or enjoy the satisfaction of doing it yourself, follow these steps to make your home a cooler and more comfortable space.
Keep in mind that it’s important to prioritize safety and consult with experts throughout the process to ensure a successful and efficient installation.
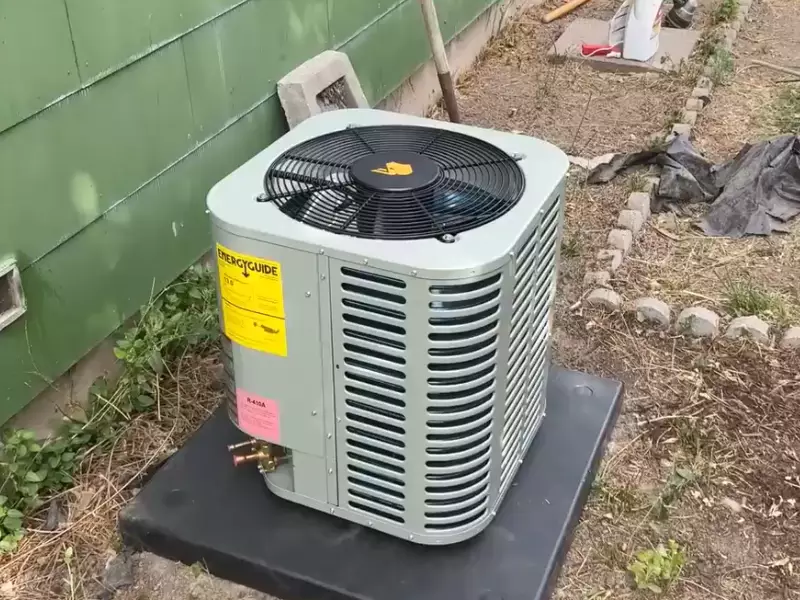
Understanding The Benefits And Challenges Of Diy Central Air Conditioning Installation
Saving Money by Installing Central Air Conditioning Yourself
One of the most significant benefits of taking on the task of installing central air conditioning system yourself is the potential to save money. Hiring a professional HVAC technician can be expensive, as their expertise often comes with a hefty price tag. By opting for a do-it-yourself approach, you can allocate those funds toward buying high-quality equipment and materials, ensuring that you have the best system for your needs.
Moreover, by installing central air conditioning yourself, you also eliminate the costs typically associated with labor and installation fees. This can result in considerable savings, especially if you have a tight budget. By investing time and effort into learning the installation process, you can enjoy the benefits of a central air conditioning system without breaking the bank.
Assessing Your Skills and Abilities for DIY Central Air Conditioning Installation
Before embarking on a DIY central air conditioning installation project, it’s crucial to evaluate your skills and abilities. While installing a central air conditioning system yourself may seem like a cost-effective option, it requires a certain level of technical expertise. Understanding electrical systems, handling refrigerant, and navigating complex ductwork are all essential aspects of the installation process that you must be capable of handling.
To assess your skills, start by educating yourself on the installation process. Research online resources such as video tutorials and reliable guides. Take note of the tools and equipment required and evaluate whether you have the necessary expertise to operate them safely and effectively. If you’re confident in your abilities or willing to learn through thorough research, you may be well-suited for a DIY central air conditioning installation project.
Identifying Potential Challenges and Risks of DIY Central Air Conditioning Installation
While the prospect of installing central air conditioning yourself may be tempting, it’s important to recognize and prepare for potential challenges and risks. Without professional guidance, you may encounter difficulties during the installation process that could lead to costly errors or safety hazards.
One of the main challenges of DIY central air conditioning installation is understanding the intricate system requirements. Sizing the system correctly, selecting suitable equipment, and ensuring proper placement of air vents are all crucial steps that must be executed accurately to achieve optimal performance.
Another major risk to consider is the potential for voiding warranties. Central air conditioning units often come with manufacturer warranties that require professional installation. By attempting to install the system yourself, you may unintentionally void these warranties, leaving you responsible for any future repairs or replacements.
Lastly, safety should be a priority. Installing central air conditioning systems involves working with electrical components, handling refrigerant, and dealing with the physical demands of ductwork installation. Without proper knowledge and precautions, these tasks can be hazardous, posing a risk to both yourself and your property.
Before proceeding with a DIY central air conditioning installation, carefully weigh the benefits against the challenges and risks involved. Ensuring you have the necessary skills, knowledge, and tools can help minimize potential problems and lead to a successful installation that keeps you cool and comfortable for years to come.
Calculating Cooling Capacity And Choosing The Right Central Air Conditioning System
Installing central air conditioning can provide a comfortable living environment, especially during hot summer months. However, before you begin the installation process, it is important to understand how to calculate cooling capacity and choose the right central air conditioning system for your needs. This will ensure that you have an efficient system that can effectively cool your home.
Understanding the Importance of Cooling Capacity Calculation
The cooling capacity of an air conditioning system refers to its ability to remove heat from a space. It is essential to calculate the cooling capacity required for your home accurately. A system with insufficient cooling capacity may struggle to cool your home adequately, while one with excessive capacity can result in wasted energy and higher utility bills.
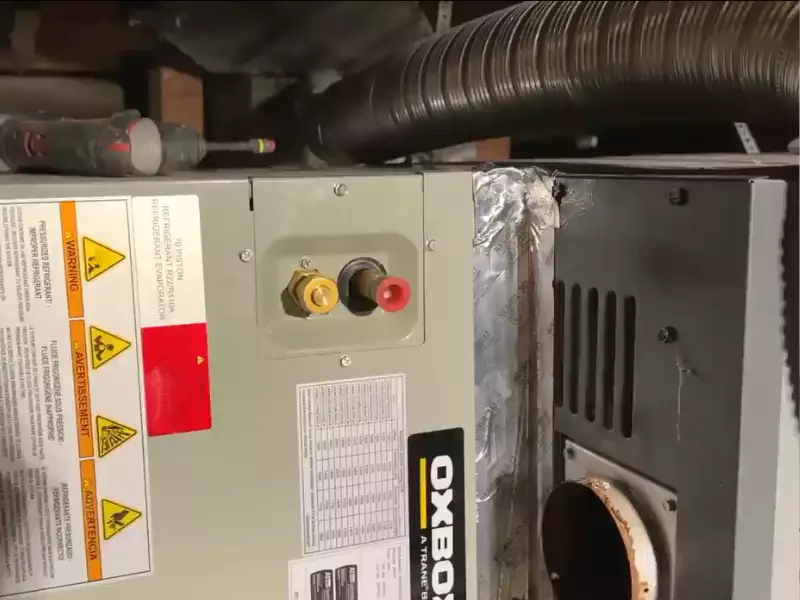
Determining Your Cooling Capacity Requirements
To determine your cooling capacity requirements, several factors need to be considered:
- Size of your home: The square footage of your home plays a crucial role in determining the cooling capacity required. Larger homes typically require higher cooling capacities.
- Ceiling height: Homes with high ceilings may need additional cooling capacity to compensate for the extra volume of air.
- Exposure to sunlight: Homes that receive more direct sunlight may need more cooling capacity as they are subject to increased heat gain.
- Insulation: The level of insulation in your home affects heat transfer. Well-insulated homes may require less cooling capacity than those with poor insulation.
- Number of occupants: The number of people living in your home contributes to heat generation. More occupants may require additional cooling capacity.
- Appliances and equipment: The heat generated by appliances, electronics, and other equipment must also be considered when calculating cooling capacity.
- Climate: The climate in your region affects the cooling capacity required. Hotter climates typically demand higher cooling capacities.
Choosing the Right Size and Type of Central Air Conditioning System
Once you have determined your cooling capacity requirements, the next step is to choose the right size and type of central air conditioning system. Oversized units may turn on and off frequently, leading to decreased efficiency and increased wear and tear. Undersized units, on the other hand, may struggle to adequately cool your home.
To ensure you choose the right system, consult with a reputable HVAC professional. They can help you determine the appropriate cooling capacity required for your home’s unique specifications. Consider factors such as the type of system (such as split or packaged), energy efficiency ratings (SEER), and the brand’s reputation for reliability.
By calculating cooling capacity accurately and selecting the right central air conditioning system, you can enjoy the benefits of a comfortable and energy-efficient home during the hot summer months.
Gathering The Necessary Tools And Materials
When it comes to installing central air conditioning yourself, gathering the necessary tools and materials is the first step towards a successful installation. Creating a detailed list of tools and materials required, procuring these items, and understanding the safety precautions and protective gear needed are essential to ensure a smooth and efficient DIY central air conditioning installation.
Creating a Detailed List of Tools and Materials Required
Before diving into the installation process, it is crucial to create a detailed list of tools and materials required. Having a comprehensive checklist will help you stay organized and ensure that you have everything you need at your fingertips.
To help you get started, here is an example of a list that can serve as a foundation for your project:
| Tools | Materials |
|---|---|
| Adjustable wrench | Central air conditioning unit |
| Screwdrivers (flat-head and Phillips) | Refrigerant line set |
| Pliers | Insulated refrigerant lines |
| Tape measure | Ductwork and fittings |
| Utility knife | Condenser pad or mounting brackets |
| Drill | Electrical wire and connectors |
| Level | Condensate pump and tubing |
| Wire cutters | Thermostat |
| Hammer | Air filter |
| Line set bender and cutter | Sealant and insulation |
It’s important to note that the specific tools and materials required may vary depending on your unique installation needs and the specifications of your central air conditioning system. Consult the manufacturer’s guidelines and local building codes to ensure you have all the necessary items.
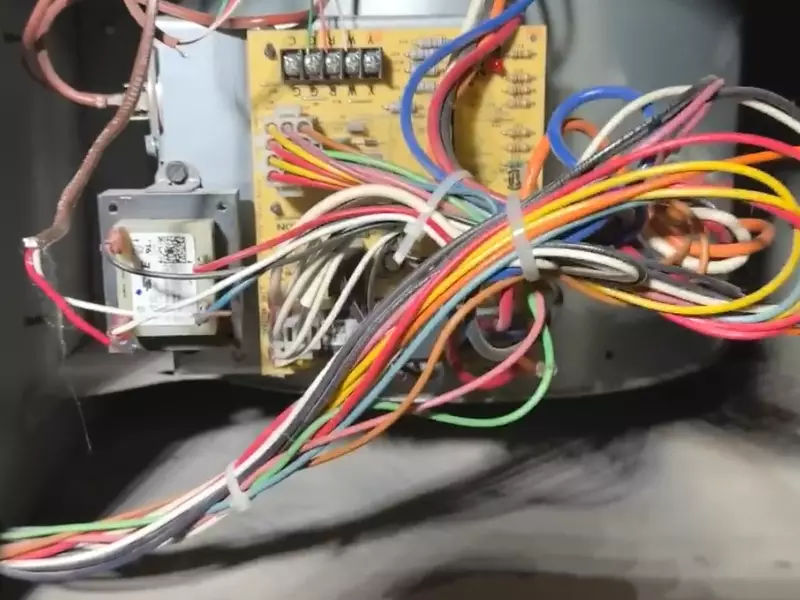
Procuring the Tools and Materials for DIY Central Air Conditioning Installation
Once you have created your list of tools and materials, it’s time to procure them for your DIY central air conditioning installation. There are various options for obtaining these items, including purchasing them from a local hardware store or ordering them online.
When procuring the tools and materials, consider factors such as quality, price, and availability. It is recommended to invest in high-quality tools and materials to ensure the longevity and efficiency of your central air conditioning system. Additionally, compare prices and read reviews to make informed purchasing decisions.
Remember to double-check your list before making any purchases to avoid missing any essential items. Keeping all the required tools and materials ready will enable you to seamlessly proceed with the installation process.
Understanding Safety Precautions and Protective Gear Needed
Prioritizing safety during a DIY central air conditioning installation is crucial. Understanding the safety precautions and protective gear needed will help ensure that the installation is completed without any accidents or injuries.
Here are some important safety precautions and protective gear to consider:
- Wear safety glasses to protect your eyes from debris and potential hazards.
- Use work gloves to safeguard your hands while handling tools and materials.
- Ensure the power supply is turned off and the circuit breaker is switched to the off position before working on any electrical components.
- Make sure to work in a well-ventilated area to prevent the buildup of harmful fumes.
- Follow proper lifting techniques to avoid strains and injuries.
Remember, when it comes to safety, there is no room for compromise. Always prioritize your well-being and take necessary precautions to protect yourself throughout the installation process.
Preparing Your Home For Central Air Conditioning Installation
Before you dive into the exciting process of installing central air conditioning in your home all by yourself, there are a few important steps you need to take to prepare your home. Getting your home ready for the installation will ensure a smooth and hassle-free process. In this guide, we will walk you through the necessary preparations under different headings to help you breeze through this crucial step.
Evaluating the Condition of Your Ductwork and Vents
One of the first things you need to consider when preparing your home for central air conditioning installation is the condition of your ductwork and vents. These components play a crucial role in ensuring efficient airflow throughout your home. Here’s what you need to do:
- Evaluate your ductwork for any leaks, damage, or obstructions. Sealing any leaks and repairing any damages will help optimize your air conditioning system’s performance.
- Check your vents for any blockages, such as dust, debris, or furniture. Clearing these obstructions will allow for proper airflow and distribution of cool air.
Cleaning and Clearing the Installation Area
Creating a clean and clutter-free installation area is essential to ensure a smooth installation process and prevent any potential damage. Follow these steps to prepare the installation area:
- Clear out any belongings or furniture that may obstruct the installation process. Providing ample space for the technicians will help them work efficiently.
- Clean the area thoroughly to remove any dust, dirt, or debris that may interfere with the installation or affect the air quality. A clean environment will promote better indoor air quality once the system is up and running.
Planning the Layout and Location of the Central Air Conditioning System
Proper planning of the layout and location of your central air conditioning system is crucial to ensure optimal performance and convenience. Here are some considerations:
- Choose a central location for the system that allows for easy access for maintenance and repairs.
- Consider the noise level of the system and position it away from commonly used rooms or outdoor seating areas to minimize disruptions.
- Ensure proper airflow by positioning the system away from obstructions like walls or furniture that may impede air circulation.
- Consult with professionals to determine the ideal layout that maximizes energy efficiency and addresses the unique requirements of your home.
By evaluating the condition of your ductwork and vents, cleaning and clearing the installation area, and planning the layout and location of the central air conditioning system, you will be well-prepared for the upcoming installation. Taking these steps will not only ensure a smooth installation process but also promote optimal performance and energy efficiency in the long run.
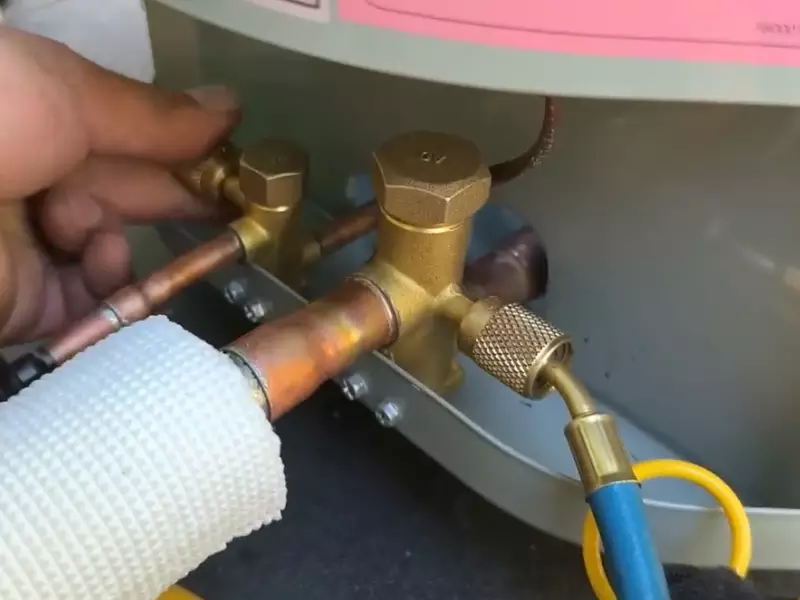
Installing The Ductwork And Vents
Installing the Ductwork and Vents is a crucial step in the process of installing central air conditioning yourself. It involves assessing the existing ductwork, making necessary repairs, properly sealing and insulating the ducts, and finally installing the vents and registers. In this section, we will walk you through each step, ensuring that you are equipped with all the necessary information to successfully complete this part of the installation process.
Assessing the Existing Ductwork and Making Necessary Repairs
Before you begin installing the ductwork and vents, it is important to assess the condition of your existing ductwork. Check for any damage, leaks, or obstructions that may affect the efficiency of your central air conditioning system. Identify any areas that require repairs or replacements.
If you come across damaged sections, you will need to make the necessary repairs before proceeding further. This may involve sealing leaks, replacing worn-out sections, or even reconfiguring the layout of the ductwork. It is essential to ensure that the ductwork is in optimal condition for optimal airflow.
Properly Sealing and Insulating the Ducts
To maximize the efficiency of your central air conditioning system, proper sealing and insulation of the ducts is crucial. This helps to prevent air leakage, minimizing energy waste and ensuring that conditioned air reaches the desired areas effectively.
Start by sealing all the seams and joints of the ductwork using a high-quality foil duct tape. Ensure a tight seal to prevent any air leakage. Additionally, consider using mastic sealant for extra security where necessary.
Insulating the ducts is equally important, especially if they run through unconditioned spaces like attics or basements. Use insulation materials with proper R-values to reduce heat gain or loss during the air distribution process. This helps to maintain the desired temperature in your living spaces and reduces energy consumption.
Installing Vents and Registers
Once the ductwork is assessed, repaired, sealed, and insulated, you can proceed to install the vents and registers. These components help to direct and control the airflow in different areas of your home.
First, carefully select the locations where vents and registers will be installed. Consider factors like room size, airflow requirements, and aesthetics. Mark the positions accordingly on the wall or floor.
Next, cut the openings for the vents and registers using appropriate tools. Ensure that the openings are the right size to accommodate the chosen components. Make sure to follow the manufacturer’s instructions for installation.
Finally, secure the vents and registers in their designated positions. Use screws or other fasteners provided or recommended by the manufacturer. Ensure that they are firmly attached to prevent any accidental dislodging or movement during operation.
By following these steps, you will successfully install the ductwork and vents for your central air conditioning system. Ensure that each component is properly assessed, repaired, sealed, and insulated for optimal performance. The proper installation of vents and registers will ensure efficient airflow and controlled temperature distribution throughout your home.
Installing The Condenser Unit And Air Handler
Determining the Ideal Location for the Condenser Unit and Air Handler
When it comes to installing a central air conditioning system, determining the ideal location for both the condenser unit and air handler is crucial. These components play a vital role in the cooling process, so getting their placement right is essential for proper functionality and efficiency.
When choosing the location for the condenser unit, there are a few key factors to consider. First and foremost, you will want to find a spot outside your home that provides adequate space for proper airflow. Ensure that there are no obstructions, such as shrubs or trees, that could interfere with the unit’s ventilation.
Additionally, it is crucial to place the condenser unit in an area where it won’t disturb your neighbors or create noise disruptions inside your home. Avoid installing it near windows or bedrooms to minimize potential noise disturbances. With these considerations in mind, you can determine the best location for your condenser unit.
Similarly, the air handler’s placement requires careful thought. The air handler is typically installed in an indoor location, such as a utility room or attic. It should be easily accessible for maintenance and repairs while also ensuring that it doesn’t obstruct any existing structures or hinder the airflow within your home.
Mounting and Securing the Condenser Unit
Once you have determined the ideal location for your condenser unit, it’s time to mount and secure it properly. This step is vital as it ensures the unit remains stable and minimizes any potential vibrations, which could lead to future problems.
Begin by leveling the ground where the condenser unit will be positioned. Use a shovel to remove any uneven surfaces or debris that may interfere with the unit’s stability. Once the ground is level, place a concrete pad or compacted gravel to create a solid foundation for the unit.
With the foundation in place, carefully position the condenser unit on top and ensure that it is level. Use a spirit level to check the unit’s alignment and make any necessary adjustments. Once level, secure the unit to the foundation using mounting brackets or concrete screws to ensure stability.
Connecting the Air Handler to the Ductwork System
Connecting the air handler to the ductwork system is the next essential step in the installation process. This connection ensures that the cooled air can efficiently travel throughout your home, providing a consistent and comfortable indoor environment.
Start by locating the main supply duct, which typically connects to the air handler. Ensure that the duct is properly aligned with the air handler’s opening and securely fasten them together using metal foil tape or appropriate connectors. It is crucial to seal any gaps or joints to prevent air leakage, which could compromise the system’s efficiency.
Next, connect each room’s specific supply duct to the main supply duct. Use metal foil tape or suitable connectors to secure the connections and eliminate any air leaks. You may also need to install dampers to control airflow to different areas of your home.
Finally, don’t forget to connect the return air duct to the air handler. This duct allows air from inside your home to be recirculated, cooled, and redistributed. Ensure a tight and secure connection to avoid any air leakage.
By following these steps and guidelines, you can confidently install your central air conditioning system’s condenser unit and air handler, creating a comfortable and refreshing indoor climate for your home.
Wiring And Electrical Connections
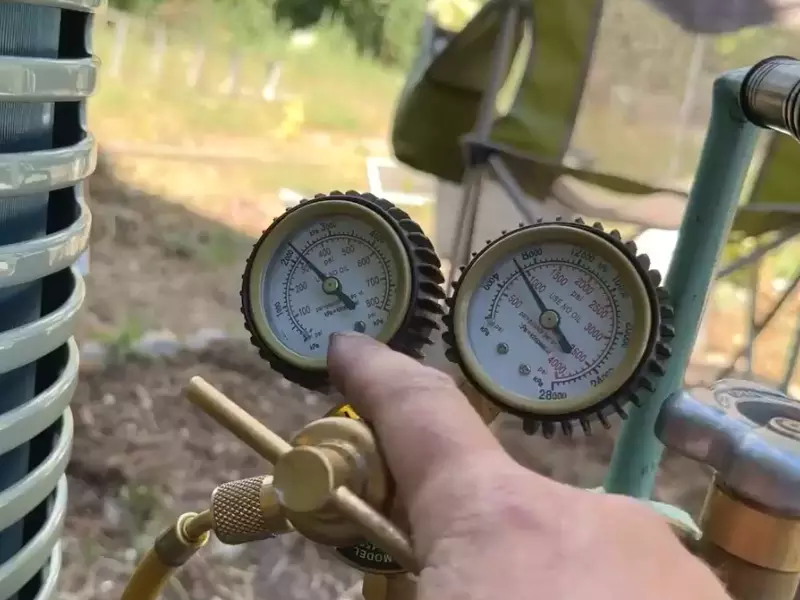
When it comes to installing central air conditioning yourself, understanding the wiring and electrical connections is crucial. Without proper electrical knowledge and execution, your system may not function safely or efficiently. This section will guide you through the necessary steps to ensure a successful installation of the electrical components and proper wiring and connections for your central air conditioning system.
Understanding the Electrical Requirements of the Central Air Conditioning System
Before you start working on the wiring and electrical connections, it is essential to have a clear understanding of the electrical requirements for your central air conditioning system. This includes knowing the voltage, amperage, and circuit breaker size needed to power the unit. Refer to the manufacturer’s specifications and electrical codes to ensure compliance and safety.
Installing the Required Electrical Components
Once you have a clear understanding of the electrical requirements, it’s time to install the necessary electrical components. These components typically include a disconnect box, circuit breaker, wiring, and conduit. It is important to choose components that are compatible with your system’s electrical specifications and meet the local electrical codes. Consider hiring a licensed electrician to handle this part if you are not confident in your electrical skills.
Here’s a list of the required electrical components you will need to install:
| Component | Description |
|---|---|
| Disconnect Box | This box is used to safely disconnect power to the system for maintenance or repair work. It should be located near the outdoor unit. |
| Circuit Breaker | Choose a circuit breaker that matches the amperage requirements of your central air conditioning system. This breaker will be installed in your main electrical panel. |
| Wiring | Select the appropriate size and type of wiring based on the voltage and amperage requirements of your system. Copper wiring is commonly used for this purpose. |
| Conduit | Use conduit to protect and organize the wiring. PVC conduit is typically used in residential installations. |
Properly Wiring and Connecting the System
Once you have installed the required electrical components, it’s time to wire and connect your central air conditioning system. Follow these steps to ensure a proper and safe connection:
- Turn off the power to your main electrical panel to prevent electrical shock.
- Connect the wiring from the disconnect box to the outdoor unit following the manufacturer’s instructions. Make sure to match the color-coded wires properly.
- Install the circuit breaker in your main electrical panel and connect the wiring from the disconnect box to the circuit breaker.
- Securely fasten the conduit to the wall and route the wiring through it.
- Ensure all connections are tight and secure, and there are no exposed wires.
- Turn on the power to your main electrical panel and test the system to verify proper operation.
Remember, improper wiring and electrical connections can result in system malfunctions, damages, or safety hazards. If you are uncertain about any step or encounter any difficulty during the process, consult with a professional electrician.
Checking For Proper Airflow And Cooling
Installing central air conditioning in your home can be a daunting task, but with the right knowledge and preparation, it is definitely possible to do it yourself. In this blog post, we will guide you through the installation process step by step, with a focus on ensuring proper airflow and cooling. Checking for proper airflow and cooling is crucial to ensure the efficiency and performance of your air conditioning system. Here are the key steps to follow:
Conducting a Thorough Inspection of the Installed System
Once you have completed the installation of your central air conditioning system, it is essential to conduct a thorough inspection to ensure everything is functioning correctly. Start by visually inspecting the entire system, including the outdoor unit, indoor unit, refrigerant lines, and ductwork. Look for any signs of damage, such as leaks, loose connections, or blockages. Additionally, check if the ductwork is properly sealed and insulated to prevent air leaks.
If any issues or concerns are identified during the visual inspection, it is important to address them promptly before proceeding. Ignoring even minor problems can lead to decreased airflow and cooling efficiency, resulting in higher energy consumption and reduced comfort levels in your home.
Adjusting and Balancing the Airflow
Proper airflow is essential for the optimal cooling performance of your central air conditioning system. To ensure this, you need to adjust and balance the airflow throughout your home. Start by identifying and locating all supply air vents in each room. Check if each vent is fully open and unobstructed. If necessary, adjust the dampers or registers to control and balance the airflow. By doing so, you can ensure that each room receives the right amount of cool air, improving overall comfort and cooling efficiency.
Testing the Cooling Efficiency and Performance
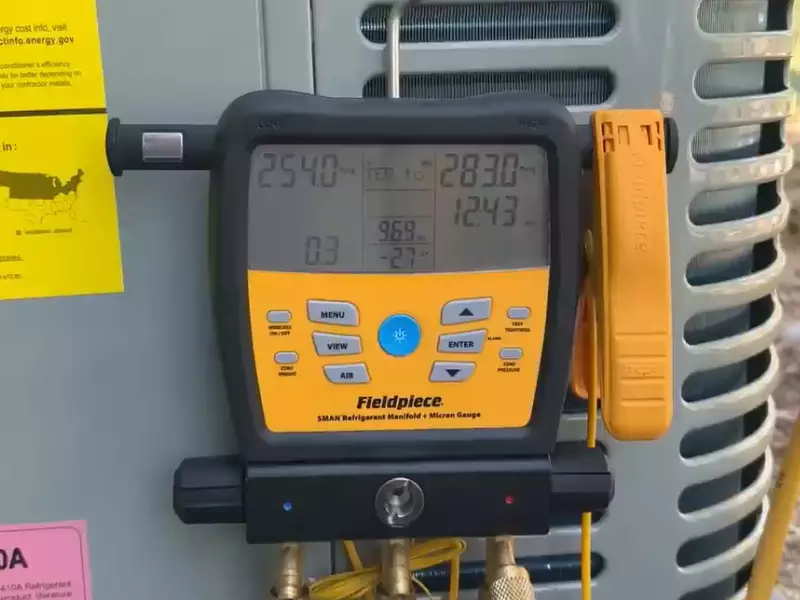
The final step in checking for proper airflow and cooling is to test the efficiency and performance of your system. Start by setting your thermostat to a desired temperature and give the air conditioning system some time to reach that temperature. Once the desired temperature is reached, measure and monitor the airflow from the supply air vents using an anemometer. Observe if the airflow is consistent and strong in each room. If you notice any weak or inadequate airflow, there may be issues with your ductwork or air filters that need to be addressed.
Moreover, it is essential to monitor the temperature and humidity levels in your home to ensure that the cooling system is properly maintaining a comfortable indoor environment. Use a digital thermometer and hygrometer to measure the temperature and humidity levels in different rooms. Ideally, the temperature should be consistent throughout the house, and the humidity levels should be within a comfortable range.
By conducting a thorough inspection, adjusting and balancing the airflow, and testing the cooling efficiency and performance, you can ensure that your DIY central air conditioning installation is successful and that your system operates optimally. Remember, regular maintenance and servicing will also contribute to long-term efficiency and durability of your air conditioning system.
Ensuring Proper System Operation And Maintenance
Proper operation and maintenance of your central air conditioning system are essential for its longevity and performance. Regular maintenance helps prevent issues, ensures efficient cooling, and extends the lifespan of your unit. In this section, we will explore the importance of regular maintenance, routine maintenance practices, and troubleshooting common issues that may arise.
Understanding the Importance of Regular Maintenance
Regular maintenance is the key to keeping your central air conditioning system running smoothly. By performing routine upkeep, you can avoid costly repairs and keep your unit operating at peak efficiency. Here are a few reasons why regular maintenance is crucial:
- Improves air quality by removing dust, pollen, and other allergens from the air
- Enhances energy efficiency, saving you money on utility bills
- Prevents breakdowns and extends the lifespan of your system
Implementing Routine Maintenance Practices
To ensure your central air conditioning system continues to operate optimally, it’s important to establish a routine maintenance schedule. Here are some maintenance practices you should perform regularly:
- Clean or replace air filters every one to three months to maintain proper airflow
- Inspect and clean the condenser coils to improve system efficiency
- Check the refrigerant levels and top up if necessary
- Keep the outdoor unit free from debris and vegetation
Implementing these routine maintenance practices will go a long way in maximizing the performance and lifespan of your central air conditioning system.
Troubleshooting Common Issues and Problems
Even with regular maintenance, issues may arise with your central air conditioning system. Understanding common problems and their troubleshooting methods can help you address them promptly. Here are a few common issues and their solutions:
| Problem | Solution |
|---|---|
| The system is not cooling effectively | Check the air filters and clean or replace if necessary. Also, ensure that the thermostat is set correctly. |
| The system is leaking water | Inspect the condensate drain and clear any clogs. Ensure that the drainpipe is properly connected and not damaged. |
| The system is making unusual noises | Check for loose or damaged parts, such as fan blades or motor mounts. Tighten or replace as needed. |
By troubleshooting these common issues, you can potentially resolve the problem yourself and avoid the need for a professional technician.
Ensuring proper operation and maintenance of your central air conditioning system is essential for optimal performance and longevity. Regular maintenance practices and addressing common issues promptly will help you keep your system running smoothly year-round.
Evaluating The Diy Central Air Conditioning Installation
Once you have successfully completed the installation of your central air conditioning system, it’s important to evaluate its overall performance and efficiency. This evaluation will not only help you identify any areas for improvement or potential upgrades but also determine whether professional consultation and maintenance services are necessary.
Assessing the Overall Performance and Efficiency of the Installed System
Assessing the overall performance and efficiency of your DIY central air conditioning installation is crucial in ensuring that it meets your cooling needs effectively. Here are a few factors to consider during the evaluation process:
- Airflow: Check if the airflow from your vents is consistent and sufficient in all areas of your home. This will help you determine whether the air is evenly distributed.
- Temperature Control: Monitor the ability of your system to maintain a consistent temperature throughout your home. Ensure that all rooms are cooled evenly and that there are no significant temperature variations.
- Noise Level: Pay attention to any unusual noises coming from the system, such as rattling or grinding sounds. Excessive noise may indicate an issue with the installation or components of the system.
- Energy Efficiency: Keep an eye on your energy bills to determine if your system is operating efficiently. A significant increase in energy consumption could indicate problems that need to be addressed.
Identifying Any Areas for Improvement or Potential Upgrades
After assessing the performance and efficiency of your DIY central air conditioning installation, you may identify areas that could benefit from improvement or potential upgrades. These might include:
- Insulation: Inspect the insulation in your home, as poor insulation can lead to energy loss and reduced system efficiency. Consider adding or upgrading insulation to optimize your system’s performance.
- Ductwork: Examine the condition of your ductwork for any leaks, gaps, or obstructions. Properly sealed and insulated ducts are essential for optimal airflow and energy efficiency.
- Thermostat: Evaluate the functionality of your thermostat. Upgrading to a programmable or smart thermostat can provide better temperature control and energy savings.
Considering Professional Consultation and Maintenance Services
While a DIY central air conditioning installation can be rewarding, it’s important to consider seeking professional consultation and maintenance services. Professionals can offer valuable insight, expertise, and ensure that your system operates at its best. Here are a few reasons why consulting professionals is beneficial:
- Expertise: Professionals have extensive knowledge and experience in central air conditioning systems. They can provide guidance tailored to your specific needs and recommend appropriate solutions.
- Maintenance: Regular maintenance by professionals ensures that your system remains in optimal condition, prolongs its lifespan, and helps avoid costly repairs.
- Warranty: Some manufacturers require professional installation and maintenance to uphold the warranty of your system. Consultation and maintenance services fulfill these requirements.
By evaluating the overall performance, identifying areas for improvement, and considering professional consultation and maintenance services, you can ensure that your DIY central air conditioning installation functions efficiently, providing you with consistent cooling comfort throughout your home.
Frequently Asked Questions For How To Install Central Air Conditioning Yourself
Can I Install A Central Ac Unit Myself?
No, it is not recommended to install a central AC unit yourself. Hiring a professional is essential for proper installation, ensuring safety, efficiency, and adherence to local codes.
Is It Hard To Install Your Own Ac?
Installing your own AC can be challenging, requiring proper knowledge, tools, and skills. It’s best to hire a professional technician for a safe and efficient installation.
What Happens If I Install Ac Myself?
Installing an AC yourself can lead to potential risks and complications. Improper installation can result in poor performance, increased energy consumption, and potential damage to the unit. It is advisable to hire a professional to ensure proper installation and optimal functionality of your AC system.
What Is The Cheapest Way To Install Air Conditioning?
The cheapest way to install air conditioning is by opting for a portable or window unit, which requires no ductwork or major installation. These units are cost-effective and can be easily installed without professional help. Just place it in the desired room, plug it in, and enjoy the cool air.
Conclusion
Installing central air conditioning yourself can be a rewarding and cost-effective option for homeowners. By following the step-by-step guidelines provided in this blog post, you can successfully tackle this DIY project. Remember to gather all the necessary tools and materials, carefully plan the installation process, and consult relevant codes and regulations.
With proper execution, you can enjoy the benefits of a cool and comfortable home throughout the hot summer months. Don’t hesitate to dive into this project and make your home a haven of coolness.
