To install a gas strut, first, position the strut vertically and determine the mounting points. Then, secure the strut using mounting brackets and ensure it is aligned properly.
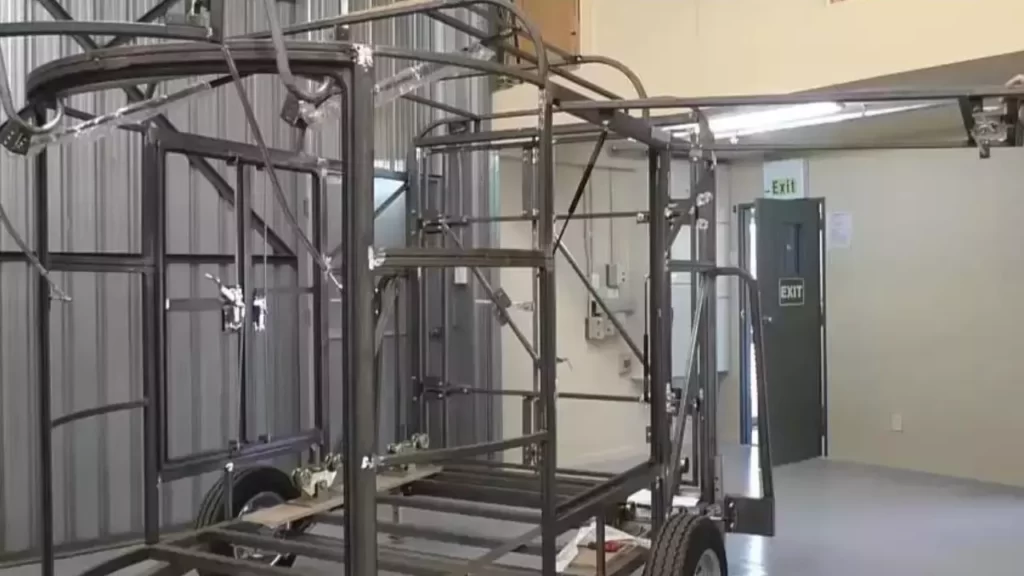
Now, below is a well-rounded Gas strut, also known as gas springs or gas shocks, which are mechanical devices that provide support and controlled movement in various applications. They are commonly used in automotive hoods, cabinets, furniture, and machinery. Installing a gas strut can improve safety, convenience, and functionality in these applications.
However, if you’re a beginner or unfamiliar with the process, it may seem daunting. We’ll guide you through the step-by-step process of installing a gas strut, making it easier for you to accomplish the task efficiently and effectively. So, let’s get started and learn how to install a gas strut with ease.
Understanding Gas Struts: What They Are And How They Work
Gas struts are an essential component in various applications where controlled motion and support are required. They are commonly used in industries like automotive, aerospace, furniture, and medical equipment. In this section, we will delve deeper into the intricacies of gas struts, exploring what they are and how they work.
What is a gas strut and how does it function?
A gas strut, also known as a gas spring or gas-filled strut, is a type of mechanical component that uses compressed gas contained within a cylinder to provide support, cushioning, and controlled movement. Its primary function is to exert force in a specific direction, allowing for smooth lifting or lowering of an object.
The basic structure of a gas strut consists of a piston rod, a cylinder filled with pressurized gas, and an end fitting on each end. When an external force is applied to the strut, it compresses the gas within the cylinder, causing the piston rod to extend or retract. This controlled movement provides the required support and motion control.
Different types of gas struts and their applications
Gas struts come in various types, each designed to cater to specific applications and requirements. Here are a few common types:
| Type | Applications |
|---|---|
| Standard gas struts | Automotive hoods, doors, and trunks |
| Lockable gas struts | Hospital beds, recliners, and adjustable tables |
| Stainless steel gas struts | Marine equipment, outdoor applications |
| Compression gas struts | Tailgates, access panels, and cabinets |
These are just a few examples, and there are many other types available depending on the specific use case.
Advantages of using a gas strut over other types of supports
Gas struts offer several advantages over other types of supports and mechanisms. Here’s why they are often preferred:
- Smooth and controlled motion: Gas struts provide a consistent and smooth movement, minimizing the risk of sudden jerks or impacts.
- Adjustable force: The pressure of the gas within the strut can be tailored to achieve the desired level of support, making it flexible for different applications.
- Space-saving design: Gas struts occupy minimal space while providing significant lifting or supporting capability, making them ideal for applications with limited space.
- Durable and long-lasting: Gas struts are designed to withstand heavy loads and frequent use, ensuring durability and longevity.
In conclusion, gas struts are an essential component in various industries, offering controlled motion, support, and durability. Understanding their functionality and the different types available allows for their effective use in different applications.
Tools And Materials Needed For Gas Strut Installation
Installing a gas strut can greatly enhance the functionality and ease of use of your furniture or vehicle compartments. Whether you’re looking to upgrade your cabinet doors or improve the liftgate on your car, it’s important to have the right tools and materials on hand for a smooth installation process. In this section, we’ll cover the essential tools required, safety equipment to ensure a hassle-free installation, and commonly used hardware and mounting materials.
Essential Tools Required for the Installation Process
Before you begin installing a gas strut, make sure you have the following essential tools:
- Screwdriver set: A set of screwdrivers with different sizes and heads will come in handy for removing or securing screws during the installation process.
- Drill: Depending on the type of installation, you may need a drill to create holes in the mounting surface.
- Measuring tape: It’s essential to take accurate measurements to ensure the gas strut is installed at the correct angle and length.
- Level: A level will help you ensure that the gas strut is aligned properly and will function smoothly.
- Adjustable wrench: An adjustable wrench is necessary for tightening and loosening nuts and bolts during the installation process.
Safety Equipment for a Hassle-free Installation
When it comes to any installation process, safety should be a top priority. Make sure to have the following safety equipment:
- Safety goggles: Protect your eyes from potential flying debris or particles during drilling or screwing.
- Gloves: Using gloves will not only improve your grip on tools and materials but also protect your hands from sharp edges or potential injuries.
- Ear protection: If you’ll be using power tools during the installation, wearing ear protection will minimize the risk of hearing damage.
Commonly Used Hardware and Mounting Materials
To ensure a secure and durable installation of your gas strut, you’ll need the following commonly used hardware and mounting materials:
| Hardware/Material | Description |
|---|---|
| Mounting brackets | Brackets that attach the gas strut to the mounting surface. They come in various shapes and sizes to accommodate different mounting needs. |
| Screws and nuts | Used to secure the mounting brackets and gas strut in place. Make sure to choose the right kind and size based on the material of the mounting surface. |
| Washers | These small discs are placed under screws and nuts to provide a secure fit and prevent damage to the mounting surface. |
| Locking pins | These pins are inserted into the gas strut to lock it in the desired position and prevent premature closing or opening. |
| Mounting template | A template or guide for marking the exact position of the mounting brackets on the mounting surface, ensuring proper alignment. |
| Gas strut mounting ball studs | These ball-shaped studs are attached to the end of the gas strut and provide a secure connection to the mounting brackets. |
By having the essential tools, safety equipment, and commonly used hardware and mounting materials ready, you’ll be well-prepared for a successful gas strut installation. Remember to follow the manufacturer’s instructions and guidelines for your specific gas strut model to ensure a safe and effective installation process.
Step 1: Preparing For Installation
Before you begin installing a gas strut, it’s essential to properly prepare for the installation process. This step will ensure a smooth and successful installation, ultimately leading to optimal performance of your gas strut. Here are the key tasks you need to complete during the preparation phase:
Measuring and determining the correct size and position of the gas strut
To ensure the gas strut fits perfectly and functions effectively, it’s crucial to accurately measure and determine the correct size and position. Follow these steps:
- Measure the length of the gas strut required for your application.
- Consider the position of the gas strut – whether it needs to be vertically or horizontally oriented.
- Take into account the available space and any potential obstructions that may affect the positioning of the strut.
Assessing the weight capacity and load requirements for optimal performance
In order for your gas strut to perform optimally, it’s important to assess the weight capacity and load requirements. Here’s what you need to do:
- Determine the weight of the load that the gas strut will need to support.
- Refer to the manufacturer’s guidelines and specifications to ensure the chosen gas strut can handle the required load.
- Consider any additional factors such as the frequency of use and the expected durability of the gas strut.
Ensuring the surface is clean and free from any obstructions before installation
A clean and obstruction-free surface is essential for a secure and reliable installation. Follow these steps to ensure your installation surface is ready:
- Clean the surface with a mild detergent or cleaning agent to remove any dirt, debris, or grease.
- Inspect the surface for any rough spots, sharp edges, or protrusions that could hinder the installation process.
- Remove any obstructions that may interfere with the gas strut’s operation or stability.
By following these steps and adequately preparing for the installation, you’ll set the groundwork for a successful gas strut installation that ensures optimal performance and durability. Take the time to measure accurately, assess the load requirements, and clean the surface thoroughly for a smooth installation process.
Step 2: Removing The Old Strut (If Applicable)
Safely Disconnecting the Old Gas Strut from the Mounting Points
Before you can install a new gas strut, you’ll need to remove the old one (if applicable). This step is crucial to ensure a proper installation and to maintain the safety of your gas strut system. To safely disconnect the old gas strut from the mounting points, follow these steps:
- Locate the mounting points where the gas strut is attached. These are typically brackets or pins situated on both ends of the strut.
- Using a wrench or a socket and ratchet, loosen the bolts or screws securing the strut to the mounting points. It’s important to support the strut with your hand during this process to prevent it from accidentally falling or causing any damage.
- Once the bolts or screws are loosened, carefully slide the strut out of the mounting points. Be cautious and keep a firm grip on the strut to avoid any accidents.
Identifying and Overcoming Potential Obstacles During Removal
During the removal process, you may come across potential obstacles that can make disconnecting the old gas strut a bit challenging. Here are some common obstacles you might encounter and how to overcome them:
- If the bolts or screws are stuck or rusted, applying a penetrating oil like WD-40 can help loosen them. Allow the oil to penetrate for a few minutes before attempting to remove the hardware again.
- In some cases, the mounting points might be situated in tight or hard-to-reach spaces. To overcome this obstacle, you can use various tools like socket extensions, wrench adapters, or even a ratchet with a flexible head to reach the hardware comfortably.
- Occasionally, the old gas strut may have been installed with excessive force or tightened incorrectly. If you encounter extreme resistance while trying to remove the strut, using a pry bar or a rubber mallet to gently tap the mounting points can help release the strut.
Proper Disposal or Recycling of the Old Gas Strut
It’s essential to dispose of or recycle the old gas strut responsibly. Improper disposal can harm the environment, so follow these guidelines to ensure proper disposal or recycling:
- Check with your local recycling center or waste management facility to determine if they accept gas struts for recycling. Some centers may require you to separate the gas strut from its mounting points before recycling.
- If recycling is not an option, contact your local hazardous waste disposal center for instructions on proper disposal. They will provide guidance on how to safely dispose of the old strut.
By following the proper disposal or recycling guidelines, you contribute to a cleaner and safer environment.
Step 3: Mounting The New Gas Strut
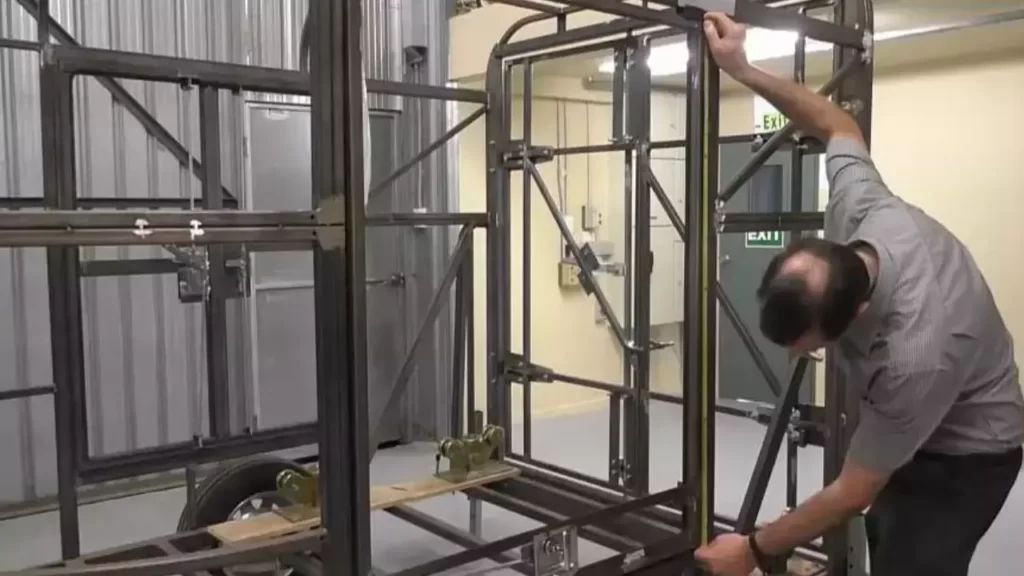
Now that you have prepared the desired surface and attached the mounting brackets, it’s time to mount the new gas strut. This step is crucial as it ensures the proper functionality and stability of the strut. Follow these steps to mount the gas strut correctly:
Attaching the mounting brackets securely to the desired surface
The first step is to secure the mounting brackets firmly to the surface where you want to install the gas strut. Make sure to choose a spot that can handle the weight and pressure exerted by the strut. Here’s how to do it:
- Carefully align the mounting bracket holes with the pre-drilled holes on the surface.
- Insert screws or bolts through the holes and hand-tighten them to hold the bracket in place.
- Using a suitable tool, such as a screwdriver or wrench, fully tighten the screws or bolts to secure the bracket firmly. This will ensure stability and prevent any unwanted movement.
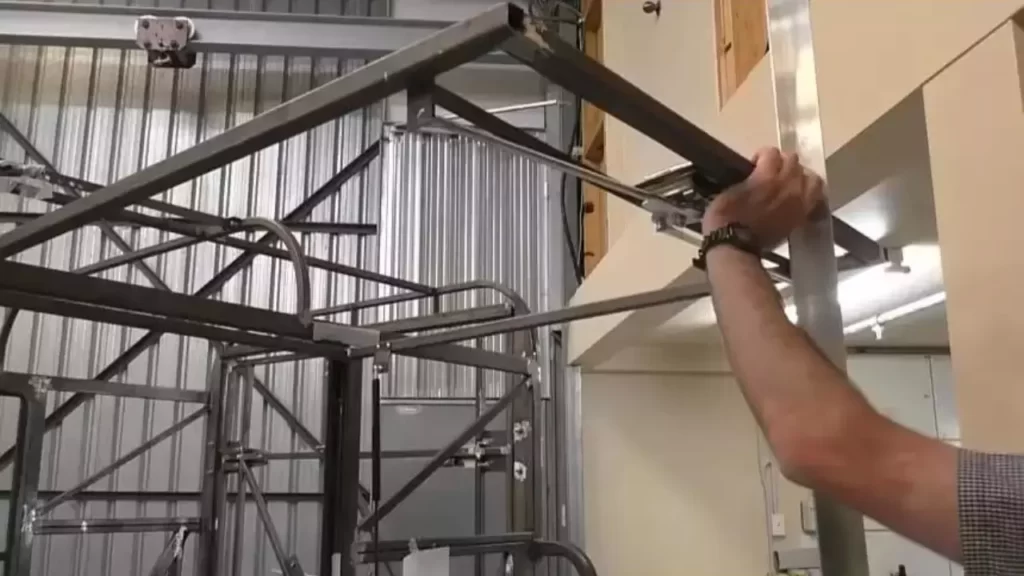
Aligning and positioning the gas strut for maximum functionality
Once the mounting brackets are securely attached, the next step is to align and position the gas strut for optimum functionality. Follow these guidelines:
- Hold the gas strut near the mounting brackets and check for any obstructions or interferences.
- Ensure that the gas strut is aligned parallel to the surface and centered between the brackets.
Proper alignment and positioning will allow the gas strut to operate smoothly and provide the desired support.
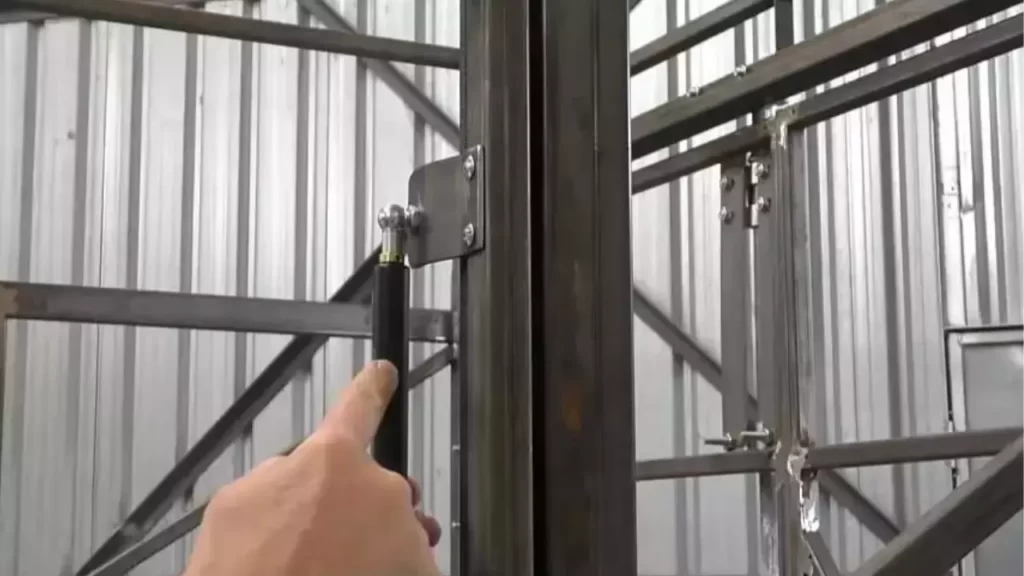
Properly fastening the strut to the mounting brackets using appropriate hardware
Now that the gas strut is aligned and positioned correctly, it’s time to fasten it securely to the mounting brackets using the appropriate hardware. Here’s how to do it:
- Take the specified hardware, such as nuts, bolts, or retaining clips, and insert them through the holes on the mounting brackets.
- Attach the hardware to the gas strut, making sure it is properly aligned with the corresponding holes.
- Using the appropriate tool, tighten the hardware to ensure a secure and stable connection between the strut and the brackets. Be careful not to overtighten, as it may affect the strut’s functionality.
Once properly fastened, give the gas strut a gentle test to ensure it operates smoothly and without any issues. If everything looks and functions as expected, you have successfully mounted your new gas strut!
Installing a gas strut may seem overwhelming at first, but by following these step-by-step instructions, you can easily mount it with confidence. So, go ahead and complete the installation process to enjoy the improved functionality and convenience provided by your new gas strut!
Step 4: Testing And Adjusting
After successfully installing a gas strut in your desired application, it’s crucial to perform a thorough inspection and conduct necessary tests to ensure optimal functionality. This step is essential to verify that the gas strut is correctly installed and functioning as intended. Follow the below steps for conducting a thorough inspection, checking for smooth operation and proper function, and making any necessary adjustments or corrections.
Conducting a thorough inspection of the installed gas strut
Start by visually inspecting the gas strut installation to ensure that all the mounting brackets, hardware, and connections are secure and tight. Check for any signs of damage or wear on the strut itself, as well as on the surrounding components. Make sure that the gas strut is aligned correctly, parallel to the direction of movement, and that there are no obstructions that could hinder its operation.
If everything appears to be in proper order, proceed with a physical inspection. Gently push and pull the application to test the resistance and movement of the gas strut. Be observant of any unusual noises, jerky movements, or excessive vibration, as these could indicate a problem with the installation or the strut itself.
Checking for smooth operation and proper function
Once the thorough inspection is complete, it’s time to test the gas strut’s operation and function. Move the application through its range of motion to check if the gas strut provides the necessary support and damping. Pay close attention to its smoothness of operation and the absence of any sticking, binding, or unequal resistance during movement.
Additionally, verify that the gas strut maintains its position and resists gravity when the application is in the open or extended position. Ensure that it also compresses and closes smoothly when closing the application. Such tests will help ensure the gas strut is correctly installed and functioning as intended.
Making necessary adjustments or corrections
If any issues or abnormalities are observed during the inspection or testing phase, immediate attention is required. The gas strut’s operation and function should be carefully evaluated, and adjustments or corrections should be made accordingly. This may involve repositioning the mounting brackets, replacing faulty components, or adjusting the gas strut’s pressure or positioning.
It’s crucial to note that each specific gas strut model may have its own unique adjustment and correction procedures. Refer to the manufacturer’s instructions or consult with a professional if you encounter any difficulties in rectifying the identified issues.
By conducting a thorough inspection, checking for smooth operation and proper function, and making any necessary adjustments or corrections, you’ll ensure that your gas strut installation performs optimally and provides reliable support in your application.
Step 5: Maintenance And Care Tips
Once you have successfully installed the gas strut, it is important to perform regular maintenance and care to ensure its optimal performance and longevity. Taking a few simple steps can go a long way in making sure your gas strut operates smoothly and efficiently.
Regular cleaning and lubrication to ensure optimal performance
Regular cleaning and lubrication of your gas strut is crucial in ensuring its smooth operation. Dust, dirt, and debris can accumulate on the struts and hinder their performance. To clean the gas strut, follow these simple steps:
- Remove any loose dirt and debris from the strut using a soft cloth or brush.
- Wipe the strut with a clean cloth dampened with mild soapy water to remove any stubborn stains or grease.
- Rinse off the soap residue with clean water and dry the strut thoroughly.
- Apply a silicone-based lubricant to the moving parts of the strut, such as the piston rod and ball joints, to ensure smooth movement.
Regular cleaning and lubrication will help prevent any build-up or deterioration, allowing the gas strut to operate effectively for a long time.
Inspection and tightening of hardware to prevent any issues
Periodically inspecting and tightening the hardware of your gas strut is essential to prevent any issues or potential accidents. Ensure the following:
- Check all screws, nuts, and bolts to ensure they are securely fastened.
- If you notice any loose or damaged hardware, tighten or replace it as necessary.
- Inspect the mounting brackets and connections to make sure they are in good condition and properly aligned.
Regular inspection and tightening of hardware will help maintain the stability and safety of the gas strut.
Troubleshooting common problems and finding suitable solutions
Despite proper maintenance, you may encounter some common problems with your gas strut. Here are a few troubleshooting tips and suitable solutions:
| Problem | Solution |
|---|---|
| The gas strut fails to hold the weight | Check if the strut is the correct size and load rating for your application. If not, replace it with a suitable one. |
| The gas strut does not extend or retract properly | Inspect the strut for any signs of damage or leakage. If damaged, replace the strut. Lubricate the moving parts if necessary. |
| The gas strut makes squeaking or grinding noises | Check for any signs of wear or lack of lubrication. Clean and lubricate the strut as mentioned earlier. If the noise persists, consider replacing the strut. |
By troubleshooting common problems and finding suitable solutions, you can ensure the continuous functionality of your gas strut.
Remember, proper maintenance and care are crucial to the performance and longevity of your gas strut. By following these guidelines, you can enjoy smooth and reliable operation for years to come.
Frequently Asked Questions On How To Install A Gas Strut
How Do You Install A Gas Strut?
To install a gas strut, follow these steps:
- Determine the correct size for your application.
- Remove the old strut if necessary.
- Position the new strut in place.
- Attach the mounting brackets securely.
- Test the strut to ensure proper functionality.
Can You Push In A Gas Strut By Hand?
Yes, you can push in a gas strut by hand. Gas struts are designed to compress when force is applied, allowing you to manually push them in.
What Are The Positions For Gas Strut Mounting?
The positions for gas strut mounting can vary, depending on the specific application. Common positions include vertical, horizontal, angled, or custom positions. The mounting positions should be chosen based on the intended purpose and requirements of the gas strut.
What Is The Correct Angle For Gas Struts?
The correct angle for gas struts depends on the specific application and the weight and size of the object they are supporting. It is important to consult the manufacturer’s guidelines or seek professional advice to determine the correct angle for optimal performance.
Conclusion
Installing a gas strut may sound daunting, but with the right guidance and a few simple steps, it can be easily accomplished. By following this comprehensive guide, you have learned the essential steps to safely and efficiently install a gas strut.
Now you can enjoy the convenience and functionality it brings to your furniture or any other application. So go ahead, confidently tackle your next gas strut installation project and reap the benefits it provides. Happy DIY-ing!