To install fire brick in a fire pit, first, clean the fire pit and make sure it is dry. Then, apply a layer of refractory mortar on the bottom and sides of the pit, and lay the fire bricks in place, leaving room for expansion joints.
Fire pits provide a cozy and inviting gathering space in any backyard, but without proper insulation, the intense heat can cause significant damage over time. Installing fire brick in a fire pit is an essential step to protect the pit and enhance its longevity.
With the right materials and some basic steps, you can easily install fire brick in your fire pit, ensuring it withstands the high temperatures while creating a beautiful and safe ambiance for your outdoor entertainment. We will guide you through the process of installing fire brick in a fire pit, allowing you to enjoy cozy evenings around the fire for years to come.
Choosing The Right Fire Bricks
When it’s time to install fire bricks in your fire pit, one of the most important considerations is choosing the right type of bricks. The type of fire bricks you select will depend on your specific needs and the type of fire pit you’re working with. In this section, we’ll discuss two common types of fire bricks: refractory fire bricks and insulating fire bricks. Understanding the characteristics and benefits of each type will help you make an informed decision for your fire pit project.
Refractory Fire Bricks
Refractory fire bricks are known for their high heat resistance and durability, making them an ideal choice for creating a long-lasting fire pit. These bricks are made from dense materials such as clay or silica, which enables them to withstand extreme temperatures without cracking or crumbling. The solid composition of refractory fire bricks also helps in retaining heat, making them efficient for heating up your fire pit quickly.
When choosing refractory fire bricks, consider the temperature rating. Look for bricks with a high-temperature rating to ensure they can withstand the heat generated by your fire pit. Additionally, check the dimensions of the bricks to ensure they fit properly in your fire pit design. It’s important to measure the dimensions of your fire pit before purchasing the bricks to avoid any complications during the installation process.
Insulating Fire Bricks
If heat retention is not a major concern for your fire pit or if you’re looking to create a more energy-efficient design, insulating fire bricks might be the right choice for you. These bricks are lightweight and have low thermal conductivity, meaning they are less likely to absorb and retain heat. Insulating fire bricks are typically made from materials like vermiculite or perlite, which have insulating properties.
Insulating fire bricks can be useful in situations where you need to conserve energy, such as when using a fire pit for cooking or during colder climates where heat loss is a concern. These bricks are also easier to handle and cut compared to refractory fire bricks, making them a more convenient option for DIY fire pit projects.
When selecting insulating fire bricks, make sure to consider the required fire rating and dimensions. Check the manufacturer’s specifications to ensure the bricks meet your needs and will be compatible with your fire pit design.
In conclusion, choosing the right fire bricks is crucial for the installation of a fire pit that will stand the test of time. Whether you opt for refractory fire bricks for their heat resistance and durability or insulating fire bricks for their energy efficiency, understanding the characteristics and benefits of each type will help you make an informed decision.
Consider the temperature rating, dimensions, and specific requirements of your fire pit project when selecting the appropriate fire bricks. By selecting the right bricks, you’ll be well on your way to creating a safe and efficient fire pit for countless enjoyable evenings of warmth and relaxation.
Planning And Preparation
Before you begin installing fire brick in your fire pit, proper planning and preparation are essential. This will help ensure a successful installation and allow you to enjoy your fire pit for years to come. In this section, we will walk you through the important steps of measuring the fire pit, calculating the number of bricks needed, and gathering the necessary tools and materials.
Measuring the Fire Pit
The first step in installing fire brick is to accurately measure the dimensions of your fire pit. This will help you determine the quantity of bricks required and ensure a precise fit. To measure the fire pit properly, follow these steps:
- Clear the fire pit of any debris, ashes, or other obstructions.
- Using a tape measure, measure the inner diameter of the fire pit. This is the distance across the widest point of the fire pit.
- Next, measure the depth or height of the fire pit. This is the distance from the bottom of the fire pit to the top rim.
Once you have these measurements, you can move on to calculating the number of bricks needed.
Calculating the Number of Bricks Needed
To create a sturdy and secure fire pit, it is crucial to calculate the correct number of fire bricks you will need. This will depend on the size and design of your fire pit. Here’s how you can calculate the number of bricks needed:
- Take the inner diameter of the fire pit and multiply it by 3.14 (pi). This will give you the circumference of the fire pit.
- Divide the circumference by the length of one fire brick. This will determine the number of bricks required for each layer around the fire pit.
- Multiply the number of bricks required for each layer by the total number of layers you plan to have. This will give you the total number of bricks needed for the entire fire pit.
Once you have determined the number of bricks needed, it’s time to gather the necessary tools and materials.
Gathering the Necessary Tools and Materials
Before you begin the installation process, it is crucial to have all the required tools and materials on hand. This will ensure a smooth and efficient installation. Here are the essential tools and materials you will need:
- Fire bricks (as calculated in the previous step)
- Masonry saw or angle grinder
- Mortar mix
- Trowel
- Level
- Masonry brush
- Safety gear (gloves, goggles, dust mask)
Make sure to gather all these tools and materials before starting the installation process. This will save you time and prevent any unnecessary delays.
Step-By-Step Fire Brick Installation
Installing fire brick in your fire pit is a great way to enhance its durability and heat retention. Fire bricks are specially designed to withstand high temperatures, making them an ideal choice for constructing the interior of a fire pit. In this step-by-step guide, we will walk you through the process of installing fire brick in your fire pit. Whether you’re building a new fire pit or refurbishing an existing one, these instructions will help you achieve a professional and long-lasting result.
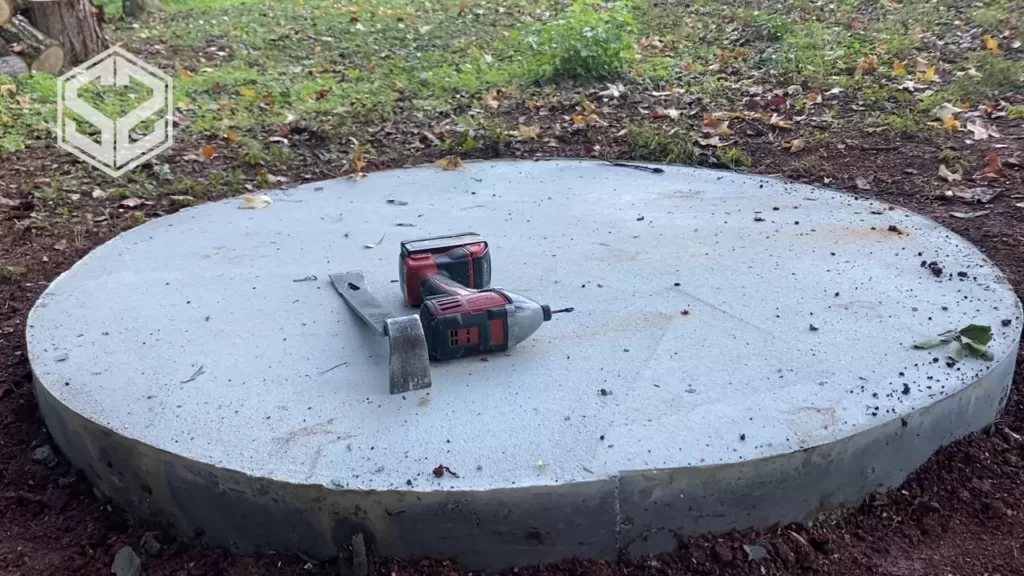
Cleaning the Fire Pit
The first step in installing fire brick is to thoroughly clean the interior of your fire pit. Remove any debris, ashes, or old fire brick that may be present. Use a wire brush or scraper to remove any stubborn residues or rust. Cleaning the fire pit ensures a clean and smooth surface for the fire brick installation.
Mixing the Mortar
Next, it’s time to mix the mortar. Mortar is the adhesive that holds the fire bricks together. To mix the mortar, follow the manufacturer’s instructions on the packaging. Typically, you will need to mix the mortar with water until it reaches a consistency similar to peanut butter. Use a trowel or a mixing paddle attached to a power drill to ensure a thorough and even mix.
Laying the First Row of Fire Bricks
Now it’s time to start laying the fire bricks. Begin by applying a generous amount of mortar to the bottom of your fire pit. Spread the mortar evenly with the trowel, creating a smooth bed for the fire bricks. Take your first fire brick and press it firmly into the mortar, ensuring it is level and securely positioned. Repeat this process until the first row of fire bricks is complete, leaving a small gap between each brick for expansion.
Applying Mortar and Setting the Second Row
Once the first row is in place, apply mortar to the top of the bricks using your trowel. Again, spread the mortar evenly to create a solid base for the next row. Set the second row of fire bricks on top of the mortar, making sure they are aligned with the bottom row. Press each brick firmly into the mortar and check for level and stability.
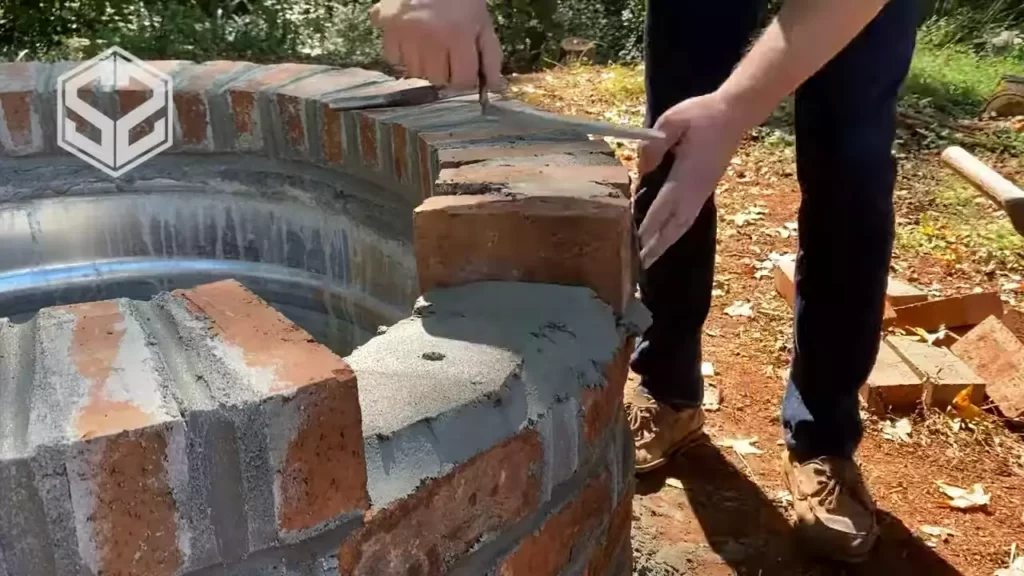
Continuing with Additional Rows
Continue applying mortar and setting additional rows of fire bricks until you reach the desired height for your fire pit. Remember to leave small gaps between each brick for expansion. As you progress, periodically check for level and stability, making adjustments as needed.
Checking for Level and Stability
Once all the fire bricks are in place, it’s important to check for level and stability. Use a level to ensure that the walls of your fire pit are straight and evenly positioned. Make any necessary adjustments by tapping the bricks gently with a rubber mallet. Additionally, check the overall stability of the fire pit by applying pressure to the sides. If any bricks feel loose, remove them and reapply mortar as necessary.
By following these step-by-step instructions, you can confidently install fire brick in your fire pit. Remember to take your time and pay attention to detail, as proper installation is essential for the longevity and functionality of your fire pit. With the right materials and a little bit of patience, you’ll soon be enjoying cozy fires and making lasting memories with family and friends.
Adding A Decorative Fire Brick Pattern
When it comes to creating a stunning fire pit, adding a decorative fire brick pattern can take your design to the next level. Not only does it enhance the overall appearance of the fire pit, but it also adds a touch of personality and charm to your outdoor space. In this section, we will explore two popular fire brick patterns: the herringbone design and the basketweave pattern. Let’s dive in and see how you can achieve these beautiful patterns in your fire pit installation.
Creating a Herringbone Design
The herringbone design is a classic pattern that adds a timeless elegance to any fire pit. It features interlocking bricks arranged in a V-shaped pattern, creating a visually striking effect. To create a herringbone design in your fire pit, follow these simple steps:
- Start by laying a row of fire bricks along the edge of the fire pit, making sure they are tightly spaced and level.
- Next, lay a second row of bricks at a 45-degree angle to the first row, with the pointed ends of the bricks facing outwards. This will create the herringbone pattern.
- Continue alternating the direction of the bricks in each row until the fire pit is fully covered.
- Use a brick saw or chisel to cut any bricks that need to fit into smaller spaces or corners.
- Finally, fill the gaps between the bricks with a high-temperature mortar to ensure a secure and long-lasting installation.
By following these steps, you can achieve a stunning herringbone design that will be the centerpiece of your outdoor gatherings.
Trying a Basketweave Pattern
If you’re looking for a unique and eye-catching fire brick pattern, consider trying the basketweave pattern. This pattern creates a woven effect, similar to the way baskets are woven, and adds a touch of texture and dimension to your fire pit. To achieve the basketweave pattern, follow these steps:
- Begin by laying a row of fire bricks along the edge of the fire pit, ensuring they are tightly spaced and level.
- Next, lay a second row of bricks perpendicular to the first row, with the broad sides facing outwards. This will create the base of the basketweave pattern.
- Continue to alternate the direction of the bricks in each subsequent row, weaving them over and under the bricks in the previous row.
- Repeat the pattern until the entire fire pit is covered, and use a brick saw or chisel to cut any bricks that need to fit into smaller spaces.
- Lastly, fill the gaps between the bricks with high-temperature mortar to ensure stability and durability.
By following these steps, you can achieve a stunning basketweave pattern that will make your fire pit stand out from the crowd.
Whether you choose to go with a herringbone design or a basketweave pattern, adding a decorative fire brick pattern to your fire pit will elevate its aesthetics and make it a focal point in your outdoor space. Get creative, have fun, and enjoy the process of creating a beautiful and functional fire pit that reflects your personal style.
Building A Fire Brick Fire Pit Wall
If you’re looking to enhance the durability and aesthetic appeal of your fire pit, building a fire brick wall is an excellent option. Not only does it provide structural stability, but it also adds a touch of sophistication to your outdoor space. In this guide, we will walk you through the step-by-step process of building a fire brick fire pit wall. We will cover everything from extending the fire brick rows to applying mortar for stability and adding a finish to the wall. So, let’s dive in and get started!
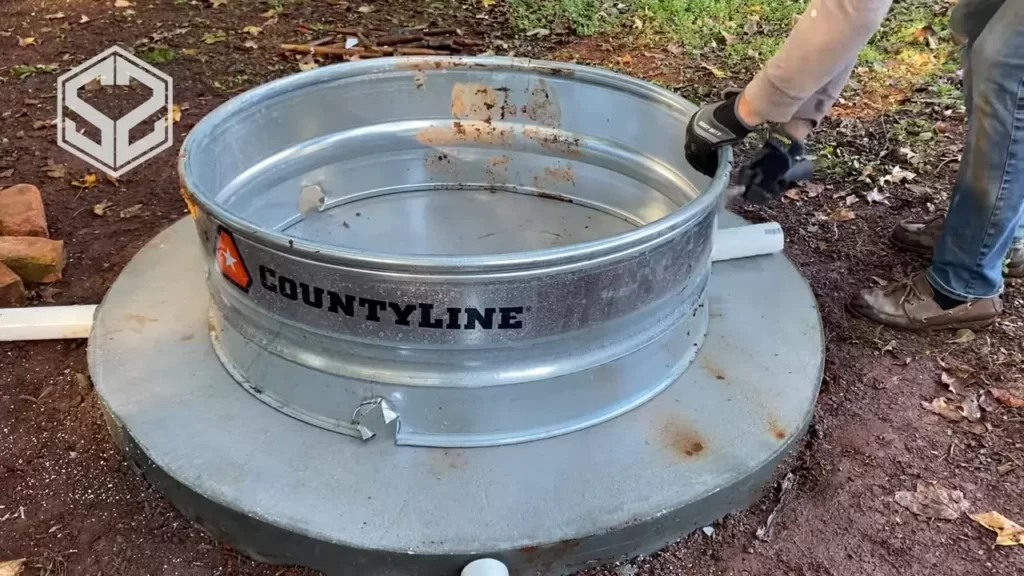
Extending the Fire Brick Rows to Build a Wall
Building a fire brick wall starts with extending the fire brick rows. The first step is to measure the circumference of your fire pit to determine the number of fire bricks you will need. Ensure that you choose fire bricks that are designed specifically for high-temperature applications.
Once you have the necessary number of fire bricks, lay them in a row around the perimeter of your fire pit. Make sure to leave a small gap between each brick for mortar application. Continue extending the rows until you achieve the desired height for your fire pit wall.
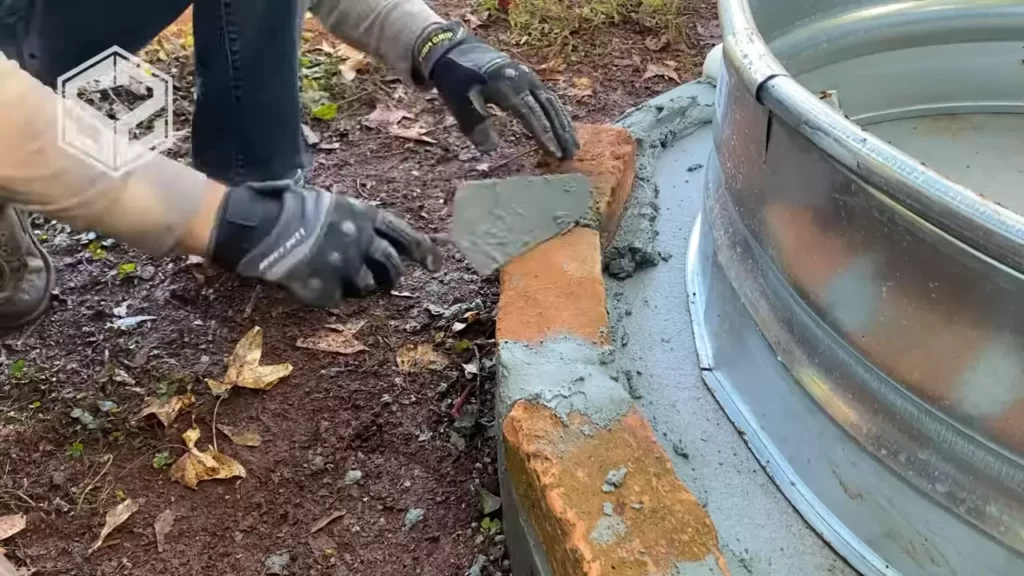
Applying Mortar for Stability
To ensure the stability and longevity of your fire pit wall, applying mortar is crucial. Start by preparing a mortar mix according to the manufacturer’s instructions. The consistency of the mortar should be thick, yet workable.
Using a trowel, apply a layer of mortar to the bottom of each fire brick before placing it on top of the previous row. Press the brick firmly so that it adheres to the mortar. Repeat this process for each row, ensuring that the bricks are level and aligned properly.
Adding a Finish to the Wall
Once the fire brick wall is complete, you can further enhance its appearance by adding a finish. There are various finish options available, such as fire-resistant paint or natural stone veneer. Choose a finish that complements your outdoor space and gives your fire pit wall a polished look.
If you opt for fire-resistant paint, make sure to select a color that can withstand high temperatures. Apply the paint evenly to the surface of the fire brick wall, allowing each coat to dry before applying the next. This will ensure a smooth and visually appealing finish.
If you prefer a more natural look, consider adding a stone veneer to the fire brick wall. Stone veneer not only adds an elegant touch but also provides an extra layer of protection to the bricks. Follow the manufacturer’s instructions to apply the veneer, ensuring a secure and seamless fit.
Incorporating Fire Brick Into Outdoor Kitchen Designs
When it comes to designing your outdoor kitchen, incorporating fire brick can add a touch of elegance and functionality to your space. Fire brick not only enhances the aesthetic appeal of your outdoor kitchen but also provides added durability and safety. With its ability to withstand high temperatures, fire brick is a popular choice for constructing various elements within outdoor kitchen designs. In this article, we will explore two key ways to incorporate fire brick into your outdoor kitchen design: creating countertop and grill areas, and constructing fire brick pizza ovens.
Creating Countertop and Grill Areas
If you’re looking to create a stunning and practical outdoor cooking space, incorporating fire brick into your countertop and grill areas is a great choice. Fire brick provides excellent insulation, allowing your outdoor kitchen to maintain high temperatures more efficiently. Here are a few steps to follow when incorporating fire brick into your countertop and grill areas:
- Start by measuring the dimensions of your countertop and grill areas.
- Purchase fire bricks that are suitable for outdoor use, ensuring they are able to withstand high temperatures.
- Prepare the base for your countertop and grill areas, ensuring it is level and stable.
- Begin laying the fire bricks, ensuring they fit snugly together. Use a heat-resistant mortar to secure the bricks in place.
- Continue layering the fire bricks until the desired height is reached.
- Allow the mortar to dry completely before using your countertop and grill areas.
By incorporating fire brick into your countertop and grill areas, you not only create a beautiful and durable space but also enhance the overall cooking experience. Fire brick provides excellent heat retention, ensuring your outdoor kitchen stays hot for longer periods, allowing you to cook and entertain with ease.
Constructing Fire Brick Pizza Ovens
If you’re a pizza lover, constructing a fire brick pizza oven in your outdoor kitchen is a must. Fire brick pizza ovens offer a unique and authentic cooking experience, allowing you to achieve that perfect crispy crust. Here are the steps to constructing a fire brick pizza oven:
- Decide on the location and size of your pizza oven within your outdoor kitchen.
- Prepare the base for your pizza oven, ensuring it is level and sturdy.
- Build the foundation of the pizza oven using fire bricks, creating a solid and stable structure.
- Layer the sides of the pizza oven with fire bricks, leaving space for the cooking chamber.
- Create the cooking chamber by layering fire bricks in a dome shape, using a heat-resistant mortar to hold them together.
- Add insulation material around the cooking chamber to improve heat retention.
- Finish the pizza oven by adding a chimney for proper ventilation.
With a fire brick pizza oven, you can enjoy restaurant-quality pizza right in your own backyard. The fire bricks enable even heat distribution, resulting in perfectly cooked pizzas every time.
Cleaning And Removing Soot
One of the essential maintenance tasks for your fire pit is cleaning and removing soot. Over time, soot can build up on the fire brick surface, diminishing its appearance and potentially affecting its performance. By regularly cleaning your fire pit and removing soot, you can keep it in optimal condition and ensure it continues to provide you with cozy fires.
Using a Wire Brush
To effectively clean the soot off the fire brick, start by using a wire brush. A wire brush is an excellent tool for scrubbing away stubborn soot and grime. Make sure you use a brush with bristles specifically designed for heavy-duty cleaning. This will allow you to easily remove the soot without damaging the fire brick’s surface.
Begin by dipping the wire brush in water to dampen the bristles. Then, gently scrub the surface of the fire brick, applying moderate pressure to dislodge any dirt or soot buildup. It’s important to work in small circular motions and pay extra attention to areas with more significant soot deposits.
Applying a Cleaning Solution
In some cases, simply using a wire brush may not be enough to remove stubborn soot stains. If that’s the case, you can apply a cleaning solution to aid in the removal process. There are various commercially available cleaning solutions designed specifically for fire pit maintenance. Alternatively, you can create your own solution by mixing equal parts water and white vinegar.
Start by applying the cleaning solution directly to the soot-stained areas of the fire brick. Allow the solution to sit for a few minutes to loosen the soot. Then, using the wire brush, gently scrub the surface again. Rinse the fire pit thoroughly with clean water to remove any residue from the cleaning solution.
Remember to always follow the manufacturer’s instructions when using commercial cleaning solutions and wear protective gloves to prevent skin irritation.
Regularly cleaning your fire pit and removing soot will not only enhance its appearance but also ensure optimal performance and longevity. By following these simple steps and using the appropriate tools, you can enjoy a clean and well-maintained fire pit for years to come.
Repairing And Replacing Fire Bricks
Fire bricks are crucial components of a fire pit, as they provide insulation and durability. Over time, these bricks may become damaged due to the intense heat they are exposed to. Fortunately, repairing and replacing fire bricks is a straightforward process that can be done by following a few simple steps. In this section, we will discuss how to assess damaged bricks and how to remove and replace individual bricks to restore the functionality and aesthetic appeal of your fire pit.
Assessing Damaged Bricks
Before you begin the process of repairing or replacing fire bricks, it’s important to assess the extent of the damage. This will help you determine the appropriate course of action and the number of replacement bricks you will need.
Removing and Replacing Individual Bricks
If you have identified one or more damaged bricks, you can proceed with removing and replacing them to restore the integrity of your fire pit. Here’s a step-by-step guide to help you through this process:
- Gather the necessary tools: Before you start, make sure you have the following tools on hand:
- A masonry chisel
- A mallet or hammer
- A wire brush
- Fire-resistant mortar
- Replacement fire bricks
- Remove the damaged brick: Using the masonry chisel and hammer, carefully chip away at the mortar surrounding the damaged brick. Be cautious not to damage neighboring bricks in the process. Once the mortar is loosened, you can gently remove the damaged brick from its position.
- Clean the area: Use a wire brush to remove any remaining mortar from the cavity left by the removed brick. Cleaning the area will ensure proper adhesion of the new brick.
- Apply mortar: Prepare the fire-resistant mortar according to the manufacturer’s instructions. Apply a thin layer of mortar to the cleaned area using a trowel or a pointed trowel.
- Position and secure the replacement brick: Carefully position the replacement brick in the cavity, ensuring a snug fit. Press it firmly into place, allowing the mortar to bond with the brick and surrounding bricks.
- Smooth out the mortar: Use a trowel or a pointing trowel to smooth out any excess mortar and create a seamless appearance.
- Allow the mortar to cure: Follow the manufacturer’s instructions regarding the curing time for the mortar. Typically, you will need to wait for at least 24 hours before using the fire pit again.
By following these steps, you can easily repair or replace fire bricks in your fire pit, restoring its functionality and ensuring it remains a safe and enjoyable outdoor feature. Remember to take the necessary precautions, such as wearing protective gloves and eyewear, when working with masonry tools and materials.
Protecting Fire Bricks From Extreme Temperatures
Using Fire Brick Sealant
One of the essential steps in protecting fire bricks from extreme temperatures is using a fire brick sealant. Fire brick sealant acts as a protective layer, creating a barrier between the bricks and the intense heat produced by the fire pit. This sealant helps to prevent cracks and damage caused by thermal expansion and contraction.
When applying fire brick sealant, it is important to follow the manufacturer’s instructions carefully. Here are the general steps to apply fire brick sealant:
- Clean the fire bricks thoroughly, removing any dust, dirt, or debris. This ensures proper adhesion of the sealant.
- Using a brush or roller, apply a thin layer of fire brick sealant to the surface of the bricks. Be sure to cover the entire surface, including the edges and corners.
- Allow the sealant to dry completely. This usually takes a few hours, but refer to the manufacturer’s instructions for specific drying times.
- Once the sealant is dry, apply a second coat for added protection.
- Allow the second coat to dry completely before using the fire pit.
Using fire brick sealant not only protects the bricks from extreme temperatures but also extends their lifespan, ensuring that your fire pit remains in top condition for years to come.
Covering the Fire Pit in Winter
During the winter months, it is crucial to take additional steps to protect the fire bricks in your fire pit. Freezing temperatures, snow, and ice can cause significant damage to the bricks if left exposed. To prevent this, consider covering the fire pit during the winter season.
Here are a few options for covering your fire pit in winter:
- Tarp or Fire Pit Cover: Invest in a quality tarp or fire pit cover that is specifically designed to protect fire pits. These covers are typically made of durable, weather-resistant materials that can withstand extreme temperatures and prevent moisture from seeping into the bricks.
- Fire Pit Enclosure: If you have a permanent fire pit, consider building or purchasing a fire pit enclosure. This structure provides additional protection from the elements and can be customized to fit your specific fire pit design.
- Moveable Shelter: If your fire pit is portable, you may opt for a moveable shelter that can be set up and taken down as needed. This allows you to protect the fire pit during the winter months and enjoy it in the warmer seasons.
By covering your fire pit in winter, you can shield the fire bricks from harsh weather conditions, preventing cracks, erosion, and other damage that may occur from exposure. This simple precaution can greatly extend the lifespan of your fire pit and ensure its functionality for years to come.
Frequently Asked Questions On How To Install Fire Brick In A Fire Pit
How Do You Attach Fire Bricks?
To attach fire bricks, follow these steps:
1. Clean the surface where the bricks will be placed.
2. Apply a layer of refractory mortar to the cleaned surface.
3. Position the bricks in the desired pattern, pressing them firmly into the mortar.
4. Fill any gaps between the bricks with additional mortar.
5. Allow the mortar to dry and cure before using the fire bricks.
How Do You Secure A Fire Pit Brick?
To secure a fire pit brick, follow these steps: 1. Dig a shallow hole to lay the base of the fire pit. 2. Position the bricks tightly in a circular pattern, ensuring stability and balance. 3. Use a mallet or rubber mallet to tap the bricks firmly into place.
4. Fill the gaps between the bricks with sand or fireproof adhesive for added stability. 5. Regularly inspect and maintain the brick structure to ensure long-lasting security.
Do You Need Special Mortar For Firebrick?
Special mortar is required for firebrick, as regular mortar cannot withstand high temperatures. Firebrick mortar is formulated to withstand the extreme heat of fireplaces, wood stoves, and kilns. Using the appropriate mortar ensures the durability and long-lasting performance of firebrick installations.
What Kind Of Mortar Do You Use For Fire Bricks?
You should use refractory mortar for fire bricks.
Conclusion
Installing fire bricks in a fire pit is a simple yet essential task. By following the correct steps, you can ensure durability and efficient heat retention. Remember to select high-quality fire bricks, use the right mortar, and follow the proper installation techniques.
With the right approach, your fire pit will not only look beautiful but also provide a safe and enjoyable outdoor experience. So, get ready to cozy up and enjoy the warmth of your fire pit for years to come!