To install an electric stove, first, ensure that you have a dedicated circuit for it. Then, carefully follow the manufacturer’s instructions to connect the stove to the circuit and secure it in place.
Installing an electric stove is a straightforward process that can be done by following a few steps. Before starting the installation, it is crucial to have a dedicated circuit for the stove. This circuit should have the appropriate voltage and amperage capacity to handle the appliance’s power requirements.
Once the circuit is in place, carefully follow the manufacturer’s instructions to connect the stove to the circuit, usually by wiring it to the junction box. Additionally, make sure to secure the stove in its designated spot and verify that all connections are tight and properly insulated before turning on the power. By adhering to these guidelines, you can successfully install your electric stove and make it ready for use in your kitchen.
Choosing The Right Electric Stove
When it comes to upgrading your kitchen appliances, choosing the right electric stove is crucial. A good electric stove can not only enhance the aesthetic appeal of your kitchen but also make cooking a breeze. With a wide range of options available in the market, it can be overwhelming to make the right choice. However, by considering a few factors and understanding the different types of electric stoves available, you can easily find the perfect fit for your needs and preferences.
Factors to consider when selecting an electric stove
1. Size and Space
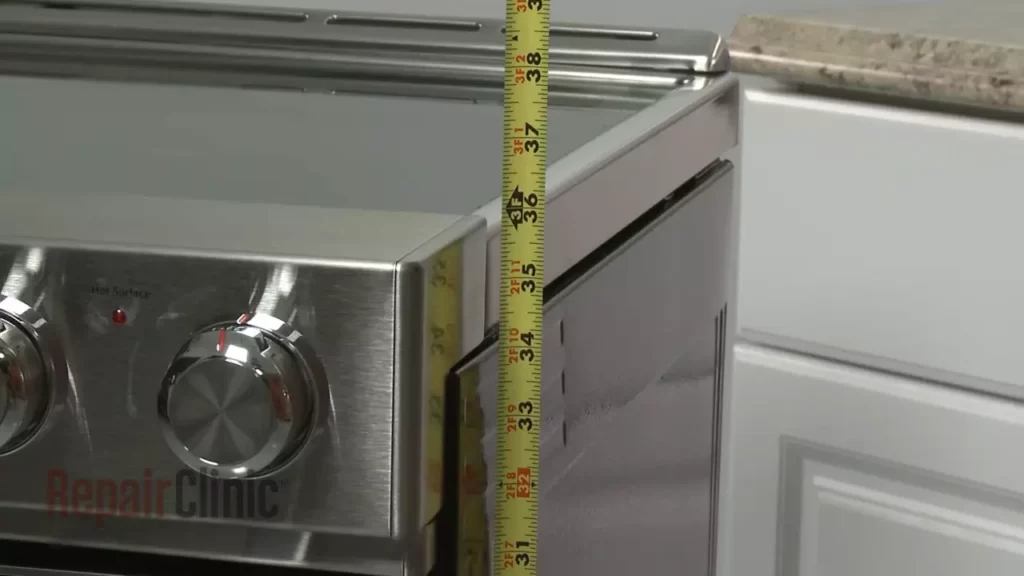
Before diving into the world of electric stoves, take a moment to assess the size and layout of your kitchen. Measure the available space where you plan to install the stove to ensure a proper fit. Consider the dimensions of the stove, including its width, height, and depth. Additionally, evaluate your cooking needs and the size of your pots and pans to determine the ideal size of the stove’s cooking surface and oven.
2. Cooking Requirements
Another important factor to consider when selecting an electric stove is your cooking requirements. Are you an avid baker who needs a stove with precise temperature control? Or do you prefer quick and efficient cooking, making a stove with rapid heating elements more suitable for you? Determine your cooking style and preferences to choose a stove that aligns with your needs.
3. Budget
Your budget plays a significant role in the decision-making process. Electric stoves come in a wide range of prices, and setting a budget can help narrow down your options. Consider both the initial cost of the stove and the long-term energy consumption to ensure you make an informed financial decision.
4. Safety Features
When it comes to any appliance in your home, safety should always be a priority. Look for electric stoves that come with safety features such as an automatic shut-off, child lock, and indicator lights to ensure a secure cooking experience for you and your family.
Understanding the different types of electric stoves
Now that you have considered the important factors, let’s explore the different types of electric stoves available:
1. Electric Coil Stoves
Electric coil stoves are the most traditional type of electric stoves. They feature coiled heating elements that provide even heat distribution for cooking. These stoves are often more affordable but may be slower to heat up and can be slightly more challenging to clean compared to other types.
2. Smoothtop Stoves
Smoothtop stoves, also known as ceramic or glass-top stoves, have a sleek and modern appearance. They feature a glass surface with concealed heating elements, making it effortless to clean. Smoothtop stoves are known for their rapid heating, precise temperature control, and stylish design. However, they can be more expensive than coil stoves and require special cookware with flat bottoms to maximize efficiency.
3. Induction Stoves
Induction stoves are the latest innovation in electric cooking technology. They use electromagnetic fields to directly heat the cookware, resulting in faster cooking times and precise temperature control. Induction stoves offer excellent energy efficiency and a high level of safety since the cooktop remains cool to the touch. However, they are generally more expensive than coil or smooth top stoves and require compatible cookware with magnetic bottoms.
Preparing For Installation
Before installing an electric stove in your kitchen, it is important to make all the necessary preparations to ensure a smooth and hassle-free process. This includes gathering the necessary tools and materials as well as ensuring that your electrical system can support the stove. By following these steps, you can ensure a successful installation of your electric stove.
Gathering the Necessary Tools and Materials
To install your electric stove, it is essential to gather the right tools and materials beforehand. This will not only save time during the installation process but also ensure that you have everything you need at your fingertips. Here’s a list of tools and materials you will require:
| Tools | Materials |
|---|---|
|
|
Ensuring the Electrical System Can Support the Stove
Before installing your electric stove, it is crucial to ensure that your electrical system can support the appliance’s power needs. This will prevent any electrical issues and potential hazards in the future. Here’s what you need to do:
- Check the electrical service panel to ensure that it can handle the stove’s voltage and amperage requirements.
- If necessary, upgrade the circuit breaker to a higher amperage to accommodate the stove’s power needs.
- Turn off the main power to the kitchen to safely work on the electrical connections.
- Inspect the electrical wiring and outlets for any signs of damage or wear. Replace any faulty components.
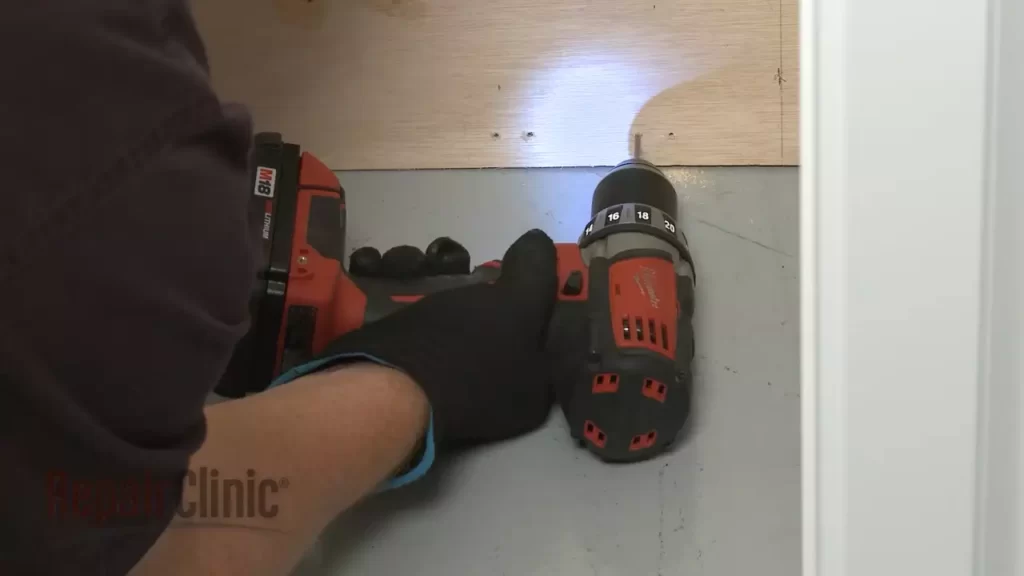
- Run a dedicated electrical cable from the service panel to the location where the stove will be installed, ensuring it meets the required specifications.
- Install a suitable outlet box and connect the electrical cable, following the manufacturer’s instructions.
- Test the electrical connections to ensure they are secure and there are no loose wires.
- Finally, turn the power back on and test the outlet using a voltage tester to verify that it is working correctly.
By following these steps and ensuring that your electrical system can support the stove, you can proceed with confidence in the installation process.
Installing The Electric Stove
Installing an electric stove can be a straightforward process as long as you follow the necessary steps. In this guide, we’ll take you through each step, from shutting off power to the kitchen to testing the electrical connection, ensuring a smooth installation.
Shutting off power to the kitchen
Before you begin installing your electric stove, it’s important to shut off power to the kitchen to ensure your safety. To do this, follow these steps:
- Locate your electrical panel, which is usually found in the basement or utility room.
- Identify the circuit breaker that controls the kitchen and flip it to the off position. This will cut off power to all outlets in the kitchen.
- Use a voltage tester to double-check that the power is off before proceeding.
Removing the old stove
Once you’ve ensured that the power is off, you can proceed to remove the old stove. Follow these steps:
- Disconnect the power cord from the electrical outlet.
- Turn off the gas supply if your old stove was gas-powered.
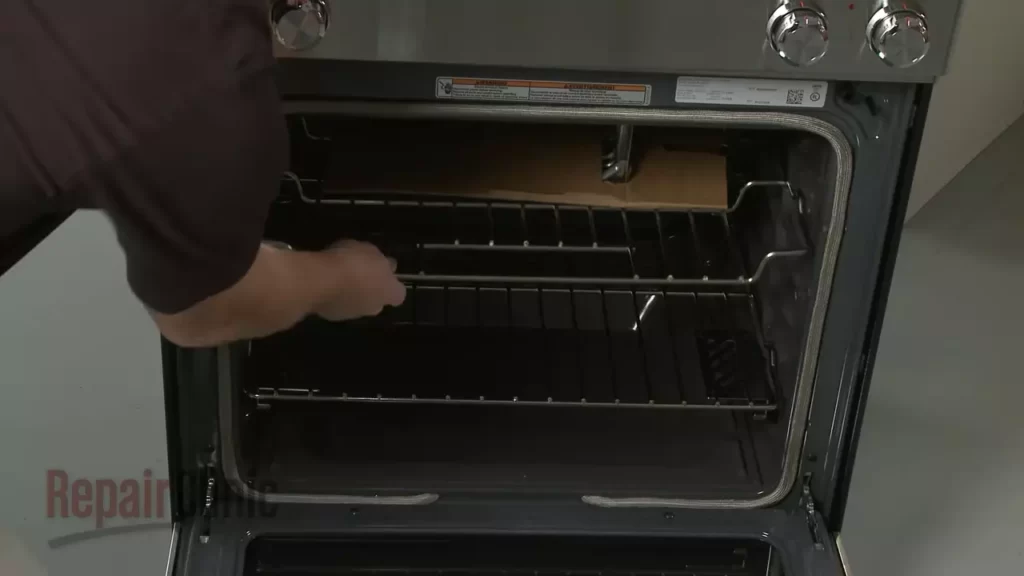
- Carefully slide the stove away from the wall, making sure not to damage the floor or any surrounding surfaces.
- Unplug any remaining gas lines or electrical connections.
With the old stove removed, you’re now ready to position and connect the new electric stove.
Positioning and connecting the new electric stove
Proper positioning and connection of your new electric stove are essential for its functionality. Follow these steps:
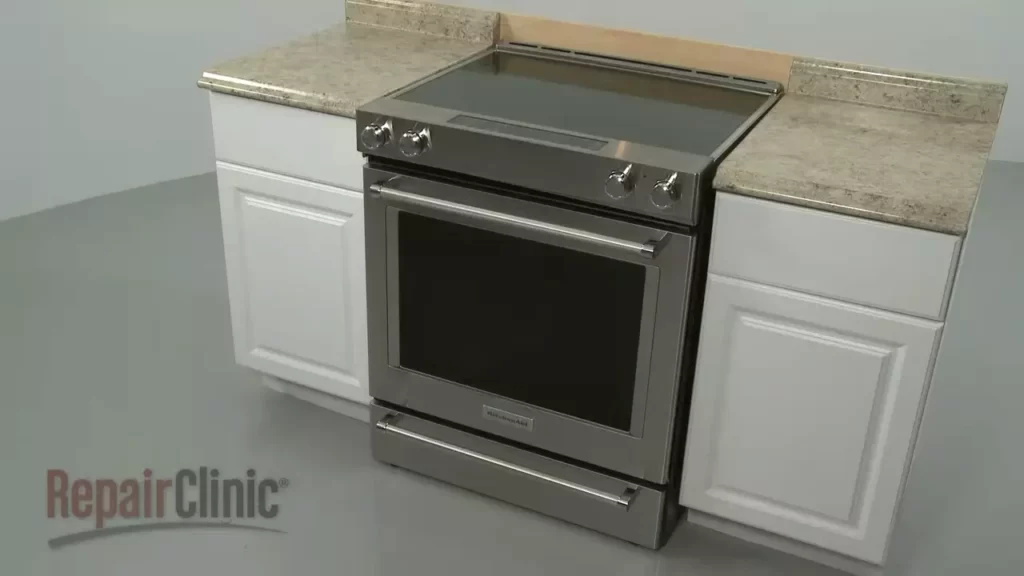
- Ensure that the new stove is in the desired location, leaving enough space around it for proper ventilation.
- Position the stove so that the power cord or electrical connection is easily accessible.
- Plug in the power cord or attach the electrical connection according to the manufacturer’s instructions.
- If your new stove requires a gas connection, consult a professional to ensure a safe installation.
Testing the electrical connection
Once you’ve connected the new electric stove, it’s important to test the electrical connection to ensure it’s working correctly. Follow these steps:
- Restore power to the kitchen by flipping the circuit breaker back on.
- Turn on the stove and check that the burners, oven, and any other features are functioning properly.
- If you encounter any issues, double-check the electrical connection and consult the manufacturer’s troubleshooting guide or a professional electrician.
By following these steps, you can successfully install your electric stove, ensuring a safe and efficient cooking experience in your kitchen.
Safety Measures And Precautions
When it comes to installing an electric stove, it’s crucial to prioritize safety measures and precautions. The installation process involves working with electrical circuits and connections, which can be hazardous if not handled properly. To ensure a safe and successful installation, here are some important steps to follow:
Installing a dedicated circuit
Before installing your electric stove, it’s essential to have a dedicated circuit. This means the stove should have its own electrical circuit, separate from other appliances or outlets in your home. A dedicated circuit ensures that the stove receives a consistent and sufficient supply of power, reducing the risk of electrical overload and potential hazards.
Proper grounding techniques
Another vital aspect of installing an electric stove safely is ensuring proper grounding techniques. Grounding provides an additional layer of safety by directing any faulty electrical currents away from the stove and into the ground. To achieve proper grounding, it’s important to follow the manufacturer’s instructions and consult a professional electrician if needed.
Ensuring proper ventilation
Adequate ventilation is crucial when installing an electric stove. Stoves generate heat during operation, which needs to be properly vented to prevent overheating and potential fire hazards. Ensure that the stove is installed in a well-ventilated area, following the manufacturer’s recommendations for clearance distances from walls and other surfaces.
In addition to proper ventilation, it’s also important to keep the stove area free from any flammable materials, such as curtains or paper. This helps reduce the risk of fire accidents and ensures a safer cooking environment.
By following these safety measures and precautions, you can install your electric stove with confidence, knowing that you have taken the necessary steps to minimize risks and ensure a safe cooking experience.
Troubleshooting And Maintenance
Proper installation and regular maintenance are key to ensuring the optimal performance and longevity of your electric stove. In this section, we will discuss common installation problems and their solutions, as well as regular maintenance practices you can follow to prolong the lifespan of your appliance.
Common Installation Problems and Their Solutions
During the installation process, you may encounter some common problems. Here are a few of them along with their solutions:
1. Incorrect Wiring
Problem: One of the common issues faced during electric stove installation is incorrect wiring. This can result in improper functioning or even damage to the stove.
Solution: Ensure that you carefully follow the manufacturer’s instructions for wiring the stove. If you are not confident in your electrical skills, it is best to hire a professional electrician to handle the wiring.
2. Uneven Heating
Problem: Uneven heating is another problem that can occur after the installation. This can lead to unevenly cooked food and frustration in the kitchen.
Solution: Check if the stove’s heating elements are positioned correctly. If they are loose or misaligned, carefully adjust them to ensure even heat distribution. Additionally, regularly clean the heating elements to avoid any obstructions that may affect their performance.
Regular Maintenance Practices to Prolong the Lifespan
Maintaining your electric stove properly is essential to extend its lifespan and prevent any unnecessary breakdowns or malfunctions. Here are some regular maintenance practices you should follow:
1. Clean Regularly
Regular cleaning helps remove grease, spills, and food residue that can accumulate on your stove’s surface and knobs. Use a mild detergent and a soft cloth to clean the stove after each use.
2. Check and Replace Damaged Parts
Periodically inspect the stove’s components, like the heating elements and gaskets, for any signs of wear or damage. If you notice any issues, promptly replace the damaged parts to prevent further problems.
3. Calibrate the Temperature
Over time, your electric stove’s temperature may become inaccurate. To ensure precise cooking, periodically calibrate the stove’s temperature settings using a reliable oven thermometer. Adjust the controls accordingly if needed.
4. Keep Air Vents Clean
Blocked air vents can negatively impact your stove’s performance, leading to overheating or inadequate cooking. Regularly clean the air vents and ensure they are free from any obstructions that could restrict airflow.
5. Ensure Proper Ventilation
Proper ventilation is crucial to prevent heat build-up and potential damage to surrounding surfaces. Make sure the area around your stove is adequately ventilated to dissipate heat efficiently.
By following these troubleshooting tips and maintenance practices, you can ensure that your electric stove operates seamlessly and lasts for years to come.
Frequently Asked Questions On How To Install Electric Stove
Can I Install An Electric Stove Myself?
No, it is not recommended to install an electric stove yourself. It is a complex process and should be done by a professional to ensure safety and proper installation.
Can You Just Plug In An Electric Stove?
No, you cannot just plug in an electric stove. It requires a dedicated electrical circuit and proper installation by a qualified electrician.
Do You Need Special Wiring For An Electric Stove?
No, special wiring is required for an electric stove. However, it is important to have a dedicated circuit with a higher amperage rating to support the stove’s power requirement.
How Much Does It Cost To Put In An Electric Stove?
Installing an electric stove typically costs between $150 and $500, including labor and materials. The cost may vary depending on the complexity of the project and any additional electrical work required. It’s important to consult a professional electrician for an accurate estimate.
Conclusion
Installing an electric stove may seem like a daunting task, but with the right guidance, it can be a straightforward process. By following the step-by-step instructions outlined in this blog post, you can confidently install your electric stove and enjoy the benefits it brings to your kitchen.
Remember to prioritize safety, gather the necessary tools, and consult professional help if needed. With a little patience and effort, you’ll have your electric stove up and running in no time. Happy cooking!