To install skirting around a house, measure the area, cut the skirting to size, attach it to the wall, and finish with caulking if desired. Skirting provides a finished look to a house and helps protect the foundation from pests and moisture.
Installing skirting is a relatively simple process that can be done by following a few steps. This article will guide you through the process of installing skirting around your house, giving your home a polished and complete appearance. Whether you are renovating your house or building a new one, skirting can be an important addition to your exterior design.
By following these steps, you can easily install skirting and enhance the overall aesthetic appeal of your house.
Understanding The Importance Of Skirting
Skirting is an essential element in the construction of your home that often goes unnoticed or overlooked. It is the protective barrier that encapsulates the space between the bottom of your exterior walls and the ground. While it may seem like a simple addition, skirting plays a crucial role in enhancing the aesthetics of your home, protecting your walls and foundation, as well as preventing pest infestations.
Enhancing the Aesthetics of Your Home
Skirting can significantly enhance the overall appearance of your home. By installing skirting around the base of your house, you can create a balanced and visually pleasing look. Skirting comes in a variety of materials, such as vinyl, wood, or stone, allowing you to choose a style that complements the architectural design of your home. Whether you opt for a traditional or modern look, skirting helps to create a finished and polished appearance that adds value to your property.
Protecting Your Walls and Foundation
Another important purpose of skirting is to protect your walls and foundation from potential damage. Without skirting, the lower portion of your exterior walls is exposed to moisture, debris, and pests. Over time, this exposure can lead to rotting, cracking, or deterioration of the walls, which can be both unsightly and costly to repair. Skirting acts as a shield, deflecting water, debris, and pests, ensuring that your walls and foundation remain protected from damage caused by external elements.
Preventing Pest Infestations
Pests such as rodents, insects, and reptiles can easily find their way into the unprotected space between the ground and your exterior walls. They can create their nests, gnaw through walls, and cause extensive damage to your home. Skirting acts as a physical barrier and prevents pests from accessing this vulnerable area. By installing skirting, you can effectively keep unwanted visitors at bay and maintain a pest-free environment within your home.
Preparing Your Materials And Tools
Before you can start installing skirting around your house, you need to make sure you have all the necessary materials and tools. In this section, we will guide you on how to choose the right skirting material, gather the necessary tools, and measure and estimate the required quantity of skirting.
Choosing the Right Skirting Material
When it comes to skirting materials, there are several options to choose from. Some popular choices include wood, vinyl, and composite. Each material has its own benefits and drawbacks, so it’s important to consider factors such as durability, cost, and aesthetics.
If you prefer a natural look, wood skirting can be a great option. It comes in various types of wood, such as pine or oak, and can be stained or painted to match your house’s interior. On the other hand, vinyl skirting is known for its low maintenance and affordability.
If you want a combination of the two, composite skirting is worth considering. It offers the appearance of real wood while being resistant to moisture, insects, and rot.
Gathering the Necessary Tools
Before you start the installation process, it’s essential to have the right tools at hand. Here is a list of tools you will need:
| Saw | Hammer | Tape measure |
| Screwdriver | Level | Nails |
| Miter box | Stud finder | Drill |
Having these tools ready will save you time and make the installation process much easier.
Measuring and Estimating the Required Quantity of Skirting
Before you purchase your skirting material, it’s crucial to measure and estimate the required quantity accurately. Here’s how to do it:
- Start by measuring the length of each wall where you plan to install skirting.
- Add up the total length to get an idea of how much skirting you will need.
- Don’t forget to measure any gaps or corners that require special attention.
- Once you have the total length, add 10% to account for any mistakes or replacements needed.
- Lastly, check the length of the skirting pieces available for purchase and calculate how many pieces you will need to cover the total length.
By following these steps, you can ensure you have enough skirting material to complete the installation without any last-minute trips to the store.
Now that you are equipped with the right skirting material and tools, and have measured and estimated the required quantity, you’re ready to move on to the next step of the installation process.
Removing Existing Skirting (If Applicable)
Assessing the Condition of Current Skirting
When it comes to installing skirting around your house, it’s important to first assess the condition of the current skirting, especially if you already have some in place. This step is particularly important because the condition of the existing skirting will determine the approach you need to take for removal. Take a good look at the skirting and determine if it’s damaged, rotting, or infested with pests. It’s also worth considering if the skirting is compatible with your desired new skirting style.
Removing Old Skirting Safely and Efficiently
Once you have assessed the condition of the current skirting and determined that removal is necessary, it’s time to proceed with removing the old skirting. Removing old skirting safely and efficiently requires a careful approach. Follow these steps to ensure a smooth removal process:
- Prepare the workspace: Before you begin, clear the area around the skirting to create a safe working environment. Remove any furniture or items that could obstruct your access.
- Gather the necessary tools: Equip yourself with the right tools for the job. You may need a pry bar, a hammer, a utility knife, a putty knife, and safety gloves.
- Start from the corner: Begin by locating a corner of the skirting. Using the pry bar, gently insert it behind the skirting and apply pressure to loosen it from the wall. Work your way along the skirting, using the pry bar and hammer to carefully detach it from the wall.
- Remove any remaining nails: After the skirting is fully detached, inspect the wall to ensure there are no remaining nails or fasteners. Use a putty knife or pliers to remove any stubborn nails, taking care to avoid damaging the wall.
- Dispose of the old skirting: Once the old skirting is completely removed, dispose of it responsibly. Consider recycling options or check with your local waste management facility for proper disposal guidelines.
Remember, the key to removing old skirting safely and efficiently is to proceed cautiously and systematically. By following these steps, you’ll be well on your way to successfully removing the old skirting around your house and preparing for the installation of the new skirting.
Preparing The Area For Installation
Before installing skirting around your house, it is essential to properly prepare the working area. This not only ensures a smooth and hassle-free installation process but also helps in maximizing the longevity of the skirting. In this section, we will discuss the necessary steps to prepare the area, which include cleaning and clearing the working area and making necessary repairs to the walls and foundation.
Cleaning and Clearing the Working Area
One of the first steps in preparing the area for skirting installation is to clean and clear the working area. This involves removing any obstructions, such as debris, rocks, or plants, that may hinder the installation process. Additionally, it is important to clear the area of any potential hazards, such as sharp objects or tripping hazards. By ensuring a clean and clear working area, you can minimize the risk of accidents during the installation process.
Making Necessary Repairs to the Walls and Foundation
Prior to the installation of skirting, it is crucial to inspect the walls and foundation of your house for any damage or deterioration. Making necessary repairs at this stage will not only enhance the overall appearance of the skirting but also prevent any future issues. Common repairs may include patching up cracks or holes in the walls, repairing any water damage, or reinforcing the foundation if required. Taking the time to address these repairs beforehand will ensure a solid foundation for the skirting installation and contribute to the long-term stability and durability of your house.
By following these steps and adequately preparing the area before installing skirting, you can ensure a successful and effective installation process. Taking the time to clean and clear the working area and making necessary repairs will not only enhance the overall aesthetics of your house but also provide long-lasting protection for your walls and foundation.
Installing Skirting: Techniques And Methods
When it comes to enhancing the overall appearance of your house, installing skirting can make a significant impact. Skirting boards not only add a decorative touch but also provide protection to your walls. With the right techniques and methods, you can easily install skirting around your house and give it a polished, finished look. In this article, we will guide you through the step-by-step process of installing skirting, covering important aspects such as measuring, securing, attaching corners and joints, and sealing and finishing the skirting.
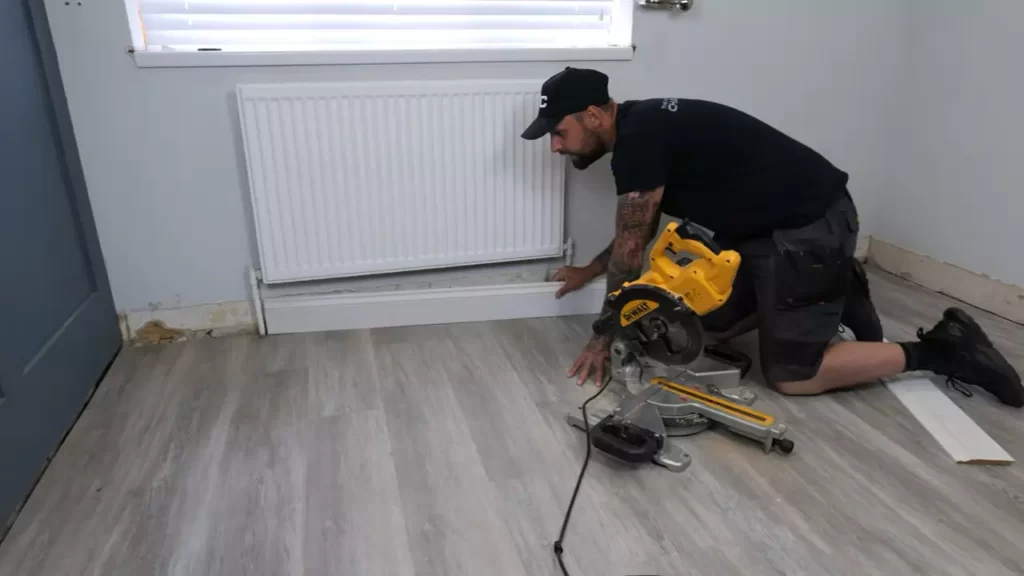
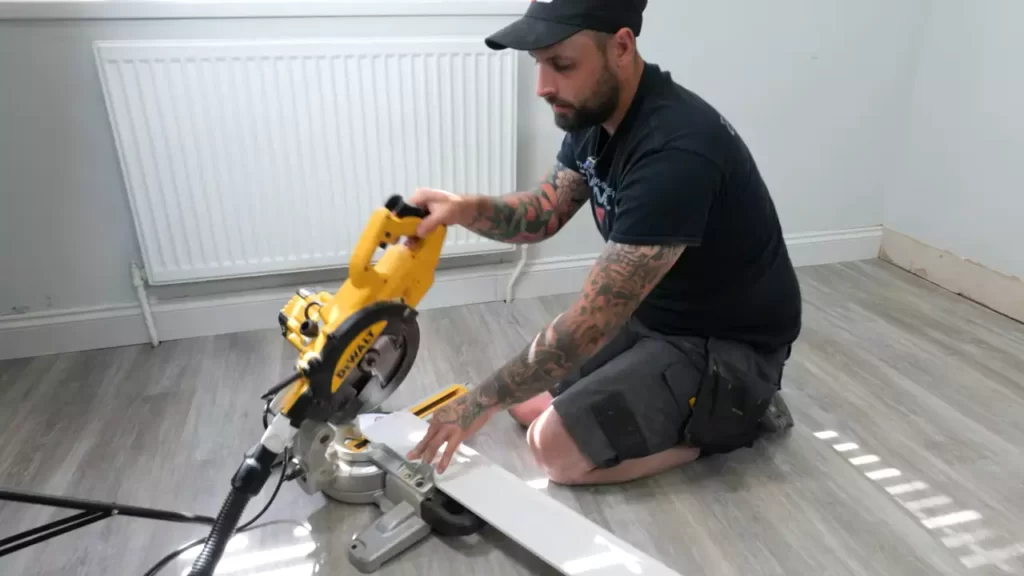
Cutting and Measuring the Skirting Boards
Before you begin installing skirting, it is crucial to measure accurately and cut the skirting boards accordingly. Here’s how you can do it:
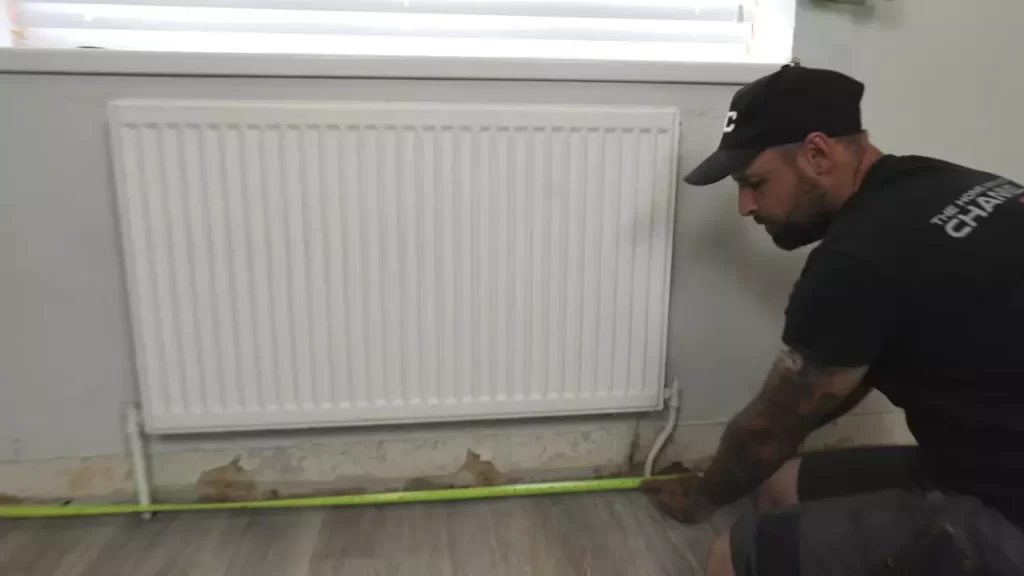
- Measure the length of each wall where you intend to install skirting. Note down the measurements.
- Transfer these measurements onto the skirting boards, ensuring they align with the corresponding walls.
- Using a saw, carefully cut the skirting boards as per the measured dimensions.
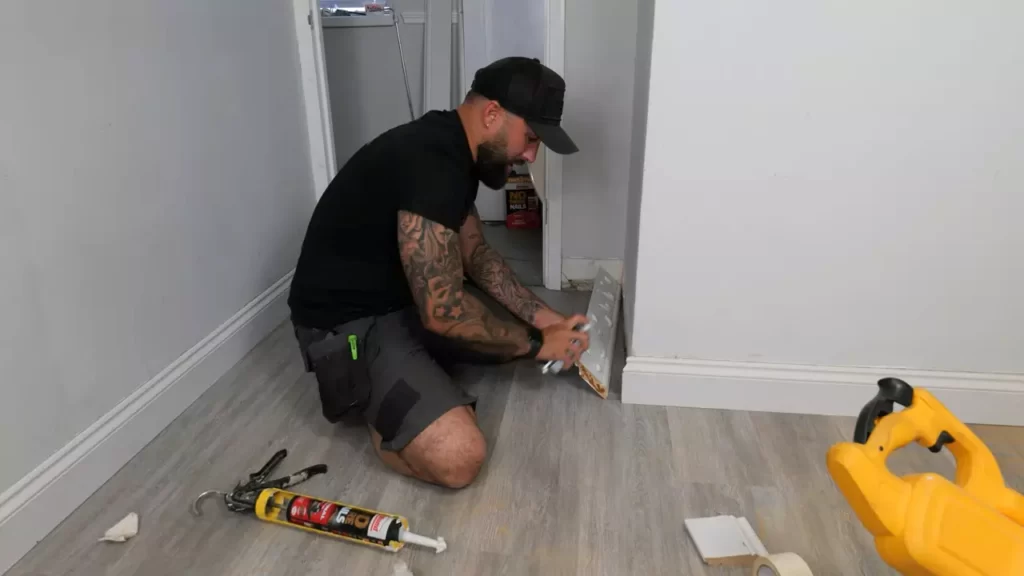
Securing Skirting Boards to the Wall
Once you have your skirting boards cut and ready, it’s time to secure them to the wall. Here is a simple process to follow:
- Clean the wall surface thoroughly to ensure proper adhesion.
- Apply a strong adhesive, such as construction adhesive, to the back of the skirting board.
- Press the skirting board firmly against the wall, making sure it aligns with the measured markings.
- Use screws or nails for additional support and to secure the skirting board firmly in place.
Attaching Corners and Joints
Attaching corners and joints is a critical step in the skirting installation process. Follow these guidelines to ensure seamless transitions:
- When joining two skirting boards at an internal corner, create a 45-degree mitered cut on both boards.
- Apply adhesive to the mitered surfaces and join the skirting boards together.
- For external corners, use a coping saw to create a profile that fits perfectly with the adjacent skirting board.
- Secure the corners and joints with screws or nails for added strength and stability.
Sealing and Finishing the Skirting
Completing the installation process requires proper sealing and finishing. Here are the necessary steps:
- Fill any gaps or cracks between the skirting boards and the wall with a suitable filler or caulk.
- Smooth out the filler or caulk with a putty knife or spatula.
- Once the filler is dry, sand the skirting boards gently to achieve a smooth surface.
- Apply a primer to the skirting boards to enhance paint adhesion.
- Finish off by applying a paint or varnish of your choice, following the manufacturer’s instructions.
By following these techniques and methods, you’ll be able to install skirting around your house efficiently and effectively. Not only will it enhance the aesthetic appeal of your interiors, but it will also provide a protective barrier to your walls. Give your house that finishing touch it deserves with professionally installed skirting boards.
Maintaining And Caring For Skirting
Cleaning and Dusting Skirting Regularly
To maintain the beauty and longevity of skirting around your house, it is essential to clean and dust it regularly. Over time, dust, dirt, and grime can build up on the surface of the skirting, diminishing its appeal and potentially causing damage. Cleaning and dusting skirting regularly not only enhances its appearance but also helps to prevent the accumulation of dirt and debris.
Here are some easy steps to clean and dust your skirting:
- Begin by using a soft brush or vacuum cleaner with a brush attachment to remove loose dust and dirt from the surface of the skirting.
- Next, dampen a microfiber cloth or sponge with a mild cleaning solution, such as warm water mixed with a gentle household cleaner.
- Gently wipe the skirting with the damp cloth or sponge, taking care not to use excessive moisture that could damage the skirting.
- Pay special attention to any stubborn stains or spills, using a bit of extra cleaning solution or a damp cloth to effectively remove them.
- After cleaning, wipe down the skirting with a dry cloth to remove any remaining moisture.
Regularly cleaning and dusting your skirting will ensure that it stays looking fresh and clean while protecting it from potential damage.
Repairing and Replacing Damaged Skirting
Despite taking proper care of your skirting, it may occasionally suffer from wear and tear or sustain damage. It is crucial to address any issues promptly to maintain the overall appearance and functionality of the skirting.
If you notice any damaged sections of skirting, such as cracks, chips, or breaks, here are the steps to repair or replace them:
- Inspect the damaged area and assess the extent of the problem. Determine whether it needs a simple repair or a complete replacement.
- If it’s a minor issue, such as a small crack or chip, use a suitable filler or putty to repair the damaged area. Follow the instructions provided by the manufacturer for the specific product you choose.
- In case of significant damage or if the skirting is beyond repair, remove the damaged section carefully using a pry bar or a chisel.
- Measure the dimensions of the removed section and purchase a matching replacement piece of skirting.
- Install the new skirting using nails or screws, ensuring it aligns perfectly with the existing skirting.
- Sand and paint the repaired or replaced skirting to match the rest of the house’s interior or exterior.
Taking the time to repair or replace damaged skirting will not only improve the appearance of your house but also prevent further damage and maintain the integrity of the overall structure.
Periodically Checking for Pest Infestations
Pests, such as insects and rodents, can cause significant damage to skirting and compromise the structural integrity of your house. Regularly checking for pest infestations ensures that you catch any potential issues early and take appropriate measures to eliminate them.
Here are a few steps to periodically check for pest infestations:
- Inspect the skirting and surrounding areas for any signs of droppings, chewed wood, gnaw marks, or holes. These may indicate the presence of pests.
- Seal any gaps or cracks in the skirting or the foundation that could serve as entry points for pests.
- Consider using pest repellents or traps in strategic locations near the skirting to prevent and control infestations.
- If you suspect a severe infestation, it is advisable to seek professional help from a pest control expert to efficiently eliminate the pests and prevent further damage.
By regularly checking for pest infestations and taking appropriate measures, you can protect your skirting and maintain a pest-free environment in and around your house.
Frequently Asked Questions For How To Install Skirting Around House
What Is The Cheapest Way To Skirt A Mobile Home?
The most cost-effective way to skirt a mobile home is by using durable and affordable materials like vinyl or metal. These options provide a clean and polished look while protecting the underside of your mobile home. Choose a reputable supplier and ensure proper installation for optimal results.
What Can I Use For Skirting Around The House?
Skirting boards or baseboards are commonly used for skirting around the house. They give a finished look and protect the walls from scuffs and damage. Available in various materials like wood or PVC, skirting boards come in different styles to match your home’s decor.
How Do You Attach Skirting Boards?
To attach skirting boards, start by measuring and cutting them to the desired length. Then, use a power drill to make pilot holes along the board’s top edge. Next, apply adhesive to the back of the board and press it firmly against the wall, aligning it with the floor.
Finally, secure the boards in place using screws or nails.
How Long Does It Take To Put Skirting On A Mobile Home?
Typically, it takes about 1-2 days to install skirting on a mobile home. The process involves measuring, cutting, and attaching the skirting panels around the perimeter of the home. Professional contractors can complete the job efficiently and ensure a secure and visually appealing installation.
Conclusion
Installing skirting around your house is a crucial step in protecting your home’s foundation and enhancing its overall aesthetic appeal. By following the step-by-step instructions provided in this blog post, you can confidently tackle this DIY project. Remember to choose the right materials, measure accurately, and secure the skirting firmly.
With the right tools and techniques, you’ll achieve a professional-looking result that will increase the value and longevity of your home. Get started today and enjoy the benefits of a beautiful and well-protected house!