To install shelf liner, measure the shelf, cut the liner to size, and then apply it smoothly on the surface. Here is a step-by-step guide to help you install shelf liner easily.
Shelf liners are an excellent way to protect your shelves from damage and keep them clean and organized. Whether you want to line your kitchen cabinets, pantry shelves, or bedroom closets, installing shelf liner is a simple DIY project that can be done in no time.
With a few basic tools and these easy-to-follow steps, you’ll have your shelves neatly lined in no time. So, let’s get started and learn how to install shelf liner effectively.
Factors To Consider When Selecting a Shelf Liner
When it comes to installing shelf liner, selecting the right one is essential to ensure your shelves are protected and items stay in place. There are several factors to consider when choosing the perfect shelf liner for your needs, including the material options, thickness and durability, as well as the grip and non-slip properties. Let’s take a closer look at each of these factors to help you make an informed decision.

Material options for shelf liner
The material you choose for your shelf liner can greatly impact its performance and longevity. Here are some popular options to consider:
| Material | Pros | Cons |
|---|---|---|
| Non-Adhesive Vinyl | Waterproof, easy to clean | Not as durable as other options |
| Adhesive Vinyl | Sticks securely to shelves | May leave residue when removed |
| Rubber | Excellent grip and cushioning | Can be difficult to clean |
| Wire | Allows air circulation | Not suitable for small items |
Thickness and durability for different applications
The thickness and durability of the shelf liner should match the intended use. Consider the weight and type of items that will be stored on the shelves. For heavy-duty applications, opt for a thicker and more durable liner that can withstand the weight without tearing or sliding. On the other hand, for lighter items or decorative purposes, a thinner liner may suffice.
Grip and non-slip properties for different surfaces
To ensure your items stay in place and prevent accidents, it’s important to choose a shelf liner with a good grip and non-slip properties. Depending on the surface of your shelves, you may need a liner that is specially designed for smooth surfaces, wire racks, or even for use in drawers. Look for liners with textured or non-slip surfaces to provide stability and prevent items from sliding or shifting.
By considering these factors – material options, thickness and durability, and grip and non-slip properties – you can confidently select the most suitable shelf liner for your needs. Remember to measure your shelves accurately before purchasing to ensure a proper fit. With the right shelf liner, you can protect your shelves, keep your items organized, and add a touch of style to your space.
Cleaning And Removing Pre-Existing Liner
Removing old liner or adhesive residue
Before installing a new shelf liner, it’s crucial to remove any pre-existing liner or adhesive residue. This ensures a clean surface for optimal adhesion. Here are a few tips to help you effectively remove old liner or adhesive residue:
- Peeling off old liner: Start by gently peeling off the old liner from one corner. Slowly and carefully pull back the liner while making sure not to damage the surface underneath.
- Using heat: If the liner is stubborn or firmly stuck, you can use a hairdryer or heat gun to warm up the adhesive. This will make it easier to peel off without leaving any residue behind.
Properly cleaning the surface for optimal adhesion
Once you have successfully removed the old liner or adhesive residue, it’s important to thoroughly clean the surface before installing the new shelf liner. Follow these steps to ensure optimal adhesion:
- Gathering cleaning supplies: Prepare a few cleaning supplies such as mild soap, warm water, a sponge or cloth, and a scraper or scrub brush.
- Removing dirt and debris: Wipe the surface clean with a damp cloth or sponge to remove any dirt, dust, or debris. This will allow the new liner to adhere properly.
- Scrubbing stubborn stains: If there are any stubborn stains or sticky residue, use a mild soap and warm water solution to scrub the surface gently. You can also use a scraper or scrub brush for tougher stains, but be careful not to scratch the surface.
- Drying the surface: Once you have cleaned the surface, make sure it is completely dry before proceeding with the installation. Any moisture left on the surface can hinder the adhesion of the new liner.
By following these steps to remove old liner or adhesive residue and properly clean the surface, you can ensure that your new shelf liner adheres securely and provides long-lasting protection and style to your shelves. So, grab your cleaning supplies, roll up your sleeves, and get ready to transform your shelves!
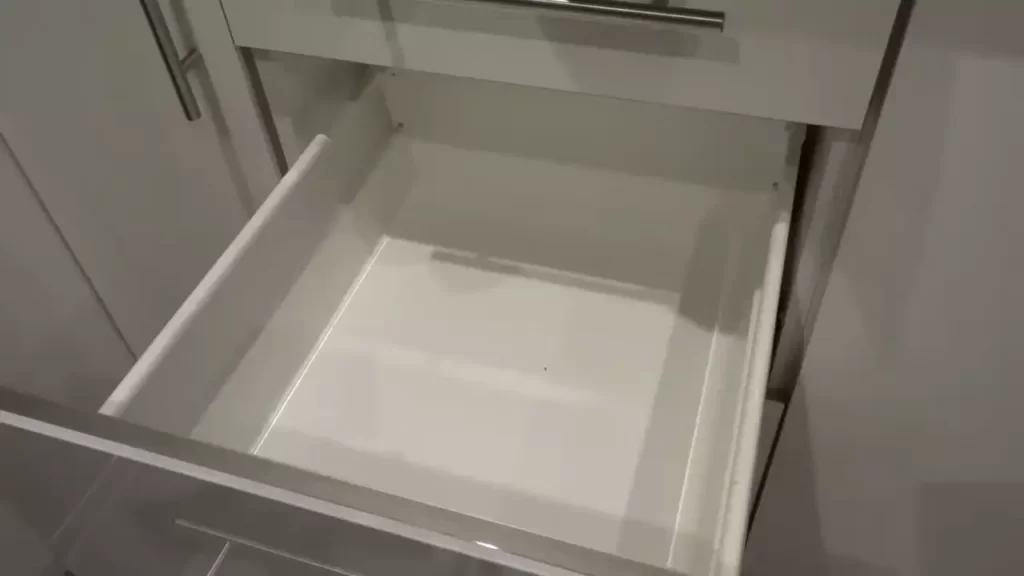
Measuring The Area To Be Covered
Before you begin installing shelf liner, it is important to accurately measure the area that needs to be covered. This will ensure a proper fit and prevent any unnecessary waste of materials. In this section, we will guide you through the process of measuring the width and depth of the shelf, as well as taking into account any obstacles or corners that may affect the installation.
Measuring the width and depth of the shelf
To start, measure the width of the shelf from one side to the other. Use a tape measure and ensure that it is held level to obtain an accurate measurement. If you have multiple shelves to cover, be sure to measure each one individually as they may vary in size.
Next, measure the depth of the shelf from the back to the front edge. This measurement will determine the amount of liner you will need. Make sure to measure the deepest part of the shelf, taking into account any molding or lip that may be present.
Taking into account any obstacles or corners
In addition to measuring the width and depth of the shelf, it is crucial to consider any obstacles or corners that may be present. These may include brackets, hinges, or corners where two shelves meet.
If you encounter any of these obstacles, measure the width and depth of the shelf excluding the area occupied by the obstacle. This will help you determine the correct size of liner needed to cover the remaining space.
To ensure a seamless installation, it is recommended to cut the liner with extra length to accommodate these obstacles. This will allow for easier trimming and fitting around the corners and edges.
By accurately measuring the area to be covered and taking into account any obstacles or corners, you will be well-prepared and equipped for a successful shelf liner installation.
Cutting The Shelf Liner To Size
Tools needed for cutting
To cut the shelf liner accurately, you will need a few essential tools. Ensuring you have the right tools will make the process much easier and yield better results. Here are the tools you will need for cutting the shelf liner:
- Measuring tape or ruler: This tool is crucial for measuring the dimensions of your shelves accurately before cutting the liner. Make sure to measure both the length and width of the shelves to ensure a precise fit.
- Pencil or marker: Use a pencil or marker to mark the dimensions of the liner on the back of the liner itself. This will serve as a guide for your cutting process, making it easier to follow the measurements accurately.
- Scissors or utility knife: You will need a sharp pair of scissors or a utility knife to cut the liner to the desired size. It is essential to have a precise cutting tool to achieve clean, straight cuts.
Techniques for accurate cutting
Cutting the shelf liner to the right size requires attention to detail and precision. Here are a few techniques that will help you achieve accurate cutting results:
- Measure twice, cut once: Before making any cuts, double-check your measurements to ensure accuracy. Take your time and measure each shelf individually, as they might have slight variations in dimensions.
- Use a straight edge: To achieve straight cuts, use a ruler, straightedge or a piece of cardboard as a guide. Place the straight edge along the marked cutting line and carefully cut along it, applying steady pressure.
- Start with small cuts: It’s always easier to trim off excess liner if it’s slightly larger than the shelf than trying to make up for any shortage. Begin with a smaller cut and gradually trim more if needed, ensuring a perfect fit.
- Trim excess gradually: If you find that your initial cut is slightly larger than the shelf, trim the excess gradually. It is better to remove small amounts at a time to avoid cutting too much. Test the fit frequently by placing the liner inside the shelf and adjusting as necessary.
By following these techniques and using the right tools, you can cut the shelf liner accurately and achieve a neat, professional-looking installation. Remember to take your time, measure carefully, and make gradual adjustments for the best results. Now that you have the liner cut to the right size, the next step is to properly apply it to your shelves for a functional and attractive storage solution.
Applying Adhesive Shelf Liner
One of the key steps in installing shelf liner is applying the adhesive. This ensures that the liner stays securely in place, providing protection and a fresh look to your shelves. Preparing the liner for application and using the right techniques for a smooth and bubble-free installation are essential. Let’s dive into these steps!
Preparing the liner for application
Before you start applying the adhesive shelf liner, it’s important to prepare the liner properly. Here are a few steps to follow:
- Clean the shelves: Start by thoroughly cleaning the surface where you will be applying the liner. Remove any dust, dirt, or residue to ensure a smooth and clean foundation.
- Measure and cut: Measure the dimensions of your shelves accurately and cut the liner accordingly. Make sure to leave some extra material on each side to ensure complete coverage.
- Remove liner backing: Peel off a small portion of the liner backing to expose the adhesive side. Be careful not to remove the backing entirely, as it can result in the liner sticking to itself.
Techniques for smooth and bubble-free installation
Now that you have prepared the liner, it’s time to apply it to the shelves. Follow these techniques for a smooth and bubble-free installation:
- Start from one edge: Begin by aligning one edge of the liner with the corresponding edge of the shelf. This will help you maintain a straight and even application.
- Smooth it out: As you lay down the adhesive side of the liner, use your hand or a plastic smoothing tool to press out any air bubbles. Start from the center and work your way outwards to ensure a flat and seamless result.
- Adjust and reposition: If you notice any misalignment or wrinkles while applying the liner, don’t worry! Simply lift it gently and reposition it. The adhesive allows for adjustments until you achieve the desired placement.
- Trim the excess: Once the liner is applied, trim any excess material using a sharp pair of scissors or a utility knife. This will give your shelves a neat and professional finish.
By following these steps and techniques, you can easily apply adhesive shelf liner without any hassle. Whether you’re looking to update your kitchen cabinets, bathroom shelves, or any other area of your home, using the right methods will ensure a flawless installation. Now, go ahead and transform those shelves with a fresh, clean look!
Applying Non-Adhesive Shelf Liner
When it comes to organizing your shelves and protecting them from scratches, non-adhesive shelf liners are an excellent choice. These liners not only provide a non-slip surface but are also easy to install. In this guide, we will walk you through the process of applying non-adhesive shelf liner, ensuring a smooth and hassle-free installation.
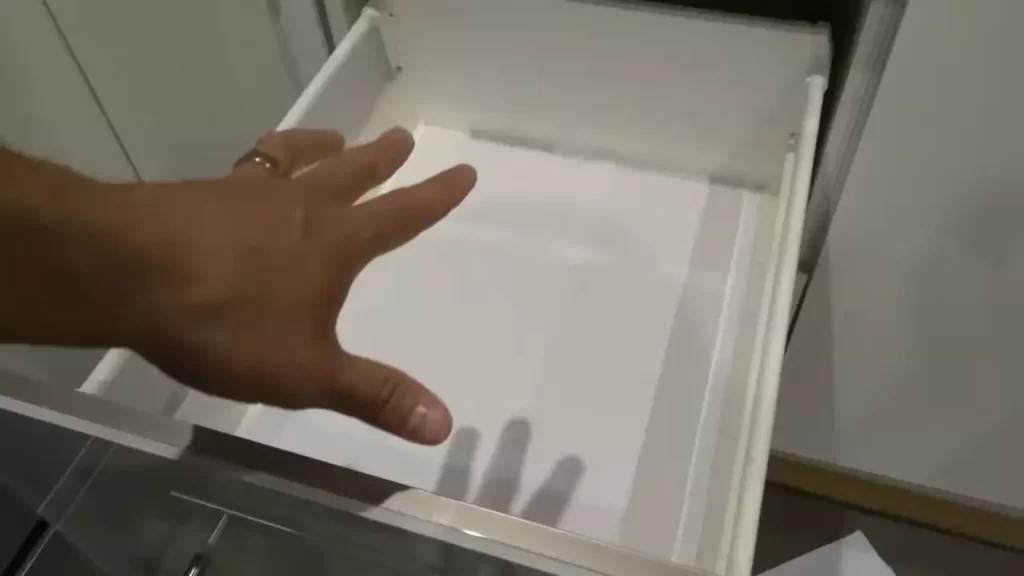
Aligning the liner on the shelf
Before you start applying the non-adhesive shelf liner, it’s important to ensure proper alignment to achieve a professional and tidy look. Here are the steps to follow:
- Clean the surface of your shelves thoroughly to remove any dust or debris. This will ensure better adhesion and prevent air bubbles.
- Measure the length and width of your shelf and cut the liner accordingly. It’s always better to cut it slightly longer than needed to allow for adjustments.
- Place the liner on the shelf, aligning it with one edge. Make sure to leave a slight overhang on each side to cover the exposed edges.
- Slowly unroll the liner and smooth it out, paying attention to any wrinkles or creases. This will help to achieve a neat and seamless finish.
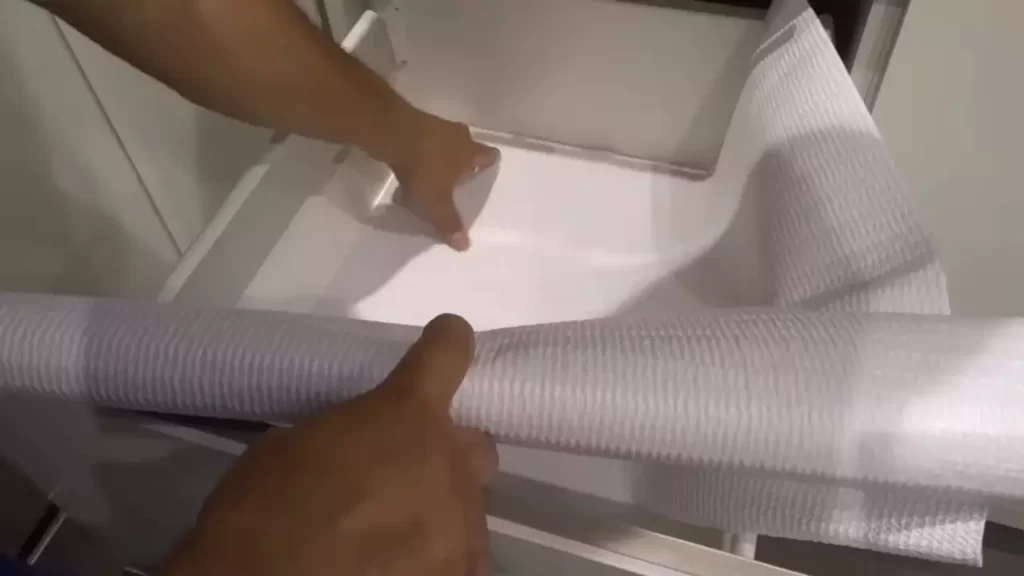
Techniques for smooth installation
Once you have aligned the liner on the shelf, it’s time to ensure a smooth installation that will provide long-lasting protection. Here are a few techniques to help you achieve just that:
1. Wrap and tuck method:
This method involves wrapping the liner around the edge of the shelf and tucking it underneath for a secure fit. Follow these steps:
- Starting from one corner, wrap the liner around the edge of the shelf.
- Smooth out any air bubbles or wrinkles as you go.
- Tuck the excess liner underneath the shelf, using a ruler or flat object to help create a clean and tight tuck.
- Repeat this process for each side of the shelf.
2. Adhesive spray:
If you want to enhance the grip of the non-adhesive liner, you can use an adhesive spray. Here’s how:
- Remove the liner from the shelf and set it aside.
- Apply a light coat of adhesive spray to the surface of the shelf. Be sure to follow the instructions on the spray bottle for best results.
- Allow the adhesive spray to dry for the recommended time.
- Place the liner back on the shelf, aligning it carefully.
- Smooth out any air bubbles or wrinkles using a cloth or squeegee.
3. Double-sided tape:
If you prefer a more secure and permanent installation, using double-sided tape can be an effective solution. Here’s what you need to do:
- Measure and cut strips of double-sided tape to fit along the edges and corners of the shelf.
- Peel off the backing from one side of the tape and stick it onto the shelf.
- Remove the backing from the other side of the tape.
- Align and place the liner onto the shelf, pressing firmly over the areas with tape to ensure a strong bond.
- Smooth out any air bubbles or wrinkles using a cloth or squeegee.
By following these techniques and paying attention to detail, you can easily apply non-adhesive shelf liner that not only protects your shelves but also adds a touch of elegance to your space. Remember to regularly check and replace the liner if needed to maintain its functionality and aesthetic appeal.
Using Double-Sided Tape Or Adhesive For Adhesive Liner
Applying tape or adhesive for additional security
Using double-sided tape or adhesive is a great way to ensure a secure and long-lasting hold when installing shelf liner. Whether you’re organizing your kitchen pantry, bathroom cabinets, or garage shelves, this method provides an extra layer of security.
When it comes to applying tape or adhesive for adhesive liner, there are a few important steps to follow. Let’s dive into the process:
- Clean and prepare the surface: Before applying the tape or adhesive, make sure the surface is clean and dry. Remove any dust, dirt, or debris, as they can hinder the adhesive’s effectiveness.
- Measure and cut the liner: Measure the dimensions of the shelf surface and cut the liner accordingly. Ensure that it’s slightly larger than the surface area to allow for a perfect fit.
- Peel off the protective backing: Once you have the liner cut to size, carefully peel off the protective backing from one side.
- Apply the tape or adhesive: Now, it’s time to apply the tape or adhesive. Start by placing it along the length of one edge of the liner. Ensure that the tape or adhesive is evenly distributed, leaving no gaps or overlaps.
- Smooth out any wrinkles or air bubbles: After attaching the tape or adhesive, gently press the liner onto the shelf surface. Use your hands or a straight edge tool to smooth out any wrinkles or air bubbles. This step will ensure an even and secure attachment.
- Repeat the process for the remaining edges: Once the first edge is securely in place, repeat the process for the remaining edges. Remember to peel off the protective backing before applying the tape or adhesive.
By following these steps, you’ll be able to install your adhesive liner using double-sided tape or adhesive successfully. This method provides additional security, preventing the liner from shifting or moving over time.
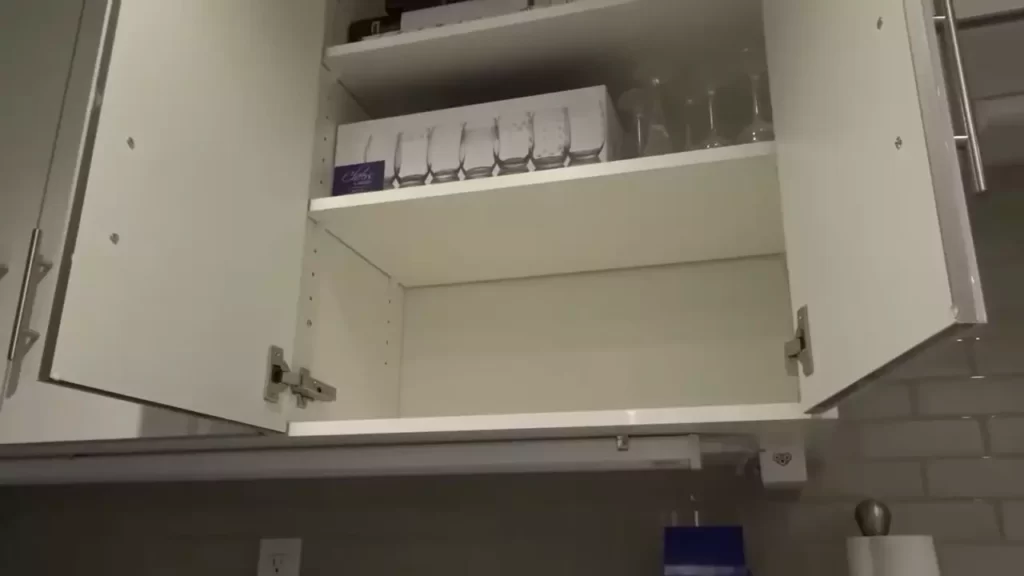
Whether you’re looking to protect delicate glassware, non-slip surfaces, or add a decorative touch to your shelves, using double-sided tape or adhesive is a reliable solution. It ensures your liner stays in place, no matter how often you use or rearrange items on your shelves.
Now that you know how to apply tape or adhesive for extra security when installing adhesive liners, you can confidently organize and beautify your shelves with ease!
Techniques For Securing Non-Adhesive Liner
Installing shelf liner is a great way to protect your shelves from scratches and spills, while also adding a touch of style to your space. While adhesive liners are popular, non-adhesive options provide an alternative for those who prefer easy removal and repositioning. However, without the stickiness of adhesive, you may be wondering how to keep the liner in place. In this section, we will explore techniques for securing non-adhesive liner, ensuring that it stays in place and protects your shelves effectively.
Using friction or grip to keep the liner in place
One way to secure a non-adhesive liner is by relying on friction or grip. Here are a few techniques to consider:
| Technique | Description |
|---|---|
| 1. Rubber mats | Place rubber mats or drawer liners underneath the liner. The rough texture of the rubber creates friction, preventing the liner from sliding around. |
| 2. Grip shelf liners | Invest in grip shelf liners, which are specifically designed to provide extra grip. These liners often have a textured surface or a non-slip material that enhances traction. |
| 3. Double-sided tape | For added security, consider using double-sided tape to anchor the corners or edges of the liner to the shelf. This will help keep it in place even with occasional movements or collisions. |
Optional methods for added security
If you want to ensure even more stability for your non-adhesive liner, here are a few optional methods to consider:
- 1. Velcro strips: Attach self-adhesive Velcro strips to the underside of the liner and the shelf. This will create a strong bond that keeps the liner securely in place.
- 2. Epoxy adhesive: Apply a small amount of epoxy adhesive to the corners or edges of the liner. Be cautious and apply the adhesive sparingly, as you want to maintain the ability to remove and reposition the liner if needed.
- 3. T-pins: Insert T-pins into the shelf through the liner for added stability. This method works best with thicker liners and shelves that can withstand small holes.
By using these techniques and optional methods, you can ensure that your non-adhesive shelf liner stays in place and provides the protection and style you desire. Experiment with different methods to find the one that works best for your shelves and enjoy the benefits of a secure and functional shelf liner installation.
Cleaning And Maintaining Liner
Once you have successfully installed shelf liner in your cabinets or drawers, it’s important to keep them clean and well-maintained to ensure their longevity. Proper cleaning and maintenance not only keep your liner looking fresh but also help to protect your surfaces from dirt, stains, and spills. In this section, we will explore some effective cleaning techniques and tips to help you keep your liner in pristine condition.
Cleaning and maintaining the surface for longevity
Regularly cleaning and maintaining the surface beneath your shelf liner is crucial to extend its lifespan. Here are some steps you can follow:
- Clear the surface: Start by removing all items from the shelf or drawer. This will allow you to properly clean and inspect the liner and the surface.
- Dust and debris removal: Use a soft brush or a lint-free cloth to gently remove any dust or debris from the surface. Pay special attention to corners and edges, as these areas tend to accumulate more dirt.
- Clean with mild detergent: Mix a small amount of mild detergent with warm water. Dip a sponge or cloth into the solution and gently scrub the surface. Avoid using harsh cleaning agents or abrasive materials, as they can damage the liner or the surface beneath.
- Rinse and dry: After cleaning the surface, rinse it thoroughly with clean water to remove any soap residue. Wipe it dry using a clean cloth or allow it to air dry completely before placing back the liner and items.
Removing stains or spills from the liner
Despite your best efforts, accidents happen, and spills or stains may occur on the liner. Fortunately, there are ways to effectively remove them. Here’s what you can do:
For food or liquid spills:
- Blot the spill: Immediately blot fresh spills using a clean, absorbent cloth. Avoid rubbing the spill, as it may spread and embed the stain further into the liner.
- Mild soap and water: Prepare a mixture of mild soap and warm water. Soak a cloth or sponge in the solution, and gently dab the stain area. Rinse the cloth in clean water and repeat the process until the stain fades away.
- Drying: After treating the stain, ensure the area is dry before placing any items on top of the liner.
For stubborn stains:
If you are dealing with a stubborn stain that doesn’t respond to mild soap and water, you can try one of the following methods:
| Method | Instructions |
|---|---|
| Vinegar solution | Mix equal parts of white vinegar and water. Apply the solution to the stain with a cloth or sponge. Let it sit for a few minutes before wiping it clean. Rinse with water and dry thoroughly. |
| Baking soda paste | Make a paste using baking soda and a small amount of water. Apply the paste to the stain and let it sit for a while. Scrub gently with a soft brush or cloth, then rinse off with water and dry. |
| Hydrogen peroxide | Apply a small amount of hydrogen peroxide directly to the stain. Let it sit for a few minutes, then wipe clean with a cloth or sponge. Rinse with water and dry. |
By following these cleaning and maintenance tips, you can ensure that your shelf liner stays clean, fresh, and protected for years to come.
Replacing Worn Or Damaged Liner
Over time, shelf liners can become worn, torn, or discolored. When this happens, it’s important to replace the liner to maintain a clean and organized space. In this section, we will discuss the indicators that suggest it’s time to replace the liner and provide step-by-step instructions on how to safely remove and replace it with a new one.
Indicators for when to replace liner
It’s essential to be aware of certain indicators that suggest it’s time to replace your shelf liner. These indicators can help you identify when the liner is no longer effective in protecting your shelves and items placed on them. Here are some signs to look out for:
- Wear and Tear: Check for any signs of wear and tear on the liner’s surface, such as rips, tears, or fraying edges.
- Stains and Spills: If the liner has accumulated stubborn stains or spills that cannot be easily cleaned, it may be time to replace it.
- Odor and Mold: If you notice a musty odor or mold growth on the liner, it’s crucial to replace it to maintain a clean and hygienic environment.
- Discoloration: Liners that have become discolored or faded can make your shelves look worn and unappealing. Consider replacing them for aesthetic purposes.
Steps to safely remove and replace liner
Once you’ve identified the need to replace your shelf liner, follow these steps to safely remove and replace it:
- Clear the Shelves: Remove all items from the shelves and set them aside in a safe area.
- Peel Off the Old Liner: Starting from one corner, carefully peel off the old liner, ensuring not to damage the surface of the shelf.
- Clean the Surface: Thoroughly clean the shelf surface to remove any dirt, residue, or adhesive left behind by the old liner. You can use a mild soap or a cleaning solution suitable for the shelf material.
- Measure and Cut the New Liner: Measure the dimensions of your shelf and cut the new liner accordingly. Be sure to leave some extra liner for adjustments.
- Apply the New Liner: Starting from one corner, gently place the new liner onto the shelf surface, smoothing it out as you go. Make any necessary adjustments to ensure a perfect fit.
- Reorganize and Restock: Once the new liner is in place, carefully put back your items on the shelves, taking this opportunity to reorganize and declutter if needed.
By following these steps, you can easily replace your worn or damaged shelf liner, revitalizing your shelves and providing a fresh foundation for your items.
Frequently Asked Questions Of How To Install Shelf Liner
How Do You Attach A Shelf Liner?
Attach a shelf liner by following these steps:
1. Measure the liner and cut it to fit the shelf.
2. Clean the shelf surface and remove any debris.
3. Peel off the liner backing and slowly adhere it to the shelf, smoothing out any bubbles or wrinkles.
4. Press the liner firmly to ensure it sticks properly.
5. Trim any excess liner if necessary.
Do Bubbles Go Up Or Down On Shelf Liners?
Bubbles on shelf liners tend to go down, as the liners provide a smooth surface for objects to rest upon, reducing the likelihood of bubbles forming underneath.
Are Shelf Liners A Good Idea?
Shelf liners are a great idea for protecting and organizing your shelves. They prevent damage, keep items in place, and are easy to clean. They come in various materials like plastic and fabric, offering versatility to suit your needs. Invest in shelf liners to enhance the durability and functionality of your shelves.
How Do You Get Plastic Shelf Liner To Lay Flat?
To get the plastic shelf liner to lay flat, make sure the surface is clean and dry. Remove any wrinkles or bubbles by smoothing them out with a credit card or ruler. Use adhesive or double-sided tape to secure the edges.
Conclusion
Installing shelf liner is a simple yet effective way to keep your shelves organized and protected. With just a few easy steps, you can transform your shelves into functional and stylish storage spaces. By following our guide, you will be able to install shelf liner with ease.
Remember to measure accurately, cut with precision, and smooth out any air bubbles. With the right techniques and a little patience, you’ll have beautifully lined shelves that will protect your surfaces and make your space more visually appealing. Happy shelf lining!