To install heat tape under a mobile home, first, measure and purchase the appropriate amount of heat tape for your mobile home’s pipe system. Next, clean the surface of the pipes thoroughly and dry them completely.
Then, wrap the heat tape around the pipes, making sure there are no gaps or overlaps. Finally, secure the heat tape in place using tape or zip ties and plug it into a power source. Apply insulation material over the heat tape and pipes for added protection against cold weather.
Make sure to check the heat tape regularly for any damages or malfunctions. Stay tuned for more practical tips on mobile home maintenance.
Understanding The Importance And Benefits Of Heat Tape Installation
Installing heat tape under your mobile home can be a smart and practical choice, offering a range of benefits. In colder climates, frozen pipes can cause significant damage and inconvenience, leading to costly repairs. By installing heat tape, you can effectively prevent frozen pipes and the water damage that accompanies them. Additionally, heat tape can increase your energy efficiency by ensuring that your heating system works efficiently, ultimately reducing your energy bills.
Lastly, heat tape can contribute to a comfortable living environment, providing warmth and peace of mind during the frosty winter months. In this article, we will explore these benefits in detail, giving you a comprehensive understanding of why heat tape installation is essential for mobile homes in cold climates.
Preventing frozen pipes and water damage
When temperatures drop below freezing, water within your mobile home’s pipes can solidify, leading to blockages and potential ruptures. These frozen pipes not only disrupt your water supply but can also cause extensive water damage to your property.
By installing heat tape, you ensure that the pipes remain warm, preventing freezing and subsequent damage. As a proactive measure, heat tape wraps around the pipes, providing a constant source of heat that keeps water flowing freely. It works by self-regulating its temperature, turning on when needed and automatically adjusting the heat output to maintain a consistent temperature.
Moreover, heat tape is specifically designed to withstand harsh weather conditions, such as freezing temperatures, moisture, and UV exposure. This durability adds an extra layer of protection, assuring you that your pipes will remain unaffected by cold weather.
Increasing energy efficiency
Efficiency in your mobile home’s heating system is crucial for reducing energy consumption and keeping your utility bills in check. When pipes freeze, it puts a strain on your heating system, requiring it to work harder to maintain a comfortable indoor temperature.
By installing heat tape, you help your heating system operate more efficiently. The consistent warmth provided by heat tape ensures that your pipes stay above freezing, reducing the workload on your heating system. This results in less energy expenditure, lowering your energy bills and reducing your carbon footprint.
It’s worth noting that heat tape installation is a relatively straightforward process, and once done, it requires minimal maintenance. This means that the long-term energy efficiency benefits easily outweigh the initial investment.
Ensuring comfort in cold weather
Living in a cold climate can be challenging, but with the right measures in place, you can create a warm and comfortable living environment inside your mobile home.
Heat tape installation adds an extra layer of protection to ensure your comfort during frigid temperatures. By keeping the pipes warm and preventing freezing, heat tape allows for uninterrupted water supply, so you can enjoy hot showers, clean dishes, and other daily activities without any inconvenience.
Furthermore, knowing that your pipes are safeguarded from freezing provides peace of mind, eliminating the worry of potential pipe bursts or water damage. This sense of security can greatly enhance your overall comfort, allowing you to relax and enjoy your home, no matter how harsh the weather conditions are outside.
Assessing The Suitability Of Heat Tape For Your Mobile Home
Installing heat tape under your mobile home can be an effective way to prevent frozen pipes and costly water damage during the harsh winter months. However, before you jump into the installation process, it’s important to assess the suitability of heat tape for your specific mobile home. By evaluating the climate and temperature patterns in your area, as well as determining the vulnerability of your mobile home’s plumbing system, you can ensure that heat tape is the right solution for your needs.
Evaluating the Climate and Temperature Patterns in Your Area
The first step in determining the suitability of heat tape for your mobile home is to evaluate the climate and temperature patterns in your area. Consider the average winter temperatures, as well as any periods of extreme cold or unusually long freezes. This information can help you understand the level of protection your mobile home’s plumbing system may need to withstand these conditions.
Determining the Vulnerability of Your Mobile Home’s Plumbing System
Next, it’s crucial to assess the vulnerability of your mobile home’s plumbing system. This involves inspecting the pipes and identifying any areas that are exposed or prone to freezing. Additionally, take into account the insulation levels and the presence of any drafts that may contribute to heat loss. By evaluating these factors, you can determine whether heat tape is necessary and where it should be installed for maximum effectiveness.
Once you have evaluated the climate and temperature patterns in your area and assessed the vulnerability of your mobile home’s plumbing system, you can make an informed decision regarding the suitability of heat tape. If you determine that heat tape is indeed needed, be sure to follow the manufacturer’s instructions carefully during the installation process to ensure proper functioning. Remember, installing heat tape can provide peace of mind knowing that your mobile home’s plumbing system is protected against freezing temperatures and potential water damage.
Gathering The Necessary Tools And Materials
Before you begin installing heat tape under your mobile home, it’s important to gather all the necessary tools and materials. This will ensure that you have everything you need to complete the job efficiently and effectively. In this section, we will discuss the various tools and materials required, including heat tape, insulation materials, electrical tape, heat tape controller, screwdriver, wire nuts, and heat gun.
Heat tape
The first item on your shopping list should be heat tape. This specialized tape is designed to provide warmth and prevent freezing in areas where it’s applied. When buying heat tape, make sure to choose the right length and wattage for your specific mobile home needs. It’s always better to buy a bit extra tape, so you have some in hand in case of any emergencies.
Insulation materials
Insulation materials play a key role in ensuring that the heat tape works efficiently. They help to trap and retain heat, providing an added layer of protection against freezing temperatures. Common insulation materials that you may need include foam pipe insulation, fiberglass insulation, and reflective foil insulation. Make sure to measure the area accurately so that you buy the right amount of insulation materials.
Electrical tape
Electrical tape is an essential tool for securing and insulating the electrical connections of the heat tape. It helps to protect the wires from moisture and provides an extra layer of safety. When selecting electrical tape, choose a high-quality, weather-resistant tape that will withstand the outdoor elements and last for a long time.
Heat tape controller
A heat tape controller is a device that regulates the temperature of the heat tape. It ensures that the heat tape only operates when necessary, saving energy and preventing overheating. The controller allows you to set specific temperature limits and automatically turns the heat tape on or off as needed. When purchasing a heat tape controller, make sure it is compatible with the heat tape you have chosen.
Screwdriver
A screwdriver will be needed to secure the heat tape and insulation materials in place. This handy tool will help you to tighten screws and fasten any brackets or clamps that are required for installation. It’s a good idea to have both a flathead and a Phillips head screwdriver on hand, as different screws may require different types of screwdrivers.
Wire nuts
Wire nuts are small plastic caps with built-in threading that are used to connect and secure electrical wires. They are crucial for connecting the heat tape to the power source and ensuring a safe and reliable connection. When selecting wire nuts, choose the appropriate size for your wires and check for a UL (Underwriters Laboratories) listing to ensure they meet safety standards.
Heat gun
A heat gun is an optional tool that can be used to help shrink heat shrink tubing, wrap connections tightly, and provide an extra layer of protection to the electrical components. While you can use a hairdryer as an alternative, a heat gun provides more precise and controlled heat, making the installation process easier.
Measuring And Assessing The Length Of Heat Tape Required
Measuring and Assessing the Length of Heat Tape Required
When it comes to winterizing your mobile home and preventing frozen pipes, installing heat tape is an effective solution. However, before you can start the installation process, it is crucial to measure and assess the length of heat tape required for your specific mobile home. By accurately determining the length, you can ensure that every vulnerable area of your plumbing system is adequately covered, preventing any potential damage.
MAPPING OUT THE MOBILE HOME’S PLUMBING SYSTEM
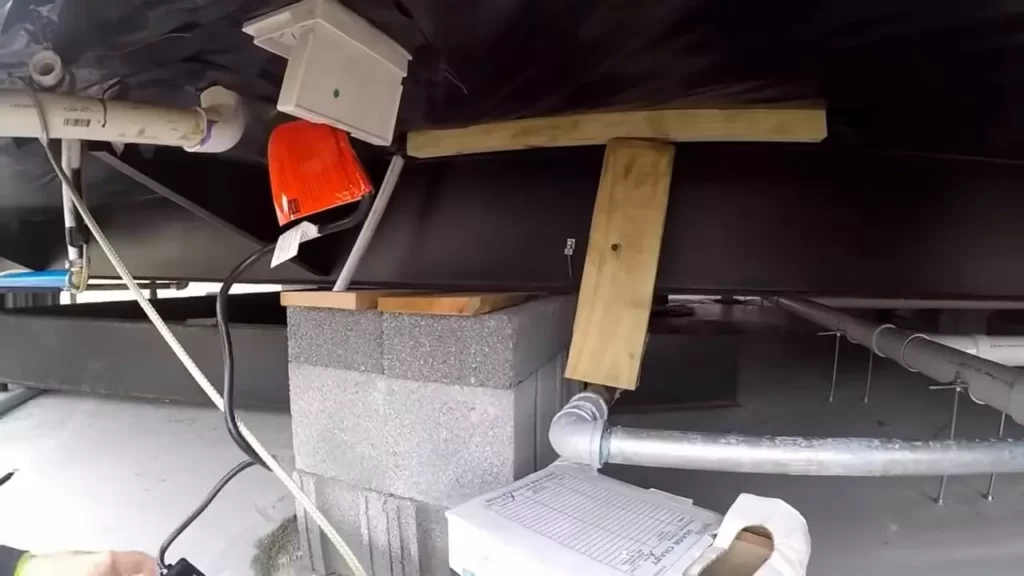
The first step in measuring the length of heat tape needed is to create a comprehensive map of your mobile home’s plumbing system. This map will serve as a visual guide, helping you identify all the pipes that require protection. Begin by locating the main water supply line and following it throughout your home. Take note of any branch lines, individual plumbing fixtures, and exposed pipes that are at risk of freezing.
CALCULATING THE TOTAL LENGTH OF PIPES TO BE COVERED
Once you have mapped out the plumbing system, it’s time to calculate the total length of pipes that need to be covered with heat tape. Measure each exposed pipe individually, adding up the lengths to determine the total required. Be sure to measure from the water source all the way to the furthest point on each pipe. It is essential to account for any twists, turns, or bends in the pipe, as heat tape needs to cover the entire surface to effectively prevent freezing.
Table 1: Total Length of Pipes to Be Covered
| Pipe | Length (in feet) |
|---|---|
| Main water supply line | 30 |
| Kitchen sink | 5 |
| Bathroom sink | 10 |
| Toilet | 4 |
| Shower | 6 |
| Laundry room | 8 |
FACTORING IN ANY SPECIAL CONSIDERATIONS OR CHALLENGES
In addition to measuring the length of each pipe, it is crucial to consider any special considerations or challenges that may impact heat tape installation. For instance, if your mobile home has pipes running through exterior walls or unheated areas, these sections may require extra tape or insulation to prevent freezing. Additionally, if there are any areas with existing insulation, you may need to adjust the length of heat tape required to ensure proper coverage.
By thoroughly measuring and assessing the length of heat tape required, mapping out the mobile home’s plumbing system, calculating the total length of pipes to be covered, and factoring in any special considerations, you can confidently proceed with the installation process knowing that your mobile home’s plumbing system will be effectively protected against freezing temperatures.
Step-By-Step Instructions For Heat Tape Installation
Installing heat tape under your mobile home is a crucial step to prevent your pipes from freezing during the winter months. By following these step-by-step instructions, you can ensure that your pipes remain protected and your water supply uninterrupted. In this guide, we will outline each step in detail, from locating the main water supply to testing the functionality of the heat tape.
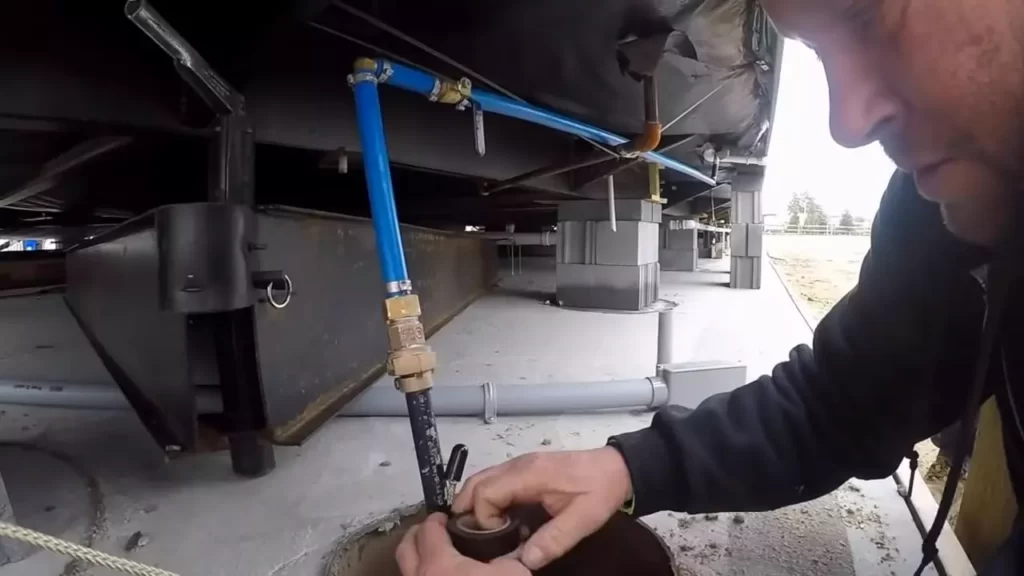
Locating the main water supply and shutting it off
The first step in installing heat tape under your mobile home is to locate the main water supply and shut it off. This can usually be found in a utility closet or outside near the water meter. Once you have located the main supply valve, turn it clockwise to shut off the water. This will prevent any water from flowing through the pipes during the installation process.
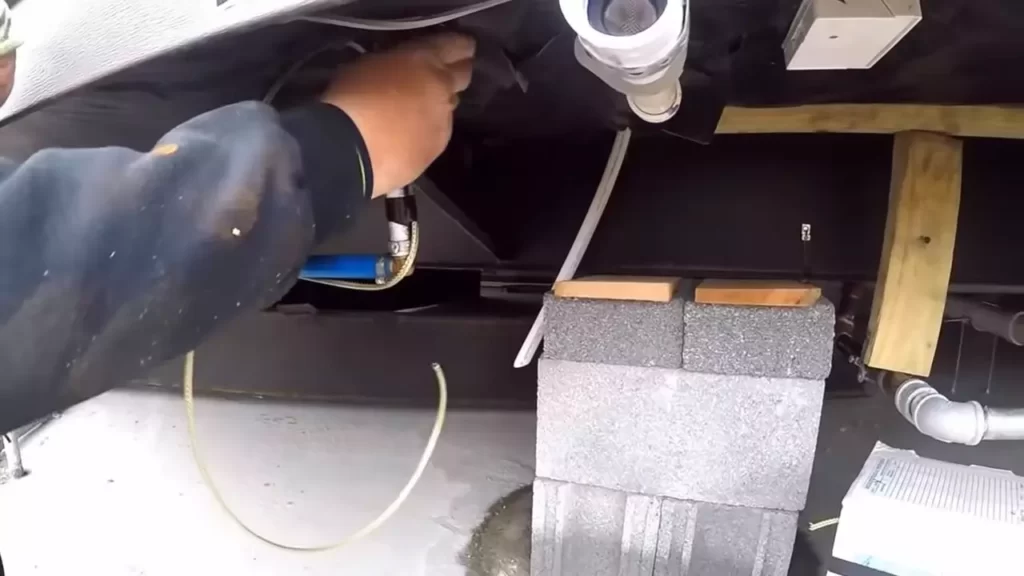
Wrapping the heat tape around the pipes
Once the water supply has been shut off, you can start wrapping the heat tape around the exposed pipes. Begin at the lowest point of the pipes and work your way up towards the top. Make sure to leave a 2-inch gap between each wrap to allow for proper heat distribution. As you wrap the tape, ensure that it overlaps itself slightly to create a tight seal. Be careful not to stretch or pull the tape too tightly, as this can damage the heating elements.
Securing the heat tape using electrical tape
After wrapping the heat tape around the pipes, use electrical tape to secure the ends and keep the tape in place. Start by overlapping the electrical tape over the end of the heat tape and wrap it tightly around the pipe. Make sure to cover any exposed wires to prevent them from coming into contact with water or moisture. Repeat this process at the other end of the heat tape to ensure a secure installation.
Connecting the heat tape to a controller
Once the heat tape is secured, you need to connect it to a controller. The controller will regulate the temperature and ensure that the heat tape only activates when necessary. Follow the manufacturer’s instructions to properly connect the heat tape to the controller. This typically involves connecting the wires from the heat tape to the designated terminals on the controller. Make sure to tighten the connections securely to prevent any loose or exposed wires.
Testing the heat tape for functionality
After the heat tape is connected to the controller, it’s important to test its functionality before restoring the water supply. Turn on the controller and set the temperature to the desired level. Wait for a few minutes and feel the pipes to ensure that they are warm to the touch. If the heat tape is working correctly, you can safely restore the water supply by turning on the main valve. Monitor the pipes for any signs of freezing or leaks in the following days to ensure the heat tape is properly protecting them.
Ensuring Safety During The Installation Process
Ensuring the safety of your mobile home is of utmost importance when installing heat tape. By following proper safety measures, you can prevent any accidents and ensure a successful installation. In this article, we will discuss the important electrical safety precautions to keep in mind, as well as how to avoid overlapping or crossing heat tape and properly insulate exposed pipes.
Understanding electrical safety precautions
When working with heat tape, it is crucial to understand and implement proper electrical safety measures. The following precautions should be taken to ensure your safety:
- Turn off the power: Before you begin the installation process, make sure that the power to the area is completely turned off. This will protect you from any electrical shocks and ensure a safe working environment.
- Use GFCI outlets: Ground Fault Circuit Interrupter (GFCI) outlets are designed to detect any abnormalities in the electrical current and shut off the power to prevent electrical shock. It is highly recommended to use GFCI outlets for your heat tape installation.
- Inspect the heat tape: Before installation, carefully inspect the heat tape for any signs of damage, such as fraying or exposed wires. If you notice any issues, it is crucial to replace the heat tape to prevent electrical hazards.
- Proper grounding: The heat tape should be properly grounded to protect against electrical surges. Ensure that the grounding wire is securely connected and that all connections are tightly secured.
- Keep a safe distance: It is important to maintain a safe distance between the heat tape and any flammable materials, such as insulation or wood. This will prevent the risk of fire hazards.
Avoiding overlapping or crossing heat tape
When installing heat tape, it is essential to avoid overlapping or crossing the tape to ensure proper functionality and minimize potential hazards. Here are some guidelines to follow:
- Measure and cut accurately: Take precise measurements of the pipe you are working on and cut the heat tape accordingly. This will prevent the need for overlapping or crossing.
- Follow the manufacturer’s instructions: Different heat tape products may have specific guidelines on installation. It is important to carefully read and follow the manufacturer’s instructions to avoid any mistakes.
- Secure the heat tape evenly: Make sure to secure the heat tape evenly along the length of the pipe, without any overlaps or gaps. This will ensure consistent heating and minimize the risk of damage.
Insulating exposed pipes
Proper insulation of exposed pipes is crucial to protect them from freezing during the colder months. Here’s how you can effectively insulate your exposed pipes:
- Choose the right insulation material: Select insulation material that is suitable for your specific pipe and environmental conditions. Foam pipe insulation is commonly used and is effective in preventing freezing.
- Wrap the insulation securely: Wrap the insulation material tightly around the exposed pipe, ensuring that there are no gaps or areas left uncovered. This will provide maximum protection against cold temperatures.
- Seal any gaps: Use adhesive or duct tape to seal any gaps or loose ends in the insulation. This will help maintain the integrity of the insulation and prevent heat loss.
By adhering to these safety precautions, you can ensure a secure and successful installation of heat tape under your mobile home. Remember to prioritize safety at all times to protect yourself and your property.
Inspecting And Maintaining Your Heat Tape System
Regularly checking for damage or wear
One important aspect of maintaining your heat tape system is to regularly inspect it for any signs of damage or wear. Over time, heat tape can become frayed, cracked, or damaged, which can significantly affect its performance and efficiency. To ensure the continued effectiveness of your heat tape system, it is crucial to conduct routine inspections and address any issues promptly. This will not only prevent malfunctioning but also extend the lifespan of your heat tape.
When inspecting your heat tape, pay close attention to any visible signs of damage, such as exposed wires, cuts, or melting. Additionally, check for any loose connections or signs of water intrusion. These could indicate potential hazards or compromised functionality. It is also a good idea to inspect the surrounding area for any debris or objects that may be obstructing the heat tape. Removing any obstructions will allow the tape to perform optimally.
Replacing worn out or malfunctioning heat tape
If you notice any signs of wear, damage, or malfunctioning during your regular inspections, it is important to replace the heat tape as soon as possible. A worn-out or malfunctioning heat tape can lead to insufficient heat distribution or, in worst cases, to a complete failure of your heating system, making it unable to prevent freezing pipes.
Purchasing a high-quality replacement heat tape and following the manufacturer’s instructions for installation is essential to ensure proper functionality. Be sure to choose a heat tape that is specifically designed for mobile homes and suited to your specific needs. This will guarantee efficient heating and long-lasting performance.
Considering professional maintenance and inspection services
In addition to conducting your own inspections and replacing worn-out heat tape, it is highly recommended to consider professional maintenance and inspection services. A qualified technician can provide a comprehensive assessment of your heat tape system, identify any hidden issues, and offer expert solutions.
Professional maintenance services typically include a thorough examination of the entire system, including the heat tape, thermostat, junction boxes, and electrical connections. This ensures that all components are in good working condition and properly integrated.
By availing of professional maintenance and inspection services, you can have peace of mind knowing that your heat tape system is operating efficiently and safeguarding your mobile home against freezing temperatures.
Troubleshooting Common Issues With Heat Tape
While installing heat tape under your mobile home can help prevent frozen pipes and ensure a cozy living space during the winter months, it’s not uncommon to encounter certain issues. Understanding how to troubleshoot these problems will allow you to keep your heat tape functioning optimally, protecting your pipes and keeping your home warm. Let’s delve into some common issues you may face and learn how to fix them.
Identifying and Fixing Electrical Problems
One of the key aspects of troubleshooting heat tape is to check for any electrical problems. If you notice that the heat tape is not activating or is not warming up adequately, an electrical issue might be the culprit. Here’s what you can do:
- Inspect the power source: Ensure that the heat tape is properly connected to a reliable power source. Check for any loose connections or frayed wires that may be disrupting the electrical flow. Secure the connections and replace any faulty wires as necessary.
- Test the electrical outlet: Use a multimeter to verify if the electrical outlet is providing a consistent power supply. If the outlet is not functioning correctly, contact a qualified electrician to resolve the issue.
- Consider using a GFCI outlet: Installing a Ground Fault Circuit Interrupter (GFCI) outlet will provide an extra layer of protection against electrical accidents. This safety device automatically cuts off the power supply if it detects any irregularities in the electrical flow.
Dealing with Frozen Pipes Despite Heat Tape Installation
Even with heat tape installed, freezing pipes can still occur in extremely cold temperatures. Here’s what you can do to tackle this issue:
- Inspect the heat tape: Check if the heat tape is appropriately installed along the entire length of the pipe. Make sure there are no gaps or loose sections that could allow cold air to seep in. Secure any loose areas and ensure a snug fit.
- Apply additional insulation: Add extra insulation to the pipes to provide additional protection against freezing. Foam pipe insulation or heating cables can be wrapped around the pipes to enhance heat retention.
- Keep faucets dripping: Allow a small trickle of water to flow through the faucets during extremely cold temperatures. This helps prevent a buildup of pressure in the pipes and reduces the chances of them freezing.
Adjusting Heat Tape Settings for Optimal Performance
Optimizing the heat tape settings is crucial for ensuring efficient performance and preventing any issues. Here are some tips to help you achieve optimal results:
- Refer to the manufacturer’s instructions: Consult the user manual provided by the heat tape manufacturer for guidance on adjusting the settings. This will help you understand the specific requirements of your heat tape and avoid any improper usage.
- Monitor tape temperature regularly: Use a thermometer to measure the temperature of the tape periodically. This will help you ensure that the heat tape is functioning within the desired temperature range.
- Consider using a thermostat: Install a thermostat to control the heat tape’s activation and deactivation based on the surrounding temperature. This not only helps in conserving energy but also prevents overheating of the tape.
Recap Of The Benefits And Importance Of Heat Tape Installation Under A Mobile Home
Heat tape installation is a crucial step in protecting your mobile home from the potential damages caused by freezing temperatures. By preventing costly water damage and pipe repairs, enhancing energy efficiency and comfort, and ensuring the longevity of your mobile home’s plumbing system, heat tape installation offers a multitude of benefits.
Preventing Costly Water Damage and Pipe Repairs
One of the primary reasons for installing heat tape under your mobile home is to safeguard it against costly water damage and pipe repairs. When the temperature drops below freezing, exposed pipes can easily freeze and burst, resulting in significant water damage that can be expensive to repair.
By installing heat tape, you create a protective layer of warmth around the pipes, preventing them from freezing and potentially bursting. This proactive measure not only saves you from the headache of dealing with water damage but also protects your investment by preserving the structural integrity of your mobile home.
Enhancing Energy Efficiency and Comfort
Installing heat tape under your mobile home not only helps prevent frozen pipes but also enhances energy efficiency and comfort. The warmth generated by the heat tape keeps the pipes at a safe temperature and reduces energy wastage.
By ensuring that your plumbing system remains functional even in freezing temperatures, heat tape minimizes the need for excessive heating, thereby reducing your energy consumption and subsequent utility bills. Additionally, the consistent supply of warm water throughout your mobile home ensures a comfortable living environment, even during the coldest winters.
Ensuring the Longevity of Your Mobile Home’s Plumbing System
Another significant benefit of heat tape installation under a mobile home is the assurance of a longer lifespan for your plumbing system. By eliminating the risk of frozen and burst pipes, you prevent potential water leaks and subsequent damage to your plumbing infrastructure.
Water leaks can lead to mold growth, weakened foundations, and even compromise the overall structural integrity of your mobile home. Heat tape acts as a proactive defense against these issues, ensuring the longevity of your plumbing system and providing peace of mind.
Overall, the installation of heat tape under a mobile home offers numerous advantages. By preventing costly water damage and pipe repairs, enhancing energy efficiency and comfort, and ensuring the longevity of your mobile home’s plumbing system, heat tape installation is a wise investment that protects both your property and your wallet.
Frequently Asked Questions For How To Install Heat Tape Under Mobile Home
How Do I Keep My Pipes From Freezing Under My Mobile Home?
To prevent pipes from freezing under your mobile home, consider these steps:
1. Insulate pipes with foam sleeves or heat tape.
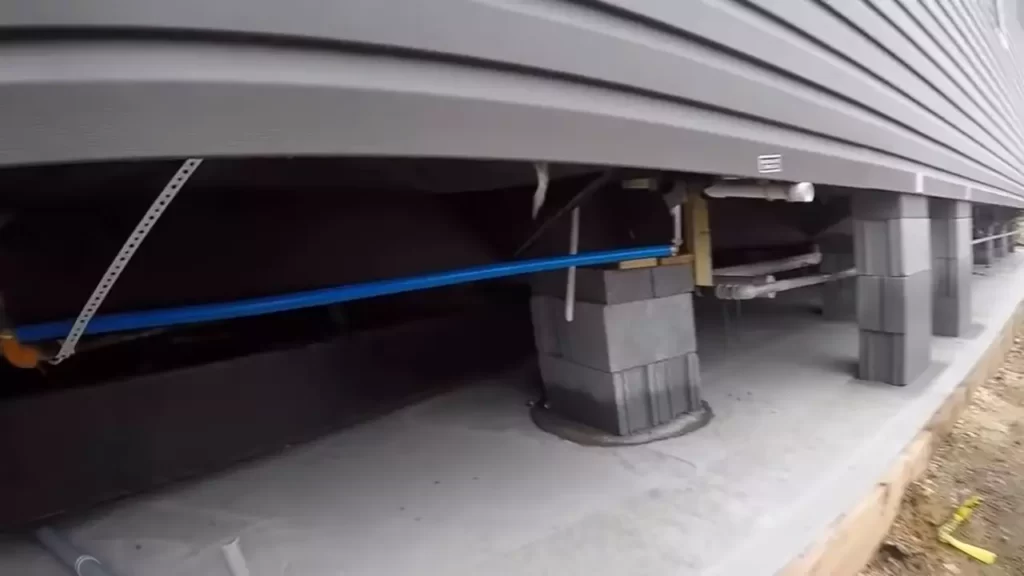
2. Keep the underside of your mobile home adequately insulated with skirting.
3. Seal any cracks or gaps in the undercarriage to prevent cold air from entering.
4. Let faucets drip to allow a steady flow of water.
5. Keep the interior temperature warm, even when you’re away.
What Is The Proper Way To Install Heat Tape?
To properly install heat tape, follow these 5 guidelines:
1) Clean the pipe thoroughly before applying the tape.
2) Position the tape evenly along the length of the pipe and secure it with adhesive.
3) Avoid wrapping the tape over itself.
4) Insulate the taped area to increase efficiency.
5) Finally, regularly inspect the tape for any signs of wear or damage.
How Do You Heat Pipes Under A Mobile Home?
Heat pipes can be installed under a mobile home by using a method called skirting. This involves insulating the entire perimeter of the home with foam boards or insulation material, which helps to trap the heat from the pipes and circulate it throughout the space.
Expert installation is recommended for optimal results.
Do All Mobile Homes Need Heat Tape?
Not all mobile homes need heat tape. It depends on the climate and insulation of the home. In colder regions, heat tape is recommended for mobile homes to prevent frozen pipes. However, in warmer areas, it may not be necessary.
Evaluate your climate and insulation before deciding.
Conclusion
Installing heat tape under a mobile home is a simple and effective way to prevent freezing pipes and ensure comfortable living conditions during winter. By following the step-by-step guide outlined in this blog post, you can successfully install heat tape and protect your mobile home’s plumbing system from potential damage.
Remember to prioritize safety, insulation, and proper usage of heat tape to maximize its benefits. Stay warm and worry-free throughout the winter season!