To install shelves with brackets, measure and mark the desired location for the shelf, secure the brackets to the wall using screws, and then place the shelf onto the brackets, ensuring it is level and secure. Installing shelves with brackets is a practical and efficient way to add storage space to your home.
Whether you need a spot to display your favorite decor items or a functional storage solution for books and pantry supplies, shelves with brackets offer versatility and stability. In this guide, we will walk you through the simple steps to install shelves with brackets, allowing you to easily customize your space while keeping your belongings organized.
By following these instructions, you can tackle this DIY project with confidence and enjoy the satisfaction of a job well done. So, let’s get started!
Materials Needed For Installing Shelves With Brackets
When it comes to installing shelves with brackets, having the right materials at your disposal is essential. Whether you’re looking to add some extra storage in your living room or organize your kitchen pantry, having the necessary materials will ensure a smooth and successful installation process. In this blog post, we will discuss the materials needed for installing shelves with brackets, as well as the tools required to complete the job. Let’s get started!
List of Materials Required
Before you begin, gather the following materials:
| S.No. | Materials |
|---|---|
| 1. | Shelf brackets |
| 2. | Shelf boards |
| 3. | Wall anchors |
| 4. | Screws |
| 5. | Level |
| 6. | Tape measure |
| 7. | Pencil |
| 8. | Screwdriver |
Tools Required
In addition to the materials listed above, you will need the following tools:
- Power drill
- Drill bits
- Adjustable wrench
- Stud finder
- Drywall anchors
- Hammer
- Level
- Screwdriver
By ensuring you have the right materials and tools beforehand, you’ll be well-prepared to install shelves with brackets. Having a clear plan and organized setup can make a significant difference in the success of your project. So gather your materials, get your tools ready, and let’s start installing those shelves!
Step-By-Step Guide On Installing Shelves With Brackets
If you’re looking to add some extra storage space to your home, installing shelves with brackets is a great DIY project. Not only do they provide functional storage options, but they can also add a decorative touch to any room. In this step-by-step guide, we’ll walk you through the process of installing shelves with brackets, from locating and marking the studs on the wall to attaching the shelves securely to the brackets.
Locate and mark the studs on the wall
The first step in installing shelves with brackets is to locate and mark the studs on the wall. Studs are the vertical wooden beams behind the drywall that provide structural support. By attaching the brackets to the studs, you ensure that your shelves can support the weight of your items.
Measure and mark the desired height for the shelves
Next, measure and mark the desired height for your shelves. Use a level to ensure that your marks are straight and even.
Install the brackets on the marked spots
Once you have determined the location and height for your shelves, it’s time to install the brackets. Place the brackets on the marked spots, making sure they are level and aligned with each other.
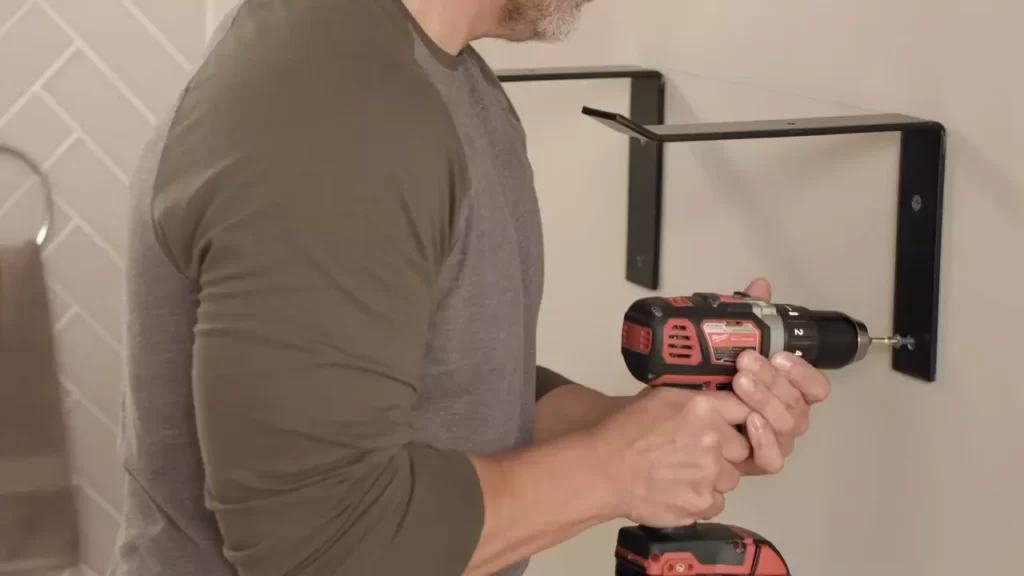
Secure the brackets to the wall
After positioning the brackets, it’s time to secure them to the wall. Use a drill to attach the brackets to the studs, ensuring that they are firmly in place. Double check the levelness of the brackets before moving on to the next step.
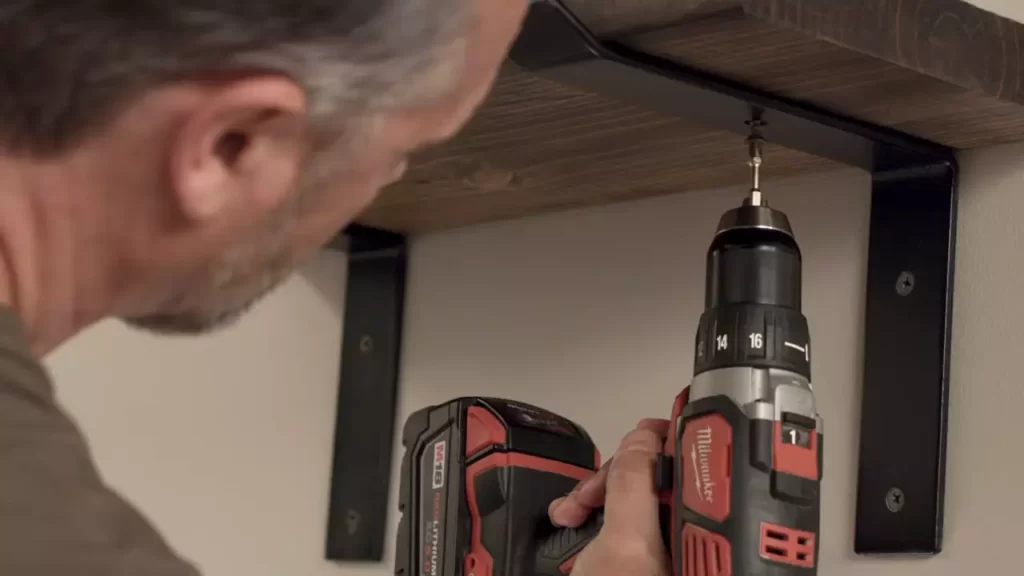
Attach the shelves to the brackets
Lastly, attach the shelves to the brackets. Depending on the type of brackets you’re using, this may involve placing the shelves on top of the brackets or inserting a support rod into the bracket slots.
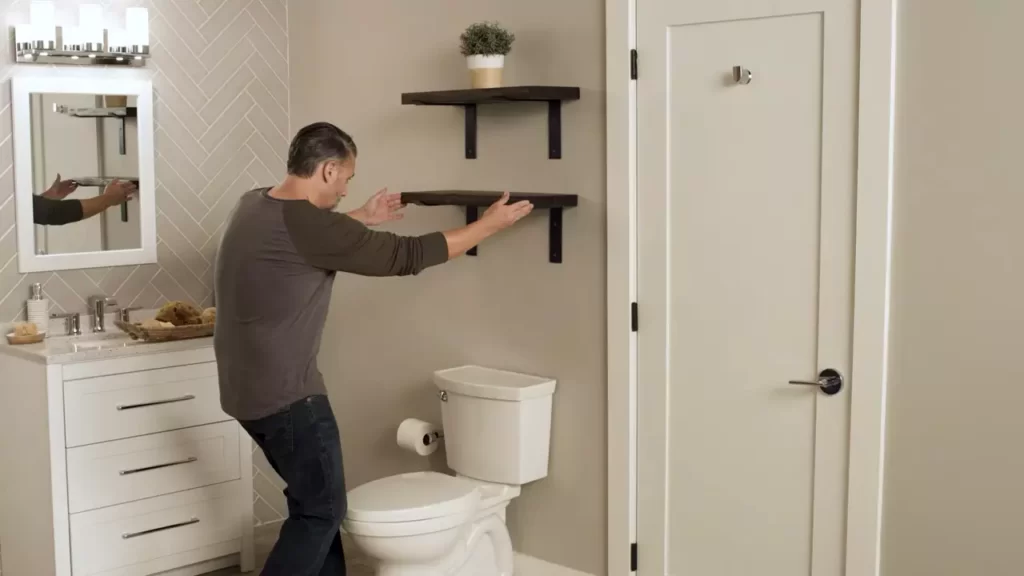
Now that you’ve successfully installed your shelves with brackets, you can start organizing your belongings and enjoying your newly enhanced storage space. Whether you’re adding shelves to your kitchen, living room, or bedroom, this step-by-step guide provides a simple and effective way to install shelves with brackets.
Tips And Tricks For A Successful Shelf Installation
Installing shelves with brackets can be a great way to add both functionality and aesthetic appeal to any room. However, a successful installation requires careful planning and execution. To help you achieve the best results, here are some handy tips and tricks to keep in mind:
Use a level to ensure the brackets and shelves are straight
One of the most important aspects of a shelf installation is ensuring that both the brackets and shelves are perfectly straight. This not only enhances the visual appeal of the shelves but also ensures better stability. Use a level to check the alignment at each step of the installation process. By doing so, you can avoid any slanted or uneven shelves that could cause items to slide off or look crooked.
Consider the weight capacity of the brackets and choose appropriate shelves
When selecting brackets for your shelves, it’s crucial to consider the weight capacity they can support. Different brackets have varying weight limitations, so make sure to choose ones that can handle the items you intend to place on the shelves. Additionally, select shelves that are appropriately sized and sturdy enough to support the anticipated load. By doing proper research and selecting the right combination of brackets and shelves, you can create shelves that are not only visually appealing but also functional and safe.
Pre-drill pilot holes to prevent splitting the wood
Before attaching the brackets to the wall or the shelves to the brackets, it’s essential to pre-drill pilot holes. This step is especially important if you’re working with wooden shelves. Pilot holes prevent the wood from splitting or cracking when you drive screws into it. By pre-drilling, you can ensure a secure and durable connection between the brackets and shelves without compromising the integrity of the wood.
Apply any necessary finishing touches to the shelves
After the brackets and shelves are securely installed, it’s time to add any necessary finishing touches. This could include painting or staining the shelves to match the room’s decor, applying a protective coat to enhance durability, or adding decorative elements such as trim or edging. These finishing touches not only add a polished look to your shelves but also help protect them from wear and tear over time. Take your time to carefully complete these final steps, ensuring that the shelves harmonize with the overall aesthetic of the room.
Common Mistakes To Avoid While Installing Shelves With Brackets
Installing shelves with brackets can be a great way to add storage and display space to any room. However, it’s important to take the time to do it correctly to ensure the shelves are secure and can withstand the weight you intend to put on them. In this article, we’ll discuss some common mistakes to avoid while installing shelves with brackets, including not checking for studs before installing brackets, failing to use a level for straight installation, overloading the shelves beyond their weight capacity, and neglecting to secure the brackets properly.
Not Checking for Studs Before Installing Brackets
One of the most crucial mistakes people make when installing shelves with brackets is failing to check for studs in the wall before installing the brackets. Studs are vertical wooden or metal beams behind the drywall that provide a sturdy anchor point for the brackets. Without attaching the brackets to studs, your shelves may not be able to support heavy items, and you risk damaging the wall. To avoid this mistake, always use a stud finder to locate the studs before installing the brackets and mark their positions.
Failing to Use a Level for Straight Installation
Another common mistake is failing to use a level while installing the shelves with brackets. If your shelves are not level, they will not only look uneven but can also compromise their stability. To ensure a straight installation, use a level both horizontally and vertically. Place the level across the top and bottom of the shelf to make sure it is level from side to side, and also confirm that it is plumb vertically. Taking the time to ensure a level installation will result in a professional and visually appealing end result.
Overloading the Shelves Beyond Their Weight Capacity
It’s important to remember that shelves with brackets have weight limitations. Overloading shelves beyond their weight capacity is a common mistake that can lead to sagging or even complete failure of the brackets. Before installing the shelves, make sure to check the weight capacity specified by the manufacturer and plan accordingly. Distribute the weight evenly and avoid placing excessively heavy items on the shelves. By following these guidelines, you can ensure that your shelves can safely hold the items you intend to display or store.
Neglecting to Secure the Brackets Properly
Finally, neglecting to secure the brackets properly is a mistake that can compromise the stability and safety of your shelves. Ensure that each bracket is securely attached to both the wall and the shelf. If using screws, make sure they are long enough to pass through the bracket and into the wall or shelf with sufficient anchoring. For added security, you can use anchors or toggle bolts, especially if the shelves will hold heavier items. By properly securing the brackets, you can have peace of mind that your shelves are stable and won’t unexpectedly detach from the wall.
Frequently Asked Questions For How To Install Shelves With Brackets
How Do You Put Up A Shelf With Brackets?
To put up a shelf with brackets, follow these steps:
1. Measure and mark the desired shelf height on the wall.
2. Locate the studs in the wall using a stud finder.
3. Position the brackets on the marks and secure them to the wall with screws.
4. Place the shelf on top of the brackets and ensure it is level.
5. Secure the shelf to the brackets with screws for added stability.
Do You Attach Brackets To Wall Or Shelf First?
Attach brackets to the wall first, ensuring proper alignment and secure installation. This will provide a sturdy base for attaching the shelf.
How Do You Hang Shelves With Metal Brackets?
To hang shelves with metal brackets:
1. Use a level to mark the desired height.
2. Drill pilot holes into the wall at the marked spots.
3. Attach the metal brackets to the wall with screws.
4. Slide the shelf onto the brackets and secure with screws or brackets.
5. Ensure the shelf is level and sturdy before placing any items on it.
How Do You Hang A Floating Shelf With Brackets?
To hang a floating shelf with brackets, follow these steps:
1. Choose a suitable location on the wall.
2. Mark the position of the brackets.
3. Drill holes and secure the brackets to the wall.
4. Slide the shelf onto the brackets.
5. Ensure the shelf is level and secure.
Conclusion
To sum up, installing shelves with brackets can be a straightforward task with the right tools and steps. By following the guidelines outlined in this blog post, you can easily create additional storage space in your home. Remember to measure accurately, choose proper brackets, and secure them properly.
With a little patience and effort, you’ll have stylish and practical shelves that enhance your living space in no time. Happy shelf installation!