To install a new igniter, disconnect the power, remove the old igniter, and attach the new igniter following the manufacturer’s instructions. Igniters are essential components of various appliances like ovens, stoves, and water heaters.
If your igniter is faulty or not working correctly, it may need to be replaced. Installing a new igniter is a straightforward process that can be done with basic tools and minimal expertise. We will guide you through the step-by-step process of replacing an igniter, ensuring that your appliance functions properly once again.
So, let’s get started with the installation process.
Gathering The Necessary Tools And Materials
Before you begin the installation process of a new igniter, it’s essential to ensure that you have all the necessary tools and materials at hand. This will not only save you time but also prevent any frustration or delays during the installation. In this section, we will provide you with a comprehensive list of tools and materials you will need to successfully install the new igniter.
List of tools needed for the installation
Having the right tools is crucial for a smooth installation process. Here is a list of tools you should gather before beginning the installation:
- Screwdriver set: A set of screwdrivers of different sizes and types will be needed to remove and install various components of the igniter.
- Multimeter: This tool will help you test the electrical connections and ensure the proper functioning of the igniter.
- Pliers: Pliers will come in handy for gripping and twisting wires during the installation process.
- Wire strippers: These will be used to strip the insulation from the wires and prepare them for connection.
- Electrical tape: Electrical tape will be necessary to secure the connections and prevent any electrical shorts.
List of materials needed for the installation
In addition to the tools, you will also need some materials to complete the installation. Make sure you have the following materials on hand:
- New igniter: Of course, you will need the replacement igniter that matches the make and model of your current appliance.
- Wire nuts: These small connectors will be used to securely join the wires together.
- Electrical connectors: Used to connect the igniter to the electrical supply, these connectors ensure a reliable and safe connection.
- Safety goggles: It is important to protect your eyes during the installation process, especially when dealing with electrical components.
- Gloves: Wearing gloves will provide additional safety and prevent any potential injuries while handling the igniter and other parts.
By ensuring that you have all the necessary tools and materials before starting the installation, you can save yourself time and frustration. With everything readily available, you’ll be able to complete the installation smoothly and efficiently.
Understanding The Igniter System
Before diving into the process of installing a new igniter, it’s crucial to understand the role it plays in your system. The igniter is a vital component responsible for initiating the combustion process in various heating systems, such as furnaces and boilers. In short, it’s the ignition spark that ignites the fuel, allowing your system to produce heat and function effectively.
Explaining the function of an igniter in the system
The igniter’s primary function is to generate and deliver a high-energy spark to ignite the fuel, whether it’s natural gas or oil. Once the fuel is ignited, it releases the necessary energy to warm up your home or office space. Without a functioning igniter, your heating system will fail to start and provide the desired warmth.
Different types of igniters available in the market
There are a few different types of igniters available in the market, each with its unique characteristics and capabilities. Let’s take a closer look at some of the most common types:
- Glow Igniters: These igniters work by heating up a ceramic material, which produces a glow. The intense heat from the ceramic then ignites the fuel, allowing the system to start. Glow igniters are commonly found in gas furnaces and are known for their reliability and energy efficiency.
- Spark Igniters: Unlike glow igniters, spark igniters use an electric spark to ignite the fuel. They consist of two electrodes that create a spark when electricity passes through them. Spark igniters are often used in older furnaces and heating systems.
- Hot Surface Igniters: As the name suggests, hot surface igniters work by heating up a surface to a high temperature. This hot surface then ignites the fuel when it comes into contact with it. These igniters are commonly used in oil-fired heating systems and offer a reliable ignition source.
Benefits of installing a new igniter
Installing a new igniter in your heating system can provide numerous benefits and ensure your system operates efficiently. Here are a few advantages of installing a new igniter:
- Improved Reliability: Over time, igniters can wear out or fail, resulting in ignition issues. By installing a new igniter, you can eliminate such problems and enhance the reliability of your system.
- Energy Efficiency: Newer igniters, such as glow igniters, are designed to be energy-efficient. They consume less power, which not only helps you save on energy bills but also reduces the overall carbon footprint of your system.
- Enhanced Performance: A faulty or outdated igniter can hinder the performance of your heating system. By installing a new igniter, you can ensure optimal performance and consistent heat output.
- Reduced Maintenance Costs: Regular maintenance and replacement of igniters can prevent major system breakdowns and costly repairs. By investing in a new igniter, you can minimize maintenance expenses in the long run.
Step 1: Safety Precautions
When it comes to installing a new igniter, it’s essential to prioritize safety. One simple mistake can not only result in personal injury but also damage to your property. In this step-by-step guide, we will outline the necessary safety measures you need to take before proceeding with the installation process. By following these precautions, you can ensure a smooth and safe installation experience.
Importance of safety precautions during the installation process
Installing a new igniter involves working with electrical components, which carries inherent risks if not done correctly. By understanding the importance of safety precautions, you can protect yourself and prevent any potential accidents. Safety should always be your top priority, regardless of your level of experience with DIY projects.
Necessary safety measures to be taken
Before you start the installation process, it’s important to adhere to the following safety measures:
- Turn off the power: Before working on any electrical component, including the igniter, it’s crucial to disconnect the power supply. Locate the circuit breaker for your oven or appliance and turn it off to ensure there is no live electricity flowing through the wires.
- Wear personal protective equipment (PPE): To reduce the risk of injury, wear appropriate personal protective equipment. This includes safety goggles to protect your eyes from any debris or sparks, as well as gloves to protect your hands and minimize the risk of electrical shocks.
- Use a voltage tester: Even after turning off the power, it’s essential to double-check if any electrical current is still present. Use a voltage tester to ensure there is no live electricity running through the wires. This step is crucial to avoid any potential accidents.
- Plan your workspace: Create a clean and organized workspace where you have enough room to maneuver. Remove any obstacles or clutter that may hinder your progress during the installation process.
- Read the manufacturer’s instructions: Familiarize yourself with the specific instructions provided by the manufacturer for installing the new igniter. Each appliance may have slight variations, and understanding the guidelines will ensure a smooth and successful installation.
- Work with a partner: If possible, it’s always safer to have another person present during the installation process. They can assist you, offer guidance, and also be available in case of emergencies.
By following these necessary safety precautions, you can minimize risks, protect yourself from harm, and ensure that your installation process goes smoothly. Safety should always be your priority, so don’t overlook these important measures.
Step 2: Disconnecting Power
Before you begin installing a new igniter, it’s crucial to disconnect the power supply to the ignition system. This step ensures your safety and prevents any chances of electrical shock or ignition while working on the installation process. Follow this simple guide to properly disconnect the power source.
Turning off the power supply to the ignition system
First, locate the power switch or circuit breaker that controls the ignition system. This switch or breaker is typically found in the main electrical panel of your home or building. To turn off the power supply, follow these steps:
- Locate the main electrical panel in your home or building.
- Open the panel door by removing any screws or latches securing it.
- Identify the circuit breaker or switch labeled for the ignition system. It may be labeled as “ignition,” “heating,” or something similar.
- Flip the circuit breaker switch to the “off” position or turn off the switch.
By turning off the power supply, you will ensure that no electrical charge is flowing through the ignition system, minimizing any risks during the installation process.
Identifying the power source and disconnecting it
Next, you need to identify the specific power source connected to your ignition system. Depending on the type of system you have, the power source could be a direct electrical connection or a gas supply valve. Use these steps to identify and disconnect the power source:
- For electrical-powered ignition systems:
- Locate the power cable or wiring connected to the ignition system.
- Trace the cable/wiring back to the electrical panel or outlet.
- Disconnect the cable/wiring by unplugging it from the outlet or removing any screws securing it to the electrical panel.
- For gas-powered ignition systems:
- Locate the gas supply valve connected to the ignition system. This valve is usually located near the main gas line or the appliance itself.
- Turn the gas supply valve clockwise to shut off the gas flow.
By disconnecting the power source, you ensure that the ignition system is completely de-energized, creating a safe working environment for the installation of the new igniter.
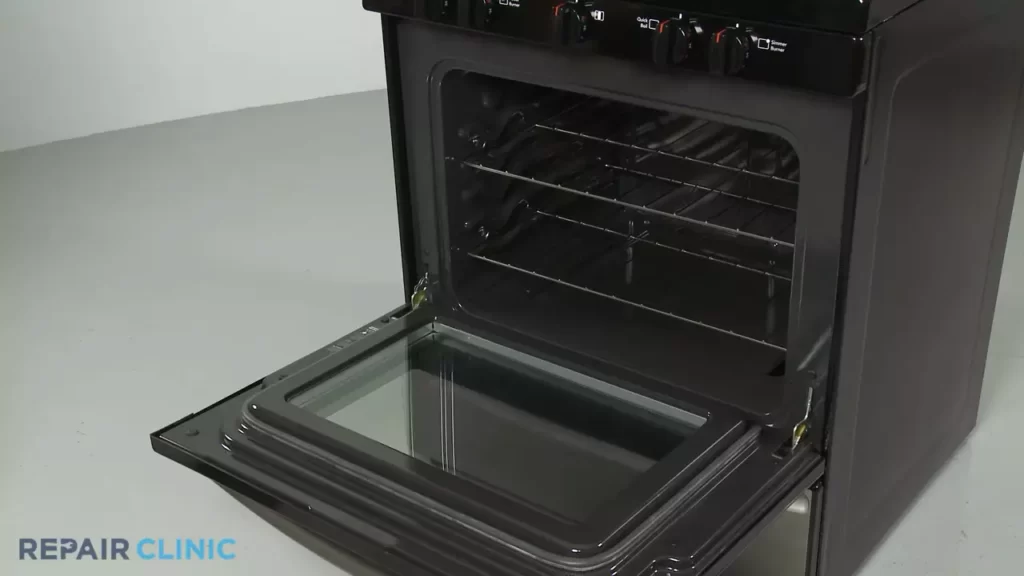
Step 3: Accessing The Igniter
Now that we know the importance of the igniter in your system, it’s time to learn how to access it. This step is crucial as it allows us to replace or repair the igniter effectively. Follow these steps to access the igniter:
Locating the igniter within the system
The igniter is a vital component of your system and can be found in a specific location. To begin, let’s locate the igniter within your system:
- Consult your system’s manual or documentation to determine the exact location of the igniter. This will ensure you find it accurately without any confusion.
- Typically, the igniter can be found near the main burner assembly. It may be positioned in an easily accessible spot or hidden behind panels or covers. Refer to your system’s specifications for more precise information.
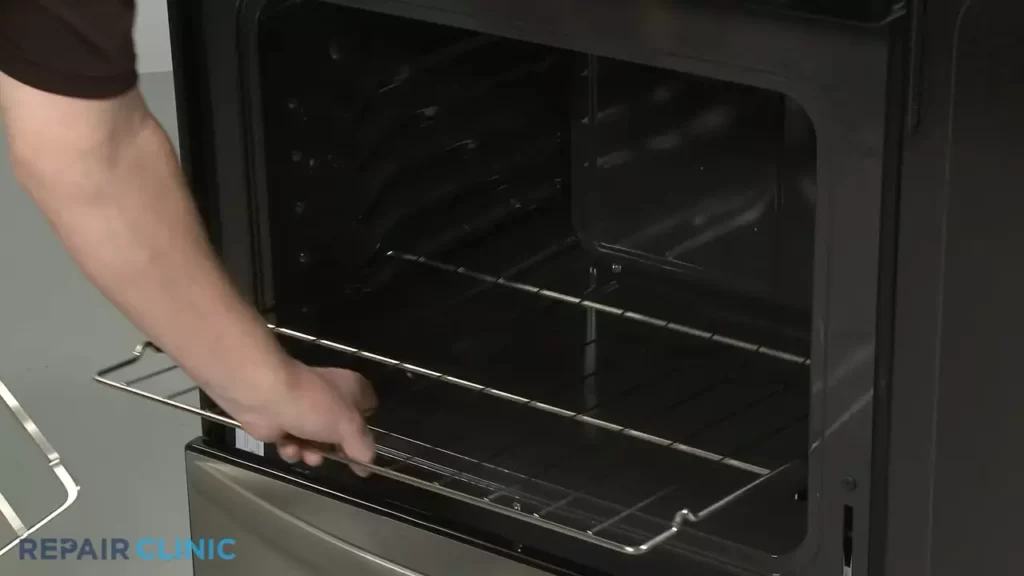
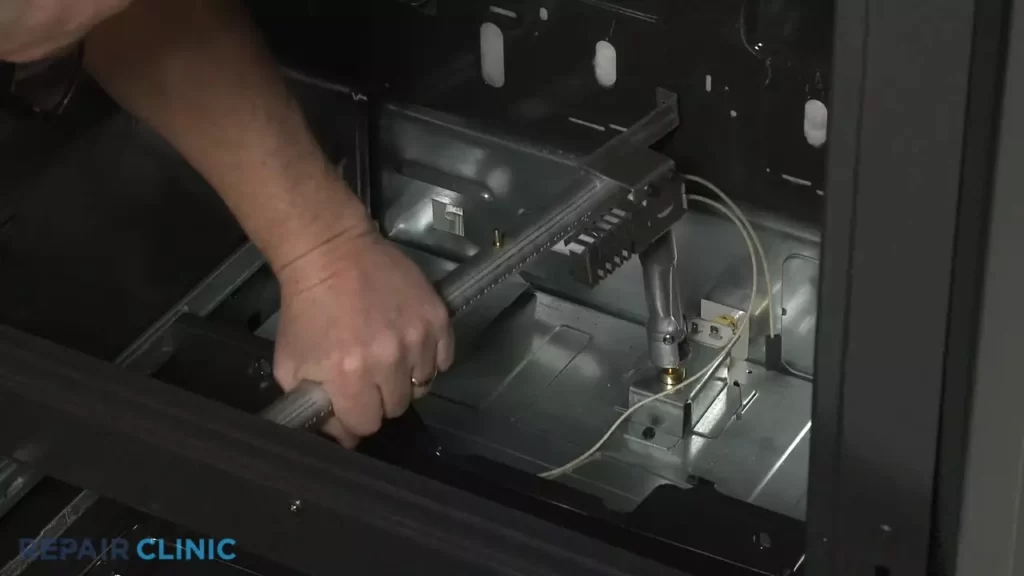
Removing any necessary parts to gain access to the igniter
Once you’ve pinpointed the location, it’s time to remove any necessary parts hindering your access to the igniter. Follow these steps carefully:
- Before proceeding, ensure your system is turned off and disconnected from any power source for safety purposes.
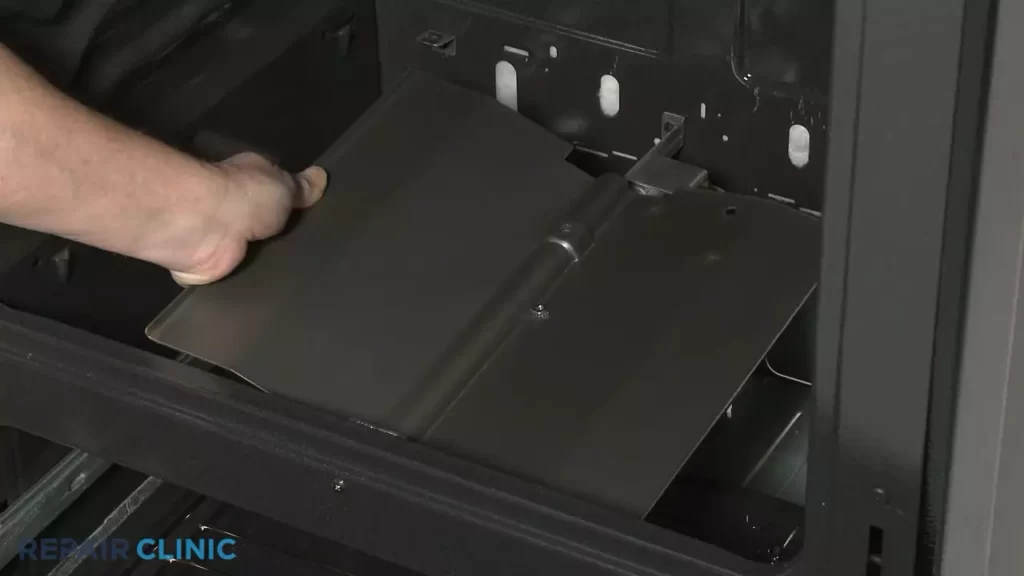
- Carefully remove any panels or covers that are obstructing your access to the igniter. This may require using tools such as a screwdriver or wrench. Remember to keep any screws or fasteners safely aside to prevent losing them.
- If there are any additional components in the way, such as wires, tubes, or brackets, disengage or detach them as necessary. Take note of how these parts are connected or positioned for reassembly later.
By following these steps, you should now have clear access to the igniter, allowing for the replacement or repair process to proceed smoothly.
Step 4: Removing The Old Igniter
When it comes to installing a new igniter, one important step is removing the old igniter. This step is crucial to ensure proper functioning and safety of the ignition system. In this section, we will discuss the steps to safely remove the old igniter and the precautions that need to be taken.
Steps to safely remove the old igniter
To remove the old igniter, you need to follow these simple steps:
- Turn off the power: Before you begin the removal process, make sure to turn off the power to the ignition system. This will prevent any accidents or electric shocks during the process.
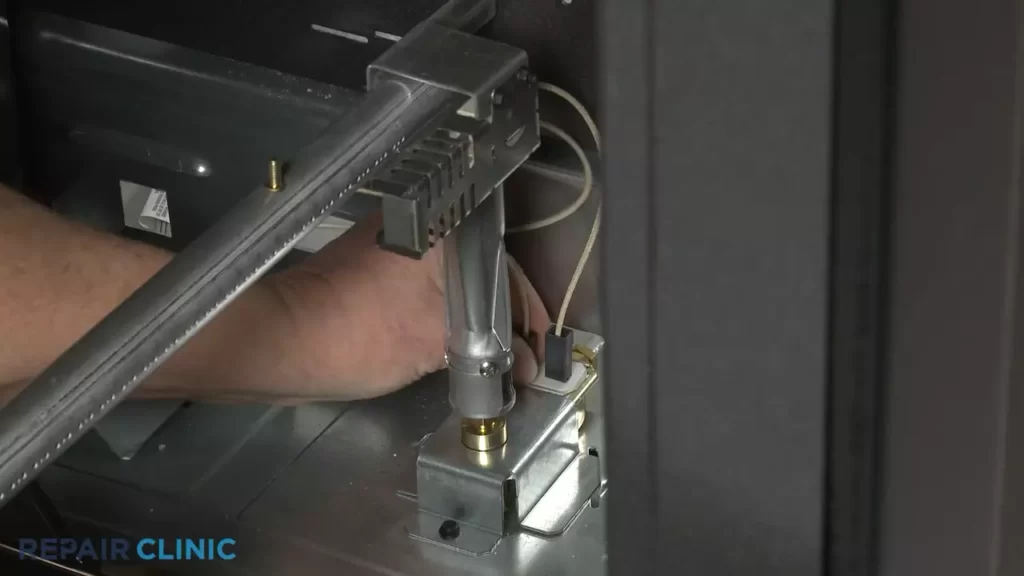
- Locate the old igniter: Once the power is turned off, locate the old igniter. It is typically located near the burner assembly. Refer to your appliance’s manual if you are unsure about the exact location.
- Disconnect the wires: Using a pair of insulated pliers, carefully disconnect the wires connected to the old igniter. Take note of which wire goes where, as you will need this information when installing the new igniter.
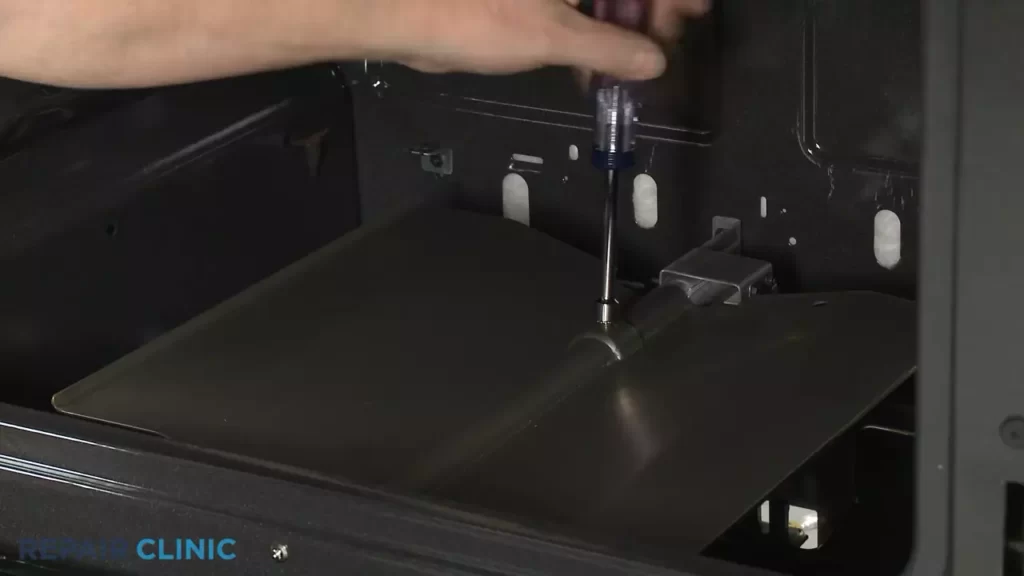
- Remove the mounting screws: Most igniters are held in place by mounting screws. Use a screwdriver to remove these screws and free the old igniter from its housing.
- Detach the old igniter: Once the mounting screws are removed, gently detach the old igniter from its position. Be careful not to damage any other components or wiring in the process.
Precautions to be taken while removing the old igniter
While removing the old igniter, it is important to take certain precautions to ensure your safety and prevent any damage to the appliance. Here are some precautions to keep in mind:
- Wear protective gloves and goggles: To protect yourself from any sharp edges or electrical hazards, always wear protective gloves and goggles before starting the removal process.
- Work in a well-ventilated area: Some ignition systems may contain flammable residue or gas. Make sure you are working in a well-ventilated area to prevent the buildup of any potentially dangerous fumes.
- Handle the old igniter with care: The old igniter may be fragile, so handle it with care to avoid any breakage. Dispose of the old igniter properly according to your local regulations.
- Double-check the power supply: Before you begin, double-check that the power supply to the ignition system is turned off. This will help prevent any accidental electric shocks.
- Refer to the appliance manual: Always refer to the manufacturer’s manual for specific instructions on removing the igniter. Different appliances may have slightly different procedures.
By following these steps and precautions, you will be able to safely remove the old igniter from your appliance. In the next section, we will discuss how to install the new igniter, so stay tuned!
Step 5: Installing The New Igniter
Now that you have removed the old igniter and prepared the system for the new one, it is time to install the new igniter. To ensure a successful installation, you need to understand the correct placement and positioning of the new igniter, as well as how to securely attach it to the system. Follow the steps below to complete this crucial part of the installation process.
Understanding the Correct Placement and Positioning of the New Igniter
Proper placement and positioning of the new igniter are essential for optimal performance and longevity. To guarantee a successful installation, consult the manufacturer’s instructions for guidance on where the igniter should be placed within your specific system. Generally, the igniter should be positioned in close proximity to the burner assembly, allowing for efficient heat transfer.
Additionally, ensure that the igniter is correctly oriented. This means that the electrode end, which generates the sparks to ignite the fuel, should be facing towards the fuel source. Double-check the alignment before proceeding to the next step.
Securely Attaching the New Igniter to the System
Now it’s time to attach the new igniter to the system securely. Begin by connecting the wiring harness of the igniter to the corresponding terminals on the control module. These terminals are typically labeled for easy identification. Take extra care to ensure that the connections are tight and secure to prevent any potential issues or malfunctions.
After connecting the wiring, gently place the igniter into its designated position within the system. Ensure that it is properly aligned and seated. If necessary, refer to the manufacturer’s instructions provided with the igniter for any specific recommendations or precautions.
Once the igniter is in place, you may need to use mounting brackets, screws, or other hardware provided with the new igniter to secure it further. Again, consult the manufacturer’s instructions for specific information on how to attach the igniter securely. Following these guidelines will help guarantee a reliable and long-lasting installation.
With the new igniter securely attached and properly positioned, you are now ready to move on to the next step and complete the installation process.
Step 6: Reassembling The System
Now that you have successfully installed the new igniter, it’s time to put everything back together and ensure that the system is reassembled properly. This step is crucial to ensure the efficient and safe functioning of your appliance. Follow the instructions below to reassemble the system correctly.
Putting back any parts that were removed to access the igniter
When accessing the igniter, certain parts may need to be temporarily removed to provide easier access. It is important to carefully remember which parts were removed and their correct position. Here’s a quick recap and guide on how to put back any parts that were removed:
- Refer to your user manual or any documentation you have, which provides information about the disassembly process.
- Take note of the order and orientation of the parts before removing them.
- Ensure that the area where the parts were removed from is clean and free from any debris.
- Methodically reattach each part, following the reverse order of the disassembly.
- Double-check that each part is securely in place and fastened correctly.
Ensuring proper reassembly of the system
After putting back the removed parts, it’s crucial to ensure the proper reassembly of the entire system. This will guarantee that the igniter functions optimally and the appliance operates safely. Follow these guidelines to ensure proper reassembly:
- Inspect the surrounding area for any loose connections or parts that might have been overlooked during reassembly.
- Verify that all electrical connections and wires are reattached securely.
- Make sure that any screws, bolts, or clips that were removed are tightened or fastened adequately.
- Check for any signs of damage or wear to components and replace them if necessary.
- Ensure that no foreign objects or debris are present in or around the ignition system.
By following these steps, you can be confident in the proper reassembly of your appliance’s system after installing the new igniter. This thorough approach guarantees that your appliance will function efficiently and safely, giving you peace of mind.
Step 7: Testing The New Igniter
Verifying proper installation by testing the igniter
Before considering the installation process complete, it is crucial to verify proper installation by testing the new igniter. This step ensures that the igniter is functioning correctly and will provide optimal performance. In this section, we will walk you through the process of testing the igniter, allowing you to determine if it has been properly installed.
Troubleshooting common issues after installation
After installing a new igniter, it is not uncommon to encounter certain issues that may hinder the proper functioning of your device. By troubleshooting these common problems, you can identify and address any potential issues that may have arisen during the installation process. Here, we will discuss some common problems that may occur after installing a new igniter and provide solutions to help you troubleshoot effectively.
Regular Maintenance Of The Igniter System
Regular maintenance is crucial for keeping your igniter system in top-notch condition. One of the key aspects of this maintenance is regular cleaning and inspection. By following a few simple steps, you can significantly extend the lifespan of your igniter and ensure it functions properly when you need it most.
Importance of Regular Cleaning and Inspection
Regular cleaning and inspection of your igniter system are essential for several reasons. Here’s why you shouldn’t overlook this vital maintenance task:
- Preventing Ignition Issues: Over time, dirt and debris can accumulate on the igniter, hindering its performance. By regularly cleaning and inspecting the igniter, you can remove any build-up, ensuring a proper ignition every time.
- Ensuring Safety: A malfunctioning igniter can pose safety risks such as gas leaks or incomplete combustion. Regular maintenance helps identify and resolve any issues before they become hazardous, keeping you and your family safe.
- Improving Efficiency: A clean igniter performs optimally, which translates into efficient heating or cooking. By maintaining the igniter system, you can maximize its efficiency, resulting in energy savings and lower utility bills.
Tips for Extending the Lifespan of the Igniter
Follow these simple tips to extend the lifespan of your igniter and keep it working smoothly:
- Regular Cleaning: Clean the igniter with a soft brush or cloth to remove any dirt or debris. Be gentle to avoid damaging the delicate components.
- Inspect for Wear and Tear: Check the igniter regularly for signs of wear, such as cracks or corrosion. If any damage is detected, replace the igniter promptly to prevent further issues.
- Avoid Excessive Force: When reassembling the igniter, handle it carefully to avoid applying excessive force. Tighten screws and connections firmly but not forcefully.
- Ensure Proper Alignment: Ensure that the igniter is correctly aligned with the flame or heating element. If misaligned, it may not ignite properly or produce weak flames.
- Keep Surroundings Clean: Maintain a clean environment around the igniter to prevent dirt, grease, or other contaminants from interfering with its operation.
By implementing these maintenance tips, you can keep your igniter system in excellent shape, maximizing reliability and ensuring efficient operation. Regular cleaning and inspection are essential for a well-functioning igniter, so don’t overlook this crucial aspect of maintenance.
Troubleshooting Common Issues With The Igniter
When it comes to your igniter system, it’s essential to ensure that it is functioning properly to guarantee a smooth and hassle-free ignition process. However, you may encounter some common issues that could prevent your new igniter from working effectively. In this section, we will discuss how to identify these problems and provide step-by-step solutions to resolve them, ensuring a seamless installation process.
Identifying Common Problems Related to the Igniter System
In order to troubleshoot the issues with your igniter system, it is crucial to first identify the common problems that may arise. By understanding the underlying causes, you can effectively address the issue and restore your igniter system to optimal performance.
Some common problems related to the igniter system include:
| Problem | Cause |
|---|---|
| The igniter doesn’t glow | A faulty igniter or a wiring issue |
| The igniter glows but the burner doesn’t ignite | A malfunctioning gas valve or a clogged burner |
| The igniter sparks but no gas is released | A faulty gas valve or a gas supply issue |
Step-by-Step Solutions to Resolve These Issues
Now that you’re aware of the common problems associated with the igniter system, it’s time to tackle them head-on. By following these step-by-step solutions, you can troubleshoot the issues and get your new igniter up and running in no time:
- Check for proper power supply to the igniter. Ensure that the circuit breaker or fuse is not tripped or blown.
- Inspect the igniter for any visible signs of damage or wear. If needed, replace the faulty igniter with a new one.
- Verify the wiring connections between the igniter and the control module. Loose or damaged wiring can prevent the igniter from working correctly.
- Examine the gas valve for any blockages or debris. Clean or replace the gas valve if necessary.
- Ensure that the gas supply to the burner is turned on. If not, open the gas valve to allow the gas to flow.
- If the above steps don’t resolve the issue, it is recommended to consult a professional technician for further diagnosis and repair.
By following these step-by-step solutions, you can troubleshoot and resolve common issues with the igniter system, ensuring a successful installation of your new igniter. Remember to prioritize safety and always refer to the manufacturer’s instructions throughout the troubleshooting process.
With these troubleshooting techniques in your arsenal, you can confidently tackle any issues that may arise with your igniter system and enjoy the benefits of an efficiently functioning ignition process.
Key Takeaways From The Installation Process
Key Takeaways from the Installation Process
Installing a new igniter in your appliance can be a straightforward process if you follow the correct steps. Here are the key takeaways from the installation process:
1. Safety First
Prioritize safety by turning off the power supply to the appliance before you begin the installation process. This will help prevent any accidental electrical shocks.
2. Gather the Necessary Tools
Make sure you have all the tools you need before you start the installation. This can include a screwdriver, pliers, wire strippers, and possibly a socket wrench or adjustable wrench, depending on your specific appliance.
3. Identify the Igniter
Before you start removing any parts, identify the igniter in your appliance. This component is usually located near the burner or heating element and is responsible for igniting the fuel or heating source.
4. Disconnect Power and Gas Supply
Prior to removing the old igniter, disconnect the power supply and gas supply to your appliance. This will ensure a safe and hazard-free environment during the installation process.
5. Remove the Old Igniter
Use the appropriate tools to carefully remove the old igniter from your appliance. This may involve unscrewing bolts or screws and disconnecting any wires or connections to free the igniter from its position.
6. Install the New Igniter
Once the old igniter has been removed, it’s time to install the new one. Follow the manufacturer’s instructions for the specific model of igniter you purchased. Make sure to securely fasten the new igniter in place and reconnect any wires or connections as necessary.
7. Test the Igniter
After the new igniter is installed, it’s important to test it before fully reassembling the appliance. Turn on the power and gas supply, and observe whether the igniter is functioning properly. If it glows or produces a spark, you’re good to go!
8. Reassemble and Test the Appliance
Once the new igniter has been successfully tested, reassemble any parts of the appliance that were removed during the installation process. Double-check that all connections are secure and then test the appliance to ensure it is running smoothly with the new igniter.
Frequently Asked Questions On How To Install New Igniter?
How Do You Install A Gas Igniter?
To install a gas igniter, follow these steps:
1. Turn off the gas supply and disconnect the power.
2. Remove the old igniter by unscrewing it.
3. Attach the new igniter by screwing it in place.
4. Reconnect the gas and power.
5. Test the igniter to ensure it is functioning properly.
Can You Replace A Gas Igniter?
Yes, you can replace a gas igniter. However, it is recommended to have a professional technician perform the replacement to ensure safety and proper installation.
How Do You Install A Universal Push Button Igniter Kit?
To install a universal push button igniter kit, follow these steps:
1. Turn off gas supply and remove the old igniter.
2. Connect the new igniter’s wires to the gas valve terminals.
3. Secure the igniter in place using screws or adhesive.
4. Restore gas supply and test the igniter.
5. Enjoy the convenience of easy ignition with your new universal push-button igniter kit.
Why Is My Igniter Not Clicking?
If your igniter is not clicking, check if the battery is working. Clean any dirt or debris around the igniter and make sure it is properly aligned. If the problem persists, the igniter may need to be replaced.
Conclusion
Installing a new igniter is a crucial step in maintaining the functionality of your appliances. By following the steps outlined in this guide, you can easily replace the old igniter and restore the efficiency of your equipment. Remember to consult the manufacturer’s instructions for specific details and safety precautions.
With the right tools and knowledge, you can successfully install a new igniter and enjoy seamless operation for years to come. Stay confident and take charge of your appliance repairs!