To install a banister on stairs, measure and mark the desired height and location of the banister, drill pilot holes for the brackets, attach the brackets to the wall, slide the banister onto the brackets, and secure it with screws. Installing a banister on stairs is an essential safety measure, providing support and stability for those using the stairs.
Whether you are renovating your home or simply upgrading your staircase, a banister plays a crucial role in preventing accidents and promoting accessibility. However, installing a banister requires careful planning and execution to ensure it is properly positioned and securely attached.
We will guide you through the step-by-step process of installing a banister on stairs, offering valuable insights and practical tips to help you complete the project successfully. Get ready to enhance the safety and aesthetic appeal of your staircase with a well-installed banister.
Preparing For Installation
Before you begin the process of installing a banister on stairs, it’s crucial to properly prepare. Taking the time to measure and plan, gather the necessary tools and materials, and ensure safety precautions are in place will set you up for a successful installation. In this section, we will cover these important steps in detail to help you get started smoothly.
Measuring and planning for a banister installation
One of the first steps in preparing for a banister installation is accurately measuring and planning the layout. This ensures that you have the correct dimensions and materials needed for the project. Here’s what you need to do:
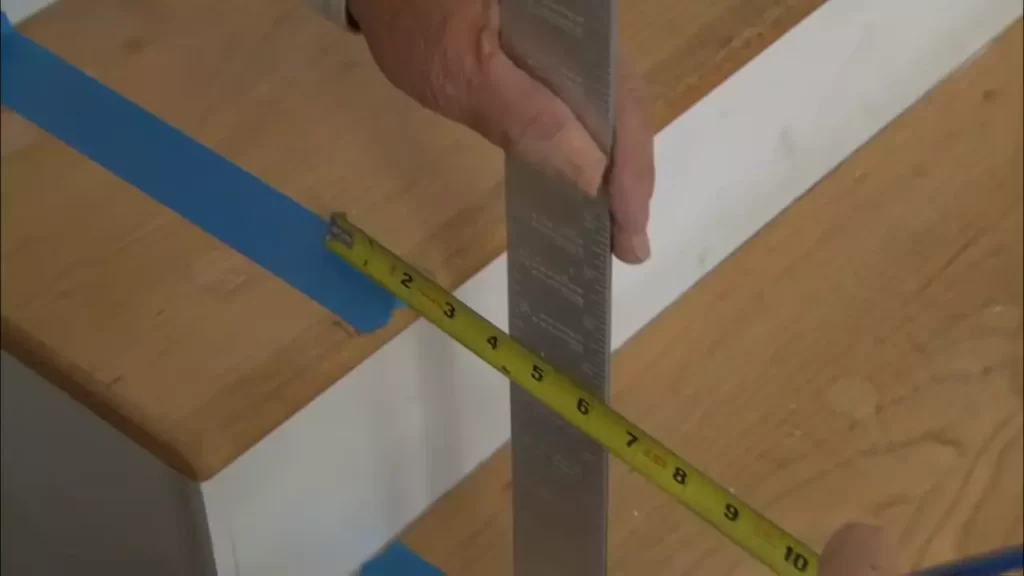
- Measure the length of the stairs: Using a tape measure, determine the total length of the stairway where the banister will be installed. Make sure to measure from the bottom step to the top step to get an accurate measurement.
- Consider the handrail height: The standard handrail height is usually around 34 to 38 inches from the stair nosing. However, check your local building codes for any specific requirements.
- Plan the banister placement: Decide on the side of the stairs where you want to install the banister. Typically, it should be on the side opposite to the wall for better stability and support.
- Mark the desired position: Use a pencil or a masking tape to mark the exact position of the banister on the wall and the stairs. This will act as a guide during installation.
Gathering the necessary tools and materials
Once you have measured and planned for the banister installation, it’s time to gather the required tools and materials. Having everything ready beforehand will streamline the process and prevent delays. Here’s a list of essential items you will need:
- Drill: A high-quality drill with the appropriate bits for both wood and wall installations.
- Screwdriver: Phillips or flathead screwdrivers, depending on the type of screws you will be using.
- Level: A level tool to ensure that the banister is installed perfectly straight.
- Tape measure: A tape measure for accurate measurements during installation.
- Screws and brackets: Choose screws and brackets suitable for your banister material and the surface it will be attached to.
- Banister material: This can vary depending on your preference, such as wood, metal, or a combination of both. Ensure it is of good quality and matches the style and décor of your home.
Ensuring safety precautions are in place
Before you start the banister installation, safety should be a top priority. Taking necessary precautions will minimize the risk of accidents and injuries. Consider the following safety measures:
- Wear protective gear: Put on safety goggles, gloves, and a dust mask to protect yourself from any potential hazards.
- Clear the area: Remove any obstacles or hazards near the staircase to prevent accidents or injuries while working.
- Secure the stairs: Ensure that the stairs are sturdy and in good condition before installing the banister. Repair any loose or damaged steps to create a solid base.
- Follow manufacturer’s instructions: Read and understand all instructions provided by the banister manufacturer. This will help you install the banister correctly for optimal safety and stability.
- Take breaks when needed: Installing a banister can be physically demanding. Don’t hesitate to take breaks to prevent exhaustion or muscle strain.
Removing Existing Components
Before you can install a new banister on your stairs, you’ll need to remove the existing components. This process involves disassembling and removing the current banister, removing any brackets or screws holding it in place, and patching and repairing any holes or damage left behind. In this section, we’ll walk you through each step to ensure a smooth and successful removal process.
Disassembling and removing the current banister
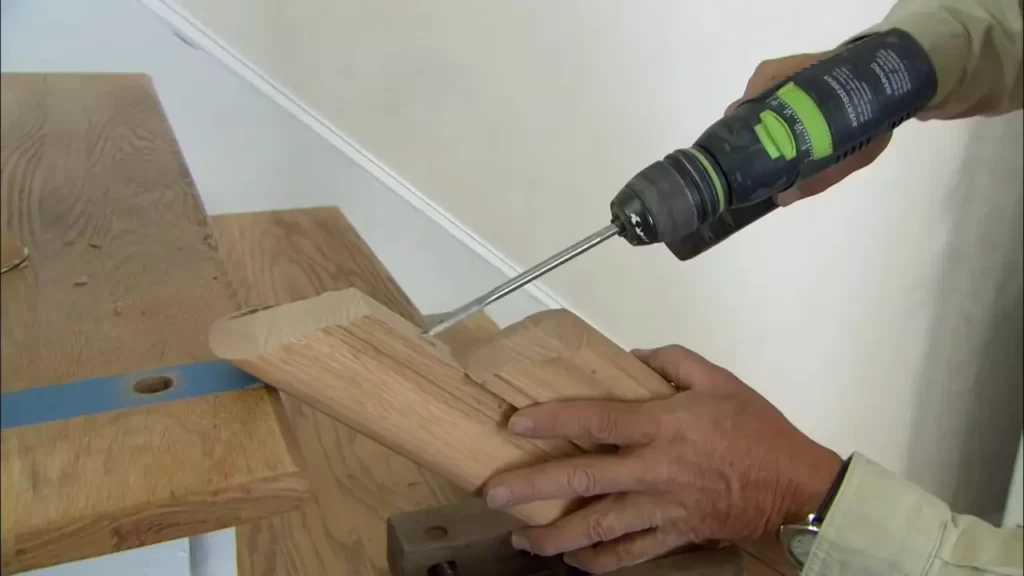
The first step in removing the banister is to disassemble it. This may involve removing any decorative end caps, finials, or trim pieces. Use a screwdriver or wrench to carefully loosen and remove any screws or bolts attaching these parts to the banister. Once the decorative elements have been removed, you can begin taking apart the banister itself. Look for any additional screws or bolts securing the banister to the stairs, and remove them using the appropriate tools.
Removing any brackets or screws holding the banister in place
In addition to the banister itself, there may be brackets or screws holding it securely to the stairs. These components need to be removed before installing your new banister. Start by visually inspecting the underside of the banister to locate any brackets or screws. Using a screwdriver or drill, carefully remove each screw or bolt, taking care not to strip the threads or damage the surrounding wood. Once all the brackets and screws have been removed, you can gently lift and remove the banister from the stairs.
Patching and repairing any holes or damage left behind
After the banister has been removed, you may notice holes or damage left behind on the stairs. It’s essential to patch and repair these areas before installing the new banister. If there are small holes or dents, you can use wood filler or putty to fill them in. Smooth the surface with sandpaper once the filler is dry for a seamless finish. For larger holes or more significant damage, you may need to consult a professional carpenter or contractor to ensure the repair is done correctly.
Installing The Banister Support Brackets
One important step in installing a banister on stairs is securing the banister support brackets. These brackets provide the necessary support and stability for the banister, ensuring it stays firmly in place. In this section, we will guide you through the process of installing the banister support brackets, from determining their ideal placement to attaching them securely to the wall.
Determining the ideal placement of the support brackets
The first step in installing the banister support brackets is determining their ideal placement. The placement of the brackets will depend on various factors such as the length of the banister, the type of banister material, and the desired height. Here are the steps to determine the ideal placement:
- Measure the length of the banister and divide it into equal sections.
- Consider the type of banister material and its recommended spacing guidelines.
- Take into account the desired height and position of the banister.
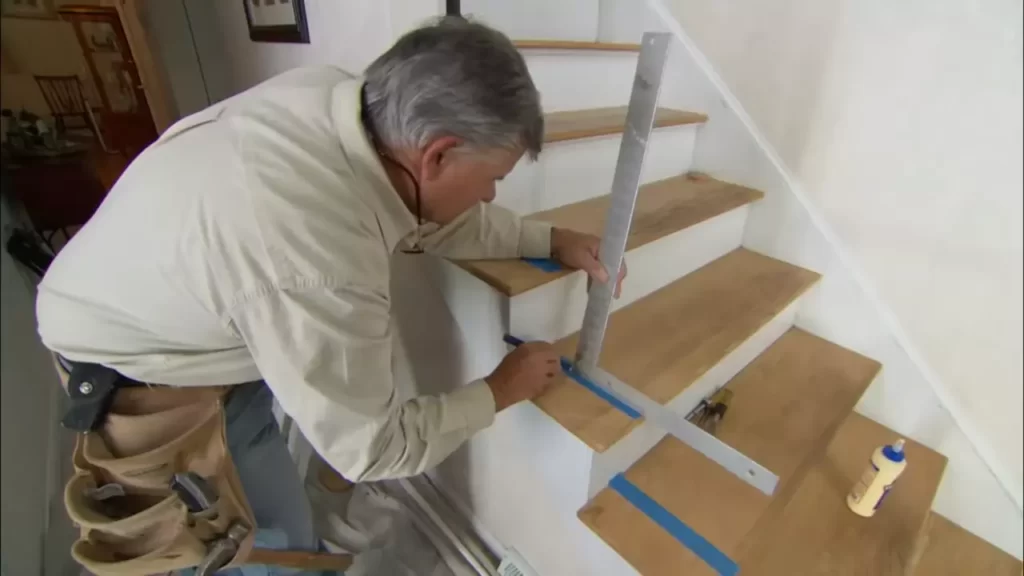
- Mark the spots on the wall where the support brackets will be installed using a pencil or tape measure.
Marking and drilling holes for the brackets
Once you have determined the ideal placement for the support brackets, the next step is marking and drilling holes for the brackets. Follow these steps to ensure proper installation:
- Using a measuring tape or level, double-check the accuracy of the marked spots on the wall.
- With a pencil or marker, make a small mark on each spot to indicate where the holes will be drilled.
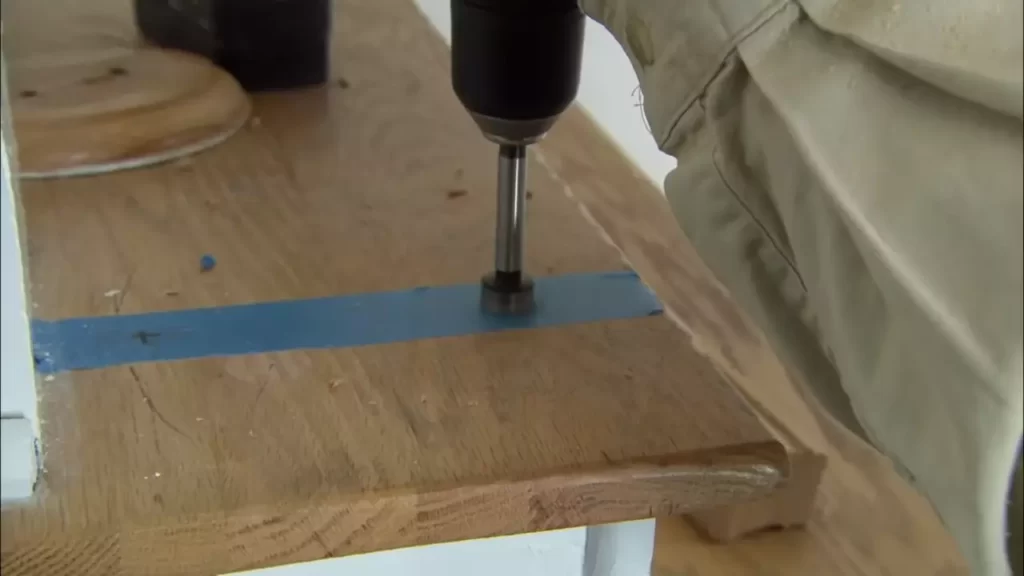
- Prepare your power drill with an appropriate drill bit size for the chosen bracket.
- Carefully drill holes into the wall at each marked spot, ensuring the depth matches the length of the bracket screws.
Attaching the brackets securely to the wall
Now that the holes are drilled, it’s time to attach the support brackets securely to the wall. Follow these steps to ensure a stable and secure installation:
- Align the bracket holes with the corresponding drilled holes in the wall.
- Insert the screws into the holes and tighten them using a screwdriver or drill.
- Make sure the brackets are firmly attached to the wall and do not wobble or move.
- Double-check the stability of the brackets by giving them a gentle tug.
- If necessary, use wall anchors or additional screws for added stability.
By following these steps, you can successfully install the banister support brackets on your stairs, providing a safe and secure handrail for your staircase.
Securing The Banister Rail
Securing the banister rail is a crucial step in the process of installing a banister on stairs. This ensures that the rail is stable and provides support and safety for anyone using the stairs. In this section, we will guide you through the steps of measuring and cutting the banister rail to the correct length, attaching the rail to the support brackets, and ensuring the banister is level and securely fastened.
Measuring and cutting the banister rail to the correct length
Before securing the banister rail, it is important to measure and cut it to the correct length. This ensures a precise fit and a finished look. Here’s how you can do it:
- Measure the distance between the two support brackets, ensuring accuracy.
- Mark the measurement on the banister rail using a pencil or marker.
- Use a saw suitable for the material of the banister rail to make a clean and straight cut. Take extra care to align the cut with the marked measurement.
By following these steps, you can ensure that the banister rail is cut to the correct length and ready for attachment.
Attaching the rail to the support brackets
Once the banister rail is cut to the correct length, it’s time to attach it to the support brackets. This process requires precision and attention to detail. Here’s what you need to do:
- Align the ends of the banister rail with the support brackets.
- Attach the rail to the brackets using screws.
- Ensure that the screws are firmly tightened, but be careful not to overtighten and damage the banister rail.
- Double-check the alignment and make any necessary adjustments to ensure the rail is level.
By following these steps, you can securely attach the banister rail to the support brackets, creating a sturdy foundation for your stairs.
Ensuring the banister is level and securely fastened
After attaching the banister rail to the support brackets, it’s important to ensure that it is level and securely fastened. This step is crucial for the safety and stability of the banister. Follow these guidelines:
- Use a level to check if the banister rail is straight and level.
- If necessary, make adjustments to the position of the rail or the support brackets to achieve a level installation.
- Once the rail is level, tighten all screws securely to prevent any movement or wobbling.
- Give the banister rail a gentle shake to ensure it is firmly attached and does not loosen.
By ensuring that the banister is level and securely fastened, you can guarantee its stability and safety for anyone using the stairs.
Adding Decorative Elements
Optionally, adding decorative end caps or finials to the banister rail
Once the banister rail is installed on your stairs, you have the option to take it to the next level by adding decorative end caps or finials. These elements can add a touch of elegance and style to your banister, making it a focal point of your staircase.
You can choose from a wide variety of decorative end caps and finials, ranging from traditional designs to more contemporary styles. Whether you prefer sleek and minimalist or intricate and ornate, there is a decorative element that will suit your taste.
Here are a few options to consider:
- Classic end caps with simple, clean lines
- Ornate finials with intricate details
- Modern end caps with a sleek and minimalist design
- Rustic-inspired end caps for a farmhouse or cottage-style look
The process of adding decorative end caps or finials is relatively simple. You can typically attach them to the ends of the banister rail using screws or adhesive. Just make sure to follow the manufacturer’s instructions for a secure and durable installation.
Sanding and staining or painting the banister to match the décor
Once your banister is installed, you may want to transform its appearance to better match the overall décor of your space. Sanding and staining or painting the banister is a great way to achieve a seamless integration with your interior design.
Here’s how you can do it:
- Sanding: Start by sanding the banister rail to remove any existing finish or imperfections. Use sandpaper with a medium grit to smooth the surface. Work your way up to a finer grit for a polished result.
- Staining or painting: Once the banister is sanded, you can choose to stain it or paint it. If you prefer a natural look, staining is the way to go. Select a stain color that complements the rest of your decor. Alternatively, if you want a bold and vibrant banister, paint it with the color of your choice.
- Applying a protective finish: After staining or painting, it’s important to apply a protective finish to ensure the longevity of your banister. A clear coat of polyurethane or varnish will not only provide durability but also enhance the beauty of the banister.
Note: Make sure to follow the manufacturer’s instructions for the specific products you choose and allow for proper drying and curing time for a professional finish.
Applying a protective finish to the banister for durability
Adding a protective finish to your banister is essential for maintaining its durability over time. A finish acts as a shield, protecting the banister from scratches, stains, and everyday wear and tear.
Here’s how you can ensure the durability of your banister:
- Clean and prepare the banister: Before applying the protective finish, ensure that the banister is clean and free from dust or debris. You can use a damp cloth or a mild cleaner to wipe down the surface.
- Select the appropriate finish: Choose a finish that is suitable for your banister material. For wooden banisters, polyurethane or varnish are common options. For metal or wrought iron banisters, a clear sealant or powder coating may be more appropriate.
- Apply the finish: Using a brush or a cloth, evenly apply the protective finish to the banister. Make sure to follow the manufacturer’s instructions regarding the number of coats needed and the recommended drying time in between coats.
- Allow for proper curing time: Once the protective finish is applied, it’s important to allow for proper curing time. This will ensure that the finish hardens and provides maximum protection. Avoid using or placing any objects on the banister during this time.
By following these steps, you can ensure that your banister remains durable, while also enhancing its overall appearance.
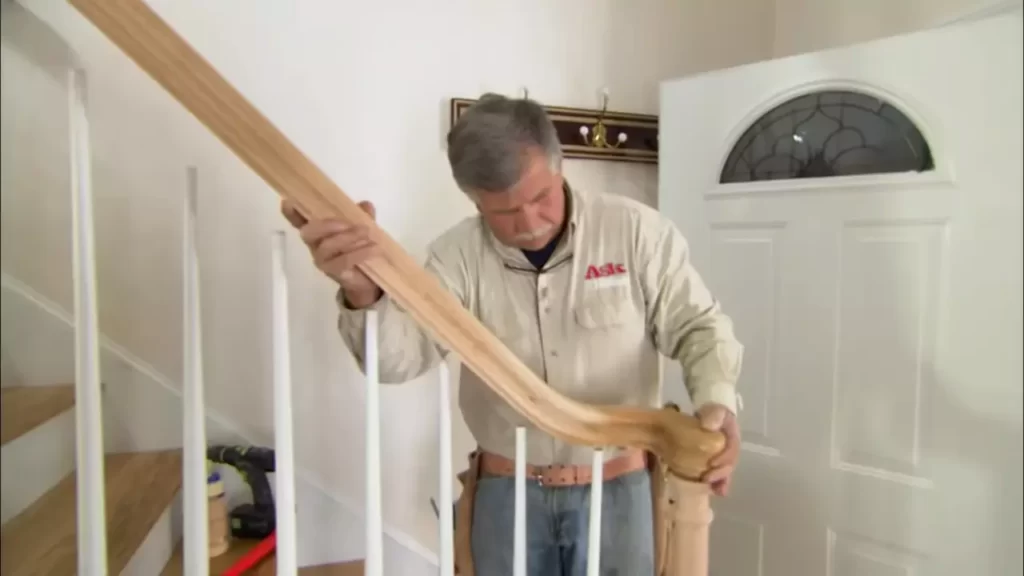
Testing And Finishing Touches
Inspecting the installed banister for stability and safety
Once you have successfully installed the banister on your stairs, it is crucial to inspect it for stability and safety. This step ensures that the banister will effectively serve its purpose of providing support and preventing accidents. Inspecting the banister involves checking for any wobbling or movement that could indicate an insecure installation.
- Start by applying gentle pressure to different parts of the banister to test its stability. Make sure to do this at various points along the staircase to determine if there are any weak spots.
- Ensure that the banister is securely fastened to the wall or newel posts. Check all the screws and bolts to make sure they are tightened properly.
- Check if the banister is at an appropriate height and angle. It should be easily reachable and provide adequate support when ascending or descending the stairs.
- Inspect the banister for any splinters or sharp edges that could potentially cause injuries. Sand down any rough areas and apply a protective finish if necessary.
Making any necessary adjustments or tightening of screws
After inspecting the banister for stability and safety, it is important to make any necessary adjustments to ensure its optimal functionality. This can involve tightening screws, adjusting the angle, or reinforcing weak areas.
- Check each screw and bolt to ensure they are tightly secured. Use a screwdriver or an appropriate tool to tighten them if needed.
- If you notice any wobbling or movement during the inspection, consider using additional screws or anchors to reinforce the banister’s installation.
- Adjust the banister’s angle if it is not aligned correctly. It should provide a comfortable grip and support while ascending or descending the stairs.
- Make any necessary repairs, such as replacing damaged or loose parts, to ensure the banister is in optimal condition.
Cleaning up the work area and finalizing the installation
Once all adjustments and tightenings have been made, it’s time to clean up the work area and put the finishing touches on the banister installation.
- Remove any debris or tools from the staircase and surrounding area. Ensure that the stairs are clean and safe.
- Wipe down the banister using a damp cloth to remove any dust or residues accumulated during the installation process.
- If necessary, apply a suitable finish or paint to protect the banister and enhance its appearance. Follow the manufacturer’s instructions for proper application.
- Step back and visually inspect the banister to ensure it meets your desired aesthetic and functional requirements.
- Celebrate your successful installation and enjoy the enhanced safety and elegance the banister brings to your stairs!
Frequently Asked Questions Of How To Install A Banister On Stairs
Can You Fit A Bannister Yourself?
Yes, you can fit a bannister yourself. Just make sure to follow the instructions carefully.
How Do You Attach A Handrail To Stairs?
To attach a handrail to stairs, follow these steps:
1. Determine the desired height and angle of the handrail.
2. Use a measuring tape and pencil to mark where the handrail will be attached.
3. Pre-drill holes into the marks using a drill.
4. Attach metal brackets or brackets designed for handrails to the pre-drilled holes.
5. Securely fasten the handrail to the brackets using screws or bolts.
How Do You Install A Spindle Banister?
To install a spindle banister, measure the distance between each spindle and mark the positions on the banister. Pre-drill holes in the banister and attach the spindles using screws or dowels. Check the alignment and make sure they are secure.
Finally, paint or stain the banister for a finished look.
How High Should A Handrail Be On A Stair Banister?
A handrail on a stair banister should be positioned at a height of approximately 34 to 38 inches above the stairs. This height ensures proper support and safety while ascending or descending the stairs.
Conclusion
Installing a banister on stairs is a manageable task that can greatly enhance the safety and aesthetics of your home. By following the step-by-step instructions outlined in this guide, you can successfully complete the installation process without any hassle. Remember to choose a suitable banister material, measure and mark the proper positions, and secure the banister firmly to ensure durability and stability.
Enhance your staircase and transform your space with this simple DIY project!
