To install stair carpet treads, measure and cut the treads to fit the stairs, secure them to the tread using adhesive or staples, and trim any excess carpet. Now, let’s dive into the process of installing stair carpet treads.
Installing carpet treads on your stairs can add both style and safety to your home. Whether you have hardwood or concrete stairs, carpet treads provide a non-slip surface and reduce noise. Additionally, they can protect the stairs from wear and tear.
We will guide you through the step-by-step process of installing stair carpet treads. By following these instructions, you can transform your staircase into a beautiful and functional space. So, let’s get started and learn how to install stair carpet treads effectively.
Factors To Consider When Selecting Stair Carpet Treads
Installing carpet treads on your stairs not only adds warmth and comfort but also provides an opportunity to enhance the overall aesthetic appeal of your home. However, choosing the right stair carpet treads involves several important factors to consider. From durability and style to size and fit, each element plays a crucial role in ensuring you select the right carpet treads for your stairs. Let’s explore these factors in detail to help you make an informed decision.
Durability
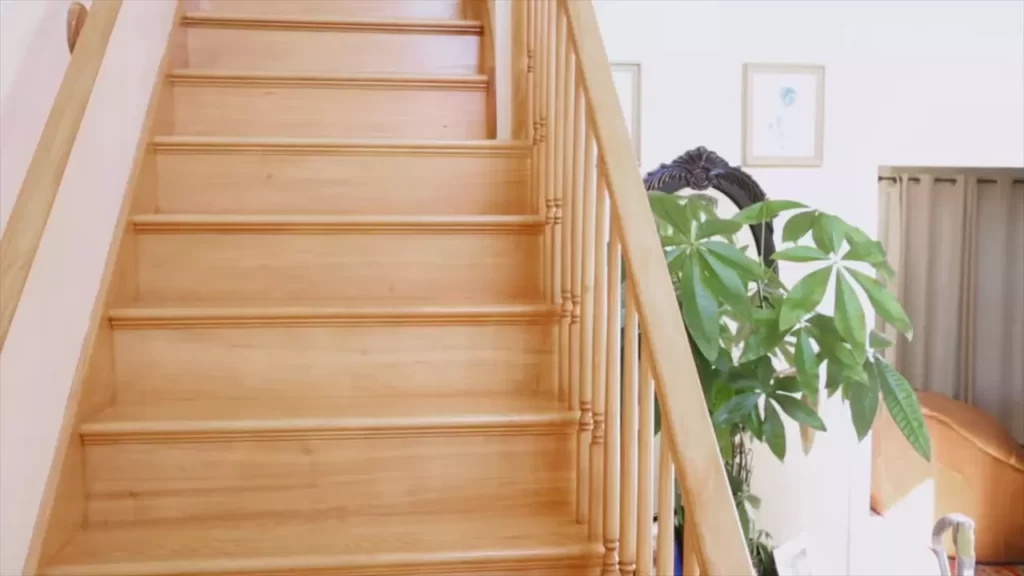
When it comes to selecting stair carpet treads, durability is paramount. Your stairs experience high levels of foot traffic, which can quickly wear down weaker materials. Therefore, opt for carpet treads that are specifically designed for high-traffic areas. Look for materials such as nylon or polyester, which are known for their durability and resilience. These materials not only withstand daily wear and tear but also retain their appearance over an extended period.
Style and Design Options
In addition to durability, the style and design of your stair carpet treads are essential in creating a cohesive and visually appealing look. Consider the overall interior design theme of your home and choose carpet treads that complement it. Whether you prefer a classic look with solid colors or a more contemporary feel with patterns and textures, the vast array of style options available ensures you’ll find the perfect match for your staircase.
Size and Fit
Another crucial factor to consider is the size and fit of the stair carpet treads. Proper measurement is vital to ensure a seamless installation. Before purchasing, carefully measure the width and depth of each individual stair, taking into account any curved or rounded edges. Purchasing treads that fit snugly will prevent any slipping or tripping hazards. Additionally, paying attention to the thickness of the carpet treads will help you determine their compatibility with your stairs.
By considering these factors, you can confidently select stair carpet treads that not only withstand the test of time but also add a touch of elegance and comfort to your home. Remember, durability, style and design options, and size and fit are all essential elements when it comes to choosing the right stair carpet treads for your staircase.
Removing The Old Carpet
Gather Necessary Tools
Before you begin removing the old carpet from your staircase, it’s important to gather the necessary tools to ensure a smooth process. Here’s a checklist of the tools you’ll need:
| Tool | Description |
|---|---|
| Utility knife | To cut and remove the carpet |
| Pry bar | To lift and loosen the carpet |
| Pliers | To remove any staples or tacks |
| Hammer | To aid in removing stubborn staples or tacks |
| Vacuum cleaner | To remove debris and dust from the staircase |
Remove Existing Carpet
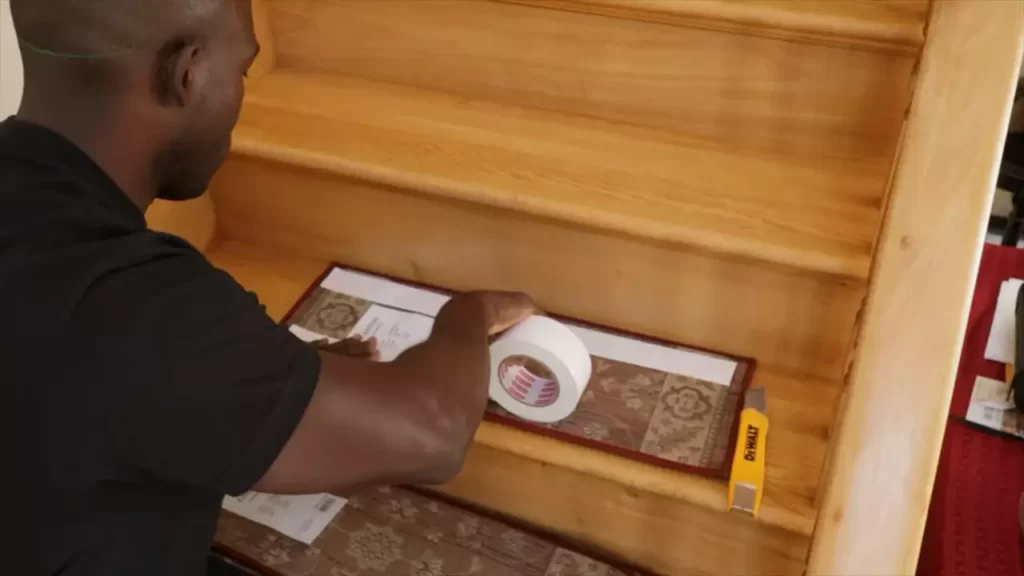
Now that you have all the necessary tools at hand, it’s time to remove the existing carpet from your staircase. Follow these steps:
- Start by cutting the carpet into manageable sections using the utility knife. Begin at the top or bottom of the stairs, whichever you prefer.
- Use the pry bar to lift and loosen the carpet, starting from one end and working your way to the other. Be cautious not to damage the underlying stairs or the carpet treads.
- Once the carpet is loosened, use the pliers to remove any staples or tacks that are still attached to the stairs.
- In some cases, you may encounter stubborn staples or tacks that require extra force to remove. In such situations, carefully use the hammer to aid in their removal.
- Continue this process until all sections of the old carpet have been removed from the staircase.
Clean the Staircase
After successfully removing the old carpet, it’s crucial to clean the staircase thoroughly to provide a clean foundation for installing the new stair carpet treads. Here are the steps to follow:
- First, use the vacuum cleaner to remove any loose dirt, dust, or debris from the stairs.
- Next, inspect the stairs for any remaining staples, tacks, or adhesive residue. Use the pliers or the utility knife to carefully remove any remaining remnants.
- Once the stairs are free from any debris or remnants, use a mild detergent mixed with warm water to clean the surface of the stairs. Gently scrub the treads using a soft brush or sponge.
- Rinse the stairs with clean water and wipe them dry using a clean cloth or towel.
- Allow the staircase to air dry completely before proceeding with the installation of the new stair carpet treads.
With the old carpet removed and the staircase clean, you’re now ready to move onto the next step of installing your new stair carpet treads. Stay tuned for our upcoming blog posts on the installation process.
Preparing The Staircase For New Treads
Before installing new stair carpet treads, it is crucial to prepare the staircase properly. This will ensure that the process goes smoothly, and the final result is both visually appealing and safe. In this section, we will guide you through the necessary steps to prepare your staircase for the installation of new treads.
Inspect the Stairs for Damage
The first step is to carefully inspect the stairs for any signs of damage. This includes checking for loose boards, cracks, chips, or any other structural issues that may affect the installation of the carpet treads. Even small inconsistencies should not be overlooked, as they can worsen over time and compromise the stability of the steps. To perform a thorough inspection, follow these steps:
- Check each step individually, paying close attention to the edges and corners.
- Look for any signs of rot, warping, or mold, which could indicate water damage.
- Examine the risers, stringers, and balusters to ensure they are intact and securely attached.
If you discover any damage during the inspection, it is crucial to address it before proceeding with the installation of new treads.
Repair or Replace Damaged Sections
If you come across any damaged sections during the inspection, it is important to repair or replace them promptly. Ignoring the repairs can lead to further damage and compromise the safety of the stairs. Depending on the extent of the damage, you may need to:
- Tighten loose boards or replace any that are beyond repair.
- Fill cracks, chips, or gaps with wood putty or epoxy filler.
- If necessary, replace any rotting or severely damaged wood components.
By ensuring that the stairs are structurally sound, you will create a solid foundation for the installation of the new carpet treads.
Sand and Smooth the Stairs
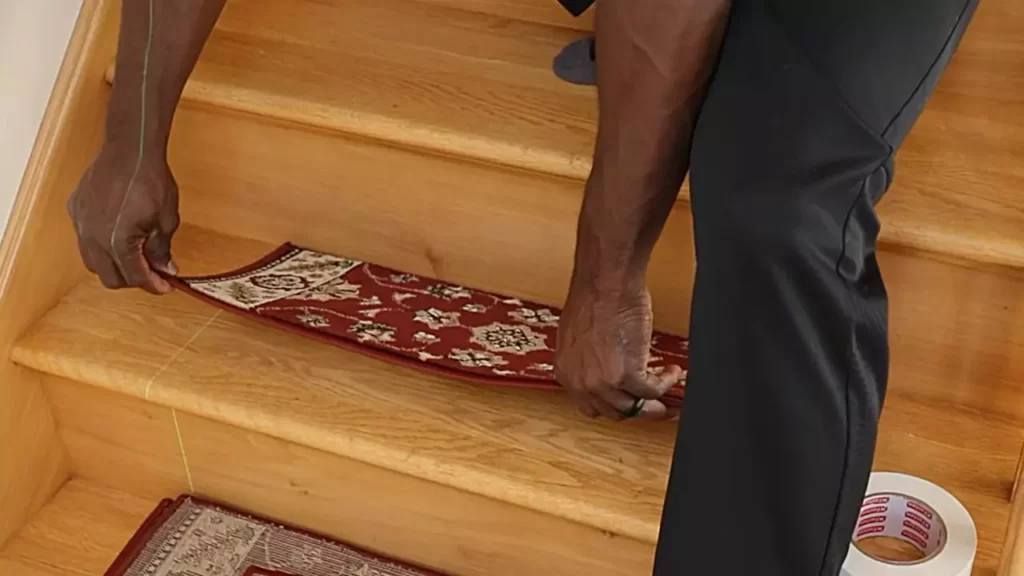
Once you have addressed any damage, the next step is to sand and smooth the stairs. This is especially important if the current treads or adhesive residue are still present on the steps. Follow these steps to prepare the surface:
- Start by sanding the treads and risers with medium-grit sandpaper to remove any roughness or imperfections.
- Use a small brush or vacuum cleaner to remove dust and debris from the surface.
- For a smooth finish, sand the stairs again with fine-grit sandpaper.
- Wipe down the surface with a damp cloth or sponge to remove any leftover dust.
By sanding and smoothing the stairs, you will create a clean and even surface, ready for the installation of your new carpet treads.
Measuring And Cutting The Treads
Installing carpet treads on your stairs can create a warm and inviting atmosphere while providing safety and protection. However, before you can install the treads, you need to accurately measure and cut them to the correct size. In this section, we will guide you through the process of measuring and cutting the treads to ensure a perfect fit for your stairs.
Measure the Stairs
The first step in installing carpet treads is to accurately measure your stairs. This will help you determine the dimensions needed for cutting the treads. To measure your stairs, you will need:
- Tape measure
- Pencil or marker
Starting from the bottom of the first step, measure the width of the step from side to side. Make sure to measure the widest point, including any moldings or overhangs. Write down this measurement.
Next, measure the depth of the step by extending your tape measure from the front edge to the back edge. Once again, take note of this measurement.
Repeat this process for each step, ensuring to measure both the width and depth accurately. It’s essential to measure each step individually, as even a slight variation can affect the fit of the treads.
Mark and Cut the Treads to Size
Once you have all the necessary measurements, it’s time to mark and cut the treads to the correct size. Here’s what you’ll need:
- Carpet treads
- Straight edge or ruler
- Utility knife or carpet cutter
Begin by placing your carpet tread on a flat surface with the backside facing up. Using the measurements you took earlier, use a straight edge or ruler to mark the dimensions onto the tread. Be precise with your markings to ensure an accurate cut.
After marking the dimensions, carefully cut along the lines using a utility knife or carpet cutter. Make sure to apply firm, steady pressure to achieve clean and straight cuts. Take your time and focus on accuracy to prevent any unnecessary waste or irregular shapes.
Repeat this process for each carpet tread, ensuring that the dimensions match the measurements taken for each specific step. Double-check your cuts to avoid any errors before moving on to the next step of the installation process.
Test the Fit
Once you have cut all the treads to size, it’s time to test the fit on your stairs. Start from the bottom of the staircase and place each tread on its corresponding step, ensuring that it covers the entire surface and fits snugly.
If you find that any of the treads are too wide or long, trim them as necessary using your utility knife or carpet cutter. It’s crucial to achieve a precise fit on each step to ensure safety and prevent tripping hazards.
Continue this process until all the treads are properly fitted and aligned on the stairs. Once you are satisfied with the fit, you can proceed to secure the treads in place using adhesive or carpet tape for a secure and long-lasting installation.
By following these steps to measure and cut the carpet treads, you will be on your way to transforming your stairs into a stylish and comfortable feature of your home. Take your time, be accurate in your measurements and cuts, and enjoy the process of enhancing both the appearance and safety of your staircase.
Attaching The Treads
After measuring and cutting the stair carpet treads to fit your staircase, it’s time to attach them securely. This step is crucial for ensuring a safe and durable installation. Follow these steps to properly attach the treads.
Applying the Adhesive
The first step in attaching the carpet treads is to apply adhesive. The adhesive will help keep the treads in place and prevent them from shifting or slipping when walked upon. Before applying the adhesive, make sure the stairs are clean and free from any dust or debris.
There are various types of adhesive available, but it’s recommended to use a high-quality adhesive specifically designed for carpet installation. Follow the manufacturer’s instructions for the specific adhesive you are using. Here are the general steps:
- Apply the adhesive evenly to the back of the carpet tread, using a notched trowel or a paint roller.
- Make sure to cover the entire surface of the tread with a thin layer of adhesive.
- Avoid applying too much adhesive, as it can seep through the carpet and cause stains.
Placing the Treads
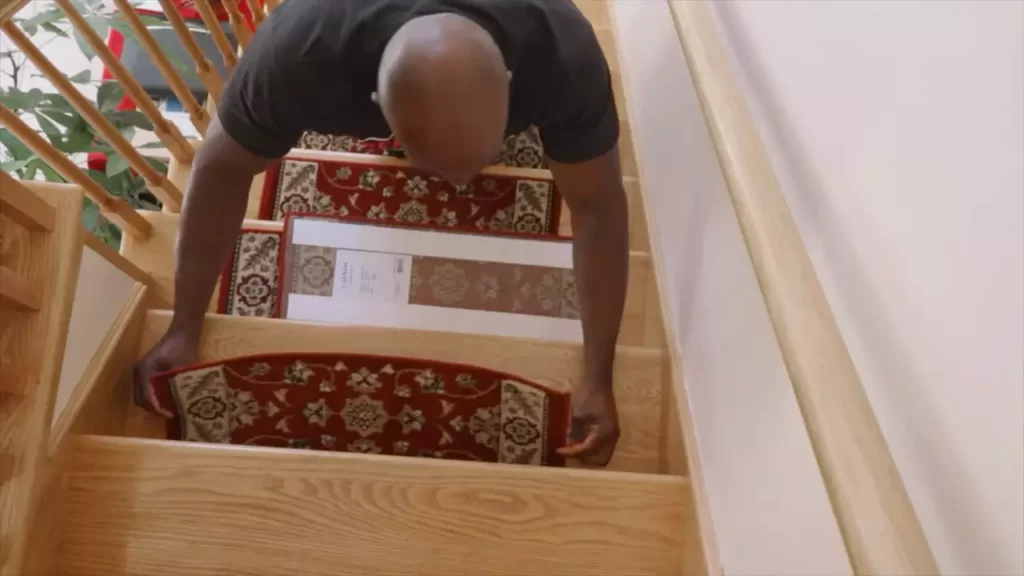
Once the adhesive is applied, carefully place the carpet tread onto the corresponding step. Start from the bottom of the staircase and work your way up. Make sure the tread is aligned properly with the step’s edges and centered before moving on to the next step. Adjust the position if needed.
Repeat this process for each carpet tread until all the steps are covered. Take your time to ensure that each tread is securely in place before proceeding to the next one. This will help maintain a uniform appearance and prevent any issues with the installation.
Securing the Treads in Place
To further secure the treads, use a carpet stretcher or knee kicker to stretch the carpet across each step. This will help eliminate any wrinkles or bulges in the carpet and ensure a tight, smooth fit.
Additionally, you can use a staple gun or carpet tacks to further secure the edges of the treads. Make sure to place the staples or tacks along the edges and corners of the treads, avoiding the center area where people walk. This will help keep the treads firmly in place while minimizing any tripping hazards.
Once you have attached all the treads and secured them in place, allow the adhesive to dry completely before allowing regular foot traffic on the stairs. Following these steps will ensure a proper and long-lasting installation of your stair carpet treads.
Finishing Touches
Introduction
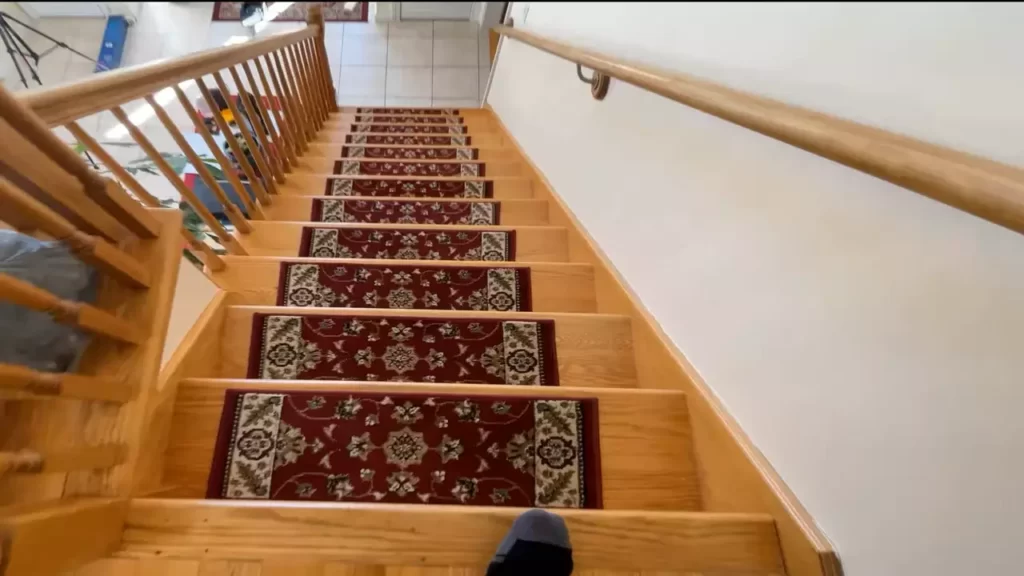
Once you have successfully installed stair carpet treads, it’s time to add those finishing touches that will not only enhance the appearance of your stairs but also ensure the longevity of your carpet. In this section, we will cover three important steps: trimming excess carpet, applying edge trim, and cleaning and maintaining the carpet stair treads. Let’s dive right in!
Trimming Excess Carpet
After installing the carpet stair treads, you may notice that there is some excess carpet protruding from the edges. Trimming this excess carpet is essential for a clean and polished look. To start the process, gather these tools:
- Utility knife
- Straightedge ruler
Now, carefully follow these steps to trim the excess carpet:
- Secure the straightedge ruler against the edge of the tread, making sure it is parallel to the riser.
- Using the utility knife, cut along the straightedge, ensuring a neat and straight line.
- Repeat this process for all the edges of the carpet stair treads.
By trimming the excess carpet precisely, you will not only achieve a professional finish but also prevent any tripping hazards caused by loose ends.
Applying Edge Trim
Applying edge trim to the carpet stair treads is crucial for securing the edges and preventing fraying over time. This simple step can significantly prolong the lifespan of your carpet. Follow these steps to apply edge trim:
- Measure the length of each edge that requires edge trim.
- Using the measurements, cut the edge trims accordingly.
- Apply a small amount of adhesive on the back of the edge trim.
- Starting from one end, press the edge trim firmly onto the edge of the carpet, aligning it properly.
- Continue applying the edge trim along the entire edge, making sure it is securely attached.
By applying edge trims, you will not only protect your carpet from unraveling but also add an aesthetically pleasing finishing touch to your stairs.
Cleaning and Maintaining the Carpet Stair Treads
Proper cleaning and maintenance are essential to keep your carpet stair treads looking fresh and in top condition. Here are some tips to ensure your carpet stays clean and lasts longer:
- Vacuum the carpet regularly to remove dust, dirt, and debris.
- For stains or spills, blot the affected area immediately with a clean cloth or paper towel.
- Use a mild carpet cleaner specifically designed for stair carpets, following the manufacturer’s instructions.
- Avoid using harsh chemicals or scrubbing forcefully, as they can damage the carpet fibers.
- Consider using carpet protectors or runners in high-traffic areas to minimize wear and tear.
By following these cleaning and maintenance practices, you can preserve the appearance and longevity of your carpet stair treads for years to come.
Frequently Asked Questions For How To Install Stair Carpet Treads
Do You Put Carpet Stair Tread On Top Step?
Yes, carpet stair treads can be installed on the top step.
How Do You Install Stair Treads On Stairs?
To install stair treads on stairs, follow these steps:
1. Measure and cut treads to fit each step.
2. Clean the stairs thoroughly.
3. Apply adhesive to the back of each tread.
4. Press the tread firmly onto the step.
5. Secure the tread with nails or screws.
Do Carpet Stair Treads Stay In Place?
Yes, carpet stair treads stay in place securely. They are designed with adhesive backing or non-slip material to prevent slipping and shifting. They provide stability and safety while walking on stairs.
How Do You Attach Carpet To Wood Stairs?
To attach carpet to wood stairs, follow these steps:
1. Start by measuring and cutting the carpet to fit the stairs.
2. Apply carpet adhesive or double-sided carpet tape to the stairs.
3. Lay the carpet onto the adhesive or tape, starting from the bottom step.
4. Smooth the carpet with a carpet roller to remove any air bubbles.
5. Finally, trim any excess carpet and secure the edges with carpet tacks or trim strips.
Conclusion
Installing stair carpet treads doesn’t have to be a daunting task. By following the step-by-step instructions provided in this blog post, you can easily transform your staircase and enhance its safety and beauty. Remember to gather all the necessary tools and materials before starting the installation process.
With a little time and effort, you’ll have a stunning staircase with carpet treads that will make a lasting impression. Enjoy the process and admire the results!
