To install crown molding on a sloped ceiling, use a miter saw to cut the molding at the correct angles and attach it using construction adhesive and finishing nails, ensuring a secure and even placement. If you want to add an elegant touch to your sloped ceilings, installing crown molding can be a great solution.
Crown molding provides a smooth transition between the walls and the ceiling, enhancing the visual appeal of any room. However, installing crown molding on a sloped ceiling can be a bit challenging. In this guide, we will walk you through the step-by-step process of installing crown molding on a sloped ceiling, ensuring a professional and polished finish.
By following these instructions, you’ll be able to achieve a stunning and seamless look in your space. So, let’s dive in and get started on your crown molding installation project.
Understanding The Challenges Of Sloped Ceilings
Installing crown molding on a sloped ceiling can be a tricky task that comes with its own set of challenges. Unlike traditional flat ceilings, sloped ceilings require extra planning and attention to detail. Understanding these challenges will help you ensure a successful installation and achieve a beautiful finished look.
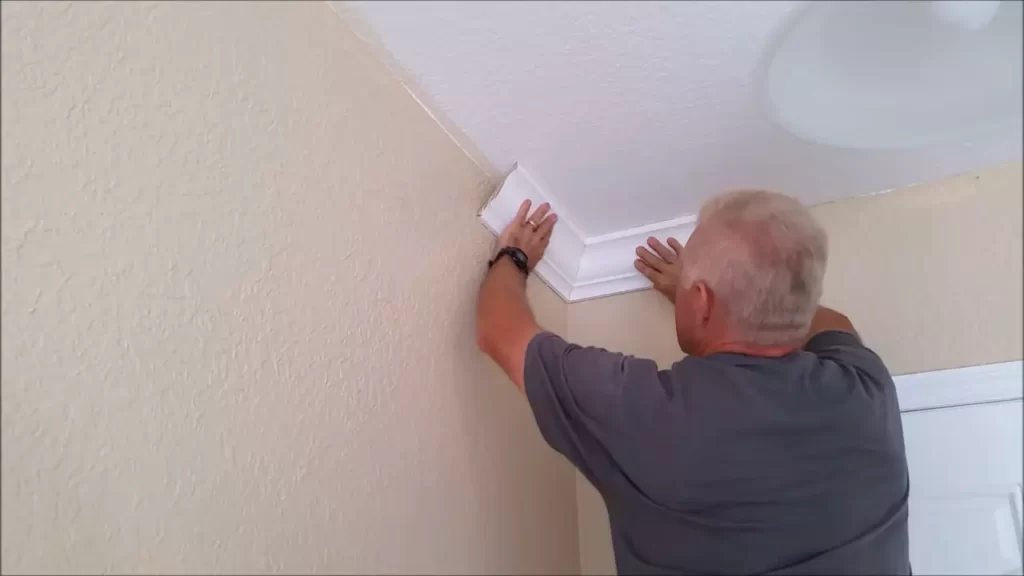
Common issues when installing crown molding on sloped ceilings
When it comes to installing crown molding on sloped ceilings, there are several common issues that you may encounter. These challenges include:
- Uneven angles: Sloped ceilings often have uneven angles, making it difficult to cut the crown molding accurately for a seamless fit. This can result in gaps or uneven joints.
- Complex layouts: Sloped ceilings can have complex layouts, with multiple peaks and valleys. This adds an additional layer of difficulty when determining where to install the crown molding and how to navigate around obstructions.
- Structural limitations: Sloped ceilings may have structural limitations, such as beams or rafters, which can make it challenging to install crown molding in certain areas.
- Moisture and temperature changes: Sloped ceilings are more prone to moisture and temperature changes, which can impact the stability of the crown molding over time. It is important to choose materials that can withstand these conditions.
Choosing the right materials for the job
Choosing the right materials is crucial when installing crown molding on a sloped ceiling. Not all materials are suitable for this type of installation, so it is important to consider the following:
- Flexible molding: Using flexible molding can help accommodate the uneven angles and curves of a sloped ceiling. This type of molding is designed to bend and flex, making it easier to achieve a seamless installation.
- Moisture-resistant materials: Since sloped ceilings are more prone to moisture, it is important to choose moisture-resistant materials for your crown molding. This will help prevent warping or damage in humid conditions.
- Lightweight options: Sloped ceilings may have weight restrictions due to structural limitations. Opting for lightweight materials will ensure that the crown molding does not put excessive strain on the ceiling.
- Durable finishes: Choosing a durable finish for your crown molding will help it withstand temperature changes and maintain its appearance over time. Look for finishes that are resistant to fading, chipping, and discoloration.
By understanding the challenges of installing crown molding on a sloped ceiling and selecting the right materials for the job, you can overcome these obstacles and create a stunning look that adds elegance and style to any room. Keep these considerations in mind as you tackle your crown molding installation project, and enjoy the transformation of your sloped ceiling.
Measuring And Planning For The Installation
Before you begin installing crown molding on a sloped ceiling, it’s essential to take accurate measurements and create a detailed plan to ensure a seamless and professional-looking installation. By following these steps, you’ll be well-prepared to tackle this challenging project with confidence.
Taking Accurate Measurements of the Sloped Ceiling
Measuring the sloped ceiling accurately is the crucial first step in planning the installation of crown molding. To obtain precise measurements, follow these steps:
- Start by measuring the length of each wall where the crown molding will be installed. Use a tape measure and record the measurements for reference.
- Next, measure the height of the ceiling at various points along the sloped surface. Take multiple measurements to account for any variations in the slope.
- Note down the measurements and identify the highest point and the lowest point on the ceiling. This information will be used to determine the appropriate length of crown molding needed.
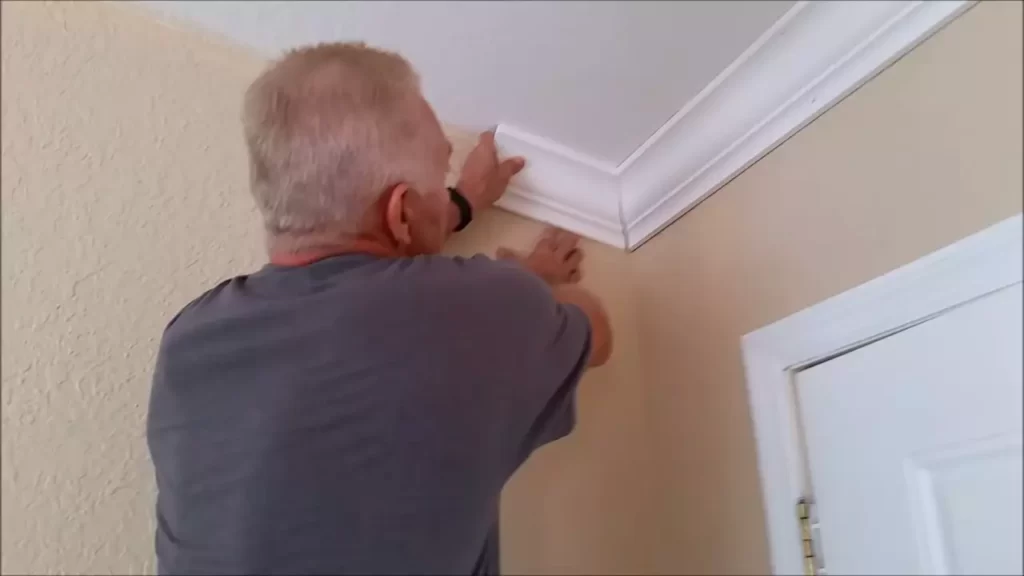
Determining the Appropriate Angles for Cutting the Crown Molding
With the measurements in hand, it’s time to determine the angles for cutting the crown molding. This step requires attention to detail and precise calculations.
- Start by calculating the angle of the sloped ceiling. To do this, measure the distance between the wall and the highest point of the ceiling. Use a protractor or an angle finder tool to determine the angle.
- Moving on, measure and determine the angle where the crown molding will meet each wall. Use a miter saw or a compound miter saw to make precise cuts at the identified angles.
- Remember to consider the type of corner joints you’ll be using, such as inside corners or outside corners. Each corner will require specific angles to ensure a seamless and tight fit.
Creating a Detailed Plan for the Installation
Having accurate measurements and angles is only half the battle. A detailed plan will help guide you through the installation process and prevent any mishaps along the way. Here’s how you can create an effective plan:
- Start by drawing a rough sketch of the room and the sloped ceiling. Use grid paper or a computer software program to create a scaled representation of the space.
- Mark the measurements you’ve taken on the sketch, including the length of the walls and the height of the slope.
- Indicate the angles for each wall and corner on the sketch. This will serve as a reference for cutting the crown molding accurately.
- Consider any architectural features, such as windows or doorways, and plan the crown molding installation around them.
By carefully measuring, determining the appropriate angles, and creating a detailed plan, you’ll be well-prepared to install crown molding on a sloped ceiling. These preparatory steps will save you time and ensure a successful outcome for your crown molding installation project.
Preparing The Ceiling And Crown Molding
Preparing the sloped ceiling surface for installation
Before you can begin installing crown molding on a sloped ceiling, it is important to prepare the surface properly. This will ensure a secure and professional-looking installation. Here are the steps you can follow to prepare the sloped ceiling surface:
- Start by cleaning the ceiling surface thoroughly. Remove any dirt, dust, or debris that may be present. You can use a broom or vacuum cleaner to accomplish this.
- Next, inspect the ceiling for any imperfections. Fill in any cracks or holes with spackle or joint compound, and then smooth them out using a putty knife. Let the compound dry completely and then sand it down until it is smooth.
- Once the surface is smooth, wipe it down with a damp cloth to remove any remaining dust or debris. This will ensure that the crown molding adheres properly to the surface.
- Finally, consider applying a coat of primer to the ceiling surface. This will help the crown molding adhere better and ensure a smoother finish. Allow the primer to dry completely before proceeding to the next step.
Cutting the crown molding to the correct lengths and angles
To ensure a perfect fit when installing crown molding on a sloped ceiling, it is important to accurately measure and cut the molding. Here’s how:
- Start by measuring the length of each wall where the crown molding will be installed. Use a tape measure to get an accurate measurement, and write down the dimensions.
- Next, determine the angle at which the ceiling slopes. You can use a digital angle finder or a protractor to obtain this measurement.
- Using a miter saw, cut the crown molding at a 45-degree angle, making sure to cut the ends to match the measurements you took earlier. It is important to cut the molding upside down to ensure the proper orientation.
- For sloped ceilings, you will also need to cut the molding at compound miter angles. These angles will vary depending on the pitch of the ceiling. Use the measurements you obtained earlier to determine the correct angles and adjust the miter saw accordingly.
- Remember to double-check your measurements and angles before making any cuts to ensure a precise fit.
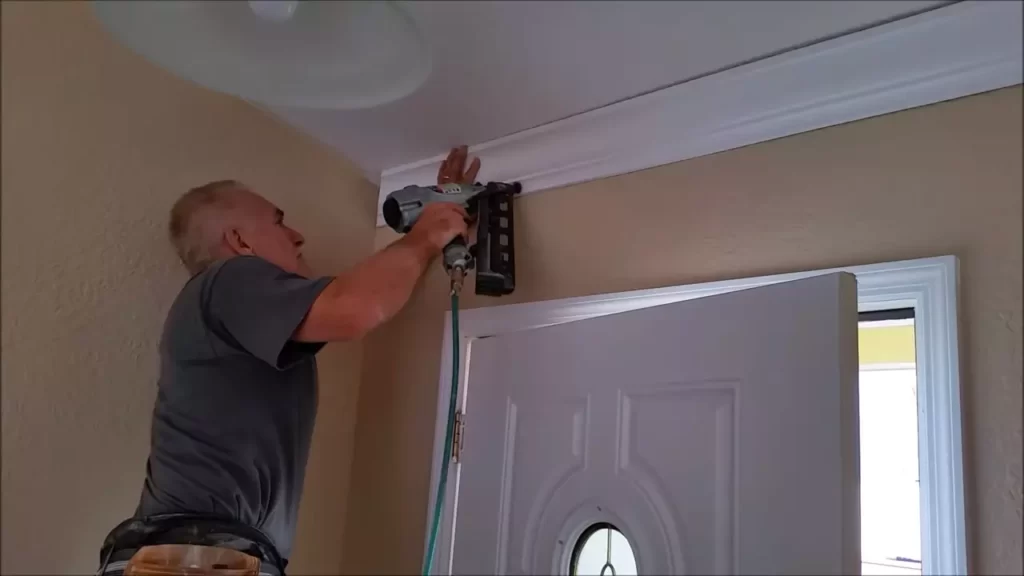
Sanding and priming the crown molding for a seamless finish
Before installing the crown molding on the sloped ceiling, it is important to sand and prime it for a seamless finish. Here’s what you need to do:
- Start by sanding the cut edges of the crown molding using fine-grit sandpaper. This will smooth out any rough edges or imperfections.
- Next, wipe down the molding with a damp cloth to remove any dust or debris created during the sanding process.
- Once the molding is clean and dry, apply a coat of primer using a paintbrush or roller. The primer will help seal the wood and create a smooth surface for the final paint or stain.
- Allow the primer to dry completely before proceeding with the installation. This may take a few hours or overnight, depending on the specific primer used.
By following these steps to prepare the sloped ceiling and crown molding, you will be well-prepared for a successful installation. Taking the time to properly prepare the materials and surfaces will help ensure a professional-looking finish that will enhance the beauty of your space.
Installing The Crown Molding On A Sloped Ceiling
Installing crown molding can add a touch of elegance and sophistication to any room. However, when it comes to a sloped ceiling, the process can become a bit more challenging. The unique angles and uneven surfaces require careful planning and execution. In this post, we will discuss the importance of a secure installation, using construction adhesive and nails to secure the crown molding, and how to properly align the crown molding on a sloped ceiling.
The importance of a secure installation
When it comes to installing crown molding on a sloped ceiling, a secure installation is crucial. The molding needs to stay in place and withstand any potential movement or shifting of the ceiling. To ensure a secure installation:
- Inspect the ceiling for any loose or damaged drywall. Repair any issues before proceeding with the installation.
- Measure and mark the locations where the crown molding will be attached.
- Use a stud finder to locate the ceiling joists. Securely attaching the crown molding to the joists will provide additional stability.
Using construction adhesive and nails to secure the crown molding
To ensure a strong and long-lasting installation, it is recommended to use construction adhesive in addition to nails. This combination will provide extra support and prevent the crown molding from coming loose over time. Follow these steps:
- Apply a generous amount of construction adhesive to the back of the crown molding, focusing on the areas that will be in direct contact with the ceiling and walls.
- Press the crown molding firmly against the ceiling, aligning it with the marked locations.
- Secure the crown molding with finish nails, driving them through the molding and into the ceiling joists.
- Wipe off any excess adhesive that may have squeezed out during the installation process.
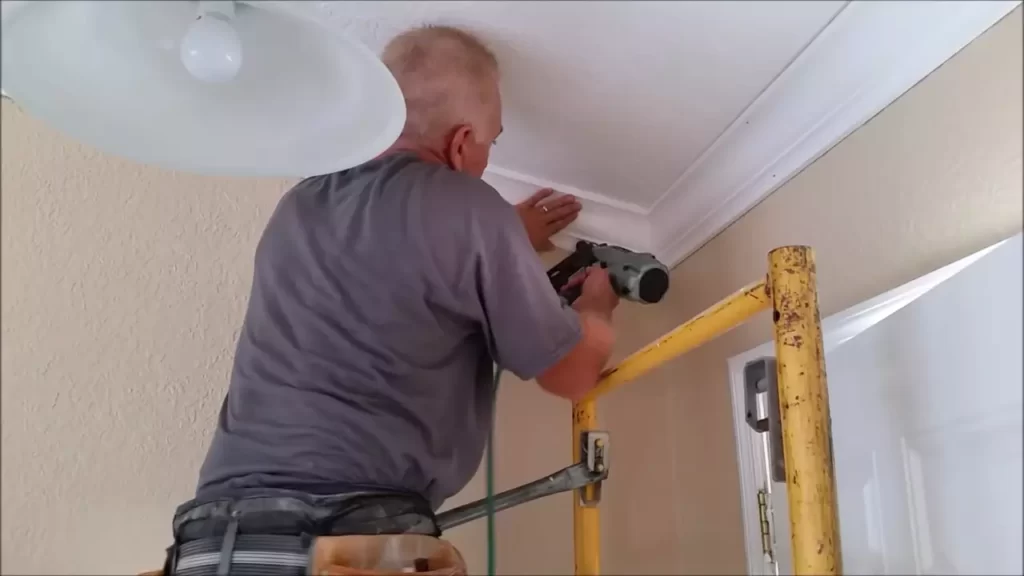
How to properly align the crown molding on the sloped ceiling
Proper alignment is key to achieving a professional and polished look when installing crown molding on a sloped ceiling. Follow these steps for accurate alignment:
- Start by measuring the angle of the sloped ceiling using a protractor or angle finder tool.
- Transfer the measured angle to the crown molding by using a miter saw to make the necessary cuts.
- Test fit the crown molding to ensure it aligns correctly with the sloped ceiling. Make any adjustments as needed.
- Once satisfied with the alignment, proceed with securing the crown molding in place using construction adhesive and nails.
By following these steps and taking the time to properly install and align the crown molding, you can achieve a beautiful and professional look on a sloped ceiling. Remember, a secure installation, the use of construction adhesive, and careful alignment are essential for a successful project.
Filling And Finishing The Crown Molding
Installing crown molding on a sloped ceiling can add a touch of elegance and sophistication to any room. However, to achieve a professional and seamless look, it is important to properly fill, sand, and finish the crown molding. When completing these steps, you can ensure that any gaps or seams are filled, the surface is smooth, and a final coat of paint or stain is applied to enhance the overall appearance of your crown molding.
Filling any gaps or seams in the crown molding
Before proceeding with the filling process, it is crucial to remove any dust or debris from the crown molding. This can be done by using a brush or vacuum cleaner. Once clean, you can use a high-quality wood filler or caulk to fill in any gaps or seams in the crown molding. Apply the filler or caulk using a putty knife, ensuring that it is evenly distributed and smoothed out. Allow the filler or caulk to dry according to the manufacturer’s instructions before moving on to the next step.
Sanding and smoothing the crown molding for a professional look
After the filler or caulk has dried, it is time to sand and smooth the crown molding. Start by using fine-grit sandpaper to gently sand the surface, being careful not to oversand and damage the molding. Use a back-and-forth motion, following the natural contours of the molding, to ensure an even finish. Once the crown molding feels smooth to the touch, wipe away any dust with a clean cloth.
To achieve an even smoother and more professional look, you can use a sanding sponge or finer-grit sandpaper to lightly sand the crown molding again. This step helps to eliminate any remaining imperfections and further prepares the surface for the final coat of paint or stain.
Applying a final coat of paint or stain to enhance the overall appearance
Now that the crown molding is filled, sanded, and smoothed, it is ready for the final finishing touch: a coat of paint or stain. Before applying the paint or stain, protect any adjacent surfaces with painter’s tape to avoid accidental stains or smudges.
If you choose to paint the crown molding, select a high-quality interior paint that complements your room’s color scheme. Using a paintbrush or roller, apply a smooth and even coat of paint, following the brush strokes in the same direction as the molding’s grain. Allow the paint to dry completely before applying additional coats, if necessary.
Alternatively, if you prefer the natural beauty of the wood, you can apply a stain to the crown molding. Before staining, make sure to select a wood stain that matches the desired finish. Apply the stain using a clean cloth or brush, following the wood grain. Wipe away any excess stains and allow it to dry thoroughly.
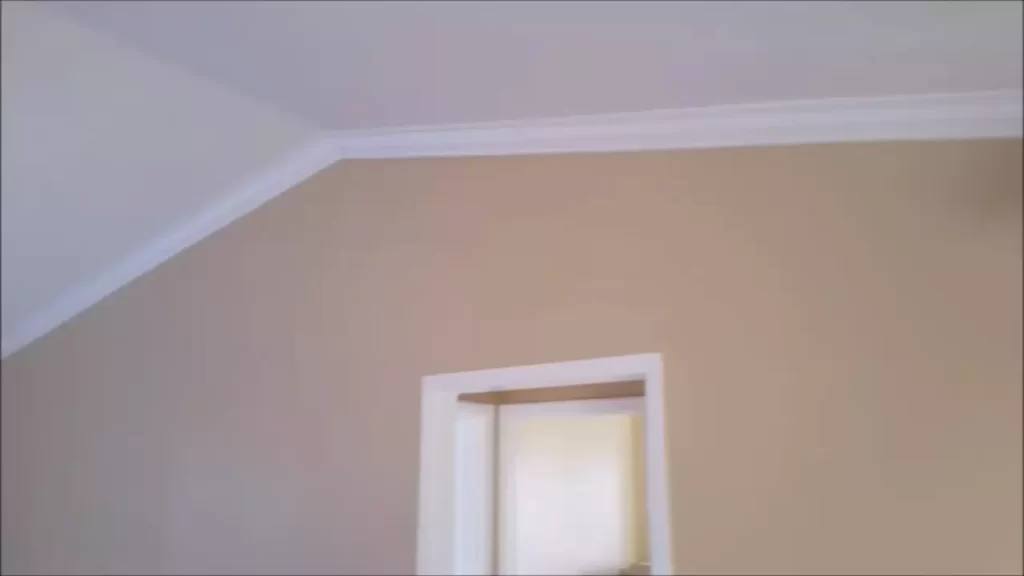
After the final coat of paint or stain has dried, remove the painter’s tape carefully. The crown molding is now successfully filled and finished, providing a stunning and polished look to your sloped ceiling.
Tips And Tricks For A Successful Installation
Installing crown molding on a sloped ceiling can be a challenging task, but with the right tips and tricks, you can achieve a professional-looking result. Whether you’re a seasoned DIY enthusiast or a beginner, these guidelines will help you navigate the complexities of installing crown molding on a sloped ceiling. Read on to discover the best practices for a successful installation.
Using a miter saw for precise angle cuts
One of the most crucial aspects of installing crown molding on a sloped ceiling is making precise angle cuts. To ensure a seamless fit, it’s essential to use a miter saw for cutting the molding at the correct angles. Here are some steps to follow:
- Measure the angle of the sloped ceiling using an angle finder tool.
- Transfer the angle to the miter saw by adjusting the bevel and miter angles accordingly.
- Position the molding against the saw fence, making sure it is flat and aligned.
- Make the angled cut, keeping a steady hand and applying even pressure.
By using a miter saw, you can achieve precise and clean cuts, ensuring that the crown molding fits perfectly on your sloped ceiling.
Using a coping saw for intricate or curved corners
Crown molding often requires intricate or curved cuts to fit corners accurately. While a miter saw is suitable for straight cuts, a coping saw is the ideal tool for these more complex cuts. Here’s how to use a coping saw for intricate corners:
- Miter-cut one end of the molding and fasten it to the wall.
- For the other end, use a coping saw to follow the profile of the first piece.
- Secure the second piece in place, ensuring a snug fit against the first piece.
- Smooth any rough edges with sandpaper for a seamless transition between the two.
A coping saw allows you to create precise, custom-fitted joints for corners with intricate or curved designs on your sloped ceiling.
Dealing with corners and intersections on a sloped ceiling
When installing crown molding on a sloped ceiling, dealing with corners and intersections can be a bit tricky. Here are some tips to navigate these challenges smoothly:
- Use a miter saw to cut each piece of the crown molding to the required length.
- For inside corners, make sure to cut the molding with the longer part on the bottom, ensuring a snug fit.
- For outside corners, cut the molding with the shorter part on the bottom to achieve a tight fit.
- If necessary, use wood glue or adhesive caulk to secure the corners in place and reinforce the joints.
By following these tips, you can ensure that the corners and intersections of your crown molding on a sloped ceiling are well-aligned, creating a polished and professional look.
With these tips and tricks in mind, you’re now armed with the knowledge to tackle the installation of crown molding on a sloped ceiling successfully. Remember to plan carefully, measure accurately, and use the right tools to achieve a seamless and visually appealing result. Happy molding!
Common Mistakes To Avoid
Installing crown molding on a sloped ceiling can add elegance and charm to any room. However, it is important to approach the installation process with care and precision to achieve the desired results. By avoiding these common mistakes, you can ensure a seamless and professional-looking finish that will leave your guests in awe.
Overlooking proper measurements and angles
One of the most crucial aspects of installing crown molding on a sloped ceiling is getting the measurements and angles right. Neglecting this step can lead to uneven gaps, unsightly seams, and an overall unbalanced appearance. To avoid this, take the time to properly measure the length of each wall and the angles where they intersect. Use a miter saw to make precise cuts at the correct angles and ensure a seamless fit.
Neglecting to secure the crown molding adequately
Once the crown molding is cut and ready to be installed, it is essential to secure it properly to the ceiling. Neglecting to do so can result in sagging or even falling crown molding. To prevent this, make sure to use a strong adhesive or nails specifically designed for crown molding. Consider using additional support, such as bracing or caulk, to ensure a secure and long-lasting installation.
Rushing the filling and finishing process
After the crown molding is installed and secured, it is important to take your time with the filling and finishing process. Rushing through this step can result in visible gaps, uneven surfaces, and a less polished appearance. Start by filling any gaps or seams with a paintable caulk or putty, and allow it to dry completely. Then, carefully sand the surfaces to create a smooth and even finish. Finally, apply paint or stain to match the rest of the room meticulously, ensuring a flawless end result.
Frequently Asked Questions Of How To Install Crown Molding On Sloped Ceiling
How Do You Install Crown Molding On An Angled Ceiling?
To install crown molding on an angled ceiling, follow these steps:
1. Measure and cut the molding to fit the angles of the ceiling.
2. Install a mounting strip along the top of the wall to secure the crown molding.
3. Attach the crown molding to the mounting strip using nails or adhesive.
4. Use caulk to fill any gaps or seams between the crown molding and the ceiling or wall.
5. Finish by sanding and painting the crown molding to match the surrounding area.
Should You Put Crown Molding On Slanted Ceiling?
Yes, you can put crown molding on a slanted ceiling. Crown molding can add elegance and visual interest to any space, including those with slanted ceilings. It helps to define the transition between the wall and ceiling, creating a finished look.
Just make sure to measure and cut the molding properly to fit the slanted angles.
Can You Put Crown Molding On A Vaulted Ceiling?
Yes, crown molding can be installed on a vaulted ceiling. It adds elegance and enhances the architectural appeal of the room. Professional installation is recommended for achieving a perfect fit and seamless transition. Enjoy the sophisticated look that crown molding brings to your vaulted ceiling.
What Angle Do You Cut Crown Molding On A Vaulted Ceiling?
To cut crown molding on a vaulted ceiling, you need to miter the angles. Measure the vaulted ceiling angle, then set your miter saw at half that angle. Make test cuts until you achieve a snug fit.
Conclusion
Installing crown molding on a sloped ceiling can transform any space, adding a touch of elegance and sophistication. With the right tools, materials, and techniques, this seemingly daunting task can be accomplished by anyone. By following the step-by-step instructions in this blog post, you can achieve professional-looking results.
Take your time, measure accurately, and remember to use patience and precision. With a little practice, you’ll soon be able to successfully install crown molding on any sloped ceiling, enhancing the overall aesthetic appeal of your home.
