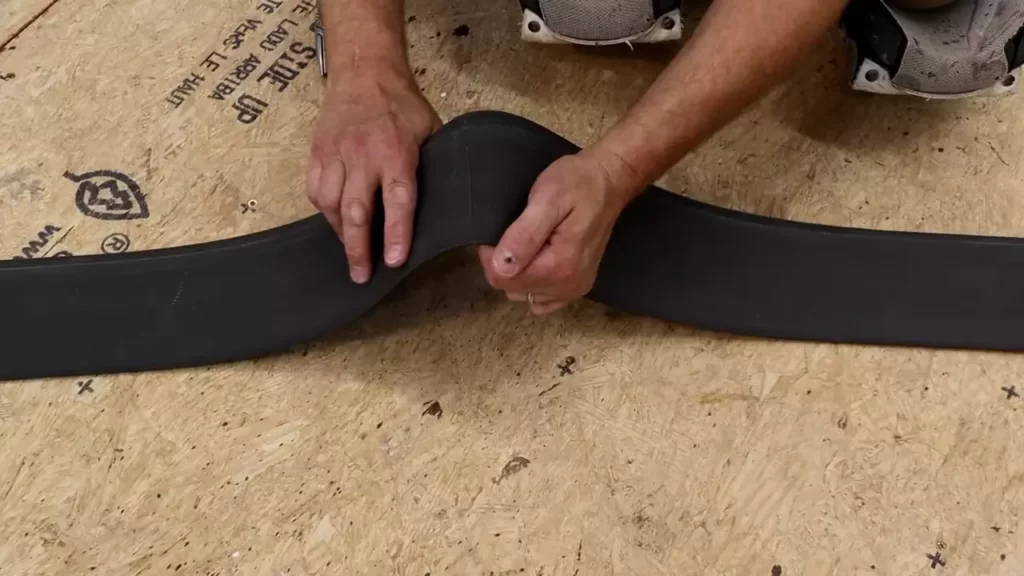
To install rubber molding, first, clean the surface where you want to apply it. Next, measure and cut the molding to the desired length, ensuring a snug fit.
Choosing The Right Rubber Molding For Your Project
Factors to Consider When Selecting Rubber Molding
Choosing the right rubber molding for your project is crucial to ensure a successful installation and long-lasting performance. To make an informed decision, there are several factors you should take into consideration:
- Material Types and Their Properties
- Purpose and Usage of Rubber Molding
- Compatibility with the Intended Surface
Material Types and Their Properties
When it comes to rubber molding, there are different material types available, each with its own unique properties and characteristics. It’s essential to understand these materials and their qualities to determine which one best suits your project needs.
Here are some common rubber molding material types:
| Material Type | Properties |
|---|---|
| Natural Rubber | High flexibility and resilience |
| Synthetic Rubber | Durable and resistant to temperature extremes |
| EPDM Rubber | Excellent weather resistance and UV stability |
| Silicone Rubber | Heat and cold resistance, suitable for food-grade applications |
By understanding the properties of each material, you can select the one that best aligns with the specific requirements of your project.

Purpose and Usage of Rubber Molding
Before installing rubber molding, it’s important to determine the purpose and usage of the product. Rubber molding serves various functions, such as:
- Sealing and weatherstripping
- Protecting edges and corners
- Reducing noise and vibrations
- Enhancing aesthetics
By identifying the specific purpose of the rubber molding, you can select the appropriate design, size, and shape for optimal performance.
Compatibility with the Intended Surface
Another crucial factor to consider when choosing rubber molding is its compatibility with the intended surface. Not all rubber materials are suitable for every surface, and using an incompatible product can lead to installation difficulties or even damage to the surface.
Ensure that you thoroughly assess the surface characteristics, such as texture, temperature, and chemical resistance, and select a rubber molding that is specifically designed to adhere to or interact with that surface.
By considering these factors – material types and their properties, purpose and usage of rubber molding, and compatibility with the intended surface – you can confidently choose the right rubber molding for your project. This careful selection will ensure a successful installation and long-lasting performance.
Preparing The Surface For Rubber Molding Installation
Before installing rubber molding, it is essential to properly prepare the surface. This step is crucial as it ensures a secure and long-lasting bond between the rubber molding and the substrate. In this section, we will discuss the important steps involved in preparing the surface for rubber molding installation.
Cleaning and Removing Any Existing Debris
The first step in preparing the surface is to thoroughly clean it and remove any existing debris. This is crucial as any dust, dirt, or residue can interfere with the adhesion of the rubber molding. To clean the surface, follow these steps:
- Start by removing any loose debris with a broom or vacuum cleaner.
- Use a mild detergent solution and a stiff brush or scrub pad to clean the surface. Scrub in a circular motion to ensure thorough cleaning.
- Rinse the surface with clean water to remove any soap residue.
- Dry the surface completely using a clean cloth or allow it to air dry.

Ensuring a Smooth and Dry Surface
Once the surface is clean, it is important to ensure that it is smooth and dry. This will promote better adhesion and reduce the risk of any imperfections in the rubber molding installation. Here are the key steps to follow:
- Inspect the surface for any rough patches, bumps, or unevenness. Use sandpaper or a sanding block to smooth out any rough areas.
- Check for moisture or dampness on the surface. If the surface is wet, allow it to dry completely before proceeding with the installation.
Applying Primer if Necessary for Better Adhesion
In some cases, applying a primer can enhance the adhesion between the surface and the rubber molding. It is especially recommended for surfaces that are non-porous or have low surface energy. Follow these steps to apply primer:
- Choose a primer suitable for your specific surface and rubber molding.
- Apply the primer evenly onto the surface using a brush or a roller.
- Allow the primer to dry completely according to the manufacturer’s instructions before proceeding with the rubber molding installation.
By following these steps to prepare the surface, you can ensure a smooth and successful rubber molding installation. Taking the time to properly clean, smooth, and, if necessary, apply primer will result in a stronger bond and a professional-looking finish.
Installing Rubber Molding
If you’re considering installing rubber molding for your project, it’s essential to follow the correct steps to ensure a secure and professional-looking result. From measuring and cutting the rubber molding to securing it in place, each step plays a vital role in the installation process. In this guide, we’ll walk you through the necessary steps to install rubber molding successfully.
Measuring and cutting the rubber molding to size
Before you begin installing the rubber molding, you first need to measure and cut it to your desired size. Here’s how:
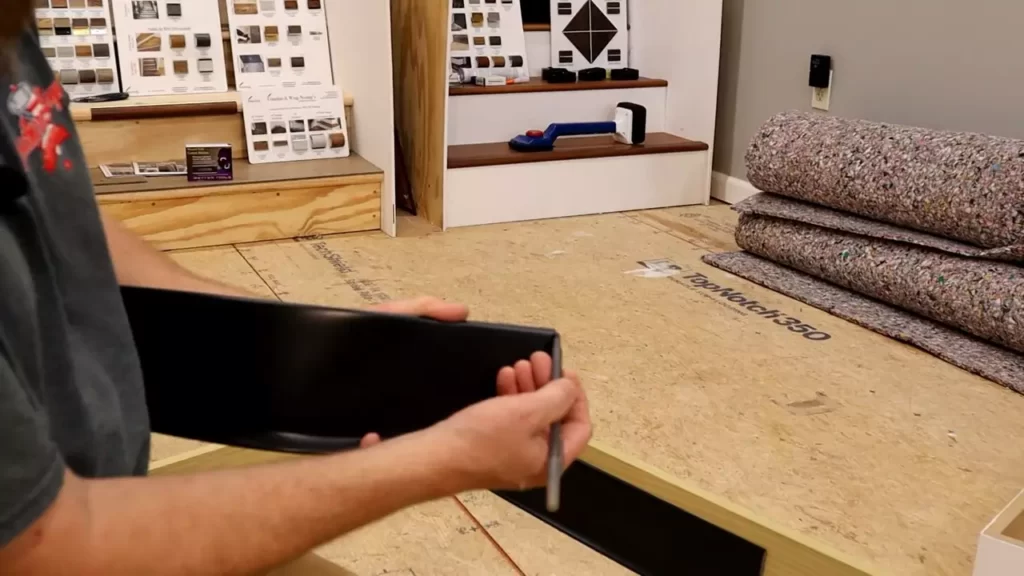
- Using a measuring tape, carefully measure the length and width of the surface where you plan to install the rubber molding.
- Next, transfer these measurements onto the rubber molding, ensuring accuracy.
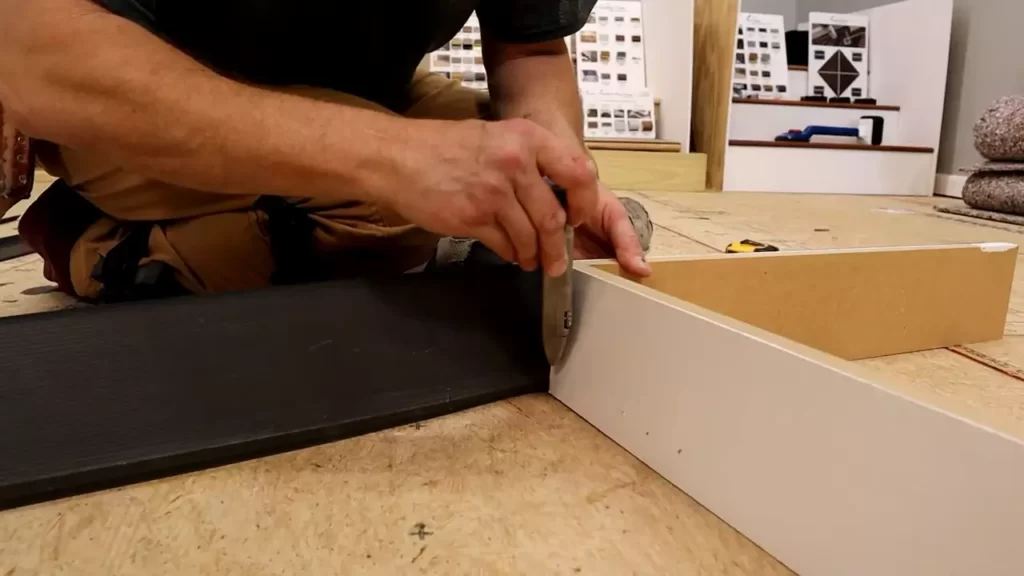
- Using a sharp utility knife, cut the rubber molding along the marked lines. Take your time and make steady, controlled cuts to achieve clean edges.
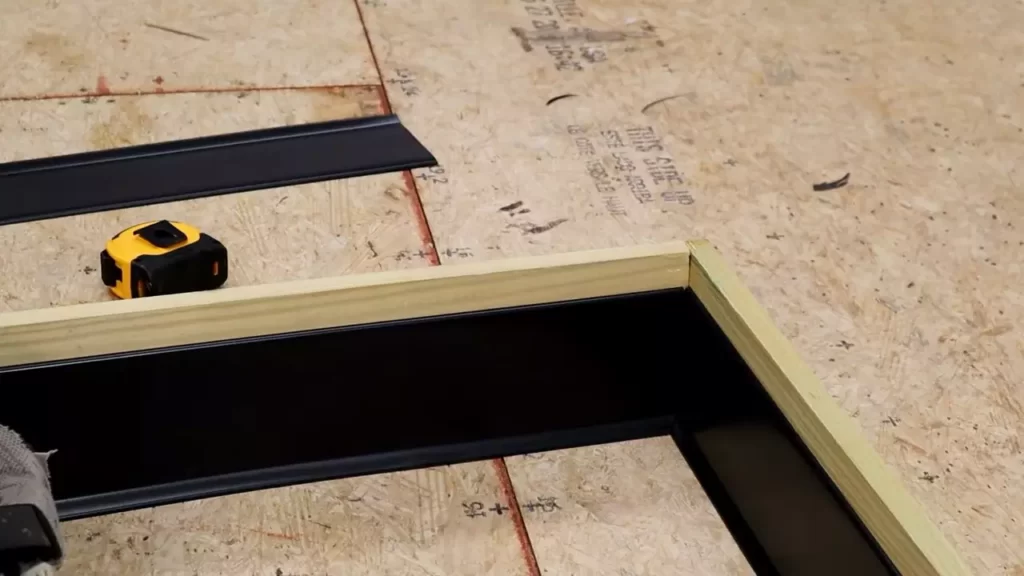
- Double-check the cut molding against the surface to ensure it fits properly before proceeding to the next step.

Applying adhesive to the back of the molding
Once you have the rubber molding cut to size, the next step is to apply adhesive to the back of the molding for secure attachment. Follow these steps:
- Clean the surface where the molding will be installed to remove any dust, dirt, or debris. This will ensure proper adhesion.
- Apply a generous amount of adhesive to the back of the rubber molding, spreading it evenly across the surface.
- Ensure that the adhesive is within the edges of the molding to prevent any excess adhesive from seeping out.
Pressing the molding firmly onto the surface
After applying the adhesive, it’s time to press the rubber molding firmly onto the surface. Follow these steps:
- Align the molding with the surface and apply even pressure to ensure proper adhesion.
- Starting from one end, press the rubber molding firmly and steadily onto the surface, working your way along its entire length.
- Take your time and make sure the molding is applied smoothly, without any bumps or wrinkles.
Securing the molding with nails or screws, if applicable
In some cases, you may need to secure the rubber molding further with nails or screws. If needed, follow these steps:
- Decide on the appropriate placement of the nails or screws along the rubber molding.
- Using a drill or screwdriver, carefully install the nails or screws, taking care not to damage the molding.
- Ensure that the fasteners are adequately spaced and securely fastened to provide extra support to the molding.
By following these steps, you can successfully install rubber molding for your project. Make sure to measure accurately, apply adhesive evenly, press firmly, and secure as necessary. With a little patience and attention to detail, your rubber molding installation will enhance the overall look and functionality of your space.
Finishing And Maintenance Tips For Rubber Molding
When it comes to installing rubber molding, it’s crucial to pay attention to the finishing and maintenance tips to ensure a clean and long-lasting result. By following these guidelines, you can achieve a professional look, and seamless connections, and extend the lifespan of your rubber molding.

Trimming excess molding for a clean finish
To achieve a clean and seamless finish, it’s essential to trim any excess rubber molding. This step ensures that the edges are flush against the surface, creating a neat and visually appealing result. To trim the excess, follow these steps:
- Using a sharp utility knife or scissors, carefully cut away the excess rubber molding.
- Make sure to maintain a steady hand and follow the contour of the surface to achieve a precise cut.
- After trimming, clean up any remaining debris or rough edges for a smooth and polished finish.
Ensuring proper alignment and seamless connections
Achieving proper alignment and seamless connections is crucial for a professional and visually appealing result. Follow these steps to ensure proper alignment:
- Start by cleaning the surface where the rubber molding will be installed to remove any dirt, dust, or grease.
- Measure and mark the desired position of the molding to ensure accuracy.
- Apply an adhesive suitable for rubber molding onto the surface, following the manufacturer’s instructions.
- Press the rubber molding firmly onto the adhesive, starting from one end and working your way to the other.
- Ensure that the molding aligns seamlessly with adjacent sections, smoothing out any wrinkles or imperfections along the way.
- Allow the adhesive to dry completely before subjecting the molding to any stress or movement.
Regular cleaning and upkeep to prolong the lifespan of the rubber molding
Maintaining and cleaning your rubber molding regularly can significantly extend its lifespan. This helps prevent dirt build-up, discoloration, and damage over time. Here are some tips for regular cleaning and upkeep:
- Wipe down the rubber molding with a damp cloth to remove any surface dirt or debris.
- Avoid using harsh chemicals or abrasive cleaners that may damage the rubber material.
- If dirt or stains are stubborn, use a mild soap solution and gently scrub the affected area with a soft brush.
- Rinse the rubber molding thoroughly with clean water to remove any soapy residue.
- Dry the molding completely to prevent the growth of mold or mildew.
- Apply a rubber protectant or conditioner to keep the material flexible and prevent cracking or drying out.
By following these finishing and maintenance tips for rubber molding, you can ensure a clean and professional installation that lasts for years to come. Regular cleaning and upkeep will keep your rubber molding looking its best and protect it from wear and tear. Incorporate these practices into your routine to enjoy the benefits of well-maintained rubber molding.
Frequently Asked Questions Of How To Install Rubber Molding
How Do You Attach Rubber Base Molding?
Attach rubber base molding by following these steps:
1. Clean and prepare the area where the molding will be attached.
2. Apply a high-quality adhesive along the back of the molding.
3. Press the molding firmly against the wall, ensuring it is aligned properly.
4. Use finishing nails or screws to secure the molding in place.
5. Allow the adhesive to dry completely before applying any pressure or weight to the molding.
Is Rubber Better Than Vinyl Wall Base?
Rubber wall base is better than vinyl due to its durability, flexibility, and resistance to cracking. It provides long-lasting protection against scuffing and impact while maintaining an attractive appearance. Additionally, the rubber base is easy to install and maintain, making it a cost-effective choice.
How Do You Install Floor Trim Molding?
To install floor trim molding, measure and cut the trim to fit, ensuring it is the right size. Use a miter saw to create angled cuts for corners. Apply construction adhesive to the back of the trim, then press it against the wall.
Use finishing nails to secure the trim in place. Finally, fill any nail holes and gaps with wood filler and paint or stain the trim as desired.
How Do You Install A Cove Base Inside A Corner?
To install a cove base inside a corner:
1. Cut the cove base at a 45-degree angle to fit the corner.
2. Apply adhesive to the back of the cove base and press it into place.
3. Use a putty knife to smooth out any wrinkles or bubbles.
4. Wipe away any excess adhesive.
5. Let it dry completely before finishing the installation.
Conclusion
In a nutshell, installing rubber molding doesn’t have to be overwhelming. By following these steps, you can easily enhance the appearance and functionality of your space. Whether you’re looking to protect your walls or provide a finished look to your furniture, rubber molding is a versatile solution.
Take the time to measure carefully, gather the right tools, and secure the molding properly for long-lasting results. With a little patience and attention to detail, you’ll have a professional-looking installation in no time.
