To install wrought iron stair railings, start by measuring and marking the placement of the railings, then secure the brackets in place and attach the railings. Wrought iron stair railings can add both style and safety to your home.
Whether you are renovating an existing staircase or installing them on a new one, the process is relatively straightforward. We will guide you through the steps involved in installing wrought iron stair railings. From measuring and marking the placement to securely attaching the railings, we will provide you with a step-by-step guide to ensure a successful installation.
So, let’s get started!
Frequently Asked Questions Of How To Install Wrought Iron Stair Railings
How Do You Install Iron Stair Railings?
Installing iron stair railings involves the following steps:
- Measure and mark the railings’ placement.
- Drill holes and attach brackets to the wall or stairs.
- Slide the railing onto the brackets and secure with screws.
- Ensure the railing is level and tighten all screws.
- Apply finishing touches like paint or sealant as needed.
What Kind Of Adhesive To Use On Iron Balusters?
Use a strong adhesive specifically designed for iron balusters, such as epoxy or construction adhesive.
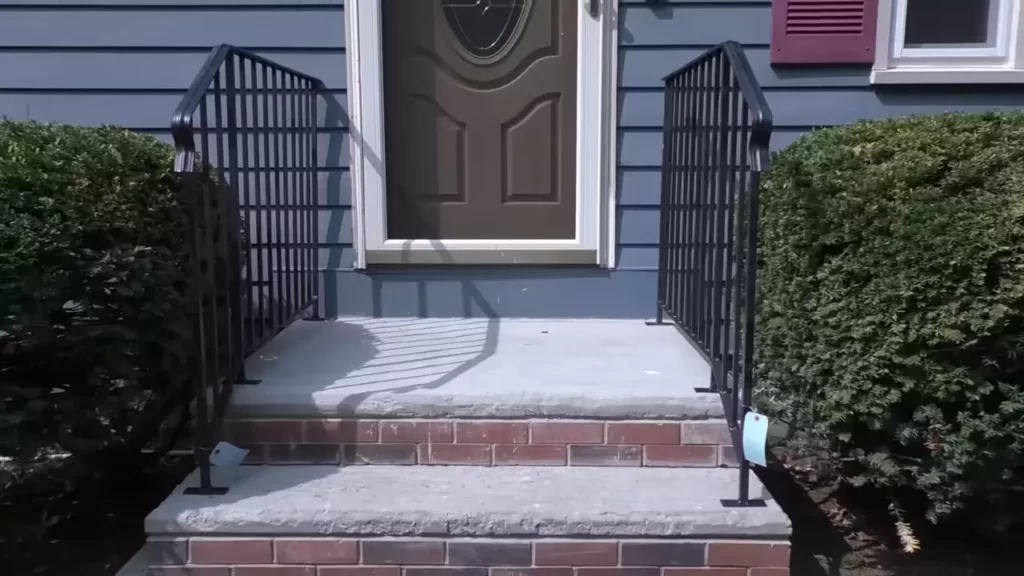
How Do You Attach Metal Railing To Concrete Steps?
To attach a metal railing to concrete steps, follow these steps:
- Using a hammer drill, create holes in the concrete where you want to place the railing.
- Insert concrete anchors into the holes and tighten them securely.
- Attach the metal railing brackets to the concrete anchors using screws or bolts.
- Check the stability of the railing for any adjustments or reinforcements needed.
- Once secure, ensure the railing is level and tightly fastened to the concrete steps.
How Do You Attach A Railing To Outdoor Stairs?
To attach a railing to outdoor stairs, follow these steps:
- Measure and mark the height and position of the railing.
- Drill pilot holes into the stair treads and posts.
- Secure the posts to the treads and attach brackets.
- Install the railing between the posts and secure it firmly.
- Lastly, test the railing for stability and make any necessary adjustments.
Conclusion
Installing wrought iron stair railings is a worthwhile investment that not only enhances the safety of your staircase but also adds a touch of elegance to your home decor. By following the step-by-step guide in this blog post, you can easily install these railings on your own.
Remember to measure accurately, prepare the area properly, and secure the railings tightly. With a little effort and attention to detail, you can enjoy the benefits of sturdy and beautiful wrought iron stair railings for years to come.