To install handrail brackets, measure and mark the position, drill holes for the brackets, attach and secure the brackets, and then fix the handrail onto the brackets with screws. This process ensures a sturdy and safe installation of handrail brackets.
When installing handrail brackets, it is important to follow a step-by-step process to ensure the brackets are secure and the handrail is properly attached. By measuring and marking the position, drilling holes, attaching and securing the brackets, and fixing the handrail onto the brackets with screws, you can complete a reliable installation.
This guide will provide you with the necessary steps to successfully install handrail brackets for a sturdy and safe support system.
Choosing The Right Handrail Brackets
When it comes to installing handrail brackets, choosing the right one is crucial for both safety and aesthetics. Handrail brackets not only provide support, but also add an elegant touch to your staircase or balcony. In this section, we will discuss the factors to consider when selecting handrail brackets, the material options available, and understanding the load-bearing requirements.
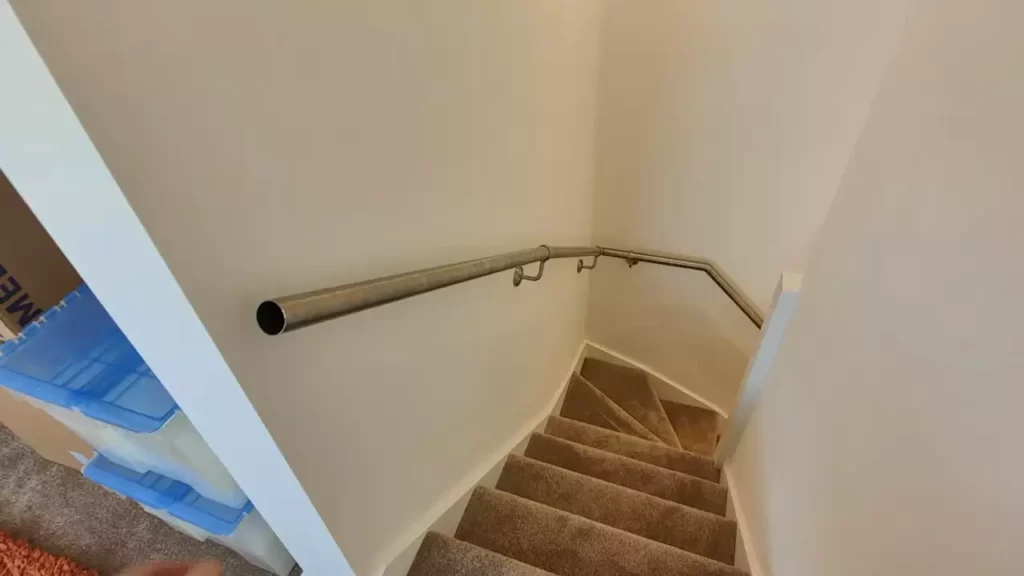
Factors to consider when selecting handrail brackets
Before making a decision, there are several factors that need to be taken into consideration:
- Style: The style of the handrail brackets should complement the overall design of your staircase or railing system. Whether you prefer a modern, minimalist look or a more elaborate design, choose brackets that enhance the aesthetic appeal.
- Size and Shape: The size and shape of the handrail brackets depend on the dimensions of your handrail. Measure the width and height of your rail to ensure a proper fit. Additionally, consider the shape of your handrail and choose brackets that are compatible.
- Installation Method: Handrail brackets can be installed using different methods, such as surface mount or recessed mount. Surface mount brackets are attached to the surface of the wall, while recessed mount brackets are embedded within the wall. Choose the installation method based on the structure of your staircase or wall.
Material options for handrail brackets
Handrail brackets are available in various materials, each with its own unique characteristics:
- Metal: Metal brackets, such as stainless steel or brass, are durable and provide a sleek, modern look. They are highly resistant to corrosion and can withstand heavy loads. Metal brackets are suitable for both indoor and outdoor applications.
- Wood: For a more traditional or rustic appeal, wood brackets are an excellent choice. They can be stained or painted to match the color of your handrail. Wood brackets are ideal for interior use and are generally not recommended for outdoor installations.
- Glass: If you prefer a contemporary and minimalist design, glass brackets are a popular option. They create a seamless look and allow light to pass through, enhancing the openness of your space. Glass brackets are commonly used with glass handrails in modern homes or commercial buildings.
- Plastic: Plastic brackets offer affordability and versatility. They are lightweight, easy to install, and resistant to moisture. Plastic brackets are commonly used in temporary or budget-friendly railing systems.
Understanding load-bearing requirements for handrail brackets
When it comes to safety, understanding the load-bearing requirements of handrail brackets is crucial. Handrails provide support and stability, especially for individuals with mobility issues. The load-bearing capacity of the brackets depends on the material, size, and installation method. Consult local building codes or a structural engineer to ensure that the selected handrail brackets can safely support the weight and force applied to them.
By considering these factors, exploring different material options, and understanding the load-bearing requirements, you can confidently choose the right handrail brackets for your staircase or railing system.
Preparing For Installation
Before installing handrail brackets, it is important to properly prepare for the installation process. This involves gathering the necessary tools and materials, measuring and marking the correct handrail height and position, and ensuring a secure mounting surface for the brackets.
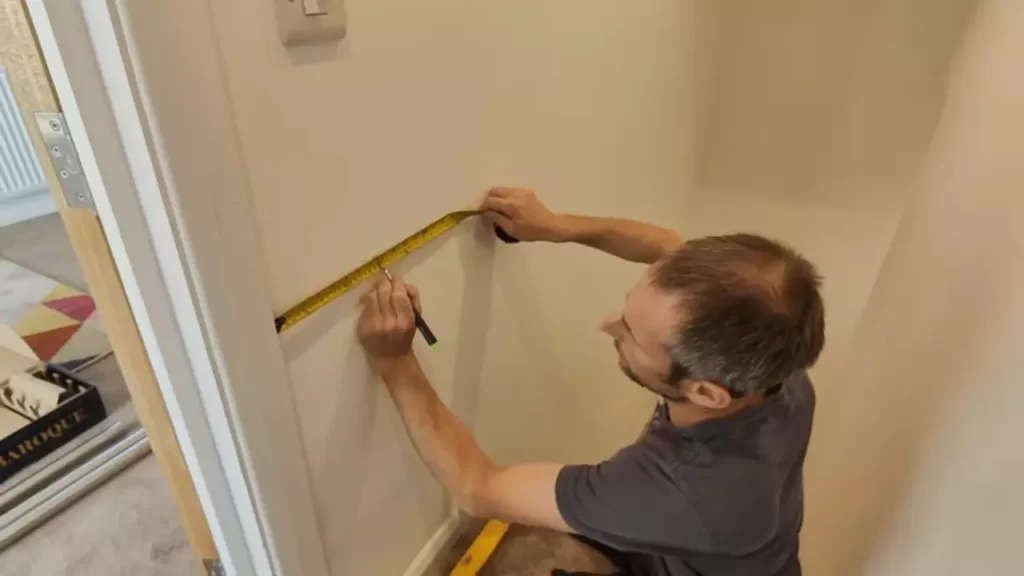
Tools and Materials Needed for the Installation Process
Having the right tools and materials on hand is essential for a smooth installation of handrail brackets. Here is a list of what you will need:
| Tools | Materials |
|---|---|
|
|
Measuring and Marking the Correct Handrail Height and Position
Accurate measurement and proper positioning of the handrail are crucial for both safety and aesthetics. Follow these steps:
- Start by measuring the height of the handrail. The standard height is usually between 34 to 38 inches from the bottom of the rail to the floor.
- Using a level, mark the desired height on the wall with a pencil or marker. Ensure that the mark is level and straight.
- Determine the positioning of the handrail brackets. It is recommended to install the brackets at least 6 inches from the edge of the wall to provide enough support.
- Using the pencil or marker, mark the position of each bracket on the wall, ensuring they are evenly spaced.
Ensuring a Secure Mounting Surface for the Brackets
To ensure the brackets provide a secure and stable support for the handrail, it is important to mount them on a solid surface. Follow these steps:
- Inspect the wall surface where the brackets will be installed. Check for any cracks, loose paint, or other damages.
- If the wall is made of drywall or plaster, you may need to use wall anchors for added stability. Choose anchors that are appropriate for the weight capacity of your handrail.
- Use a drill to create pilot holes at the marked positions for the brackets.
- If using wall anchors, insert them into the pilot holes and secure them in place.
- Align the brackets with the pilot holes or anchors and use a screwdriver or drill to fasten them tightly to the wall.
By following these steps and properly preparing for the installation, you can ensure a secure and professional-looking installation of handrail brackets. Now that you have everything ready, it’s time to move on to the next step in the installation process.
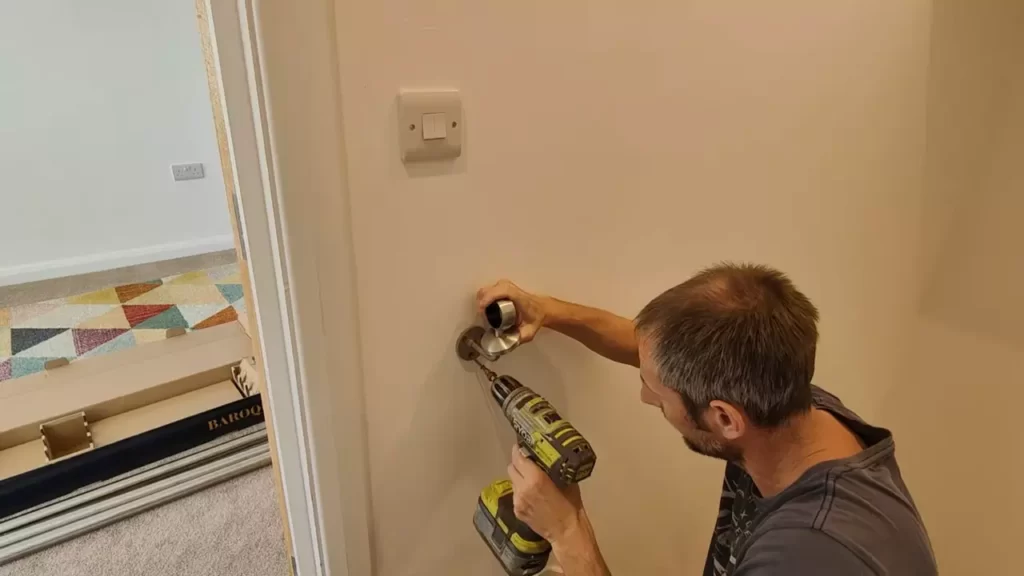
Installing Handrail Brackets
When it comes to installing handrail brackets, it’s important to ensure proper alignment and stability for the safety and aesthetic appeal of your handrail. This step-by-step guide will walk you through the process of installing handrail brackets, from marking the screw holes to tightening the screws.
Step 1: Marking the Screw Holes
The first step in installing handrail brackets is marking the screw holes on the wall. Start by positioning the bracket at the desired height along the handrail, making sure it is level. Once you have found the perfect spot, use a pencil to mark the screw hole locations on the wall. Make sure to mark both the top and bottom screw holes for each bracket.
Step 2: Pre-drilling the Screw Holes
Before attaching the brackets to the wall, it’s important to pre-drill the screw holes to prevent the wall from cracking. Grab a drill bit that is slightly smaller than the diameter of the screws you will be using. Then, carefully drill pilot holes at the marked locations on the wall. Take your time during this step to ensure accuracy and precision.
Step 3: Attaching the Brackets to the Wall
With the screw holes pre-drilled, it’s time to attach the brackets to the wall. Place the bracket back on the wall, aligning the screw holes with the pre-drilled holes. Make sure the bracket is level and centered with the handrail. Once in position, hold the bracket firmly against the wall.
Step 4: Securing the Brackets with Screws
Next, it’s time to secure the brackets to the wall using screws. Insert the screws into the pre-drilled holes and tighten them using a screwdriver or drill. Be careful not to overtighten the screws, as this can cause the brackets to pull away from the wall or damage the handrail.
Step 5: Checking the Alignment and Levelness of the Brackets
After securing the brackets with screws, check their alignment and levelness. Ensure that the brackets are straight and parallel to each other, as any misalignment can affect the stability of the handrail. Adjust the brackets if necessary by loosening the screws and repositioning them.
Step 6: Tightening the Screws to Ensure Stability
The final step in installing handrail brackets is to tighten the screws to ensure stability. Go through each screw and give it an extra tightening, using caution not to overtighten. This will help secure the brackets firmly to the wall and give your handrail the stability it needs.
By following these simple steps, you can easily install handrail brackets and achieve a secure and aesthetically pleasing handrail for your stairs or walkway.
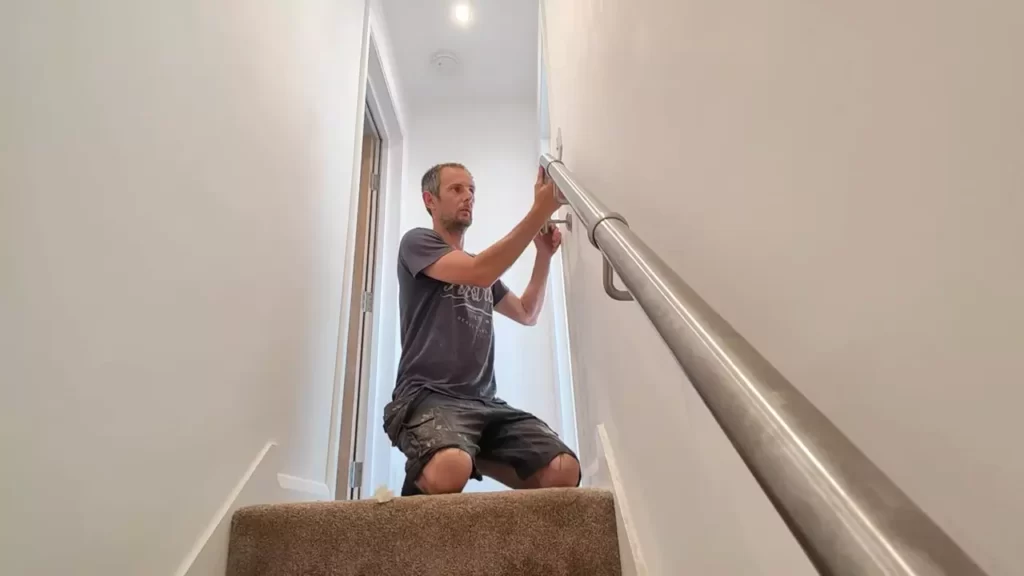
Finishing Touches
When it comes to installing handrail brackets, it’s crucial to pay attention to the finishing touches. These small details can make a significant difference in the overall appearance and functionality of your handrail. In this section, we will discuss two essential elements of finishing touches: concealing the screw holes and painting or staining the handrail brackets.
Concealing the screw holes
Once you have securely attached the handrail brackets to the wall, you’ll want to ensure that the exposed screw holes are concealed for a polished look. There are several methods you can employ to achieve this:
- Wood putty: If your handrail brackets are made of wood, using wood putty can be an effective way to fill in the screw holes. Simply apply a small amount of putty to each hole, making sure to smooth it out evenly. Allow the putty to dry completely before sanding it down to create a seamless finish.
- Wood plugs: Another option for concealing screw holes in wood handrail brackets is to use wood plugs. These small, cylindrical pieces of wood can be inserted into the holes and then sanded down to match the surrounding surface. Once the plugs are in place, you can choose to leave them natural or paint or stain them to match your handrail.
- Wall anchors: In the case of metal handrail brackets, using wall anchors can be an effective way to conceal screw holes. These anchors are typically used in drywall or plaster walls and provide a sturdy hold while covering up any unsightly holes. Make sure to choose anchors that are suitable for the weight and material of your handrail.
Painting or staining the handrail brackets
Once you have concealed the screw holes, you can further enhance the appearance of your handrail brackets by painting or staining them. This step allows you to customize the brackets to match your desired aesthetic or complement the surrounding decor. Here are some tips to guide you in this process:
- Clean and prep: Before painting or staining, make sure the brackets are clean and free of any dust or debris. Lightly sand the surface to ensure proper adhesion of paint or stain.
- Choose the right finish: Consider the type of material your handrail brackets are made of when selecting the appropriate paint or stain. For wood brackets, you may want to opt for a stain that enhances the grain and natural beauty. Metal brackets can be painted with a durable enamel paint for a sleek, modern look.
- Apply the finish: Use a brush or a paint sprayer to apply the paint or stain evenly to the brackets. Take care to cover all surfaces, including any intricate designs or crevices. Allow the finish to dry completely before proceeding to the next step.
Installing the handrail onto the brackets
With the screw holes concealed and the handrail brackets painted or stained, you are now ready to install the handrail onto the brackets. Follow these steps to ensure a secure and seamless installation:
- Position the handrail: Carefully place the handrail onto the brackets, ensuring that it aligns perfectly with the desired height and angle. Use a level to check for straightness before proceeding.
- Secure the handrail: Once you have positioned the handrail correctly, use screws or fasteners to secure it onto the brackets. Make sure to choose screws or fasteners that are appropriate for the material and weight of your handrail.
- Test for stability: Give the handrail a gentle shake to ensure it is securely attached. It should feel sturdy and not wobble or move excessively. If necessary, make any adjustments or tighten the screws accordingly.
With these finishing touches complete, your handrail brackets are now ready to enhance the safety and aesthetics of your staircase or balcony. By concealing screw holes, painting or staining the brackets, and securely installing the handrail, you can achieve a professional and visually appealing result. Take the time to pay attention to these details, and you’ll be rewarded with a handrail that not only provides support but also adds to the overall charm of your space.
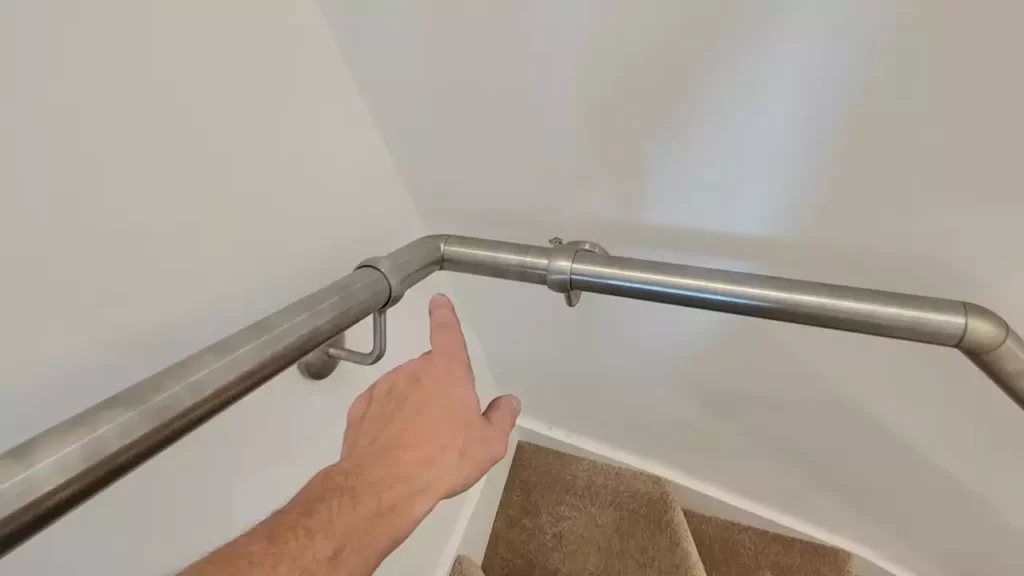
Maintenance And Safety Tips
Proper maintenance and regular inspections are crucial for ensuring the safety and stability of handrail brackets. By following these maintenance and safety tips, you can prolong the life of your handrail brackets and keep them in optimal condition.
Cleaning and maintaining the handrail brackets
Regular cleaning of handrail brackets is essential to remove dirt, dust, and other debris that can accumulate over time. To clean the brackets:
- Start by wiping the brackets with a damp cloth to remove any loose dirt.
- For stubborn stains or grime, use a mild detergent mixed with water.
- Gently scrub the brackets with a soft-bristled brush.
- Rinse the brackets thoroughly with clean water.
- Dry the brackets completely using a soft cloth.
By maintaining cleanliness, you can prevent the buildup of dirt that may affect the functionality of the brackets. Regular cleaning also helps in preventing corrosion and rust.
Regularly inspecting the brackets for any signs of wear or damage
It is important to inspect handrail brackets regularly for any signs of wear, damage, or loosening. Here are some aspects to consider during inspection:
- Check for any cracks, warping, or bending of the brackets.
- Ensure that the brackets are securely fastened to the wall or railing.
- Examine the brackets for any signs of rust or corrosion.
- Check the screws or bolts that hold the brackets in place and tighten them if necessary.
If you notice any significant damage or wear, it is crucial to replace the brackets promptly. Ignoring such issues can compromise the safety and stability of the handrail.
Ensuring proper handrail stability and safety
Handrail stability is paramount to prevent accidents and ensure user safety. To ensure proper handrail stability:
- Regularly test the strength and stability of the handrail by applying moderate pressure.
- Check that the handrail remains securely attached to the brackets.
- Inspect the handrail for any signs of cracking or splintering.
- Make sure the handrail is at a comfortable height and securely mounted to the wall.
- Consider adding additional support brackets if needed for enhanced stability.
By adhering to these tips, you can ensure that your handrail is stable and safe for use by all individuals.
Remember, maintenance and safety go hand in hand when it comes to handrail brackets. Regular cleaning, inspections, and ensuring stability are essential for keeping your handrail brackets in top-notch condition, prolonging their lifespan, and providing a safe environment for everyone.
Frequently Asked Questions For How To Install Handrail Brackets
Do Handrail Brackets Need To Be In Stud?
Handrail brackets do not necessarily need to be in a stud. However, it is recommended to install them into studs for added strength and stability. Using wall anchors or toggle bolts can also provide secure mounting if studs are not available.
How Far Should Handrail Brackets Be From The End?
Handrail brackets should be positioned no more than 4 inches from the end. This ensures proper support and stability for the handrail. Additionally, maintaining this distance allows for proper clearance and accessibility for users. Make sure to follow local building codes and regulations for accurate installation.
How Are Stair Rails Attached To Wall?
Stair rails are attached to the wall using brackets or wall-mounted posts. The rails are secured to the brackets or posts with screws or bolts. It is important to ensure the rails are securely fastened to provide safety and stability.
How Do You Secure A Handrail To The Wall?
Secure a handrail to the wall by following these steps:
1. Start by measuring and marking the desired height.
2. Use a stud finder to locate wall studs for strong support.
3. Drill pilot holes into the studs.
4. Position the handrail and screw it into the holes using sturdy screws.
5. Double-check the stability and make adjustments if needed for a secure handrail attachment.
Conclusion
Installing handrail brackets can be a simple and effective way to enhance safety and support on your stairs or walkways. By following the step-by-step instructions outlined in this guide, you can easily install handrail brackets and enjoy the benefits they provide.
Remember to choose the right materials, measure carefully, and secure the brackets firmly for a long-lasting and reliable handrail. Now, you can confidently take on this DIY project and create a safer environment for yourself and your loved ones.
