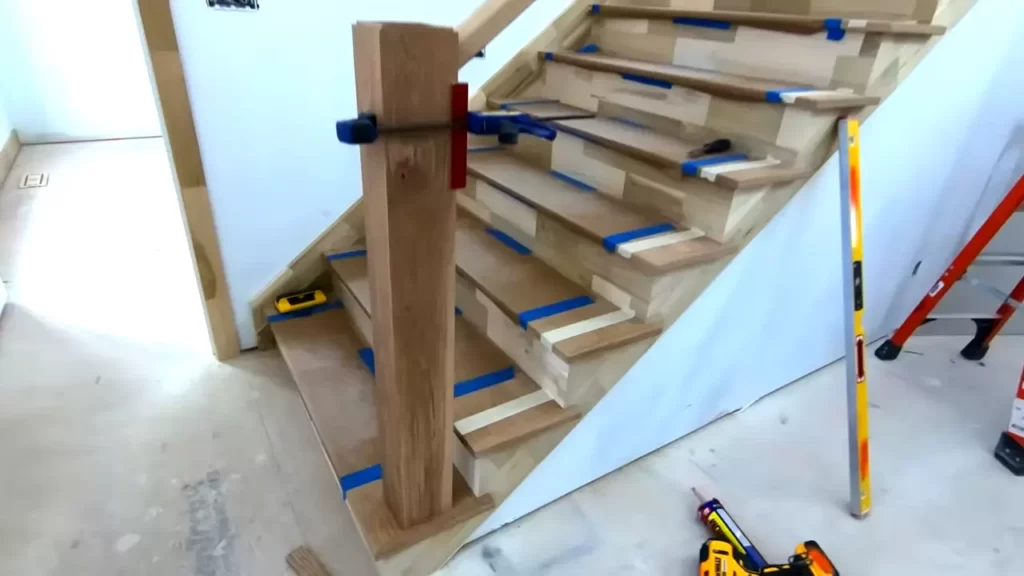
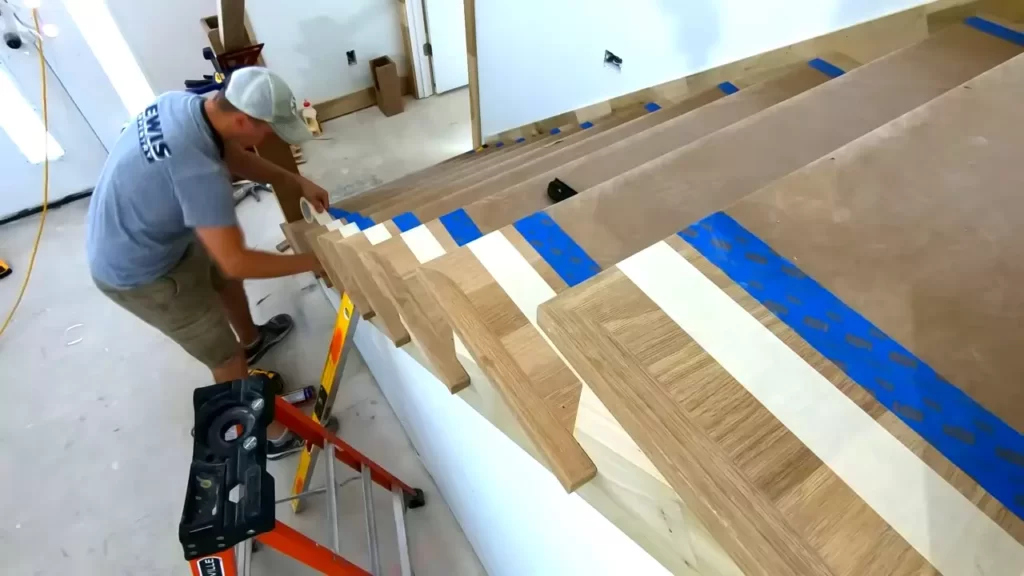
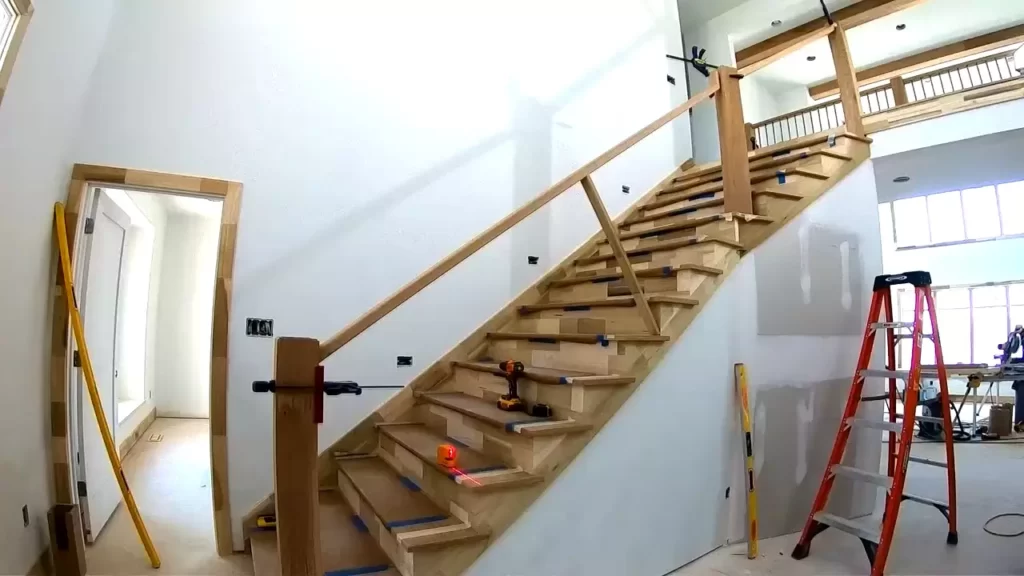
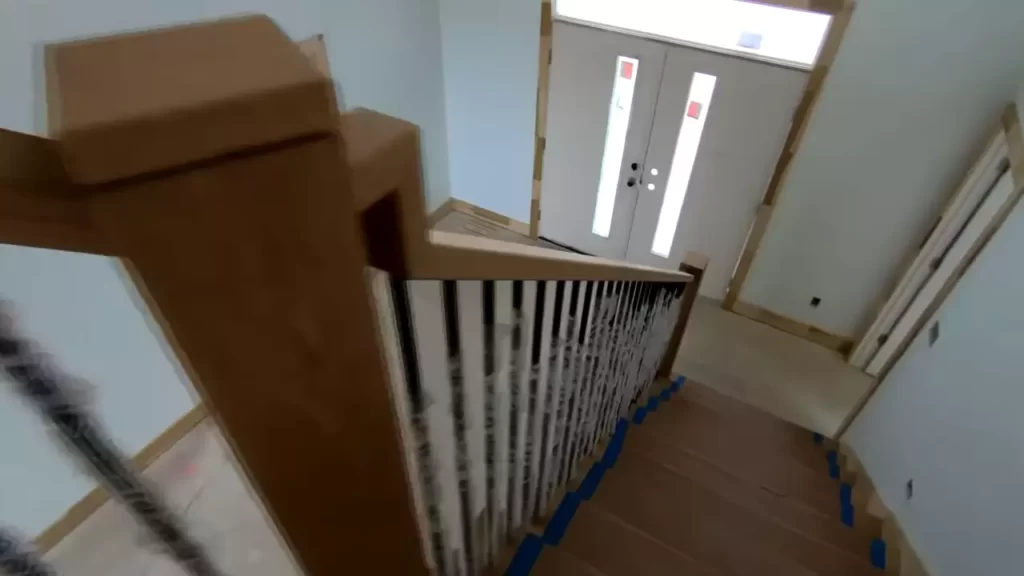
To install handrail and balusters on stairs, start by measuring and marking the desired height and location of the handrail. Then, secure the handrail brackets onto the wall, making sure they are level.
Finally, attach the handrail to the brackets and install the balusters evenly along the stairway. Installing a handrail and balusters on stairs is an essential safety measure that also adds to the overall aesthetics of your staircase. Whether you’re a seasoned DIY enthusiast or a homeowner looking to make some improvements, this guide will walk you through the process step by step.
By following these instructions and using the right tools, you’ll have a sturdy handrail and beautifully placed balusters in no time. So, let’s dive in and learn how to properly install a handrail and balusters on stairs, ensuring a secure and stylish staircase for your home.
Preparing For Installation
When it comes to installing a handrail and balusters on stairs, proper preparation is crucial. This includes gathering the necessary tools and materials, measuring the area, determining the appropriate handrail and baluster sizes, and removing any existing handrail or balusters. By following these steps, you can ensure a smooth and successful installation.

Gathering the necessary tools and materials
The first step in preparing for the installation is to gather all the necessary tools and materials. Here’s a list of items you’ll need:
- Handrail
- Balusters
- Drill
- Screwdriver
- Tape measure
- Level
- Pencil
- Saw
- Wood glue
- Screws
Make sure you have all these items handy before starting the installation process. Having everything prepared beforehand will save you time and ensure a smooth workflow.
Measuring the area and determining the appropriate handrail and baluster sizes
Before installing the handrail and balusters, it’s important to measure the area to determine the appropriate sizes. Start by measuring the length of the stairs where the handrail will be installed, making sure to account for any curves or turns.
Next, measure the height of the stairs to determine the proper height for the handrail. This height should adhere to local building codes and regulations for safety purposes. Keep in mind that the handrail should be comfortable to grip and at a suitable height for all users.
Once the measurements are taken, you can then determine the appropriate sizes for the handrail and balusters. Consider the style and design of your staircase when choosing the handrail and baluster sizes to ensure a cohesive and aesthetically pleasing look.

Removing any existing handrail or balusters
If there are any existing handrail or balusters on the stairs, they’ll need to be removed before installing the new ones. Use a screwdriver or drill to remove any screws or nails holding them in place.
Be careful not to damage the surrounding area or the stairs themselves during the removal process. Take your time and work systematically to ensure a clean removal.
With the old handrail and balusters removed, you’re now ready to proceed with the installation. Following these preparation steps ensures that you have everything you need and have taken the necessary measurements for a successful installation.
Installing The Handrail
Installing a handrail is an essential step in ensuring the safety and functionality of your staircase. A handrail provides stability and support while navigating the stairs, preventing accidents and offering peace of mind. In this section, we will guide you through the process of installing the handrail, from selecting the proper type and style to securing it to the brackets.
Selecting the proper handrail type and style
When selecting a handrail for your stairs, it is important to consider both functionality and aesthetics. There are various handrail types and styles available, such as wood, metal, or glass. Each material comes with its own set of benefits and considerations.
If you prefer a classic and warm look, a wooden handrail can be an excellent choice. Wood is versatile and can complement various interior styles. On the other hand, metal handrails offer durability and a sleek, modern appearance.
Consider the existing design elements in your home and choose a handrail that harmonizes with the overall ambiance. Additionally, ensure that the handrail meets the safety requirements and regulations in your area.

Determining the handrail height and angle
Before you begin installing the handrail, it is crucial to determine the appropriate height and angle. The handrail should be positioned at a comfortable height for users of different heights.
A standard guideline is to install the handrail between 34 and 38 inches above the tread nosing. However, local codes and regulations may dictate specific height requirements. Consulting these regulations will help ensure compliance and safety.
Furthermore, consider the angle at which the handrail will follow the stairs. Generally, the handrail should be parallel to the angle of the stairs. This will provide maximum grip and support for those using the staircase.
Marking and drilling the handrail bracket holes
Once you have determined the appropriate height and angle, the next step is to mark and drill the holes for the handrail brackets. These brackets will provide support and stability to the handrail.
Begin by positioning the handrail along the desired path, ensuring it aligns with the marked height and angle. Use a pencil or marker to mark the location of each bracket on the wall or newel posts.
Next, carefully drill a hole at each marked location using an appropriate drill bit. Ensure that the size of the hole matches the size of the bracket screws or anchors.
Attaching the handrail brackets to the wall or newel posts
Now that the bracket holes are drilled, it is time to attach the handrail brackets to the wall or newel posts. The brackets serve as the anchor points for the handrail, securing it in place.
Align the brackets with the drilled holes and insert the screws or anchors provided with the brackets. Use a screwdriver or drill to tighten them, ensuring a sturdy connection.
If your staircase has newel posts, you may need to attach the brackets to them as well. In this case, ensure that the brackets are securely fastened to the posts, providing the necessary support for the handrail.
Securing the handrail to the brackets
With the brackets in place, it is time to secure the handrail to them. Carefully position the handrail onto the brackets, ensuring a snug fit.
Depending on the type of brackets you are using, there may be specific instructions for securing the handrail. These instructions may involve screws, bolts, or other fastening methods. Follow the manufacturer’s guidelines to ensure a secure and durable installation.
Once the handrail is securely attached to the brackets, give it a firm tug to ensure it is stable and doesn’t wobble. Making sure the handrail is properly secured is crucial for its effectiveness in supporting individuals while using the stairs.
Installing the handrail is a critical step in creating a safe and functional staircase. By carefully selecting the handrail type and style, determining the proper height and angle, and effectively attaching and securing the handrail, you can enhance the overall safety and aesthetics of your stairs.

Installing The Balusters
Once you have installed the handrail on your stairs, the next step is to install the balusters. Balusters are an important component of any staircase as they provide safety and support. In this section, we will guide you through the process of installing the balusters on your stairs.
Choosing the right type of balusters for your stairs
Before you begin the installation process, it is crucial to choose the right type of balusters that will complement your stairs and match your overall design aesthetic. There are various types of balusters available, including wood, iron, glass, and metal. Consider the style, durability, and maintenance requirements of each type before making your decision. Additionally, make sure that the balusters you choose are in compliance with local building codes.
Measuring and marking the placement of the balusters
The next step in installing the balusters is to measure the distance between the handrail and the bottom rail. This measurement will help you determine the spacing between each baluster. Once you have the measurement, mark the placement of each baluster on the bottom rail using a pencil.
Drilling holes for the balusters
After marking the placement of the balusters, it’s time to drill holes for them. Use a drill with an appropriately sized bit to create holes at each marked location. The size of the holes should match the size of your balusters to ensure a snug fit. Take care to drill straight and perpendicular to the bottom rail to ensure that the balusters are properly aligned.
Inserting and securing the balusters
Once the holes are drilled, it’s time to insert the balusters into their respective holes. Apply a small amount of adhesive or wood glue to the base of each baluster to ensure a secure fit. Then, carefully insert the balusters into the holes, making sure they are straight and aligned with the handrail. Give each baluster a gentle twist to ensure that it is securely seated in the hole.
Checking for even spacing and alignment
After securing all the balusters, it’s important to check for even spacing and alignment. Use a tape measure or a level to ensure that the balusters are evenly spaced apart and aligned with each other. Make any necessary adjustments by gently tapping the balusters with a rubber mallet.
Congratulations! You have successfully installed the balusters on your stairs. This not only enhances the aesthetic appeal of your staircase but also provides an added level of safety. Take the time to double-check the stability of each baluster before moving on to the next step in your stair installation project.
Finishing Touches
When it comes to installing handrail and balusters on stairs, the finishing touches are what truly bring the project together. Sanding and smoothing the handrail and balusters will ensure a smooth and polished appearance. Applying a finish or paint to the handrail and balusters will not only protect the wood but also enhance the aesthetic appeal. And finally, cleaning up any excess materials and debris will leave the staircase looking clean and professional. In this section, we will discuss each of these finishing touches in detail.
Sanding and Smoothing the Handrail and Balusters
Sanding and smoothing the handrail and balusters is an essential step in the installation process. It helps to create a smooth surface, removing any rough edges or imperfections. To begin, gather the necessary materials:
- Sandpaper (medium and fine grit)
- Sanding block or sanding sponge
- Damp cloth
Start by using the medium-grit sandpaper and the sanding block or sanding sponge to sand the entire surface of the handrail and each baluster. Apply even pressure and move in the direction of the wood grain. This will help to remove any splinters or uneven areas.
Once the initial sanding is complete, switch to the fine-grit sandpaper and repeat the process. This will provide a smoother finish and prepare the wood for the next step.
Applying a Finish or Paint to the Handrail and Balusters
Applying a finish or paint to the handrail and balusters not only adds a protective layer but also enhances the overall appearance. Here’s how to do it:
- Clean the surface: Use a damp cloth to remove any dust or debris from the sanding process.
- Choose the right finish: Depending on the look you want to achieve, decide whether to use a stain or paint. Stains preserve the natural beauty of the wood, while paint allows for more color options.
- Apply the finish: Using a brush or cloth, apply the chosen finish to the handrail and balusters. Make sure to follow manufacturer instructions, including drying times and proper ventilation.
Multiple coats may be necessary to achieve the desired finish. Allow each coat to dry thoroughly before applying the next one. Once the final coat is applied and dry, you can move on to the final step.
Cleaning Up Any Excess Materials and Debris
After sanding and applying the finish, it’s important to clean up any excess materials and debris. This will leave your staircase looking clean and professional. Here’s how to clean up:
- Inspect the staircase: Carefully examine the handrail and balusters for any remaining dust, paint drips, or other unwanted debris.
- Remove debris: Use a tack cloth or a clean, dry cloth to wipe away any debris. Pay special attention to corners and crevices.
- Dispose of waste properly: Collect any sanding dust, paint chips, or other waste materials and dispose of them according to local regulations.
By thoroughly cleaning up, you will ensure that your newly installed handrail and balusters look their best.
Frequently Asked Questions For How To Install Handrail And Balusters On Stairs
How Do You Install Wood Balusters And Handrails?
Install wood balusters and handrails by following these steps:
1. Measure and mark the desired height for the handrail.
2. Attach the handrail brackets to the wall at the marked locations.
3. Install the balusters by drilling holes into the stair treads or floor.
4. Secure the balusters with screws or adhesive.
5. Finally, slide the handrail onto the brackets and secure it in place.
How Do You Install Stair Railing Balusters?
To install stair railing balusters, follow these guidelines:
1) Install a base rail, securely fastened to the newel posts.
2) Space the balusters evenly along the base rail.
3) Fasten the balusters to the base rail, ensuring they are aligned vertically.
4) Attach the top rail securely.
5) Test the railing to ensure stability.
How Are Balusters Attached To Handrails?
Balusters are attached to handrails using a combination of screws or nails and adhesive. These fasteners secure the balusters to the handrails, ensuring stability and safety. Prior to attaching, it is important to measure and mark the desired spacing between the balusters, ensuring an even and aesthetically pleasing look.
Which Side Of The Stairs Should The Railing Be On?
The railing on stairs should be on the side that provides the most safety and support, usually on the right-hand side when going up. This allows users to have a firm grip while ascending or descending the stairs, reducing the risk of accidents or falls.
Conclusion
To conclude, installing handrails and balusters on stairs is a crucial safety measure that not only enhances the aesthetic appeal but also provides support and stability. By following the step-by-step instructions outlined in this guide, you can confidently undertake this project yourself.
Remember to prioritize safety, measure accurately, and choose high-quality materials for a successful installation. So go ahead, transform your staircase into a stylish and secure feature of your home with this DIY project.
