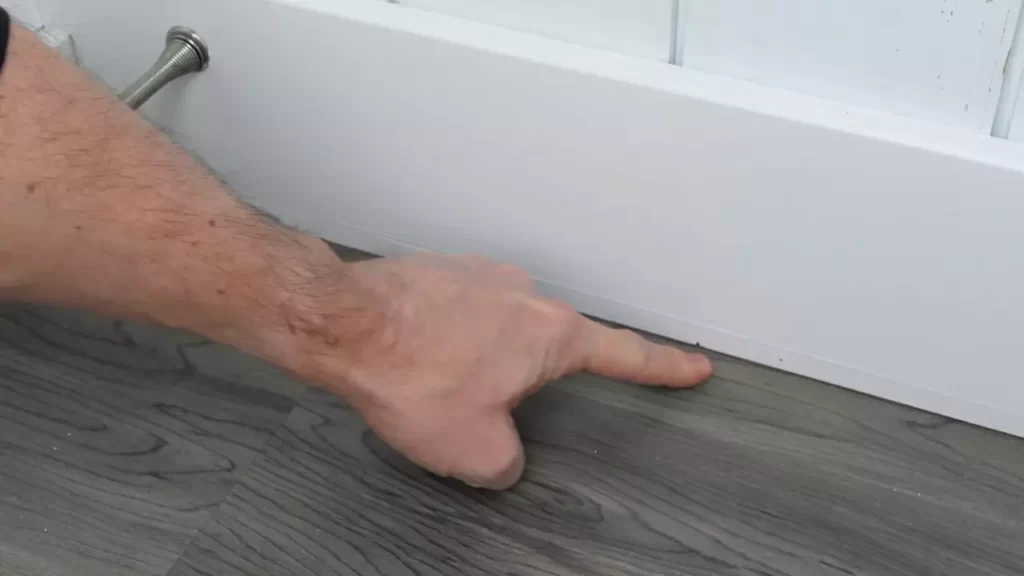
To install quarter round, first measure and cut the trim, then nail or glue it into place along the baseboard. Quarter round is a type of trim commonly used to cover the gaps between the baseboard and the flooring.
It adds a finishing touch to any room and helps protect the edges of the floor from damage. Installing quarter round is a relatively simple process that can be done by anyone with basic DIY skills. We will guide you through the steps to install quarter round in your home.
So, let’s get started!
Tools You Need
Before you start installing quarter round molding, make sure you have the right tools on hand. Having the proper tools will not only make the installation process easier but also ensure that you achieve a professional-looking result. Here are the essential tools you need:
Measure Tape
A measure tape is an indispensable tool when installing quarter round molding. It allows you to accurately measure the length of the molding required for each section. With precise measurements, you can achieve seamless joints and a perfect fit.

Miter saw
A miter saw is an essential tool for cutting quarter round molding at accurate angles. It enables you to make clean and precise cuts, which are crucial for achieving seamless corners and a polished finished look.
Pencil
A simple pencil is important for marking where to make cuts on the molding. These marks will guide you when using the miter saw, ensuring accuracy and minimizing errors.
Quarter round molding
Of course, you will need the quarter round molding itself. Make sure to choose the right material and size that complements your baseboards and overall decor style.
Finishing nails
Finishing nails are used to secure the quarter round molding to the baseboard and wall. These nails are designed to be unobtrusive so that they can easily be concealed with paint or stain.
Hammer
A hammer is necessary to drive the finishing nails into the quarter round molding and secure it in place. Ensure that you have a hammer with a comfortable grip to minimize hand fatigue.
Putty knife
A putty knife is useful when applying caulk or putty to fill any gaps or nail holes in the quarter round molding. It helps create a smooth and seamless finish.
Sandpaper
Sandpaper is necessary to smoothen any rough edges or imperfections on the quarter round molding. It ensures a clean and polished appearance once the molding is installed.
Caulk gun
A caulk gun is needed to apply caulk along the seams between the quarter round molding and the baseboard or wall. Caulk helps create a seamless and finished look while also sealing any gaps.
Paint or stain (optional)
Lastly, if desired, you can choose to paint or stain the quarter round molding to match your baseboards or complement your room’s aesthetics. This step adds a professional touch to the overall installation.
Having these tools readily available before starting the installation process will make the entire project easier and more efficient. With the right tools, you can achieve a seamless and professional-looking finish when installing quarter round molding.

Measuring And Cutting
Measure the length of the wall
Before installing quarter round, it’s important to accurately measure the length of the wall where you plan to install it. This will ensure you have the correct amount of quarter round and minimize any wastage. To measure the length of the wall, follow these steps:
- Start at one corner of the wall and use a tape measure to measure the distance to the opposite corner. Make sure to measure along the baseboard, where the quarter round will be installed.
- Write down the measurement, and if necessary, repeat the process for any additional walls where you plan to install quarter round.
Transfer the measurement to the quarter round
Once you have measured the length of the wall, it’s time to transfer that measurement to the quarter round. This step will ensure you make accurate cuts and the quarter round fits perfectly along the wall. Follow these steps to transfer the measurement:
- Place the quarter round on a flat surface, ensuring it is positioned in the same orientation it will be installed on the wall.
- Using a pencil or a marker, place a mark on the back of the quarter round at the measured length, corresponding to the end that will be positioned in the corner of the wall.
- If necessary, repeat this process to mark the lengths for any additional pieces of quarter round.

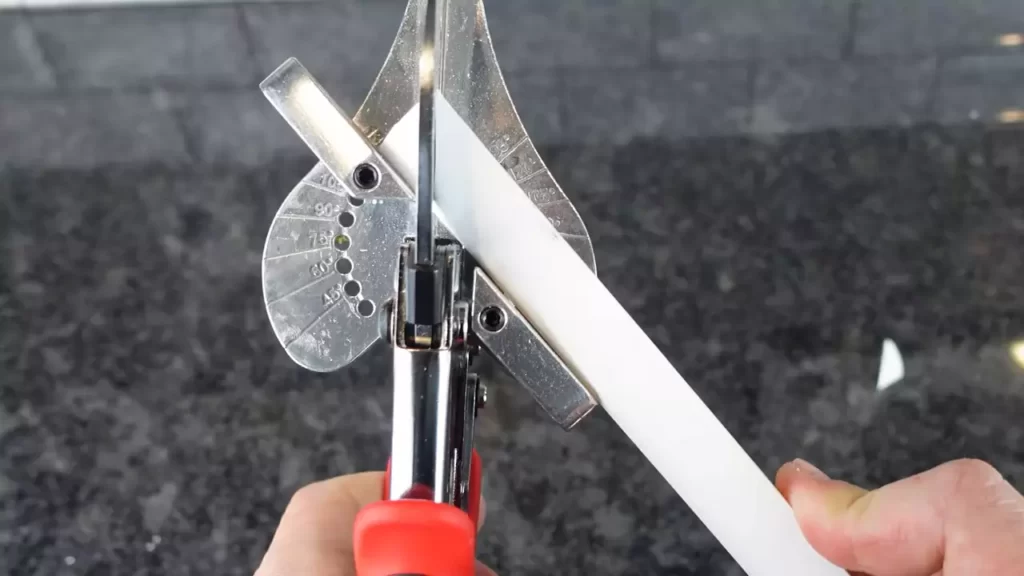
Use the miter saw to make the necessary cuts
With the measurements marked on the quarter round, it’s time to make the necessary cuts using a miter saw. This will ensure the quarter round fits seamlessly in the corners and along the wall. Follow these steps to make the cuts:
- Secure the quarter round firmly in the miter saw, making sure it is positioned correctly based on the orientation of the mark.
- Using the appropriate angle setting on the miter saw, carefully cut the quarter round according to the marked measurements. Take care to align the saw blade precisely with the mark to ensure accurate cuts.
- Repeat the process for any additional pieces of quarter round, adjusting the angle setting on the saw as needed to match the corners of the wall.
Congratulations! You’ve successfully measured and cut the quarter round, setting the stage for a professional-looking installation. Next, you can move on to the next steps of installing the quarter round, such as attaching it to the wall and ensuring a secure fit. Stay tuned for our upcoming blog post on how to complete the installation process!
Installing The Quarter Round
In this section, we’ll guide you through the step-by-step process of Installing the Quarter Round. With just a few materials and some patience, you’ll have your space looking polished and beautiful in no time.
Start at one corner of the wall
To begin, position yourself at one corner of the room where you plan to install the quarter round. Starting from a corner provides a natural starting point and ensures a seamless installation. Make sure you have your safety goggles and gloves on hand before proceeding.
Apply a thin line of caulk along the back of the quarter round
To ensure a secure and tight fit, it’s essential to apply a thin line of caulk along the back of the quarter round. This caulk acts as an adhesive, helping to bond the quarter round to both the wall and the baseboard. Using a caulk gun, carefully squeeze a thin and consistent line of caulk along the length of the quarter round.
Press the quarter round against the baseboard and wall
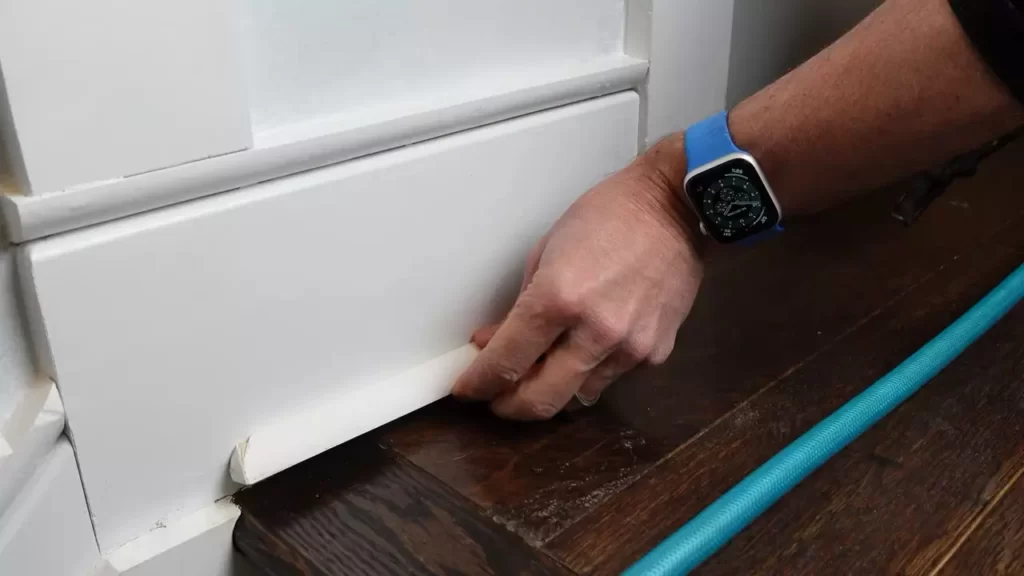
Now that the caulk is applied, carefully press the quarter round against the baseboard and wall. Apply gentle pressure to ensure the quarter round adheres properly. Take a moment to adjust the alignment, making sure it sits flush against both surfaces. This step requires attention to detail, as it sets the foundation for a polished finish.
Secure the quarter round with finishing nails
Once the quarter round is perfectly aligned, it’s time to secure it in place using finishing nails. Pre-drill small pilot holes to avoid splitting the wood. With your hammer, gently tap the finishing nails into the pilot holes, making sure to countersink them slightly below the surface of the quarter round. This technique gives your installation a professional and polished appearance.

Repeat the process for the remaining walls
Congratulations! You’ve successfully installed the quarter round on one wall. Now, it’s time to repeat the process for the remaining walls. Apply the caulk, press the quarter round against the baseboard and wall, and secure it with finishing nails, just as you did before. Take your time with each step, ensuring a consistent and seamless installation throughout the room.
Finishing Touches
Once the quarter round has been installed, it’s time to add the final touches to ensure a professional and polished look. These simple steps will help you achieve a seamless finish that enhances the overall appearance of your room.
Fill nail holes with wood putty
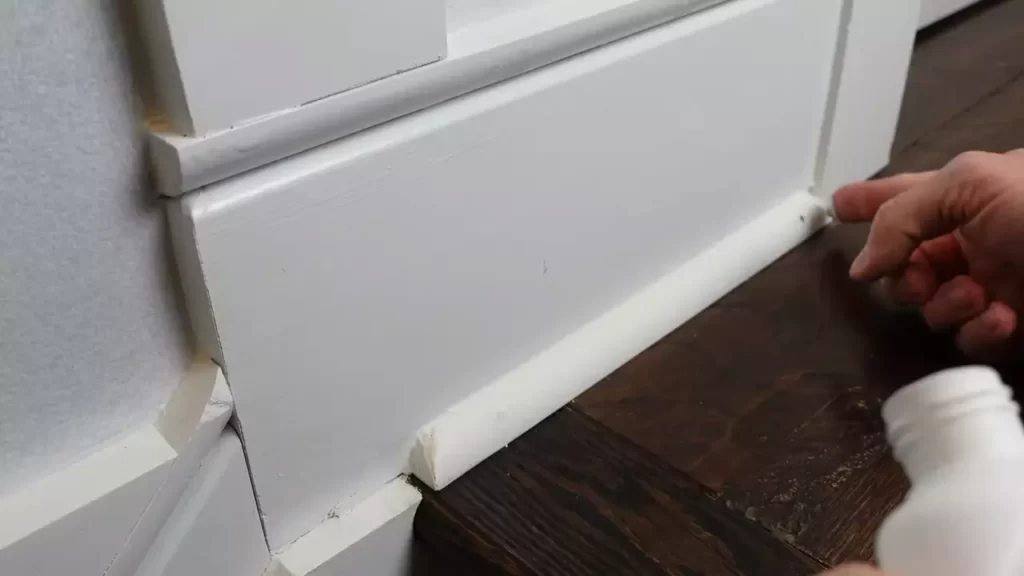
To begin, carefully inspect the quarter round for any exposed nail holes. Using a high-quality wood putty, fill each hole by applying a small amount of putty onto the end of a putty knife and pressing it into the hole. Be sure to fill the hole completely, slightly overfilling if necessary. This will ensure a solid and durable repair.
Sand the putty until smooth
Once the wood putty has fully dried, gently sand the repaired areas using a fine-grit sandpaper or sanding block. Be sure to sand evenly across the surface until the putty blends seamlessly with the quarter round. This step will make the repaired areas smooth and virtually undetectable.
Wipe off any dust or debris
After sanding, use a clean, damp cloth or sponge to wipe away any dust or debris that may have accumulated during the sanding process. This will not only ensure a clean surface for painting or staining but also prevent any particles from interfering with the final finish.
Apply paint or stain as desired
Lastly, it’s time to add the final touch – applying paint or stain. Choose a color or finish that complements the overall design of your room. Using a brush or roller, carefully apply the paint or stain in smooth, even strokes, following the grain of the wood. Depending on the desired look, you may need to apply multiple coats, allowing each coat to dry completely before proceeding.
Frequently Asked Questions On How To Install Quarter Round
Do You Nail Or Glue Quarter Round?
Nail quarter round molding to secure it in place. It provides a secure and durable installation.
How Should Quarter Round Be Installed?
To install quarter round, follow these steps:
1. Measure and cut the quarter round to fit the desired length.
2. Use a nail gun or adhesive to secure it to the baseboard or wall.
3. Fill any nail holes or gaps with wood filler.
4. Sand the quarter round to smooth the surface.
5. Finally, paint or stain the quarter round to match your trim.
What Is The Best Tool For Installing Quarter Round Molding?
The best tool for installing quarter round molding is a miter saw. It allows for precise and angled cuts, ensuring a seamless fit.
How Do You Install Quarter Round Trim Without A Nail Gun?
To install quarter round trim without a nail gun, you can use adhesive like construction adhesive or liquid nails. Apply a line of adhesive on the back of the trim and press it firmly against the wall or baseboard. Use painter’s tape or clamps to hold it in place until the adhesive dries.
Conclusion
To sum up, installing quarter round can be a simple and effective way to complete the look of your flooring. By carefully following the steps outlined in this guide, you can achieve professional-looking results. Remember to measure and cut accurately, use the right tools and materials, and take your time to ensure a clean and seamless installation.
With a little patience and attention to detail, you’ll have your quarter round installed in no time. Enjoy the finished look of your newly enhanced flooring space!
