To install central air conditioning yourself, you will need to carefully follow the necessary steps outlined in this guide. Central air conditioning is a great addition to any home, offering efficient cooling and improved comfort during hot summer months.
While hiring a professional to install a central AC system is the recommended route, it is also possible to install it yourself, saving you money on installation costs. However, it is essential to approach this task with the right knowledge and tools to ensure a successful installation.
This guide will provide you with a step-by-step process to help you install central air conditioning on your own. By following these instructions diligently, you can enjoy a cool and comfortable home environment that meets your exact needs. So, let’s dive into the installation process and get started on your DIY central AC project.
Materials Needed For Central Air Conditioning Installation
Installing central air conditioning is a significant project that can improve the comfort of your home. Whether you want to tackle the installation yourself or you simply want to understand the process better, knowing the materials you need is essential. In this article, we will cover the common tools and equipment, central air conditioning unit, ductwork and vents, and insulation materials required for a successful installation.
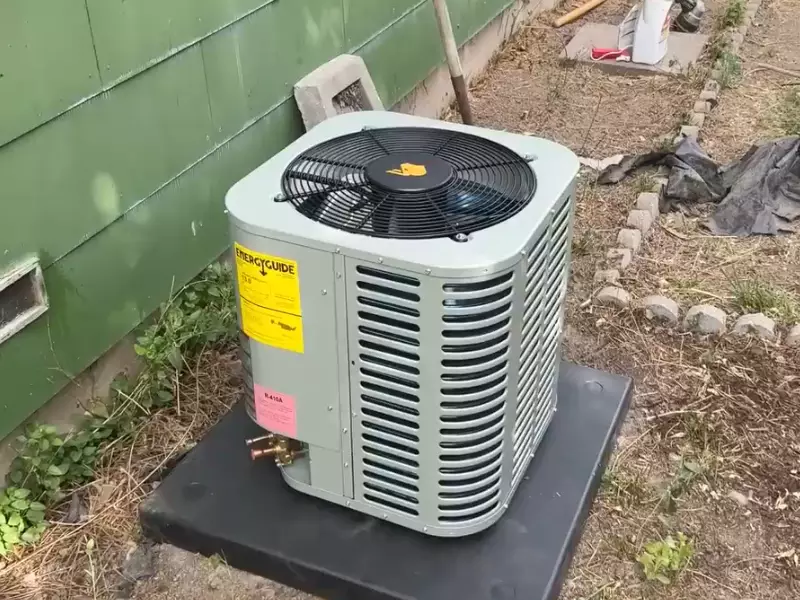
Common tools and equipment
Before you begin the installation process, it’s important to gather the necessary tools and equipment. Here are some of the common tools you will need:
- Tape measure: This will help you accurately measure the dimensions of the space where the central air conditioning unit will be installed.
- Screwdriver set: Different types and sizes of screwdrivers will be needed to assemble and install various components.
- Adjustable wrench: This tool is essential for loosening and tightening nuts and bolts during the installation process.
- Drill: A drill with appropriate drill bits will be needed for making holes in walls, floors, or ceilings to accommodate the air conditioning unit and ductwork.
- Level: A level is necessary to ensure that the central air conditioning unit and the ductwork are installed horizontally or vertically, as required.
- Wire cutter/stripper: You will need this tool to cut and strip wires during the electrical connections.
Central air conditioning unit
The central air conditioning unit is the heart of your cooling system. It is responsible for cooling the air and distributing it throughout your home. When selecting a central air conditioning unit, consider factors such as the size of your living space, energy efficiency ratings, and your budget. Look for a unit that meets your specific needs in terms of cooling capacity, energy efficiency, and noise levels. Remember to ensure the unit is compatible with the electrical capacity of your home.
Ductwork and vents
The ductwork and vents play a crucial role in delivering cooled air to different rooms in your home. It is essential to assess the existing ductwork for any damages or leaks and make the necessary repairs or replacements. Additionally, consider the placement and sizing of the vents to optimize airflow and cooling efficiency throughout your home. Properly sealed and insulated ductwork ensures that cool air reaches its intended destination while reducing energy loss.
Insulation materials
Insulation plays a vital role in preventing heat transfer and improving energy efficiency. When installing central air conditioning, it’s essential to insulate the walls, ceilings, and floors to minimize any air leaks and improve the overall cooling performance. Consider using materials such as:
- Fiberglass insulation: This commonly used material is lightweight, easy to install, and offers excellent thermal resistance.
- Foam insulation: Foam insulation provides superior insulation properties and can effectively seal any gaps or cracks.
- Reflective insulation: Reflective insulation can be used in conjunction with other insulation materials to further enhance thermal resistance.
Make sure to choose insulation materials that are appropriate for your climate and follow the manufacturer’s instructions for installation.
By ensuring you have the proper tools, a suitable central air conditioning unit, well-maintained ductwork and vents, and adequate insulation, you are well on your way to a successful central air conditioning installation. Remember to take your time, follow instructions carefully, and prioritize safety throughout the process.
Assessing Your Home’s Cooling Needs
Before you begin the installation process for central air conditioning, it’s crucial to assess your home’s cooling needs. Taking the time to understand the cooling load calculations, calculating the square footage of your home, and determining the cooling capacity required will help ensure your DIY installation is successful.
Understanding cooling load calculations
To accurately determine the cooling capacity your home needs, it’s important to understand cooling load calculations. Cooling load calculations take into account various factors such as the climate in your area, the number of windows and doors in your home, insulation levels, and more. By considering these factors, you can determine the approximate amount of cooling required to keep your home comfortable.
Calculating the square footage of your home
To accurately assess your cooling needs, you need to know the square footage of your home. Calculating the square footage is a simple process that involves measuring the length and width of each room and multiplying these measurements together. Once you have the square footage for each room, add them together to get the total square footage of your home.
Determining the cooling capacity required for your home
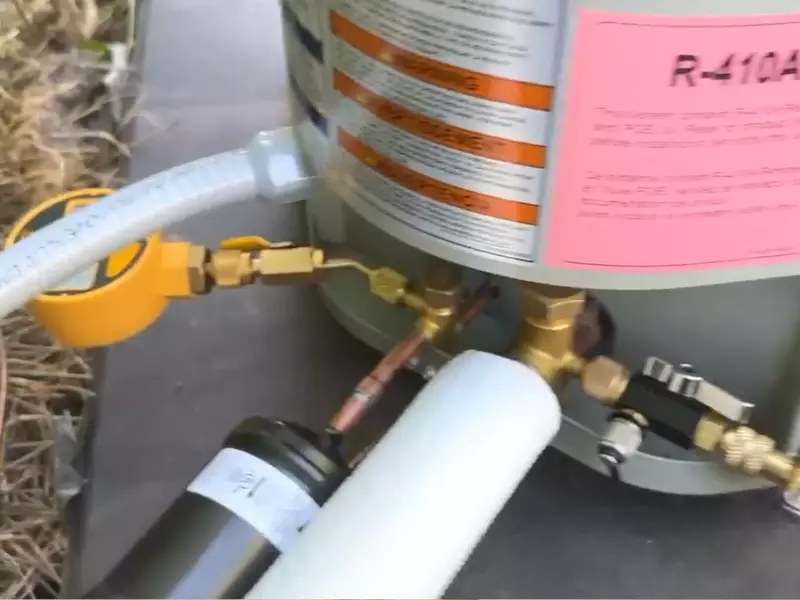
Once you have the square footage of your home, you can determine the cooling capacity required. Cooling capacity is measured in British Thermal Units (BTUs) per hour, and it represents the amount of cooling power needed to maintain a comfortable temperature in your home.
To find out the cooling capacity for your specific home, you can refer to a cooling load calculation chart or use a formula based on your square footage. For example, a rough estimation is to multiply the square footage by 20 BTUs. However, it’s essential to note that this is just a general guideline, and it’s recommended to consult with an HVAC professional or refer to more accurate calculations for a precise cooling capacity measurement.
By accurately assessing your home’s cooling needs, you can ensure that you choose the right central air conditioning system and install it effectively. Remember to consider cooling load calculations, calculate the square footage of your home, and determine the cooling capacity required for optimal cooling efficiency.
Sizing And Selecting The Central Air Conditioning Unit
Choosing the right central air conditioning unit for your home is crucial to ensure a comfortable indoor environment during those hot summer months. However, with so many options available in the market, the task of selecting the perfect unit can seem overwhelming. This section will guide you through the process of sizing and selecting a central air conditioner, considering various factors like the size of your home, energy efficiency ratings, and more.
Choosing the right size unit for your home
One of the first steps in selecting a central air conditioning unit is determining the appropriate size for your home. An undersized unit will struggle to cool your space efficiently, leading to inadequate comfort and increased energy consumption, while an oversized unit may cycle on and off too frequently, resulting in poor humidity control and unnecessary wear and tear on the system.
The size of the unit is measured in tons and is determined by the cooling capacity it can provide. To estimate the appropriate size, you can conduct a simple calculation:
- Calculate the square footage of your home by multiplying its length and width.
- Consider other factors such as ceiling height, insulation, and the number of windows and occupants. These factors may require adjustments to the initial square footage calculation.
- Refer to a sizing chart or consult a professional HVAC technician to determine the recommended cooling capacity in tons based on your square footage and other considerations.
Factors to consider when selecting a central air conditioner
In addition to the size of the unit, there are several other crucial factors to consider when selecting a central air conditioner:
- Energy efficiency ratings: Look for units with high Seasonal Energy Efficiency Ratio (SEER) ratings. A higher SEER rating indicates greater energy efficiency and lower operating costs in the long run.
- Brand reputation: Research reputable brands known for their reliability and durability. Reading customer reviews and seeking recommendations can help you make an informed decision.
- Warranty: Check the warranty offered by the manufacturer. A longer warranty period gives you peace of mind and may indicate the company’s confidence in the product’s quality.
- Additional features: Consider features like programmable thermostats, variable speed technology, and noise-reduction options. These additional features can enhance comfort and efficiency.
- Installation requirements: Assess the compatibility of the unit with your existing ductwork and electrical system. If significant modifications are needed, it’s advisable to seek professional assistance.
Evaluating energy efficiency ratings
Investing in an energy-efficient central air conditioning unit not only helps save on utility bills but also promotes environmental sustainability. When evaluating energy efficiency ratings, focus on the SEER rating mentioned earlier. The higher the SEER rating, the more efficient the unit is at converting electricity into cooling. Look for units with a minimum SEER rating of 14, as mandated by federal regulations. However, keep in mind that higher SEER-rated units often come with a higher upfront cost.
Considering all these factors will ensure you choose the perfect central air conditioning unit for your home, maximizing both comfort and energy efficiency.
Planning The Installation Process
Before diving into the installation process of central air conditioning, it is crucial to have a solid plan in place. Proper planning can save time, money, and unnecessary disruptions. In this section, we will discuss three essential aspects of planning: determining the best location for the central air conditioning unit, deciding on the placement of ductwork and vents, and scheduling the installation timeline.
Determining the Best Location for the Central Air Conditioning Unit
When it comes to installing a central air conditioning unit, finding the ideal location plays a vital role. This location should be easily accessible, well-ventilated, and convenient for future maintenance. Here are a few points to consider:
- Ensure that the location is close to the electrical panel to minimize the need for excessive wiring.
- Choose an area outdoors that is free from direct sunlight and excessive heat exposure.
- Avoid placing the unit near areas prone to dust accumulation or vegetation to prevent clogging and damage.
- Consider noise levels and install the unit away from bedrooms, patios, or quiet outdoor areas.
Deciding on the Placement of Ductwork and Vents
Once you have determined the location for the central air conditioning unit, the next step is to decide on the placement of ductwork and vents throughout your home. This process requires careful planning to ensure optimal airflow and temperature distribution. Here are some factors to keep in mind:
- Assess the layout of your home and identify the most efficient routes for ductwork installation.
- Consider the size and condition of existing air ducts and evaluate if any modifications or replacements are needed.
- Strategically place vents in each room to maximize efficiency and ensure consistent cooling.
- Consult with a professional if you are unsure about the ideal placement or need assistance in modifying existing ductwork.
Scheduling the Installation Timeline
Before starting the installation process, it is essential to establish a realistic timeline. This ensures that the installation is completed efficiently, minimizing inconvenience and disruptions. Consider the following steps:
- Contact local contractors or HVAC professionals to obtain multiple quotes and compare their availability.
- Discuss the estimated duration of the installation process and any potential delays that might be encountered.
- Coordinate with contractors to find a suitable date and time for the installation that aligns with your schedule.
- If necessary, make arrangements for temporary cooling solutions during installation to maintain comfort within your home.
By having a solid plan in place, including determining the best location for the central air conditioning unit, deciding on the placement of ductwork and vents, and scheduling the installation timeline, you can ensure a seamless and successful installation process.
Preparing The Installation Area
Preparing the installation area is an essential first step when it comes to installing central air conditioning. Clearing the work area of any obstacles, creating a level and stable surface for the unit, and ensuring proper ventilation are crucial factors to consider for a successful installation.
Clearing the work area of any obstacles
Before beginning the installation, it is crucial to clear the work area of any obstacles that may hinder the process. This could include furniture, plants, or any other objects that may be in the way. Clearing the work area not only ensures that you have enough space to work with, but it also helps to prevent any potential damage to the unit or surrounding objects during the installation process.
Creating a level and stable surface for the unit
A central air conditioning unit needs to be installed on a level and stable surface to ensure its proper functioning. Before proceeding with the installation, it is essential to check the surface and make any necessary adjustments. If the surface is uneven, use shims or levelers to create a stable base for the unit. This will help prevent any future issues with the unit’s performance and ensure that it operates at its optimal level.
Ensuring proper ventilation for the unit
Proper ventilation is crucial for the efficient operation of a central air conditioning unit. Without proper airflow, the unit may not be able to cool effectively, and it may also lead to higher energy consumption. To ensure proper ventilation, it is important to provide sufficient space around the unit. This means keeping it away from walls, fences, or any other obstructions. It is also important to consider the height at which the unit is installed to allow for proper airflow.
By following these steps and preparing the installation area correctly, you can make the entire process of installing central air conditioning more manageable and efficient. Remember to clear the work area of any obstacles, create a level and stable surface for the unit, and ensure proper ventilation. These key factors will help you achieve a successful DIY installation while also ensuring the long-term performance of your central air conditioning system.
Installing The Central Air Conditioning Unit
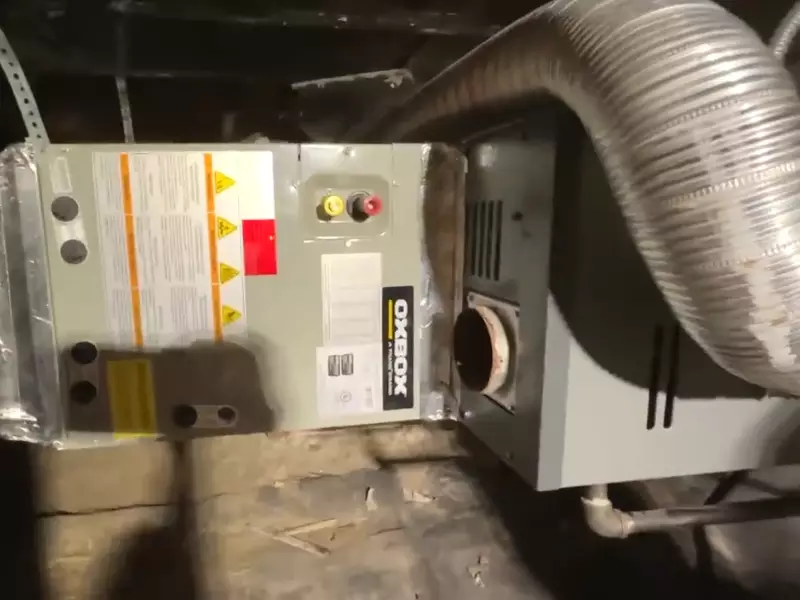
Once you have successfully completed the preparatory steps in installing your central air conditioning system, it’s time to move on to the actual installation of the unit. This step is crucial as it ensures that the air conditioning system operates efficiently and optimally.
Connecting the unit to the electrical supply
The first important step in installing your central air conditioning unit is connecting it to the electrical supply. Follow these steps to ensure a safe and proper electrical connection:
- Locate the electrical panel in your home and identify the appropriate circuit for the air conditioning unit. Depending on the size and power requirements of your unit, you may need either a 120-volt or 240-volt circuit.
- Shut off the power to the circuit at the main electrical panel to prevent any accidents or injuries.
- Run the appropriate electrical wiring from the circuit breaker to the location of the air conditioning unit. It is important to use the correct gauge wire for the specific amperage of your unit.
- Connect the wiring to the unit according to the manufacturer’s instructions, ensuring proper grounding and tightening of all connections.
- Once the wiring is securely connected, turn on the power to the circuit at the electrical panel and test the unit to ensure it is receiving power.
Properly securing the unit to the installation area
Securing the central air conditioning unit to its designated installation area is crucial to prevent any potential damage or movement. Here are the steps to properly secure the unit:
- Ensure that the installation area is level and stable to provide a solid foundation for the unit.
- Position the unit on the installation pad or brackets, making sure it is aligned correctly with the designated openings for air inlet and outlet.
- Secure the unit in place using appropriate screws or bolts, following the manufacturer’s instructions.
- Inspect the unit to ensure it is level, stable, and securely fastened to the installation area.
Testing the unit for proper functionality
After successfully connecting and securing the central air conditioning unit, it is crucial to test its functionality to ensure its proper operation. Follow these steps to test your unit:
- Set the thermostat at an appropriate temperature and turn on the unit.
- Listen for any unusual noises or vibrations that may indicate a problem with the unit.
- Feel the airflow from the vents to ensure it is cool and consistent throughout your home.
- Monitor the unit for a sufficient cooling effect and observe if it reaches the desired temperature within a reasonable timeframe.
- If you notice any issues or abnormalities during the testing process, consult the manufacturer’s instructions or seek professional assistance.
By following these steps and properly installing your central air conditioning unit, you can ensure its optimal performance and enjoy a cool and comfortable home environment.
Installing The Ductwork And Vents
When it comes to central air conditioning installation, one crucial step is installing the ductwork and vents. This process involves designing the ductwork layout, installing the main trunk line and branch ducts, and attaching the vents and registers. Proper installation of the ductwork and vents ensures efficient airflow throughout your home, keeping it cool and comfortable during those hot summer months.
Designing the ductwork layout
Before you begin installing the ductwork, you need to plan and design the layout. This step is essential to ensure that the air conditioning system will effectively and evenly distribute cool air throughout your home. Here are a few key factors to consider when designing the ductwork layout:
- The size and dimensions of each room
- The location of doors, windows, and other obstructions
- The capacity and airflow requirements of the central air conditioning system
By taking these factors into account, you can create an efficient ductwork layout that maximizes airflow and minimizes energy waste.
Installing the main trunk line and branch ducts
Once you have finalized the ductwork layout, it’s time to start installing the main trunk line and branch ducts. The main trunk line acts as the central pathway, carrying the cooled air from the central unit to the different parts of your home. The branch ducts, on the other hand, deliver the air to specific rooms or zones.
To install the main trunk line and branch ducts, follow these steps:
- Measure and cut the necessary ductwork materials according to your layout design.
- Secure the sections of ductwork together using suitable connectors and fasteners.
- Ensure that the duct joints are properly sealed to prevent any air leakage.
- Mount the main trunk line and branch ducts in a strategic location, such as the attic or basement.
- Use hanging straps or supports to secure the ductwork in place.
By properly installing the main trunk line and branch ducts, you can guarantee that the cooled air will flow smoothly and reach every part of your home with ease.
Attaching the vents and registers
The final step in installing the ductwork and vents is attaching the vents and registers. Vents are the openings through which the conditioned air enters the room, while registers allow you to control the airflow and direct it in the desired direction. When attaching the vents and registers, make sure to follow these guidelines:
- Position the vents in each room according to your layout design, ensuring proper airflow distribution.
- Secure the vents to the ductwork using screws or other suitable fasteners.
- Ensure that the vents are properly sealed to prevent any air leakage.
- Install the registers on the vents, allowing you to control the airflow and adjust it as needed.
By attaching the vents and registers correctly, you can optimize the airflow and ensure that each room in your home receives the right amount of cool air.
Designing the ductwork layout, installing the main trunk line and branch ducts, and attaching the vents and registers are crucial steps in successfully installing your central air conditioning system. By following these guidelines and taking the time to do the installation properly, you can enjoy a cool and comfortable home all summer long.
Insulating The Ductwork And Protecting The Airflow
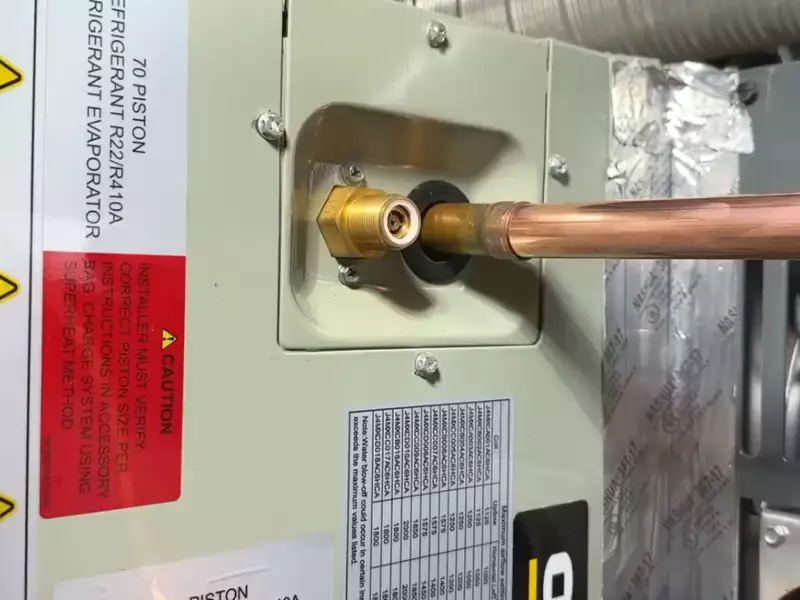
The process of insulating the ductwork and protecting the airflow is crucial for the efficient functioning of your central air conditioning system. Proper insulation helps in reducing heat loss or gain, ensuring that the cooled air reaches its desired destination without any hindrance. Additionally, sealing any gaps or leaks in the ductwork prevents air from escaping, which maximizes the cooling effect. Installing dampers allows you to regulate the airflow, ensuring that each area of your home receives the desired amount of cooled air. Let’s further explore these steps in detail.
Applying insulation to the ducts
Applying insulation to the ducts is a straightforward process that significantly improves the energy efficiency of your central air conditioning system. Start by measuring the length and width of the ductwork to determine the amount of insulation required. Use a suitable insulation material, such as fiberglass or foam, and wrap it around the ducts, making sure to cover all exposed areas. Ensure a tight fit and secure the insulation using tape or fasteners. This insulation layer acts as a barrier, preventing any heat transfer and ensuring the cooled air remains at the desired temperature as it travels through the ducts.
Sealing any gaps or leaks in the ductwork
Gaps or leaks in the ductwork can lead to significant loss of cooled air, reducing the efficiency of your central air conditioning system. To seal these gaps effectively, inspect the entire length of the ductwork carefully. Look for any signs of cracks, loose joints, or disconnected sections. Use a suitable sealant, such as mastic or metal-backed tape, to seal these gaps and leaks. Apply the sealant generously, making sure to cover the entire area around the gaps. Additionally, reinforce any loose joints or connections with metal screws or clamps. This sealing process ensures that the cooled air remains contained within the ducts, maximizing the cooling effect.
Installing dampers to regulate airflow
Dampers play a crucial role in regulating the airflow throughout your home, ensuring that each area receives the desired amount of cooled air. Start by identifying the main ducts leading to different areas of your home. Install a damper at each junction or branching point to control the airflow. Dampers can be manual or automatic and can be adjusted according to your cooling preferences. With the help of dampers, you can redirect more cooled air to areas that require more cooling and reduce airflow to areas that need less. This step ensures efficient cooling and optimal comfort throughout your home.
Connecting The Central Air Conditioner To The Thermostat
Once you have successfully installed your central air conditioning system, the next crucial step is connecting it to the thermostat. This connection is vital as it allows you to control the cooling settings of your home efficiently. In this section, we will guide you through the process of selecting and installing the appropriate thermostat, wiring it to the central air conditioner, and programming it for optimal cooling control.
Selecting and installing the appropriate thermostat
Before you can connect your central air conditioner to the thermostat, it is essential to choose the right thermostat for your system. There are different types of thermostats available, including programmable and smart thermostats, each offering unique features and benefits. Evaluate your needs, budget, and preferences to determine the best thermostat for your home.
Once you have selected the ideal thermostat, follow these steps to install it:
- Turn off the power to the central air conditioner system.
- Remove the old thermostat from the wall, making sure to label and disconnect the wires.
- Install the new thermostat according to the manufacturer’s instructions, ensuring a secure and level installation.
- Connect the wiring from the central air conditioner to the corresponding terminals on the thermostat.
- Attach the thermostat cover and restore power to the system.
By carefully selecting and properly installing the appropriate thermostat, you are on your way to enjoying optimal cooling comfort while saving energy.
Wiring the thermostat to the central air conditioner
Now that you have the appropriate thermostat in place, the next step is to wire it to the central air conditioner. Follow these instructions:
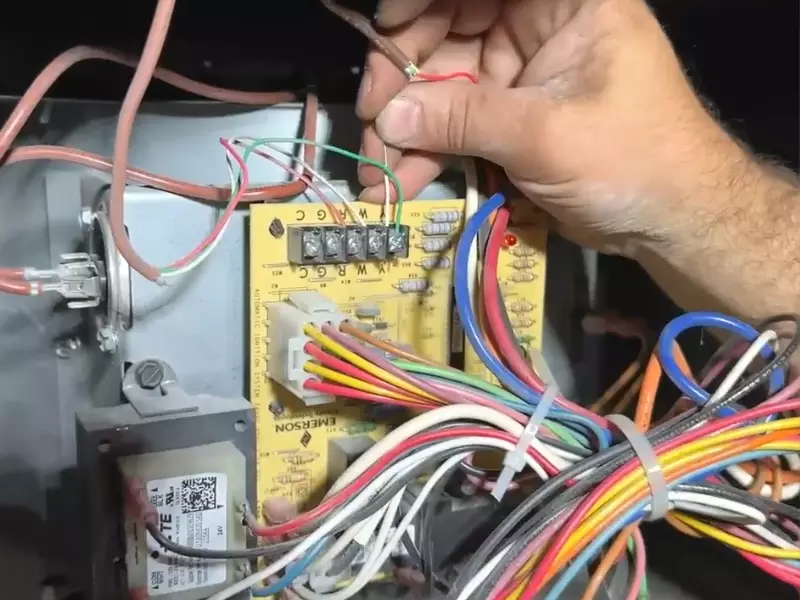
- Identify the thermostat wiring terminals and their corresponding functions. Common terminals include R (power), Y (cooling), G (fan), and C (common).
- Refer to the manufacturer’s wiring diagram for your central air conditioner unit.
- Match the wires from the central air conditioner to the appropriate terminals on the thermostat. Ensure a secure connection.
- Use wire nuts or a wiring harness to secure the wires together.
- Double-check all connections to ensure they are properly wired.
With the correct wiring, you can now proceed to the final step: programming your thermostat for optimal cooling control.
Programming the thermostat for optimal cooling control
Properly programming your thermostat is crucial for achieving optimal cooling control, comfort, and energy efficiency. Here are some guidelines:
- Set the desired temperature for different times of the day to maximize energy savings. For example, program higher temperatures when no one is home.
- Utilize the thermostat’s scheduling features to automatically adjust the temperature based on your daily routine.
- Ensure the temperature differentials and cycle times are appropriate for your specific cooling system.
- Regularly review and adjust your thermostat settings to accommodate changes in weather or occupancy.
By programming your thermostat effectively, you can maintain a comfortable indoor temperature while optimizing energy usage.
Connecting your central air conditioner to the thermostat is a critical step in ensuring efficient cooling control for your home. By selecting and installing the appropriate thermostat, wiring it correctly, and programming it optimally, you can enjoy the benefits of a well-controlled cooling system and enhanced energy savings.
Testing And Balancing The Airflow
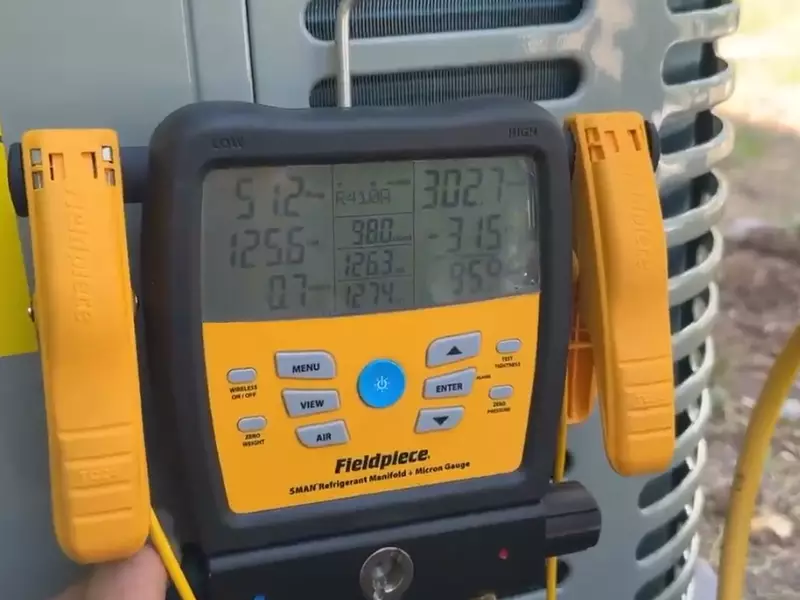
When it comes to installing central air conditioning yourself, testing and balancing the airflow is a crucial step that ensures optimal performance and efficiency of the system. This step involves checking the airflow throughout the system, adjusting dampers and registers for proper balance, and conducting a final performance test. By properly testing and balancing the airflow, you can ensure that each room in your home receives the right amount of cooled air, creating a comfortable environment throughout.
Checking the airflow throughout the system
To start testing the airflow, you need to make sure that each room receives an adequate amount of cooled air. You can do this by following these steps:
- Close all windows and doors in the house to prevent any outside air from interfering with the airflow.
- Turn on the central air conditioning system and let it run for a few minutes to stabilize.
- Go to each supply register in the house and feel the air coming out. Make sure that the airflow is consistent and that there are no obstructions blocking the airflow.
- If you notice any rooms with weak airflow, it could indicate a problem with the ductwork or a blockage. In such cases, it is advisable to consult a professional HVAC technician to address the issue.
Adjusting dampers and registers for proper balance
After checking the airflow throughout the system, the next step is to adjust dampers and registers to achieve a proper balance. Here’s how:
- Locate the dampers in your ductwork. These are small metal plates that control the airflow to each room.
- Identify the dampers that correspond to the rooms with uneven airflow.
- Partially close the dampers in rooms with too much airflow to redirect the air to rooms with weaker airflow.
- Monitor the airflow in each room and make incremental adjustments to the dampers until you achieve a balanced airflow throughout the house.
Conducting a final performance test
Once you have adjusted the dampers and registers, it is essential to conduct a final performance test to ensure that the system is functioning optimally. Follow these steps:
- Set the thermostat to your desired temperature.
- Wait for the system to reach the set temperature.
- Measure the temperature in each room to ensure that it matches the thermostat setting.
- If you notice significant variations in temperature between rooms, it may indicate an issue with the airflow or insulation. In such cases, consider consulting a professional HVAC technician for further evaluation.
By testing and balancing the airflow in your DIY central air conditioning installation, you can ensure that your system operates efficiently, providing consistent and comfortable cooling throughout your home.
Maintaining Your Central Air Conditioning System
Once you have successfully installed your central air conditioning system, it’s important to take the necessary steps to maintain it properly. A well-maintained system not only ensures efficient cooling but also extends the lifespan of the unit. In this section, we will discuss three key aspects of maintaining your central air conditioning system: regularly cleaning and replacing air filters, scheduling routine maintenance and inspections, and troubleshooting common issues with the system.
Regularly Cleaning and Replacing Air Filters
One of the easiest and most important tasks in maintaining your central air conditioning system is regularly cleaning and replacing the air filters. Air filters help to trap dust, dirt, and other airborne particles, preventing them from entering your home and clogging up the system. Over time, the filters can become dirty and clogged, reducing airflow and efficiency.
To clean the air filters, start by turning off the power to the system. Remove the filters and gently vacuum away any loose debris. If the filters are washable, gently rinse them with water and let them dry completely before reinstalling. If the filters are disposable, replace them with new ones that are compatible with your system. Set a reminder to check the filters every month and clean or replace them as needed.
Scheduling Routine Maintenance and Inspections
Another important aspect of maintaining your central air conditioning system is scheduling routine maintenance and inspections. Regular maintenance helps to identify and address any issues before they become major problems, ensuring optimal performance and efficiency.
Contact a professional HVAC technician to schedule an annual maintenance visit. During this visit, they will inspect the system, clean the various components, and lubricate moving parts. They will also check the refrigerant levels, adjust the thermostat settings, and perform any necessary repairs. By scheduling regular maintenance, you can catch potential issues early on and prevent costly breakdowns in the future.
Troubleshooting Common Issues with the System
Even with proper maintenance, you may encounter common issues with your central air conditioning system. It’s helpful to be aware of these issues and know how to troubleshoot them to avoid any unnecessary expenses.
If your system is not cooling efficiently, check the thermostat settings to ensure they are correct. Make sure all vents are open and unobstructed. If you hear unusual noises coming from the unit, it could indicate a problem with the fan or motor. In such cases, it’s best to contact a professional technician to diagnose and resolve the issue.
Frequently Asked Questions Of How To Install Central Air Conditioning Do It Yourself
Can I Install A Central Air Conditioner Myself?
No, it is not recommended to install a central air conditioner yourself. It is important to hire a professional for this task to ensure proper installation and avoid any potential risks or damage.
What Happens If I Install Ac Myself?
Installing AC yourself can lead to improper installation, potential damage to the system, and increased safety risks. It is recommended to hire a professional to ensure proper installation, and system performance, and avoid any accidents.
Can You Replace Just The Outside AC unit?
Yes, you can replace just the outside AC unit. It is possible to swap out the external unit without changing the indoor components. This can be a cost-effective solution if the inside unit is still functioning properly.
How Long Does It Take To Install Central AC in A House?
Installing central AC in a house typically takes around 1-3 days.
Conclusion
Installing central air conditioning can be a daunting task, but with the right knowledge and guidance, it is possible to do it yourself. By following the step-by-step instructions and using the necessary tools and materials, you can enjoy the comfort of a cool home during hot summer days.
Remember to carefully plan the installation process, consider the size of your home, and seek professional assistance if needed. With patience and attention to detail, you can successfully install central air conditioning and create a comfortable living environment for you and your family.
