To install a wireless thermostat, follow these steps: First, turn off the power to your heating and cooling system. Then, remove the old thermostat and disconnect the wires.
Next, mount the new thermostat and connect the wires according to the manufacturer’s instructions. Finally, turn the power back on and program the thermostat settings as desired. A wireless thermostat can offer convenience and energy savings by allowing you to control your heating and cooling system remotely.
Installing one is a relatively simple process that can be done by following a few steps. We will guide you through the process of installing a wireless thermostat, ensuring that you can enjoy the benefits it brings to your home.
By the end of the installation, you’ll have a user-friendly thermostat that allows you to adjust the temperature from the comfort of your couch or even when you’re away from home. So, let’s dive into the steps of installing a wireless thermostat.
Why Choose A Wireless Thermostat?
Installing a wireless thermostat in your home can provide numerous benefits. Not only does it offer convenience and flexibility, but it can also help you save on energy costs. In this article, we will explore why choosing a wireless thermostat is a smart choice for your home.
Benefits of a Wireless Thermostat
A wireless thermostat offers several advantages over traditional wired thermostats. Here are some of the key benefits:
Cost Savings
One of the significant advantages of a wireless thermostat is the potential for cost savings. With a wireless thermostat, you can easily control the temperature of your home from anywhere, allowing you to adjust settings and reduce energy consumption when you’re away.
By optimizing your heating and cooling usage, you can save on energy costs. According to the U.S. Department of Energy, homeowners can save up to 10% a year on heating and cooling bills by simply turning their thermostat back 7-10 degrees Fahrenheit for 8 hours a day.
A wireless thermostat provides the convenience of programming and adjusting temperature settings remotely, so you can optimize your energy usage and reduce your utility bills. Plus, most wireless thermostats offer advanced features like energy usage tracking and personalized energy-saving tips to help you further maximize your savings.
Energy Efficiency
In addition to cost savings, wireless thermostats also offer improved energy efficiency. With precise temperature control and the ability to set custom schedules, these thermostats help ensure that your home is only being heated or cooled when necessary, reducing energy waste.
Many wireless thermostats also feature smart technology, which allows them to learn your daily routine and automatically adjust the temperature based on your needs. For example, if you typically leave for work at 8 a.m., your wireless thermostat can start adjusting the temperature just before you leave, so you return to a comfortable home without wasting energy throughout the day.
With the ability to monitor and control your HVAC system remotely, a wireless thermostat enables you to make adjustments on the go. If you realize you forgot to adjust the temperature before leaving home, you can easily do so from your smartphone, ensuring energy efficiency even when you’re not physically present.
Overall, a wireless thermostat offers the perfect combination of convenience and energy efficiency for modern homeowners. Whether you’re looking to save on your energy bills or reduce your carbon footprint, a wireless thermostat is an excellent investment for your home.
Ease Of Installation
Installing a wireless thermostat has never been easier. With its hassle-free setup, you don’t need to worry about any complicated wiring or professional assistance. In just a few simple steps, you can have your wireless thermostat up and running, providing you with comfort and control over your home’s temperature. Let’s explore the various aspects that make the installation a breeze.
No Wiring Required
Gone are the days of dealing with complex wiring connections. One of the major advantages of a wireless thermostat is that it eliminates the need for any wiring. This means you can install it in any part of your home without the hassle and mess of running wires through walls or ceilings. The absence of wiring also ensures a safer installation process, reducing the risk of electrical accidents. With no wires to worry about, you can focus on the simplicity and convenience of your wireless thermostat.
Compatible with Existing HVAC Systems
If you’re concerned about compatibility with your current heating and cooling system, rest assured that wireless thermostats are designed to work seamlessly with a wide range of HVAC systems. Whether you have a traditional forced-air system, a heat pump, or even an electric baseboard heater, there’s a wireless thermostat that can integrate perfectly with your setup. This compatibility extends to both new and old HVAC systems, making it a suitable choice for any homeowner looking to upgrade their thermostat.
Step-by-Step Guide
To ensure a hassle-free installation, most wireless thermostat manufacturers provide a comprehensive step-by-step guide. This guide walks you through the entire process, from unboxing your new thermostat to integrating it with your HVAC system. The instructions are simple and easy to follow, making it accessible for even those with limited technical knowledge. You’ll find detailed explanations, diagrams, and sometimes even video tutorials to assist you along the way. Installation becomes a breeze when you have clear, user-friendly instructions at your fingertips.
In conclusion, the ease of installation is at the core of wireless thermostats’ appeal. With no wiring required, compatibility with various HVAC systems, and user-friendly guides, you can confidently take on the task of installing a wireless thermostat yourself. Say goodbye to the complexities of traditional thermostats and enjoy the convenience and control of a wireless solution.
Tools And Materials Needed
When it comes to installing a wireless thermostat, having the right tools and materials on hand is essential. Proper preparation will make the installation process smooth and hassle-free. In this section, we will discuss the list of tools required for installation, the list of materials required, and where to purchase these tools and materials.
List of tools required for installation
Before you begin the installation process, make sure you have the following tools at your disposal:
- Screwdriver set
- Drill
- Wire cutter/stripper
- Level
- Electrical tape
- Marker or pencil
- Stud finder
These tools are essential for different aspects of the installation process. The screwdriver set will come in handy for removing the old thermostat and installing the new one. The drill will be needed for mounting the thermostat on the wall. The wire cutter/stripper will be used for handling the thermostat’s wiring. The level will ensure that your thermostat is properly aligned. Electrical tape will securely connect the wires and prevent any electrical mishaps. The marker or pencil will help you mark the spots for mounting and wiring, and the stud finder will ensure you drill into a secure location.
List of materials required for installation
In addition to the tools, you will also need the following materials:
- Wireless thermostat
- Mounting plate
- Screws and anchors
- Thermostat wiring
- Batteries
- Instruction manual
The wireless thermostat is the main component of the installation process. Ensure that you have a compatible thermostat for your HVAC system. The mounting plate will provide stability for the thermostat on the wall. Screws and anchors are necessary for mounting the plate. The thermostat wiring will connect the thermostat to your HVAC system, and the batteries will provide power to the thermostat. Finally, don’t forget to have the instruction manual on hand to guide you through the installation process.
Where to purchase tools and materials
You can purchase the required tools and materials from various sources:
| Tools | Materials |
|---|---|
|
|
Local hardware stores and home improvement centers often carry a wide range of tools and materials needed for thermostat installation. Online retailers provide the convenience of shopping from home and may offer a broader selection. For specific HVAC-related items, such as the thermostat wiring or HVAC system compatibility, consider consulting local HVAC suppliers or online HVAC retailers. Electronics stores may also have the necessary tools and batteries.
By ensuring that you have the right tools and materials, you’ll be well-prepared to install your wireless thermostat without any hiccups.
Preparing For Installation
Before you start installing a wireless thermostat in your home, it’s important to take some time to prepare. This will ensure a smooth installation process and help you avoid any unexpected issues along the way. In this section, we will discuss the three key steps to prepare for the installation: assessing your existing thermostat, choosing the right location, and checking compatibility with your HVAC system.
Assessing existing thermostat
The first step in preparing for the installation of a wireless thermostat is to assess your existing thermostat. Take a close look at the thermostat that is currently installed in your home and determine its functionality and condition. Ask yourself the following questions:
- Is your current thermostat working properly?
- Does it accurately control the temperature in your home?
- Is it outdated or in need of repair?
Assessing your existing thermostat will help you make an informed decision about whether or not to upgrade to a wireless thermostat. If your current thermostat is functioning well and meets your needs, you may decide to stick with it. However, if it’s not working properly or you’re looking to take advantage of the features offered by a wireless thermostat, it may be time for an upgrade.
Choosing the right location
Once you’ve made the decision to install a wireless thermostat, the next step is to choose the right location for it. The location of your thermostat can impact its performance and accuracy, so it’s important to choose carefully. Consider the following factors when selecting a location:
- Choose a central location in your home, away from any direct heat sources, drafts, or areas with high humidity.
- Ensure that the thermostat is easily accessible and not obstructed by furniture, curtains, or other objects.
- Avoid placing the thermostat near windows or doors, as this can lead to inaccurate temperature readings.
By choosing the right location for your wireless thermostat, you’ll ensure that it can effectively monitor and control the temperature in your home, providing you with optimal comfort and energy efficiency.
Checking compatibility with HVAC system
Before proceeding with the installation of a wireless thermostat, it’s crucial to check its compatibility with your HVAC system. Not all thermostats are compatible with all HVAC systems, so it’s important to ensure a proper match. Here’s what you need to do:
- Refer to the manufacturer’s specifications of the wireless thermostat to determine if it is compatible with your type of HVAC system (e.g., central heating, cooling-only, heat pump).
- If you’re unsure about the compatibility, consult with a professional HVAC technician who can provide guidance and recommendations.
- Consider any additional features or functionality you may want, such as zoning capabilities or remote access, and ensure that the wireless thermostat supports these features.
Checking the compatibility of the wireless thermostat with your HVAC system will ensure that it can properly communicate and control the heating and cooling in your home. This step is critical to avoid any potential issues or incompatibilities during the installation process.
By thoroughly preparing for the installation of a wireless thermostat, you’ll set the foundation for a successful and hassle-free installation process. Assessing your existing thermostat, choosing the right location, and checking compatibility with your HVAC system are essential steps that will help you make the most of your new wireless thermostat.
Turning Off Power
Safety Precautions
Before you begin the installation process of a wireless thermostat, it is crucial to prioritize safety precautions. Handling electrical systems can be dangerous, so it’s important to take the necessary steps to protect yourself and prevent any accidents. Follow these safety measures to ensure a safe and smooth installation process:
- Make sure to wear safety gloves and goggles.
- Switch off the power supply to the HVAC system.
- Avoid touching any exposed wires or components.
- Read the manufacturer’s instructions carefully.
- If you are uncertain or uncomfortable with any step, consider consulting a professional.
How to Turn Off Power to the HVAC System
Turning off the power to your HVAC system is an essential step in the installation process. Follow these steps to ensure a safe power shutdown:
- Locate the breaker box or fuse panel in your home.
- Identify the breaker or fuse that controls the power supply to your HVAC system.
- Flip the switch associated with the HVAC system to the off position. Alternatively, remove the fuse that corresponds to the system.
- Double-check that the power is switched off by trying to turn on the air conditioning or heating. If they don’t start, the power is successfully turned off.
Avoiding Electrical Hazards
When dealing with any electrical system, it’s important to exercise caution to avoid potential hazards. Follow these tips to minimize electrical risks while installing a wireless thermostat:
- Use a non-contact voltage tester to ensure that there is no live voltage present before touching any wires or components.
- Avoid using excessive force when handling wires to prevent damaging them.
- Secure and insulate any exposed wires properly to prevent accidental contact.
- When connecting wires, make sure they are tightly connected and properly insulated.
- Never overload circuits by connecting too many devices to a single circuit.
By adhering to these safety precautions, turning off the power correctly, and avoiding electrical hazards, you can ensure a safe installation process for your wireless thermostat. Remember, if you have any doubts or concerns, it’s always best to seek professional assistance.
Removing The Old Thermostat
When it comes to installing a wireless thermostat, the first step is removing the old thermostat. This process may seem a bit daunting at first, but with our step-by-step guide, you’ll have it done in no time.
Step-by-step guide to removing the old thermostat
Follow these simple steps to successfully remove the old thermostat:
- Turn off the power: Before you begin, it’s important to turn off the power to your heating and cooling system. This will ensure your safety throughout the process.
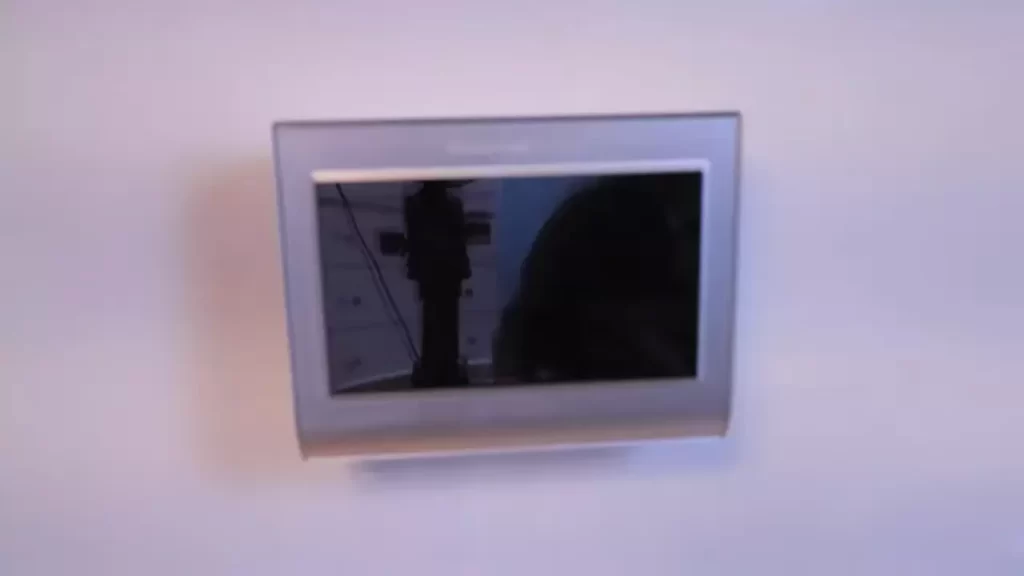
- Remove the cover: Start by gently lifting the cover of the old thermostat. In most cases, it should easily snap off.
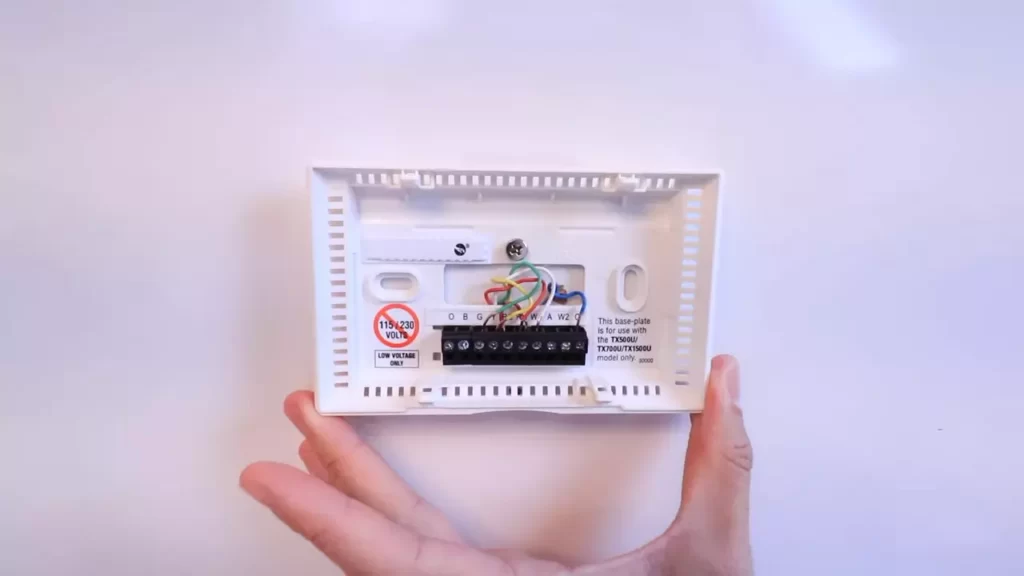
- Take a picture: Before disconnecting any wires, it’s a good idea to take a picture of the wiring configuration. This will serve as a handy reference when installing the new thermostat.
- Disconnecting wires: Using a small screwdriver, carefully loosen the screws holding the wires in place. You may need to label the wires to keep track of their connections.
- Proper disposal of old thermostat: Once you have disconnected all the wires, it’s important to dispose of the old thermostat properly. Many local recycling centers accept thermostats, as they contain mercury and other hazardous materials. Be sure to check with your local municipality for guidelines.
By following these simple steps, you can easily remove the old thermostat in preparation for installing your new wireless thermostat. Remember to exercise caution, turn off the power, and properly dispose of the old thermostat for a smooth transition.
Installing The Wireless Thermostat
Installing a wireless thermostat can provide convenience and energy efficiency to your home heating and cooling system. With the ability to control temperatures remotely and easily make adjustments, a wireless thermostat gives you greater control over comfort and energy usage. In this section, we will guide you through the necessary steps to install a wireless thermostat in your home.
Mounting the thermostat on the wall
The first step when installing a wireless thermostat is to mount it on the wall. Choose a location that is easily accessible and away from direct drafts or heat sources that could affect temperature readings. Typically, the thermostat should be installed at an approximate height of 4 to 5 feet from the floor. Use a level to ensure the thermostat is straight.
Before mounting, it’s important to determine if your thermostat requires batteries or can be connected to a power source. If batteries are required, open the battery compartment and insert the appropriate batteries before proceeding with the installation.
Connecting the wireless receiver
Once the thermostat is securely mounted, you will need to connect the wireless receiver to your heating and cooling system. The receiver acts as a bridge between the thermostat and the HVAC equipment. Consult the manufacturer’s instructions to identify the appropriate wiring connections for your specific system.
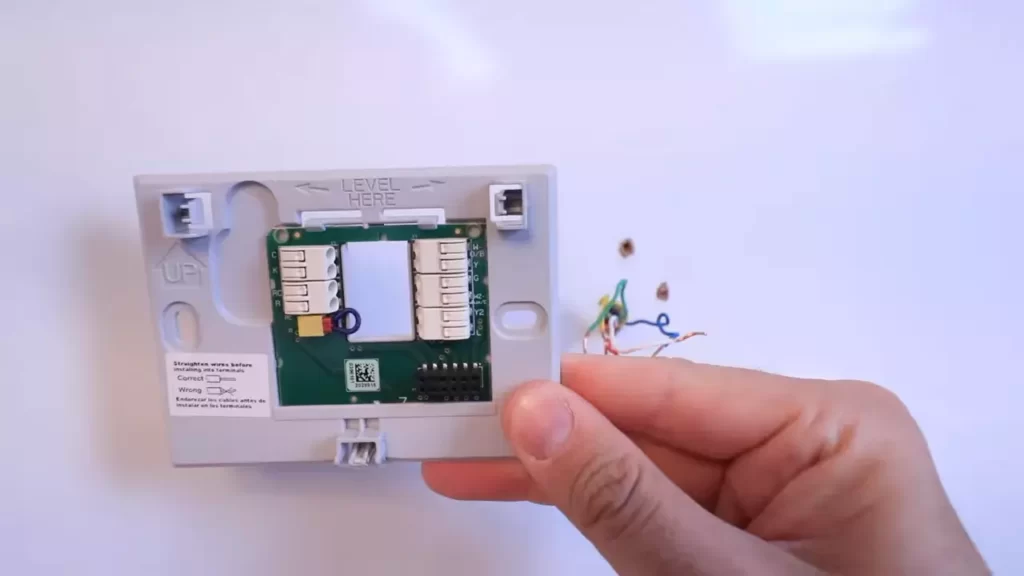
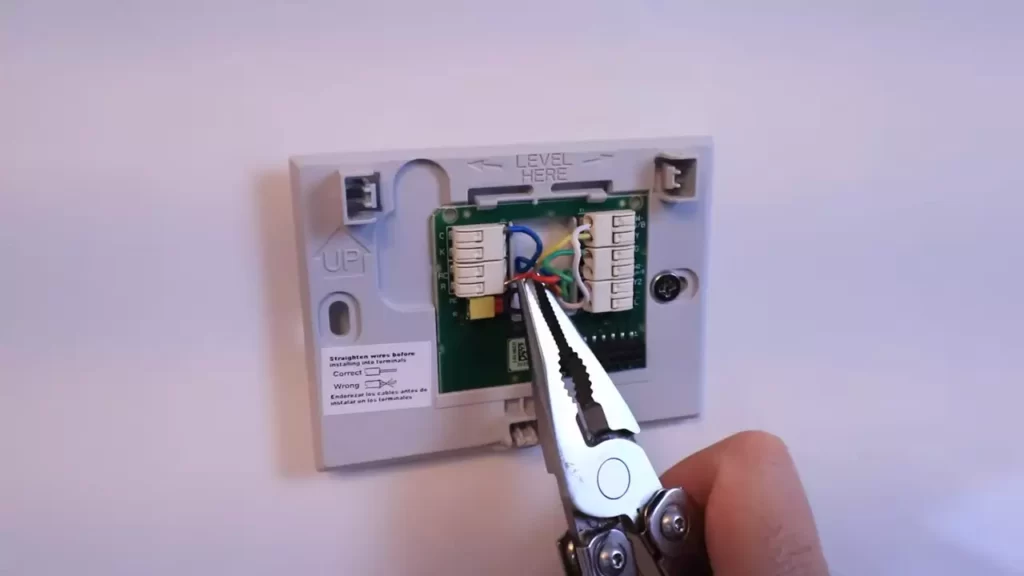
Locate the low-voltage wiring terminals on the receiver and connect the corresponding wires from your HVAC system. The wiring terminals may be labeled with letters such as R, C, W, Y, or G. Ensure that the wires are securely connected and properly stripped to establish a reliable connection.
Connecting the wires
After connecting the receiver, you will need to connect the wires from the receiver to the wireless thermostat. Carefully guide the wires from the receiver to the thermostat location, ensuring they are not tangled or damaged. The wires may be threaded through the wall or hidden using wire management options.
Identify the corresponding wiring terminals on the thermostat and attach the wires accordingly. Again, refer to the manufacturer’s instructions for your thermostat’s specific wiring configuration. Make sure each wire is connected to the correct terminal, as improper connections can result in system malfunctions.
Installing batteries or connecting to power source
Lastly, ensure that your wireless thermostat is powered either by installing batteries or connecting it to a power source. If your thermostat requires batteries, open the battery compartment and insert the recommended batteries. Double-check the polarity to ensure the batteries are inserted correctly.
If your thermostat can be connected to a power source, follow the manufacturer’s instructions to make the necessary electrical connections. It is important to observe proper electrical safety precautions when connecting the thermostat to a power source, so consult a professional if you are uncertain.
Once the power source is established, you can proceed with setting up the wireless thermostat according to the manufacturer’s instructions. This may involve configuring temperature settings, connecting to a Wi-Fi network, or downloading a companion mobile app for remote control.
By following these steps, you can successfully install a wireless thermostat and enjoy the benefits of enhanced comfort, energy savings, and convenient temperature control in your home.
Programming The Thermostat
Setting up the wireless connection
Before proceeding with the programming of your wireless thermostat, it is essential to ensure a stable and secure wireless connection. Follow these simple steps:
- Power on your thermostat and navigate to the menu options.
- Select the “Wireless Settings” option.
- Scan for available networks and choose your home network from the list.
- Enter your network password to connect to your home network.
Once the connection is established, you can proceed with the temperature settings and scheduling.
Adjusting temperature settings
Now, let’s customize the temperature settings to ensure optimal comfort in your home. Here’s how:
- Access the thermostat menu and select “Temperature Settings”.
- Adjust the temperature up or down using the arrows to reach your desired comfort level.
- If your thermostat supports it, you can also set different temperature settings for different times of the day.
Remember, by setting the appropriate temperature, you can save energy and reduce your monthly utility bills while staying comfortable throughout the day.
Creating a schedule
By creating a schedule for your wireless thermostat, you can have full control over the temperature in your home, even when you’re away. Follow these steps to set up your schedule:
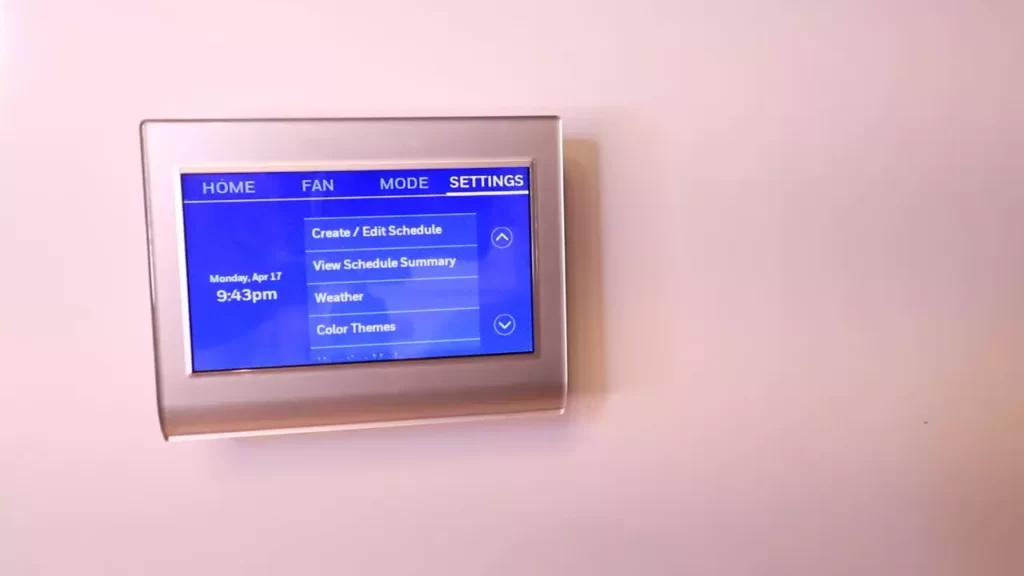
- Navigate to the thermostat menu and select “Schedule Settings”.
- Choose the days of the week you want to include in your schedule.
- For each selected day, set the desired temperature for different time periods such as morning, afternoon, and evening.
- Save your schedule, and your thermostat will automatically adjust the temperature based on the designated time slots.
Creating a schedule not only ensures comfort but also helps optimize energy usage by adjusting the temperature when you’re not at home or sleeping.
Exploring additional features
Wireless thermostats come with a variety of additional features that can further enhance your overall experience. Discover and utilize these bonus features:
- Energy-saving modes: Explore different energy-saving modes such as eco-mode or vacation mode to maximize energy efficiency.
- Remote control: Some wireless thermostats offer smartphone apps or voice control options, allowing you to adjust the temperature remotely.
- Smart integration: If you have other smart devices in your home, check if your wireless thermostat is compatible with them for seamless integration and automation.
- Usage reports: Some models provide usage reports, giving you insights into your energy consumption and helping you make informed decisions to save energy.
By leveraging these additional features, you can truly optimize the performance of your wireless thermostat and enjoy a more convenient and energy-efficient home environment.
Troubleshooting And Testing
Common issues and troubleshooting tips
If you encounter any issues while installing a wireless thermostat, don’t fret! It’s common to face a few challenges along the way. Here are some common problems you might encounter and troubleshooting tips to help you resolve them:
1. Power issues: If the thermostat is not turning on or displaying any signs of power, double-check the batteries or the connection to the power source. Make sure the batteries are inserted correctly or consider replacing them. If the thermostat is connected to the power source, ensure the wires are securely connected and not damaged.
2. Connectivity problems: If your thermostat is not connecting to your Wi-Fi network, check the Wi-Fi settings on both the thermostat and your router. Make sure they are using the same network name (SSID) and password. Additionally, ensure that the thermostat is within the range of your Wi-Fi signal and that there are no obstructions interfering with the signal.
3. Temperature discrepancies: If you notice temperature inconsistencies between the thermostat and the actual room temperature, try placing an additional thermometer nearby to verify the accuracy. If the thermostat is indeed reading the temperature incorrectly, consult the user manual for calibration instructions.
4. Interference issues: Wireless thermostats can sometimes experience interference from other electronic devices. If you notice erratic behavior, such as temperature changes when there shouldn’t be any, try moving the thermostat away from any potential sources of interference, such as cordless phones or other wireless devices.
Verifying proper operation
Once your wireless thermostat is installed, it’s essential to verify its proper operation. Here are some steps you can take to ensure everything is functioning correctly:
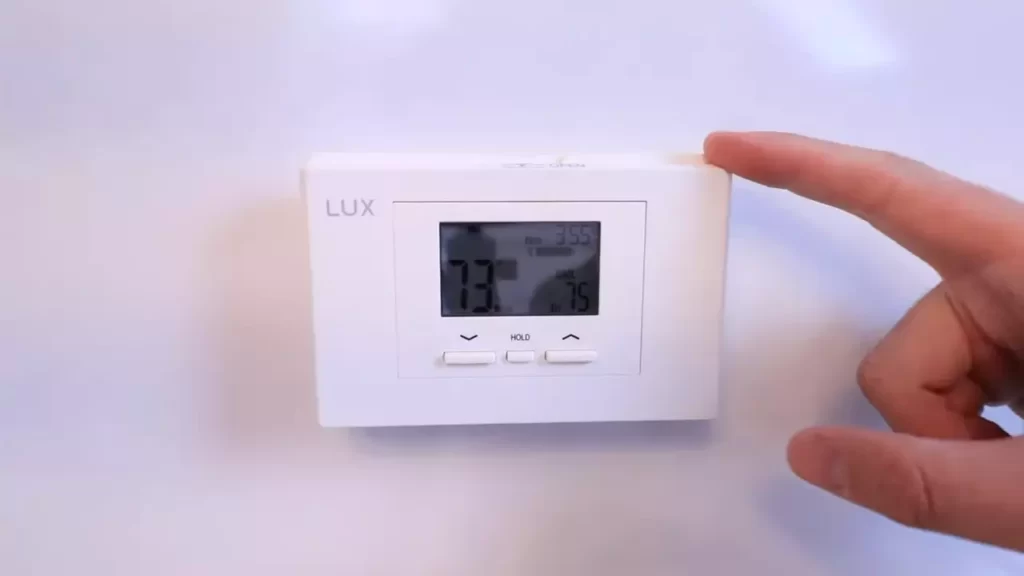
1. Check the display: Ensure that the thermostat’s display is clear and easy to read. The temperature and other settings should be prominently displayed and visible from a reasonable distance.
2. Test the temperature adjustment: Adjust the thermostat’s temperature settings and observe if the HVAC system responds accordingly. The temperature change should reflect on both the thermostat display and in the room where the thermostat is installed.
3. Confirm connection to Wi-Fi: If your thermostat has Wi-Fi capabilities, check if it successfully connects to your wireless network. This verification will enable remote access and control of your thermostat from a smartphone or computer.
Testing the thermostat
Before considering the installation complete, it’s crucial to thoroughly test the wireless thermostat to ensure it functions as expected. Here’s how you can test its various features and operations:
1. Adjust temperature settings: Set the thermostat to different temperature levels and observe how the HVAC system responds. It should turn on and off as desired, maintaining the desired temperature in the room.
2. Test programming features: If your thermostat offers programmable features, such as scheduling temperature adjustments throughout the day, create a test schedule and ensure the thermostat follows it accurately.
3. Experiment with remote access: If the thermostat is compatible with smartphone apps or online platforms, use these features to remotely control and monitor your thermostat’s settings. Ensure that you can access the app or website and that it successfully communicates with your thermostat.
Revisiting installation steps if necessary
If, during the verification and testing process, you encounter any issues or notice any discrepancies, don’t worry! You can revisit the installation steps to ensure everything is correctly set up. Refer back to the thermostat’s user manual and follow the installation instructions carefully. Pay close attention to wiring connections, battery installation, and any configuration settings that may need adjustment.
Remember, troubleshooting and testing are essential steps to ensure that your wireless thermostat is functioning properly. By following these steps and addressing any issues that may arise, you’ll be able to enjoy the convenience and comfort that a wireless thermostat brings to your home.
Conclusion And Final Steps
Congratulations! You have successfully installed your wireless thermostat and are now ready to enjoy the many benefits it offers. In this section, we will discuss some final steps to ensure your thermostat is functioning optimally and provide tips for its maintenance.
Enjoying the benefits of a wireless thermostat
Now that you have installed your wireless thermostat, you can start experiencing the convenience and energy-saving features it provides. With the ability to control your thermostat remotely, you can adjust the temperature even when you’re not at home. This allows you to come back to a comfortable environment without wasting energy. Additionally, wireless thermostats often come with programmable settings that let you create customized schedules to match your daily routine. This results in efficient heating and cooling and can reduce your energy bills.
Final checks and adjustments
Before we conclude, it’s crucial to perform some final checks to ensure your wireless thermostat is set up correctly and functioning properly. Follow these steps:
- Double-check the thermostat’s wireless connection. Ensure the thermostat is connected to your home’s Wi-Fi network by accessing the appropriate settings in the thermostat’s menu.
- Verify that the thermostat is detecting the correct temperature. Place a thermometer near the thermostat and compare the readings. If there is a significant difference, you may need to recalibrate the thermostat.
- Test the heating and cooling systems. Turn on the heat and air conditioning to confirm that the wireless thermostat is communicating with the HVAC equipment effectively. Make any necessary adjustments to ensure both systems are working correctly.
- Set up your preferred temperature settings. Take advantage of the programmable features of your wireless thermostat by creating a schedule that matches your daily routine. This will maximize comfort and energy efficiency.
Tips for maintaining and optimizing the thermostat
Maintaining and optimizing your wireless thermostat will ensure it continues to function effectively for years to come. Here are some tips:
- Regularly clean the thermostat. Dust and debris can accumulate over time and affect its performance. Use a soft cloth or brush to gently wipe the thermostat’s surface.
- Keep the thermostat away from heat sources and direct sunlight. Excessive heat can affect its accuracy, leading to inaccurate temperature readings.
- Update the thermostat’s firmware regularly. Manufacturers often release firmware updates to improve performance and fix any known issues. Refer to the manufacturer’s instructions for guidance on updating the firmware.
- Consider investing in a smart home hub. By integrating your wireless thermostat with a central smart home hub, you can control it alongside other connected devices from a single app or voice command.
By following these final steps and maintaining your wireless thermostat properly, you can enjoy a comfortable and energy-efficient home all year round. Embrace the convenience and savings that a wireless thermostat brings!
Frequently Asked Questions Of How To Install A Wireless Thermostat
Can I Install My Own Wireless Thermostat?
Yes, you can install your own wireless thermostat. Just follow the manufacturer’s instructions carefully for a successful installation.
Do I Need An Electrician To Install A Wireless Thermostat?
No, you do not need an electrician to install a wireless thermostat. The setup typically involves simple DIY steps, including connecting wires and programming. Just follow the manufacturer’s instructions, and you’ll have your wireless thermostat up and running in no time.
Can You Replace A Wired Thermostat With A Wireless Thermostat?
Yes, you can replace a wired thermostat with a wireless thermostat. It offers the convenience of controlling your heating and cooling system remotely. By eliminating the need for wires, it provides flexibility in thermostat placement and ease of use.
How Do I Connect My Wireless Thermostat?
To connect your wireless thermostat, follow these steps:
1. Ensure your thermostat is compatible with your home’s heating and cooling system.
2. Install the thermostat according to the manufacturer’s instructions, usually by connecting it to your HVAC system.
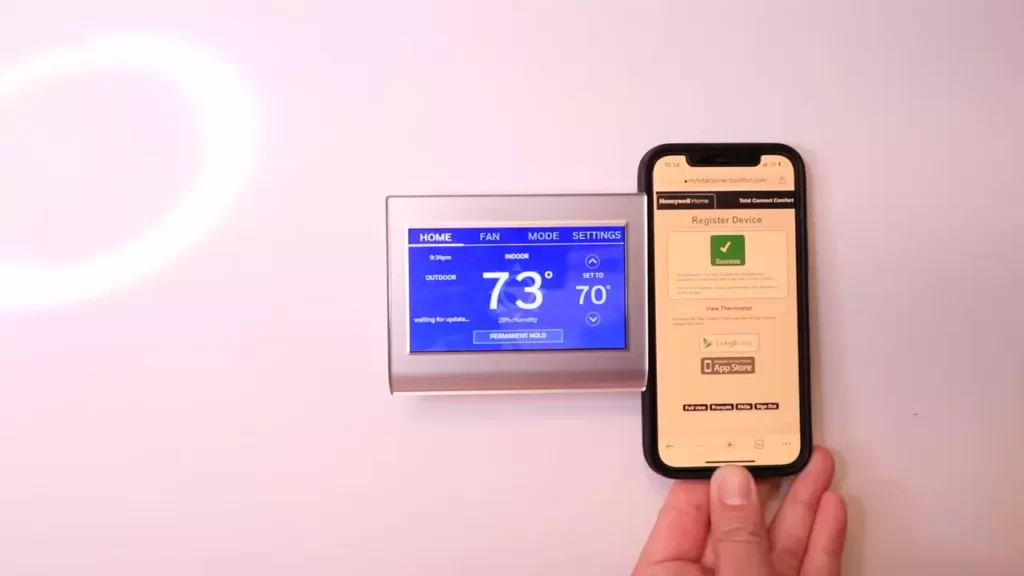
3. Download the corresponding app on your smartphone and create an account.
4. Connect your thermostat to your home Wi-Fi network using the app.
5. Follow the app’s prompts to complete the setup and start controlling your thermostat wirelessly.
Conclusion
Installing a wireless thermostat in your home is a convenient and cost-effective way to control your heating and cooling system. By following the step-by-step instructions in this guide, you can easily upgrade your thermostat without the need for professional assistance.
From choosing the right thermostat to properly wiring and programming it, this process is now within your reach. Start enjoying the benefits of a wireless thermostat today and take control of your home’s temperature with ease.