To install a propane heater, follow these steps:
- Choose a suitable location.
- Install the gas line and regulator.
- Connect the heater to the gas line.
- Attach and secure the vent pipe.
- Test the heater for proper operation. Be sure to consult the manufacturer’s instructions for specific installation requirements and safety precautions.
Propane heaters are a popular choice for providing warmth in homes, offices, and outdoor spaces. Whether you’re looking to upgrade your heating system or need a portable heating solution, knowing how to install a propane heater can save you time and money. In this guide, we will outline the essential steps you need to follow to install a propane heater safely and efficiently.
By following these instructions, you can enjoy a comfortable and cozy environment while minimizing the risk of hazards associated with improper installation. So, let’s dive in and learn how to install a propane heater like a pro.
Factors To Consider Before Installing A Propane Heater
Installing a propane heater can be an efficient and cost-effective way to heat your space during colder months. However, before diving into the installation process, it’s important to consider a few factors to ensure that you choose the right type of heater and install it safely. This article will walk you through the BTU requirements for your space, safety considerations, and ventilation needs to help you make an informed decision. Let’s get started!
BTU Requirements for Your Space
Before installing a propane heater, it’s crucial to determine the BTU (British Thermal Unit) requirements for your space. BTU is a unit of measurement used to describe the amount of heat output a heater can provide. To calculate the BTU requirements, consider the size of the area you want to heat and the desired temperature rise.
Here’s a simple formula to calculate the BTU requirements:
BTU = Area (in square feet) x Temperature Rise (in degrees Fahrenheit) x 1.0
For example, if you have a 400 square feet room and you want to increase the temperature by 20 degrees Fahrenheit, the required BTU would be:
BTU = 400 sq. ft. x 20 degrees F x 1.0 = 8,000 BTU
Keep in mind that factors such as insulation, ceiling height, windows, and local climate can affect the BTU requirement. It’s always a good idea to consult a professional or refer to the manufacturer’s guidelines to ensure that you choose a heater with the appropriate BTU output for your space.
Safety Considerations
Safety should be a top priority when installing a propane heater. Here are some important safety considerations:
- Ensure proper ventilation to prevent the buildup of carbon monoxide. Carbon monoxide is a colorless and odorless gas that can be deadly if inhaled in high concentrations. It’s important to place the propane heater in a well-ventilated area and avoid using it in enclosed spaces without proper ventilation.
- Install carbon monoxide alarms near the heater and in other areas of your space to detect any potential leaks.
- Follow the manufacturer’s instructions for installation and maintenance to ensure safe operation.
- Regularly inspect the propane tank, hoses, and fittings for any signs of damage or wear. Replace any faulty components immediately.
- Keep flammable materials away from the heater and never leave it unattended.
By following these safety guidelines, you can enjoy the warmth of a propane heater without compromising on your well-being.
Ventilation Needs
Ventilation is crucial when it comes to propane heater installation. Proper ventilation helps remove combustion byproducts such as carbon monoxide and ensures a continuous flow of fresh air. The specific ventilation requirements may vary depending on the type and size of the propane heater you choose.
Here are some general ventilation guidelines to keep in mind:
- Ensure there is an adequate air inlet and outlet for the heater to function properly.
- Follow the manufacturer’s recommendations regarding ventilation requirements.
- Consider installing a vent pipe or flue system to safely expel combustion byproducts.
- Keep the surrounding area clear of any obstructions that may impede airflow.
Proper ventilation not only ensures safe operation but also helps maintain the efficiency and longevity of your propane heater.
Now that you’re aware of the factors to consider before installing a propane heater, you can confidently choose the right heater, ensure safety, and enjoy cozy warmth in your space. Remember to consult professionals when in doubt and follow the manufacturer’s guidelines for a seamless installation process.
Selecting The Best Propane Heater For Your Needs
When it comes to staying warm during colder months, a propane heater is a convenient and efficient option. Whether you need a portable heater to take on camping trips or a mounted heater to keep your garage cozy, selecting the right propane heater for your needs is essential. In this section, we will explore the key factors to consider when choosing a propane heater, including the choice between portable and mounted models, understanding efficiency ratings, and popular brands and models to consider.
Portable vs. Mounted Propane Heaters
Before diving into the world of propane heaters, it’s important to decide whether a portable or mounted heater suits your requirements. Each option has its own benefits and considerations.
- Portable Propane Heaters: Ideal for outdoor activities like camping or tailgating, portable heaters offer the convenience of mobility. You can easily transport them from one location to another, ensuring warmth wherever you go. However, they usually have a smaller heating capacity compared to mounted heaters and may require propane tank refills more frequently.
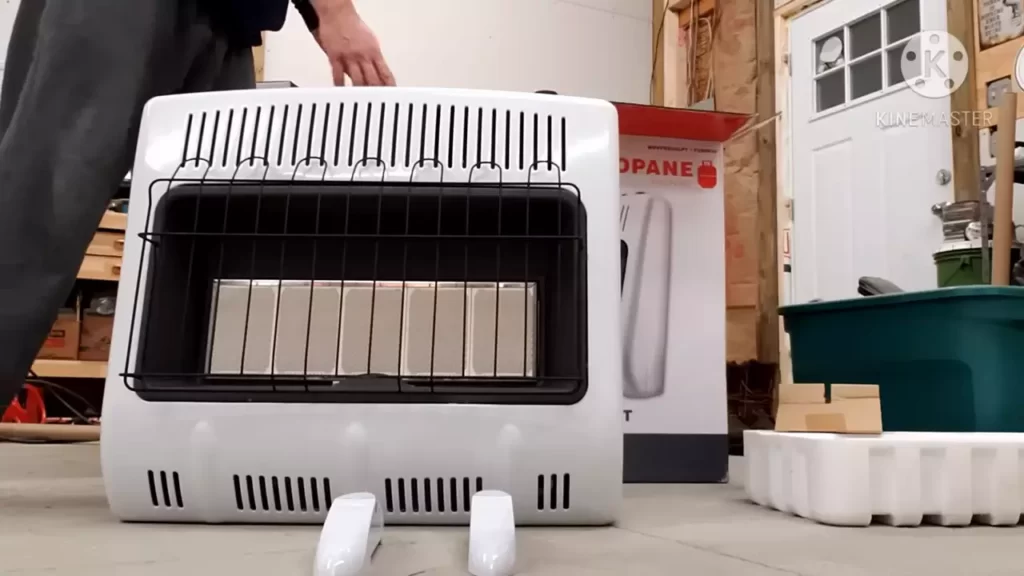
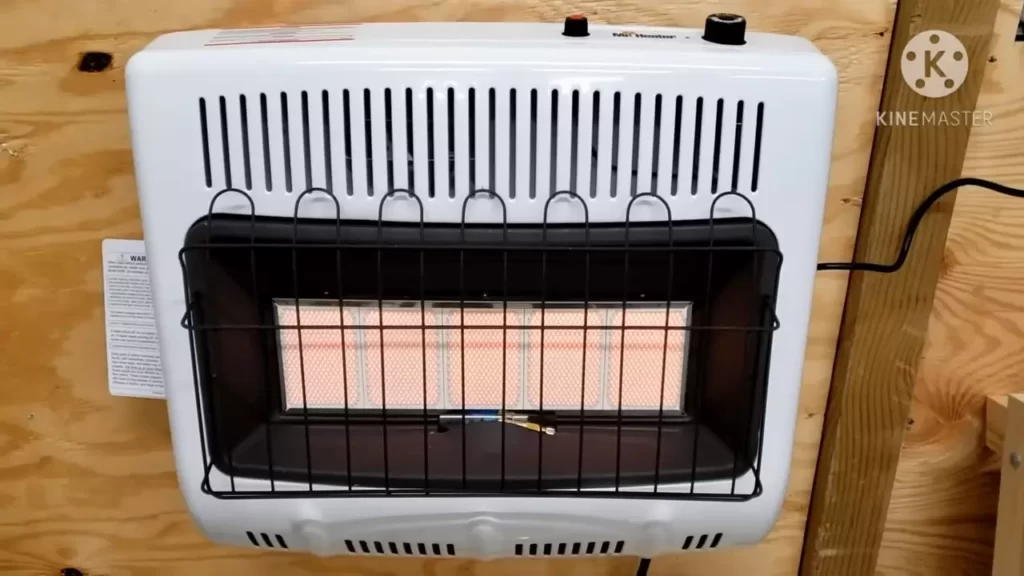
- Mounted Propane Heaters: If you’re looking for a reliable heating solution for a specific area like a garage or workshop, a mounted propane heater may be the perfect fit. These heaters are designed to be permanently fixed to a wall or ceiling, providing consistent and efficient heat. They typically have larger heating capacities, longer runtimes, and are often equipped with safety features like automatic shut-off systems.
Understanding Efficiency Ratings
Efficiency ratings are an important consideration when selecting a propane heater. The higher the efficiency rating, the more heat the heater produces from the same amount of propane. The two main efficiency ratings to look out for are British Thermal Unit (BTU) and Annual Fuel Utilization Efficiency (AFUE).
- BTU: BTU is a measurement of the heat output of the propane heater. The higher the BTU rating, the more heat the heater can generate. Consider the size of the space you want to heat when choosing the appropriate BTU rating. It’s also worth noting that a higher BTU rating may result in faster propane consumption.
- AFUE: AFUE is a measure of the propane heater’s efficiency in converting fuel to usable heat. A higher AFUE rating indicates that the heater can extract more heat from the propane, resulting in lower energy waste.
Popular Brands and Models
When it comes to propane heaters, several popular brands and models stand out for their quality and reliability. Here are a few notable options:
| Brand | Model |
|---|---|
| Mr. Heater | Big Buddy Indoor/Outdoor Propane Heater |
| Dyna-Glo | 30,000 BTU Infrared Vent-Free Wall Heater |
| ProCom | Blue Flame Vent-Free Wall Heater |
These are just a few examples, but thorough research and reading customer reviews will help you discover the propane heater that best fits your needs and budget.
By considering the choice between portable and mounted heaters, understanding efficiency ratings, and exploring popular brands and models, you’ll be well-equipped to select the best propane heater for your needs. Stay warm and enjoy the comfort and convenience of a propane heater this winter!
Gathering The Necessary Tools And Materials
Before you begin the installation process of your propane heater, it is essential to gather all the necessary tools and materials. This step ensures a smooth and efficient installation process, saving you time and effort in the long run. In this section, we will outline the various components of a propane heater kit and the tools required for installation.
Propane Heater Kit Components
A propane heater kit typically contains several components that are crucial for the installation process. Familiarizing yourself with these components will help you understand how they fit together and make the installation process easier.
| Component | Description |
|---|---|
| Propane Heater | The main heating unit that runs on propane gas. |
| Regulator | Regulates the flow of propane gas from the tank to the heater. |
| Gas Line | Allows the propane gas to travel from the regulator to the heater. |
| Thermostat | Controls the temperature settings of the propane heater. |
| Vent Pipe | Ensures the safe exhaust of combustion gases from the heater. |
Required Tools for Installation
Having the right tools for the installation process is crucial for a successful outcome. Here are the tools you will need:
- Adjustable wrench
- Pipe wrench
- Plumber’s tape
- Level
- Drill
- Screwdriver
- Measuring tape
- Hole saw
- Propane leak detector
- Safety goggles
- Work gloves
These tools will assist you in assembling and installing the various components of the propane heater kit, ensuring a safe and effective operation of your propane heater.
Now that you are aware of the necessary tools and materials required for the installation, you are ready to move on to the next step of the process: preparing the installation area. Stay tuned for our next blog post, where we will guide you through the preparation process in detail.
Assessing The Installation Area
Before installing a propane heater, it’s crucial to thoroughly assess the installation area to ensure a safe and efficient setup. This step involves determining the ideal placement location, ensuring proper clearances, and measuring for fuel line connections. By following these guidelines, you can confidently proceed with the installation and enjoy the warmth and comfort provided by your propane heater.
Determining Placement Location
The first step in assessing the installation area is to determine the ideal placement location for your propane heater. This decision should be based on several factors, including the size of the room or space you want to heat, the availability of ventilation, and the accessibility to the propane supply. It’s important to choose a location that allows for even heat distribution and easy access for maintenance and servicing.
Ensuring Proper Clearances
Once you have identified the placement location, the next step is to ensure proper clearances for your propane heater. Clearances refer to the minimum distances required between the heater and surrounding objects to prevent fire hazards and promote airflow. These clearances may vary depending on the specific model and manufacturer, so it’s essential to consult the installation manual for precise measurements.
To give you a general idea, here are some common clearances to consider:
- At least 36 inches of clearance should be maintained from combustible materials or surfaces.
- Avoid placing the heater near windows, doors, or other openings where drafts can affect its performance.
- Ensure there is enough space around the heater for easy access and maintenance.
Measuring for Fuel Line Connections
Lastly, measuring for fuel line connections is a crucial aspect of assessing the installation area. This step involves determining the distance between the propane heater and the propane supply source, such as a tank or cylinder. It’s essential to follow the manufacturer’s guidelines regarding the maximum allowable distance to ensure proper fuel delivery and avoid potential leaks or performance issues.
When measuring for fuel line connections, keep the following considerations in mind:
- Measure the distance from the propane heater to the propane source in a straight line, without any sharp bends or kinks in the fuel line.
- Consider the appropriate size and type of fuel line required for your specific heater model.
- Ensure that the fuel line is properly secured and protected against damage, such as from sharp edges or excessive heat.
By assessing the installation area and addressing these important factors, you can proceed with confidence in installing your new propane heater. Remember to always consult the manufacturer’s instructions for your specific model and follow local building codes and regulations for safe and compliant installation.
Preparing The Installation Area
Before installing a propane heater, it’s essential to prepare the installation area properly. This ensures a safe and efficient setup that will provide warmth and comfort during colder months. There are two crucial steps to take in this process: clearing and cleaning the space and securing the mounting surface.
Clearing and Cleaning the Space
Start by removing any objects, debris, or flammable materials that are present in the installation area. This includes furniture, rugs, curtains, and anything that could potentially pose a fire hazard or obstruct the heater’s proper functioning. Clearing the space not only ensures safety but also enhances the heater’s performance.
Once the area is clear, it’s time to clean the space thoroughly. Sweep or vacuum the floor to remove dust, dirt, and other particles that can accumulate over time. This step not only helps maintain cleanliness but also prevents the heater’s intake and exhaust vents from getting clogged, ensuring optimal performance.
Securing the Mounting Surface
After the space is clear and clean, the next step is to secure the mounting surface for the propane heater. An unstable or improperly mounted heater can be dangerous and lead to accidents. To ensure a secure installation, follow these steps:
- Assess the mounting surface for stability. Make sure it can support the weight of the heater and is structurally sound. It’s essential to choose a surface that is solid and capable of withstanding the vibrations and movement of the heater.
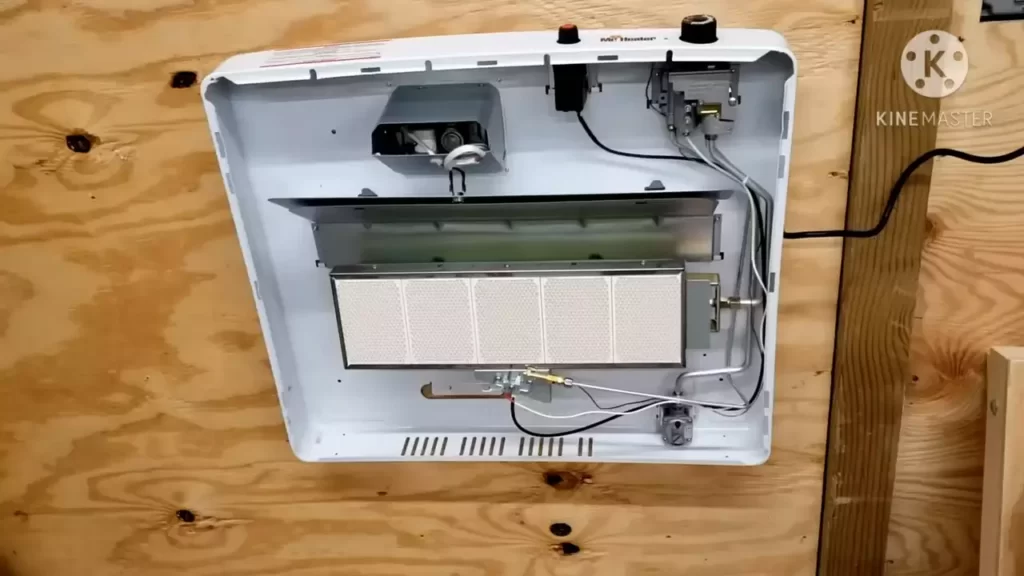
- If the mounting surface is made of drywall, it’s recommended to locate the studs and attach a plywood backing for added support. This helps distribute the weight of the heater more evenly and reduces the risk of damage to the wall.
- Once the backing is in place, mark the position for the mounting brackets or screws on the wall. Use a level to ensure that the heater will be installed straight and upright.
- Drill pilot holes for the brackets or screws using an appropriate drill bit. This helps prevent the wall from cracking or splitting during installation.
- Secure the mounting brackets or screws tightly to the wall, ensuring that they provide a stable and secure foundation for the heater.
By following these steps and preparing the installation area properly, you can ensure a safe and successful propane heater installation. Remember, proper preparation is crucial for the efficiency and longevity of your heating system.
Installing Ventilation And Combustion Air Intake
Proper installation of ventilation and combustion air intake is crucial when installing a propane heater. This ensures the safety and efficiency of the heater. In this section, we will discuss the different types of ventilation systems, proper sizing and placement, and connecting ventilation components.
Types of Ventilation Systems
When it comes to ventilation systems for propane heaters, there are two main types: direct-vent and power-vent systems.
Direct-vent systems: These systems have a sealed combustion chamber and draw fresh air from outside for combustion. The exhaust gases are then vented directly to the outside through a separate vent. Direct-vent systems are popular due to their high efficiency and safety features.
Power-vent systems: Unlike direct-vent systems, power-vent systems use a fan to force exhaust gases out through a vent pipe. This enables flexibility in terms of installation, as the vent pipe can be routed horizontally or vertically. Power-vent systems are advantageous when a direct vertical venting option is not feasible.
Proper Sizing and Placement
Proper sizing and placement of ventilation components are crucial for efficient operation and safety.
Proper sizing: The size of ventilation components, such as the vent pipe and combustion air intake pipe, should be determined based on the heater’s input rating. Check the manufacturer’s instructions or consult a professional to ensure the ventilation components are properly sized to accommodate the heater’s requirements.
Placement: The combustion air intake pipe should be located in an area with sufficient fresh air supply, away from any obstructions or potential sources of contamination. It is important to ensure a clear path for the air intake, as any blockage can affect the heater’s performance. The vent pipe should be positioned vertically or horizontally, as recommended by the manufacturer, and should be installed with the necessary clearances to avoid any potential hazards.
Connecting Ventilation Components
Connecting the ventilation components properly is essential for the safe operation of the propane heater.
- Materials: Ensure that you use the appropriate materials for connecting the ventilation components. For example, use approved metal vent pipes that are resistant to corrosion and heat to connect the heater to the vent termination point. Follow the manufacturer’s instructions for the specific materials and fittings required for your specific propane heater model.
- Sealing: Properly seal all connections to prevent any leaks or backdrafts. This includes using high-temperature silicone caulk or approved tape to seal joints and connections. Inspect the connections periodically to ensure they remain tightly sealed.
- Clearances: Maintain the necessary clearances between the vent pipe and any combustible materials, as specified in the manufacturer’s instructions. This is crucial for preventing any potential fire hazards.
- Inspections: Lastly, it is important to periodically inspect the ventilation system and combustion air intake for any signs of damage, blockage, or deterioration. Regular inspections will help identify any issues and allow for timely repairs or maintenance.
Remember to regularly check and clean the ventilation system and combustion air intake to ensure proper functioning and the continued safety of your propane heater.
Connecting The Propane Fuel Source
One of the most crucial steps in installing a propane heater is connecting it to the propane fuel source. Without a proper and secure connection, the heater will not function effectively or safely. In this section, we will discuss the steps involved in connecting the propane fuel source, including selecting the correct type of propane tank, running the fuel line, and installing regulators and valves.
Selecting the Correct Type of Propane Tank
The first step in connecting the propane fuel source is selecting the correct type of propane tank. Propane tanks come in various sizes and shapes, so it is essential to choose one that meets your heating needs and is compatible with your propane heater. Consider factors such as the heating capacity of your heater, the duration you want the tank to last between refills and the available space for the tank.
Here are some common sizes for propane tanks:
| Tank Size | Approximate Capacity |
|---|---|
| 20 lb | 4.7 gallons |
| 30 lb | 7 gallons |
| 40 lb | 9.4 gallons |
| 100 lb | 23.6 gallons |
Make sure the tank you choose is in good condition and properly certified. You can purchase a propane tank from a local retailer or lease one from a propane supplier. Once you have the correct propane tank, you can proceed to the next step.
Running the Fuel Line
After selecting the propane tank, the next step is running the fuel line. The fuel line connects the propane tank to the heater, allowing the gas to flow from the tank to the burner. When running the fuel line, there are a few important considerations to keep in mind:
- Ensure the fuel line is the correct size and material for propane use.
- Place the fuel line in a safe location, away from any potential hazards or sources of heat.
- Securely attach the fuel line to the propane tank and the heater, using appropriate fittings and connectors.
- Check for any leaks by applying a solution of soapy water to the connections. If bubbles form, there is a leak that needs to be addressed before using the heater.
Once the fuel line is securely installed and free of leaks, you can proceed to the final step.
Installing Regulators and Valves
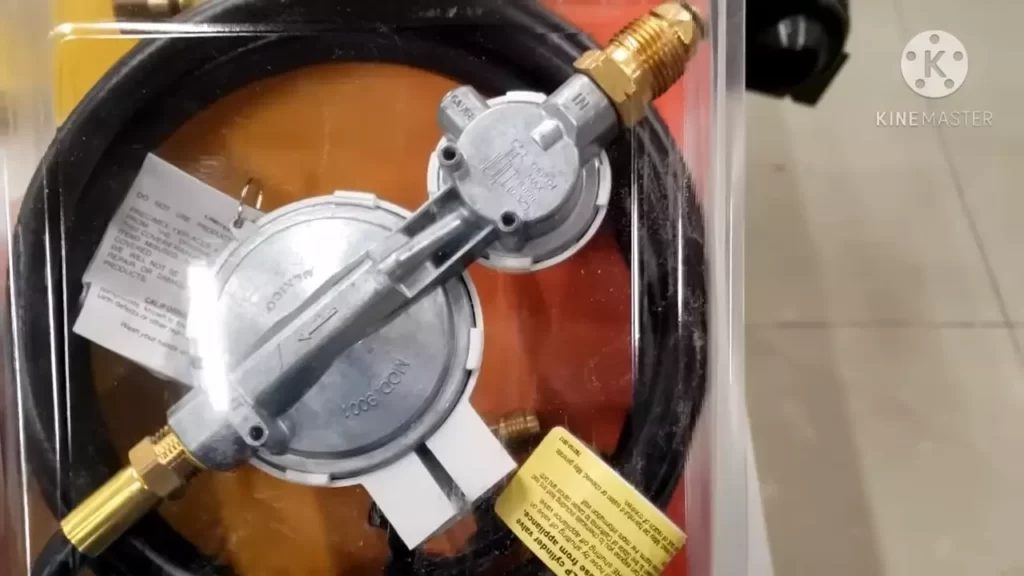
The last step in connecting the propane fuel source is installing regulators and valves. Regulators are essential to control the pressure of the propane gas and ensure a consistent flow to the heater. Valves, on the other hand, allow you to control the gas flow and shut it off when necessary.
To install regulators and valves:
- Attach the regulator to the top of the propane tank, following the manufacturer’s instructions.
- Connect the fuel line to the regulator outlet using an appropriate connector.
- Install any additional valves or shut-off devices as needed, such as an emergency shut-off valve or a valve near the heater for easy access.
- Test the regulators and valves by turning on the gas and checking for any leaks or malfunctions.
Ensure all connections are tight and secure, and monitor for any signs of gas leakage during the testing process. Once everything is in place and functioning properly, you can proceed to enjoy the warmth provided by your propane heater.
By carefully selecting the correct type of propane tank, running the fuel line safely, and installing regulators and valves properly, you can connect your propane heater to the fuel source with confidence, knowing that you have taken the necessary steps to ensure both efficiency and safety.
Mounting And Securing The Propane Heater
One of the crucial steps in the installation process of a propane heater is mounting and securing it properly. This step ensures that the heater remains stable and safe while providing efficient heat. In this section, we will discuss how to align and attach the mounting bracket as well as secure the heater to the mounting surface.
Aligning and Attaching the Mounting Bracket
The first step in mounting the propane heater is aligning and attaching the mounting bracket. The mounting bracket provides a secure base for the heater and helps distribute its weight evenly. Follow these steps to properly align and attach the mounting bracket:
- Choose a suitable location: Select a location for the heater that is compatible with the manufacturer’s guidelines and local safety codes. Ensure the area is well-ventilated and free from any obstructions.
- Mark the position: Use a pencil or marker to mark the positions for the mounting bracket on the wall or ceiling. Double-check the alignment to ensure it is level and centered.
- Pre-drill holes: With the help of a power drill and appropriate drill bit, pre-drill holes at the marked positions. The size of the drill bit should match the screws provided with the mounting bracket.
- Attach the mounting bracket: Line up the mounting bracket with the pre-drilled holes and use screws to securely attach it to the wall or ceiling. Tighten the screws firmly, but avoid overtightening.
Securing the Heater to the Mounting Surface
Once the mounting bracket is securely attached, the next step is to secure the propane heater to the mounting surface. This step ensures that the heater remains in place during operation. Follow these steps to securely fasten the heater:
- Preparation: Ensure that the heater is turned off and any gas connections are disconnected before proceeding. Also, refer to the manufacturer’s instructions on any specific requirements for securing the heater.
- Position the heater: Place the heater onto the mounting bracket, aligning the mounting holes on the heater with those on the bracket.
- Secure with screws: Insert the screws provided with the heater into the mounting holes and use a screwdriver or drill to tighten them. Ensure that the screws are tightened evenly to prevent any wobbling or instability.
- Verify stability: Gently shake the heater to check for any movement or looseness. If the heater feels secure and stable, it is properly mounted. If not, double-check the alignment and tighten the screws if necessary.
By following these steps and ensuring a sturdy mounting and secure attachment, you can enjoy the benefits of a propane heater with peace of mind, knowing it is installed correctly and safely.
Leak Testing And Safety Checks
Performing thorough leak testing and safety checks is a critical step when installing a propane heater. These checks will help ensure that your heater operates safely and efficiently, providing you and your loved ones with reliable warmth throughout the winter months. In this section, we will walk you through two essential steps: Conducting a Propane Leak Test and Verifying Proper Ventilation and Combustion Air Intake.
Conducting a Propane Leak Test
Before you ignite your propane heater, it’s vital to check for any potential gas leaks. Propane leaks can be dangerous, so it’s crucial to take the necessary precautions. Here’s a step-by-step guide to conducting a propane leak test:
- Turn off all the gas appliances in your home and ensure that the propane tank valve is closed tightly.
- Create a solution of liquid soap and water in a spray bottle.
- Apply the soapy solution to all the connections, joints, and valves of the propane system, including the tank, regulator, and piping.
- Slowly open the propane tank valve.
- Observe the connections closely. If you see any bubbles forming, it indicates a leak. In that case, turn off the propane tank valve immediately, tighten the connection, and retest.
- If no bubbles appear after a few minutes, it is safe to assume that your propane system is leak-free.
Keep in mind that it’s crucial for your safety to conduct a leak test every time you install or reconnect a propane heater. Safety must always be our top priority.
Verifying Proper Ventilation and Combustion Air Intake
Proper ventilation and combustion air intake are essential factors to consider when installing a propane heater. Adequate air supply ensures efficient combustion and prevents the accumulation of harmful gases such as carbon monoxide.
Here are some crucial steps to follow in order to verify proper ventilation and combustion air intake:
- Refer to the manufacturer’s instructions to determine the required ventilation and combustion air intake specifications for your specific propane heater model.
- Inspect the area where you plan to install the heater. Ensure that there is enough space around the unit for proper air circulation.
- Check the air intake vents for any blockages, such as debris or obstructions. Clear any obstacles that might hinder the airflow.
- Position the heater in a way that ensures proper venting. Pay attention to the recommended venting configuration mentioned in the manufacturer’s instructions to avoid any ventilation issues.
- For indoor installations, consider installing a carbon monoxide detector near the heater to provide an added layer of safety.
By following these steps, you will guarantee efficient combustion and prevent the risk of carbon monoxide buildup, keeping your environment safe and comfortable.
Operating And Maintaining Your Propane Heater
Once you’ve successfully installed your propane heater, it’s important to understand how to operate and maintain it properly. This will ensure its safe and efficient use, as well as prolong its lifespan. In this section, we will discuss the key aspects of operating and maintaining your propane heater, including understanding the control panel, regular cleaning and maintenance, and troubleshooting common issues.
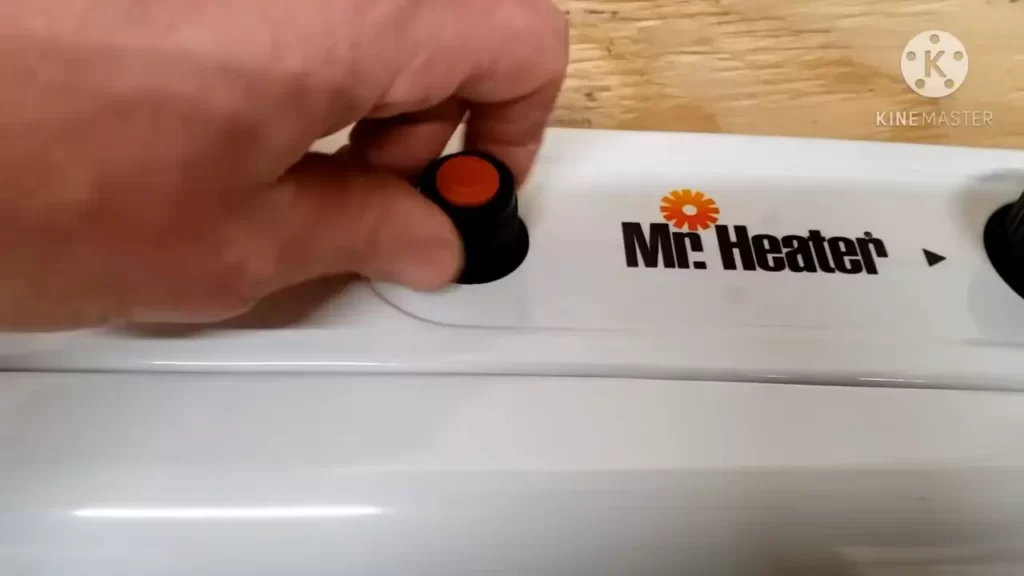
Understanding the Control Panel
Before you start using your propane heater, it is essential to familiarize yourself with the control panel. The control panel allows you to adjust various settings and ensure the heater operates effectively. Here are the main components you need to know:
- Power Switch: Controls the overall power supply to the heater.
- Ignition Switch: Activates the ignition spark to light the propane.
- Thermostat: Adjusts the temperature at which the heater operates.
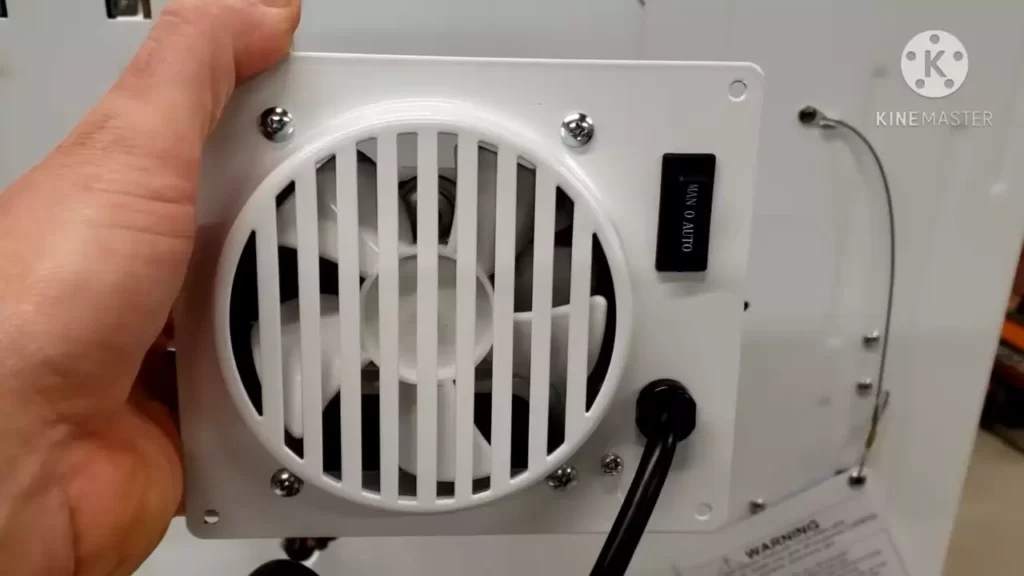
- Fan Speed Control: Regulates the speed of the fan, allowing for optimal heat distribution.
- Safety Features: Check for safety features like automatic shut-off valves, flame sensors, and carbon monoxide detectors.
Regular Cleaning and Maintenance
Maintaining your propane heater on a regular basis will ensure its longevity and performance. Here are some essential cleaning and maintenance tips:
- Turn off the heater and disconnect the propane supply before performing any cleaning or maintenance tasks.
- Clean the exterior of the heater using a soft cloth and mild detergent. Avoid using abrasive materials that can damage the surface.
- Remove and clean the burner assembly, ensuring there is no debris or blockages that could affect proper combustion.
- Inspect and clean the air intake and exhaust vents to ensure adequate airflow.
- Check and replace any worn-out or damaged parts, such as ignition components or burner elements, as recommended by the manufacturer.
- Regularly check and clean the fuel filter to prevent clogs and maintain consistent fuel flow.
Troubleshooting Common Issues
While propane heaters are generally reliable, they may encounter occasional issues. Here are some common problems you may face and how to troubleshoot them:
| Issue | Troubleshooting Steps |
|---|---|
| No Ignition |
|
| Insufficient Heat |
|
| Strange Odors or Noises |
|
Frequently Asked Questions Of How To Install A Propane Heater
Can I Put A Propane Heater In My House?
No, it is not safe to put a propane heater in your house. Propane heaters produce carbon monoxide, which is deadly if inhaled. Always use propane heaters in well-ventilated areas and follow manufacturer’s instructions to prevent accidents and ensure your safety.
What Is Needed For Propane Heater?
A propane heater requires propane gas, a propane tank, and an ignition source to function. It provides heat by burning propane gas and is suitable for heating indoor or outdoor spaces.
How Do You Hook Up A Propane Tank To An Indoor Heater?
To hook up a propane tank to an indoor heater, first, make sure the heater is compatible with propane. Next, check for any leaks or damages on the tank and heater connections. Then, connect a regulator to the tank to control the gas flow.
Screw the other end of the regulator to the heater. Finally, test the heater for proper functioning.
Do You Need Ventilation When Using A Propane Heater?
Yes, ventilation is essential when using a propane heater. Proper ventilation ensures that harmful gases like carbon monoxide are safely expelled, reducing the risk of suffocation and carbon monoxide poisoning. Make sure to keep doors or windows partially open to allow fresh air to circulate while using a propane heater.
Conclusion
To wrap up, installing a propane heater can be a beneficial and efficient way to keep your home warm. Following the steps outlined in this guide, you can ensure a safe and successful installation process. Remember to gather all the necessary tools, read the manufacturer’s instructions carefully, and consult a professional if needed.
With a propane heater in place, you can enjoy the comfort and warmth it brings during chilly winter months. Stay cozy!