To install a 15 amp breaker, first turn off the power to the circuit you’ll be working on. Then, remove the panel cover and insert the new breaker into an open slot on the panel.
Connect the hot wire to the breaker terminal and the neutral wire to the neutral bar. Finally, connect the ground wire to the ground bus bar. Once all connections are secure, replace the panel cover. Introducing a new breaker to your electrical panel can be a simple and straightforward process.
However, it’s important to follow proper safety precautions and ensure a correct installation to prevent any electrical hazards. We will guide you through the step-by-step process of installing a 15 amp breaker, ensuring that you have a clear understanding of each stage. By the end, you’ll have the knowledge to confidently install the breaker and enhance your electrical system’s capacity. So, let’s get started.
Important Guidelines To Ensure Your Safety During The Installation Process
When it comes to installing a 15 Amp breaker, safety should always be your top priority. This installation process involves working with electricity, so it is essential to take proper precautions to protect yourself from any potential hazards. In this section, we will discuss some important guidelines that you should follow to ensure your safety during the installation process.
Wear Protective Gear such as Safety Goggles and Gloves
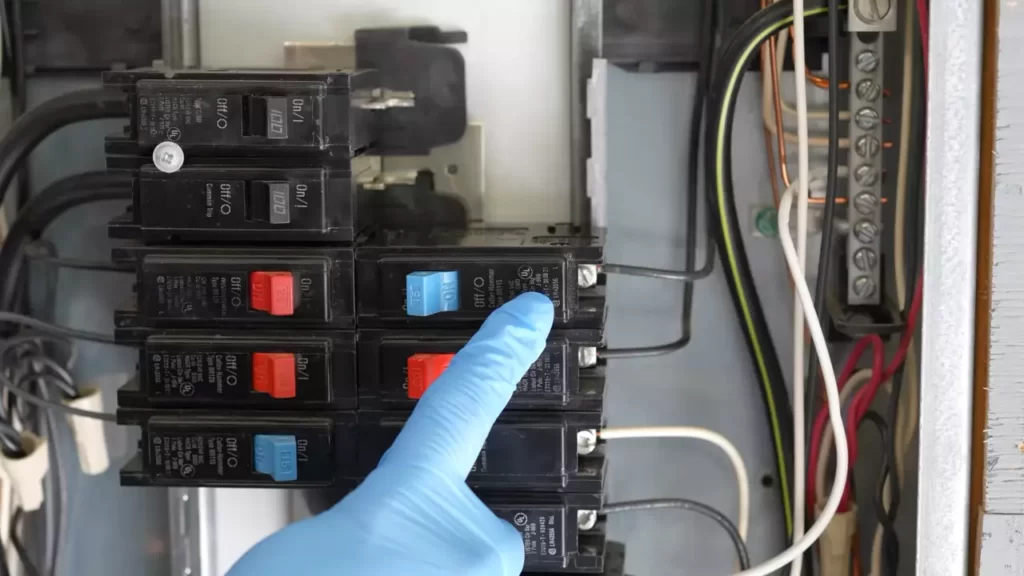
Before you start the installation process, it is crucial to wear the appropriate protective gear. Safety goggles will shield your eyes from any potential sparks or debris that might occur during the installation. Gloves provide insulation and protect your hands from any electrical shocks or burns that may occur. By wearing these protective gears, you significantly decrease the risk of injury.
Turn off the Main Power Supply to the Circuit Breaker Panel
Prior to beginning the installation, it is imperative that you turn off the main power supply to the circuit breaker panel. This ensures that you are not working with live electrical currents, minimizing the risk of electric shock. Locate the main switch or breaker that controls the power supply to the panel and turn it to the off position. It is crucial to double-check that the power is indeed off before proceeding with the installation.
Use a Voltage Tester to Confirm That There is no Electrical Current
Once the main power supply is turned off, it is important to use a voltage tester to confirm that there is no electrical current running within the panel. This step is essential to ensure your safety before working on the installation. Hold the voltage tester against a live wire and observe whether any electrical activity is detected. If the tester does not detect any voltage, it is safe to proceed with the installation. If voltage is detected, do not proceed and consult a professional electrician.
Keep the Work Area Clean and Free from any Obstructions
As you start the installation process, it is essential to maintain a clean work area. Remove any debris, tools, or objects that might obstruct your work. A cluttered workspace can lead to accidents or injuries. By keeping the area clean and free from obstructions, you ensure better visibility and reduce the chances of tripping or mishandling electrical components.
By adhering to these important guidelines, you can ensure your safety during the installation process of a 15 Amp breaker. Always prioritize safety when working with electricity to protect yourself from potential hazards and accidents.
A List Of Essential Tools And Materials Needed For The Installation
A successful installation of a 15 Amp breaker requires the right tools and materials. To ensure the job is done correctly and safely, it’s important to have a list of essential tools and materials on hand. From screwdrivers to wire nuts, each item plays a crucial role in the installation process. Let’s take a closer look at the tools and materials you’ll need.
Screwdriver
A trusty screwdriver is an essential tool for installing a 15 Amp breaker. Choose a screwdriver with the appropriate size and shape for removing and installing screws. A Phillips head screwdriver is typically the most common type used in breaker installations. Make sure the screwdriver is sturdy to avoid stripping the screws or causing damage.
Wire cutter/stripper
A wire cutter/stripper is an indispensable tool for this installation. It allows you to cut and strip the electrical wires to the appropriate lengths, ensuring a secure and proper connection. Look for a wire cutter/stripper with sharp blades and multiple gauge options to handle various wire sizes. This tool will make the process of preparation much easier and more efficient.
15 Amp breaker
The 15 Amp breaker itself is, of course, a necessary component of this installation. Ensure you have a 15 Amp breaker that meets the required specifications. It’s crucial to check the compatibility with your specific electrical panel to avoid any safety issues. If you’re unsure about choosing the right breaker, consult with a professional electrician to ensure you have the correct model for your electrical system.
Electrical tape
Electrical tape is an essential material for insulating and securing electrical connections. It provides insulation against potential short circuits and helps protect against electrical shocks. Make sure to choose high-quality electrical tape that is suitable for electrical applications. Wrap the tape tightly around the connections to ensure a smooth and secure finish.
Wire nuts
Wire nuts are crucial for joining together electrical wires safely and securely. They provide a reliable connection and protect against loose or exposed wires. Use wire nuts that are appropriate for the wire gauge you are working with. Ensure you properly twist the wire ends together and secure them tightly with the wire nut. This will ensure a strong and lasting connection.
Circuit breaker panel labels
Circuit breaker panel labels are necessary for organizing and identifying the different circuits in your electrical panel. Before starting the installation, make sure you have proper labels that adhere to the size and labeling requirements of your panel. These labels will help you quickly identify which circuit corresponds to the 15 Amp breaker you’re installing, making future troubleshooting and maintenance much easier.
Pliers
Pliers are handy tools for this installation, especially for gripping and bending wires. Choose pliers with comfortable grips that allow for easy handling. They will come in handy when creating wire connections or maneuvering wires in tight spaces. Make sure to have pliers with both cutting and gripping capabilities for maximum versatility.
A Detailed Breakdown Of The Installation Process
In this section, we will provide you with a step-by-step guide on how to install a 15 amp breaker in your home’s circuit breaker panel. It’s important to follow these instructions carefully to ensure a safe and effective installation. Let’s get started!
Shut off the main power supply to the entire house
The first step in installing a 15 amp breaker is to shut off the main power supply to your entire house. This ensures that you are working with a safe and de-energized electrical panel. Locate your main circuit breaker panel, usually found in the basement or utility room, and flip the main breaker to the “off” position. This will cut off power to the entire panel.
Identify the location of the circuit breaker panel in your home
Next, you need to identify the location of your home’s circuit breaker panel. It is usually found near the electrical meter, but it can also be located in the basement, garage, or utility room. Once you have located the panel, make sure there is adequate lighting and enough space to work comfortably.
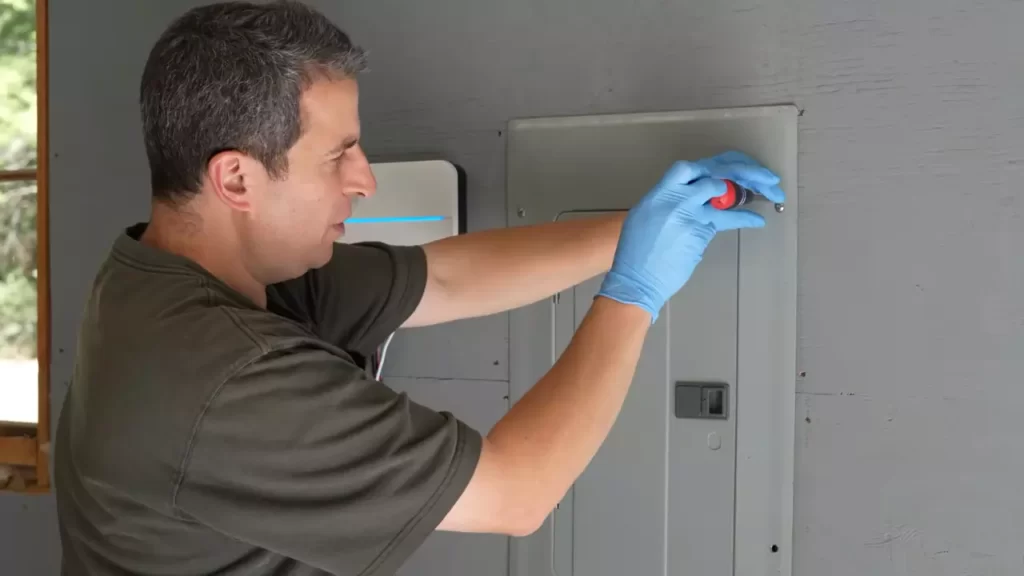
Remove the panel cover using a screwdriver
Using a screwdriver, carefully remove the screws that hold the panel cover in place. Set the cover aside in a safe place. This will expose the inner workings of the circuit breaker panel, allowing you to access the breaker slots and wiring.
Locate an available slot for the new 15-amp breaker
Now, you need to locate an available slot in the breaker panel for the new 15 amp breaker. Look for a slot that is not already occupied by another breaker. It’s important to choose a slot that matches the amperage rating of the breaker you are installing.
Prepare the wires by stripping the insulation
To prepare the wires for connection, you will need to strip off a small section of the insulation at the end of each wire. This will expose the copper conductor inside. Use a wire stripper tool to carefully remove the insulation, taking care not to damage the actual wire.
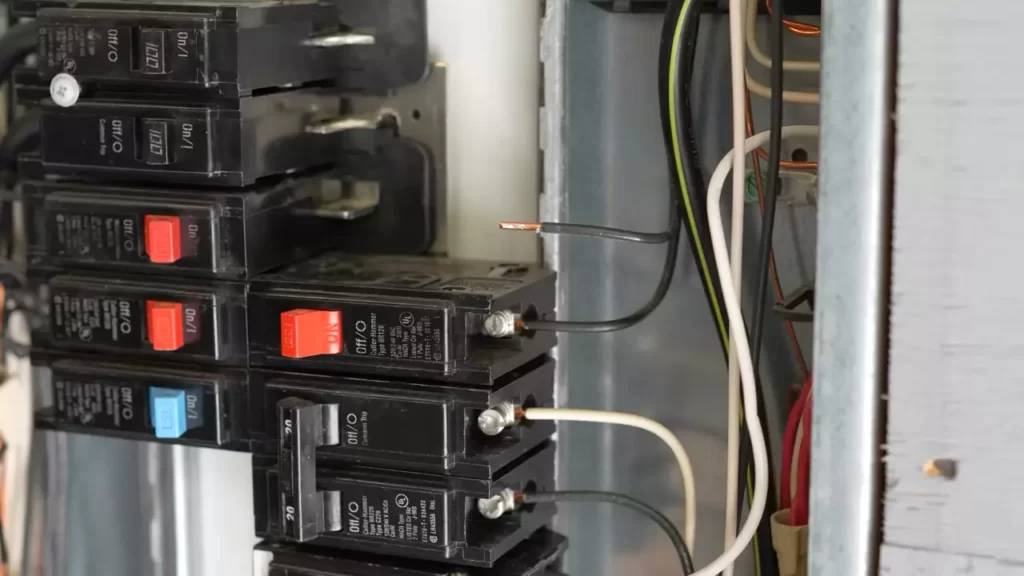
Connect the black wire to the breaker’s terminal screw
Now, it’s time to connect the black wire to the terminal screw of the 15 amp breaker. Insert the stripped end of the black wire into the appropriate terminal slot and tighten the screw securely using a screwdriver. Ensure the connection is tight to prevent any loose or faulty connections.
Secure the white wire to the neutral bus bar
The white wire, which is the neutral wire, should be secured to the neutral bus bar in the circuit breaker panel. Find an available terminal on the neutral bus bar and insert the stripped end of the white wire. Tighten the screw to secure the connection. This establishes the neutral connection for the 15 amp breaker.
Attach the ground wire to the grounding bar
Next, attach the ground wire to the grounding bar in the circuit breaker panel. Locate an available grounding terminal and insert the stripped end of the ground wire. Secure the connection by tightening the screw. This ensures that any excess electrical energy is safely directed to the grounding system.
Double-check the connections and ensure they are secure
Before proceeding, it’s crucial to double-check all the connections you have made so far. Ensure that the black wire is securely connected to the breaker’s terminal screw, the white wire is properly secured to the neutral bus bar, and the ground wire is firmly attached to the grounding bar. This step is essential for the safe and reliable operation of the 15 amp breaker.
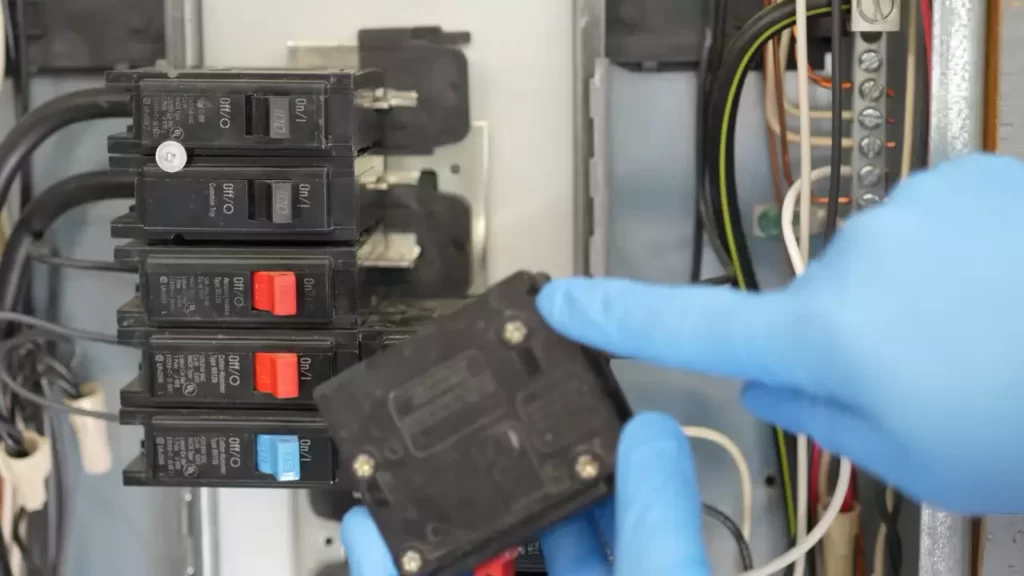
Insert the 15 amp breaker into the designated slot
Now, you are ready to insert the 15 amp breaker into the designated slot in the circuit breaker panel. Align the breaker with the slot and firmly push it in until it snaps into place. Ensure that the breaker is fully seated and properly aligned with the other breakers in the panel.
Replace the panel cover and tighten the screws
Lastly, replace the panel cover by aligning it with the panel and fastening the screws using a screwdriver. Make sure to tighten the screws securely to ensure the cover is properly attached to the circuit breaker panel. This will protect the breakers and wiring from dust, debris, and accidental contact.
And there you have it! You have successfully installed a 15 amp breaker in your home’s circuit breaker panel. Remember to always exercise caution and follow electrical safety guidelines when working with electricity. If you feel unsure or uncomfortable with the process, it is recommended to seek the assistance of a licensed electrician.
Instructions On How To Test The Breaker And Troubleshoot Any Issues
To ensure the successful installation of a 15 amp breaker, it is essential to properly test the breaker and troubleshoot any potential issues that may arise. By following a few simple steps, you can ensure that the breaker is functioning correctly and that power is restored to the connected circuit. In this section, we will guide you through the process and provide common troubleshooting steps to address any problems that may occur.
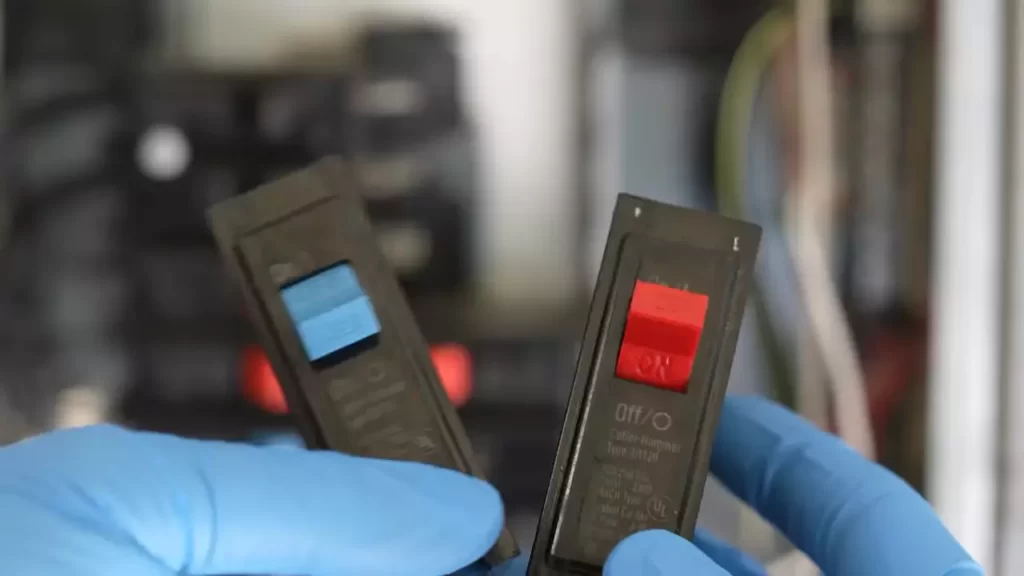
Turn on the main power supply and ensure the breaker is in the “Off” position:
Before starting the testing process, it is important to first turn on the main power supply. This will provide the necessary electrical current for the breaker to function. Once the main power supply is on, ensure that the breaker switch is in the “Off” position. This ensures that power is not flowing to the connected circuit during the testing and troubleshooting process.
Flip the breaker switch to the “On” position:
After confirming that the main power supply is on and the breaker switch is in the “Off” position, it is time to flip the breaker switch to the “On” position. This will allow power to flow to the connected circuit and restore electricity.
Test the connected circuit to verify if power is restored:
To ensure that power is successfully restored to the connected circuit, it is crucial to test it after flipping the breaker switch to the “On” position. This can be done by plugging in a device or turning on a light switch connected to the circuit. If power is restored and the device or light switches on, then the breaker is functioning correctly.
If the breaker trips or there is no power, troubleshoot the issue:
In the event that the breaker trips or there is no power restored to the connected circuit, it is necessary to troubleshoot the issue. This involves identifying the root cause of the problem and taking the appropriate steps to resolve it. Common troubleshooting steps include:
Checking for loose connections:
Ensure that all wires are securely connected to the breaker and the connected circuit. Loose connections can disrupt the flow of power and prevent the breaker from functioning properly.
Overloaded circuits:
Check if the circuit is overloaded with too many devices or appliances. An overloaded circuit can cause the breaker to trip or fail to restore power. Remove some devices or appliances from the circuit and try again.
These troubleshooting steps should help you identify and resolve any issues with the breaker. By following these instructions, you can successfully test the breaker and troubleshoot any problems that may arise during the installation process. Remember to always prioritize safety during any electrical work and consult a professional if you are unsure or unable to resolve the issue yourself.
Additional Advice To Make The Installation Process Smoother And Prevent Potential Issues
When it comes to installing a 15 Amp breaker, there are a few additional steps you can take to ensure a smooth installation process and prevent potential issues down the line. By following these guidelines, you can effectively label the new breaker, avoid overloading the circuit, seek professional assistance when needed, regularly inspect and maintain your circuit breaker panel, and keep a record of circuit breaker locations for future reference.
Label the New Breaker in the Circuit Breaker Panel for Easy Identification
Properly labeling the new breaker in your circuit breaker panel is crucial for easy identification. By doing so, you can quickly locate and isolate the circuit in the future when necessary. To label the breaker:
- Turn off the power to the circuit breaker panel to avoid any electrical shocks.
- Locate the newly installed 15 Amp breaker in the panel.
- Use a label maker or permanent marker to clearly mark the breaker with its corresponding circuit or room name.
- Make sure the label is visible and easily readable.
Avoid Overloading the Circuit by Operating Multiple High-Powered Appliances on the Same Circuit
Overloading a circuit can lead to tripped breakers, power outages, and even potential hazards. To prevent such issues:
- Identify the high-powered appliances that consume a significant amount of electricity.
- Distribute these appliances across different circuits in your breaker panel.
- Ensure that the total amperage of the appliances on each circuit does not exceed the capacity of the breaker.
- If necessary, consider having additional circuits installed by a professional electrician to accommodate high-powered appliances.
Seek Professional Assistance If You Are Unsure About Any Aspects of the Installation
Installing a breaker can be complex, especially for those without experience or knowledge of electrical systems. If you are unsure about any aspect of the installation process:
- Reach out to a licensed electrician who can provide guidance and assistance.
- Explain your concerns and ask for professional advice to ensure a safe and successful installation.
- Avoid taking unnecessary risks or attempting installations beyond your expertise.
Regularly Inspect and Maintain Your Circuit Breaker Panel for Optimal Performance
To ensure your circuit breaker panel functions optimally and minimizes potential issues, regular inspection and maintenance is crucial. Here are some steps to consider:
- Visually inspect the panel for any signs of wear, damage, or loose connections.
- Tighten loose screws and connections with a screwdriver or appropriate tool.
- Clear any debris or obstructions around the panel to ensure proper airflow.
- If you notice any unusual sounds or flickering lights, contact a professional electrician for further investigation.
Keep a Record of the Circuit Breaker Locations and Corresponding Circuits for Future Reference
Maintaining a record of your circuit breaker panel’s layout is beneficial for future reference and troubleshooting. Here’s how you can create a comprehensive record:
- Create a simple diagram or table listing the breaker numbers and the corresponding circuits or rooms they control.
- Store the record in a safe and easily accessible location.
- Update the record whenever changes are made to your circuit breaker panel.
- This record will help you quickly identify the circuits associated with each breaker, making it easier to troubleshoot and address any issues that may arise in the future.
By following these additional pieces of advice, your installation process will be smoother, and you can prevent potential issues related to identification, circuit overload, lack of expertise, maintenance, and troubleshooting. Investing time and effort into these best practices will ensure the safety and efficiency of your electrical system for years to come!
Frequently Asked Questions For How To Install 15 Amp Breaker
What Wire Do I Need For A 15 Amp Circuit Breaker?
You need a 14-gauge wire for a 15 amp circuit breaker.
How Many Amps Can I Run On A 15 Amp Breaker?
A 15 amp breaker can handle up to 15 amps of electrical current.
Can I Replace A Circuit Breaker Myself?
Yes, you can replace a circuit breaker yourself, but it’s important to follow safety precautions. Make sure to turn off the power to the breaker, wear protective gear, and understand the correct procedure. If you are unsure, it is advised to seek professional assistance for safety reasons.
Can You Use 12 2 Wire On A 15 Amp Circuit?
Yes, you can use 12 2 wires on a 15 amp circuit. This type of wire can handle the electrical load without any issues. However, it is important to consult with a licensed electrician for proper installation and to ensure compliance with local building codes.
Conclusion
Installing a 15 Amp breaker is a straightforward process that ensures electrical safety and efficient power distribution. By following the step-by-step guide provided in this blog post, you can successfully install a 15 Amp breaker and protect your electrical circuit from overloading.
Remember to turn off the main power supply, select the appropriate breaker size, and connect the wires securely. Your electrical system will be safeguarded, providing peace of mind for you and your family.